How to: build your own computer
Today I have my very own computer engineer aka my amazing boyfriend demonstrating how to build a computer, I really hope you find this interesting and enjoyable!
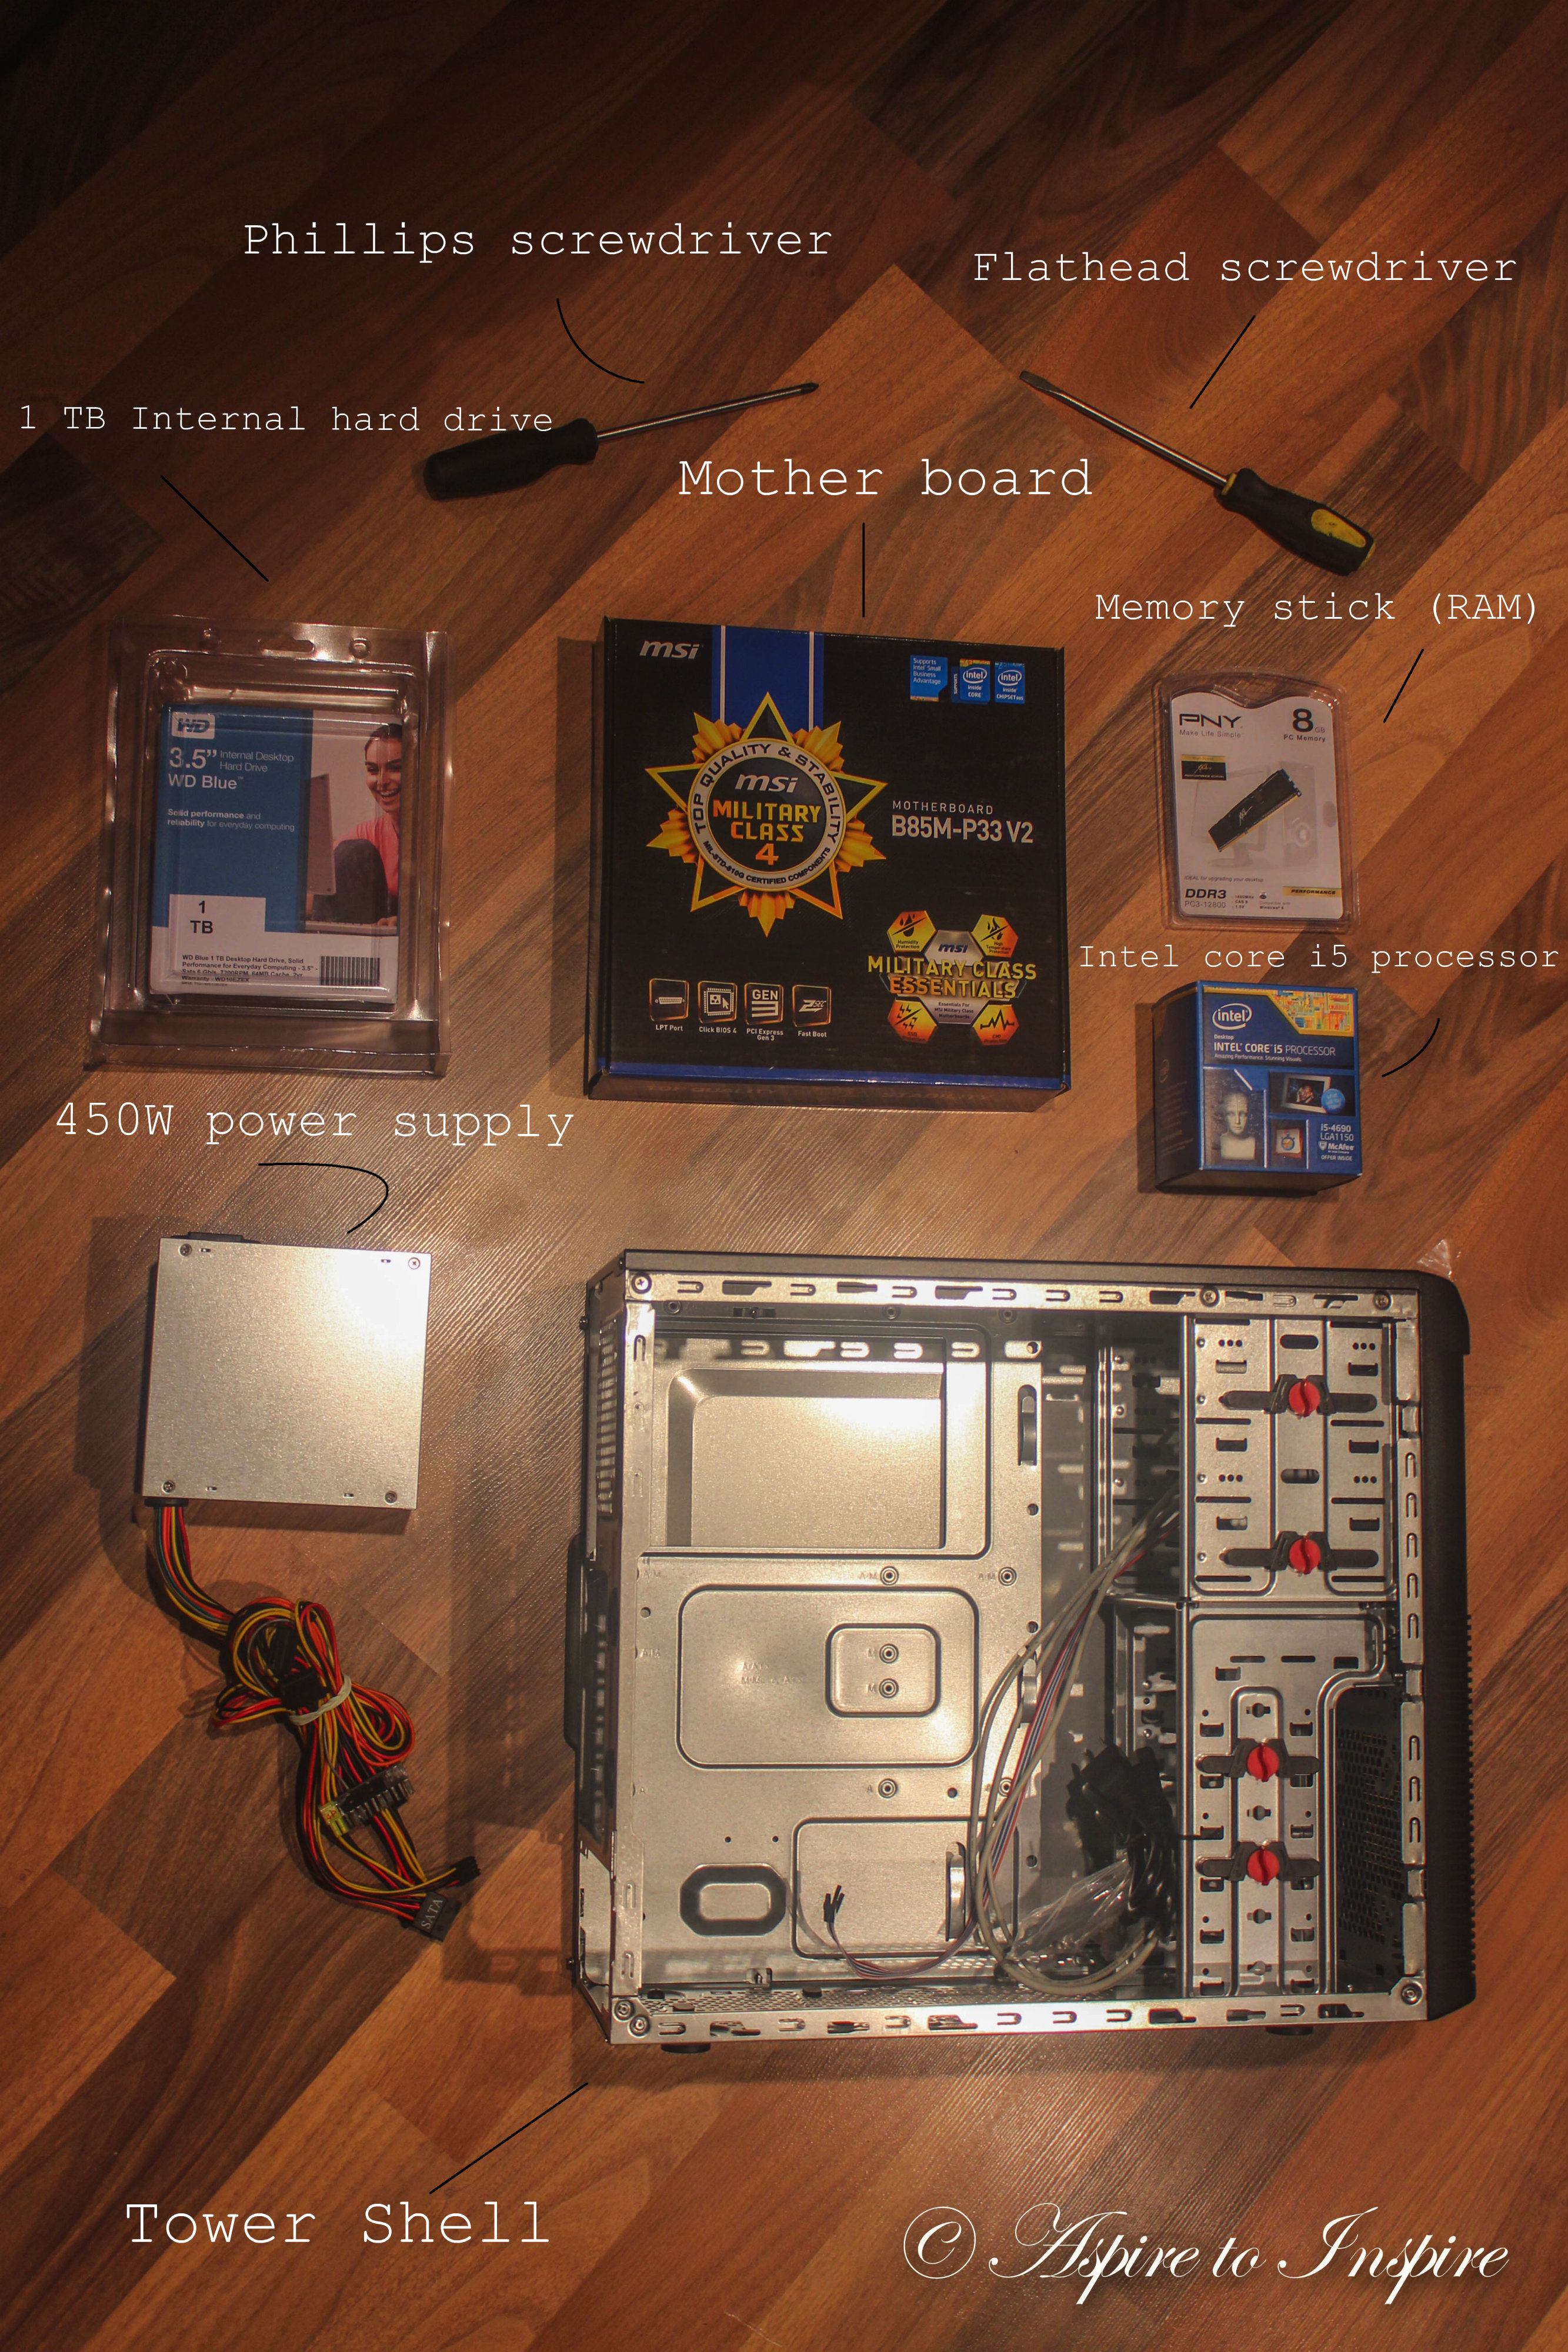
Supplies you will need:
– Flat head screwdriver
– Phillips screwdriver
– 1 TB internal 3.5” hard drive
– Mother board ( B85M-P33 V2)
– 8 GB memory stick (RAM)
– Intel core i5 processor
– 450W power supply
– Tower shell
******************************************************************************
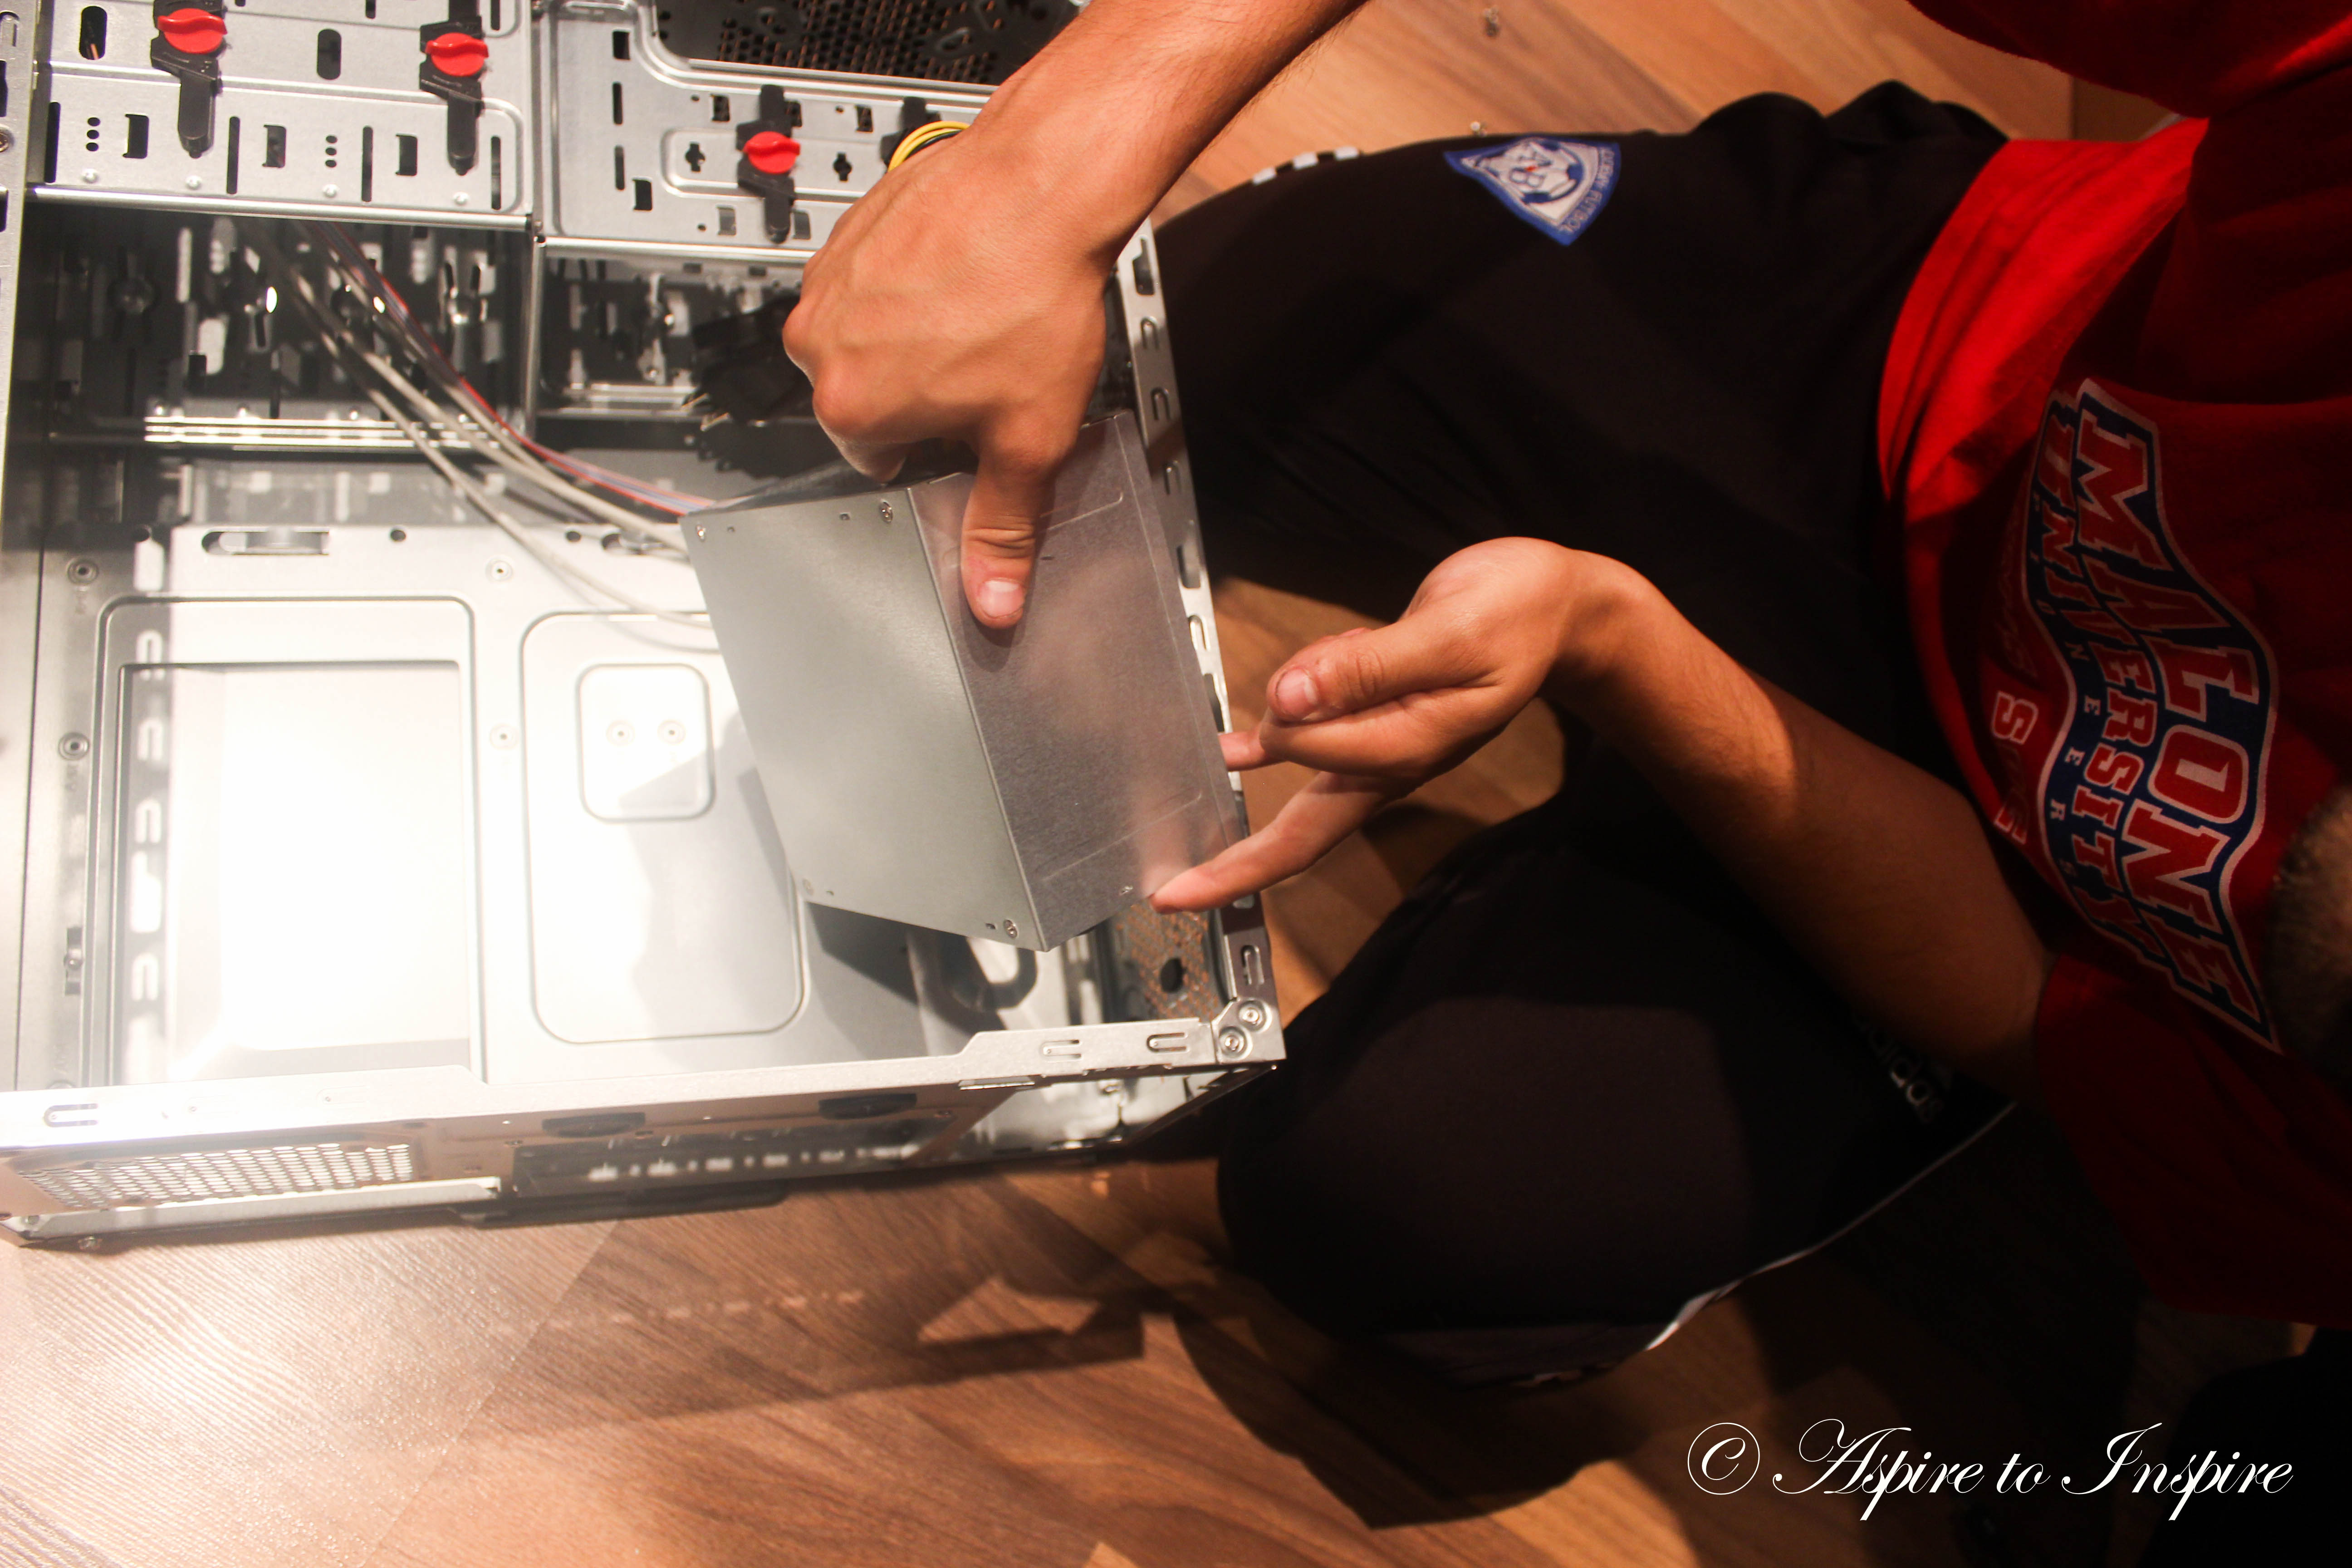
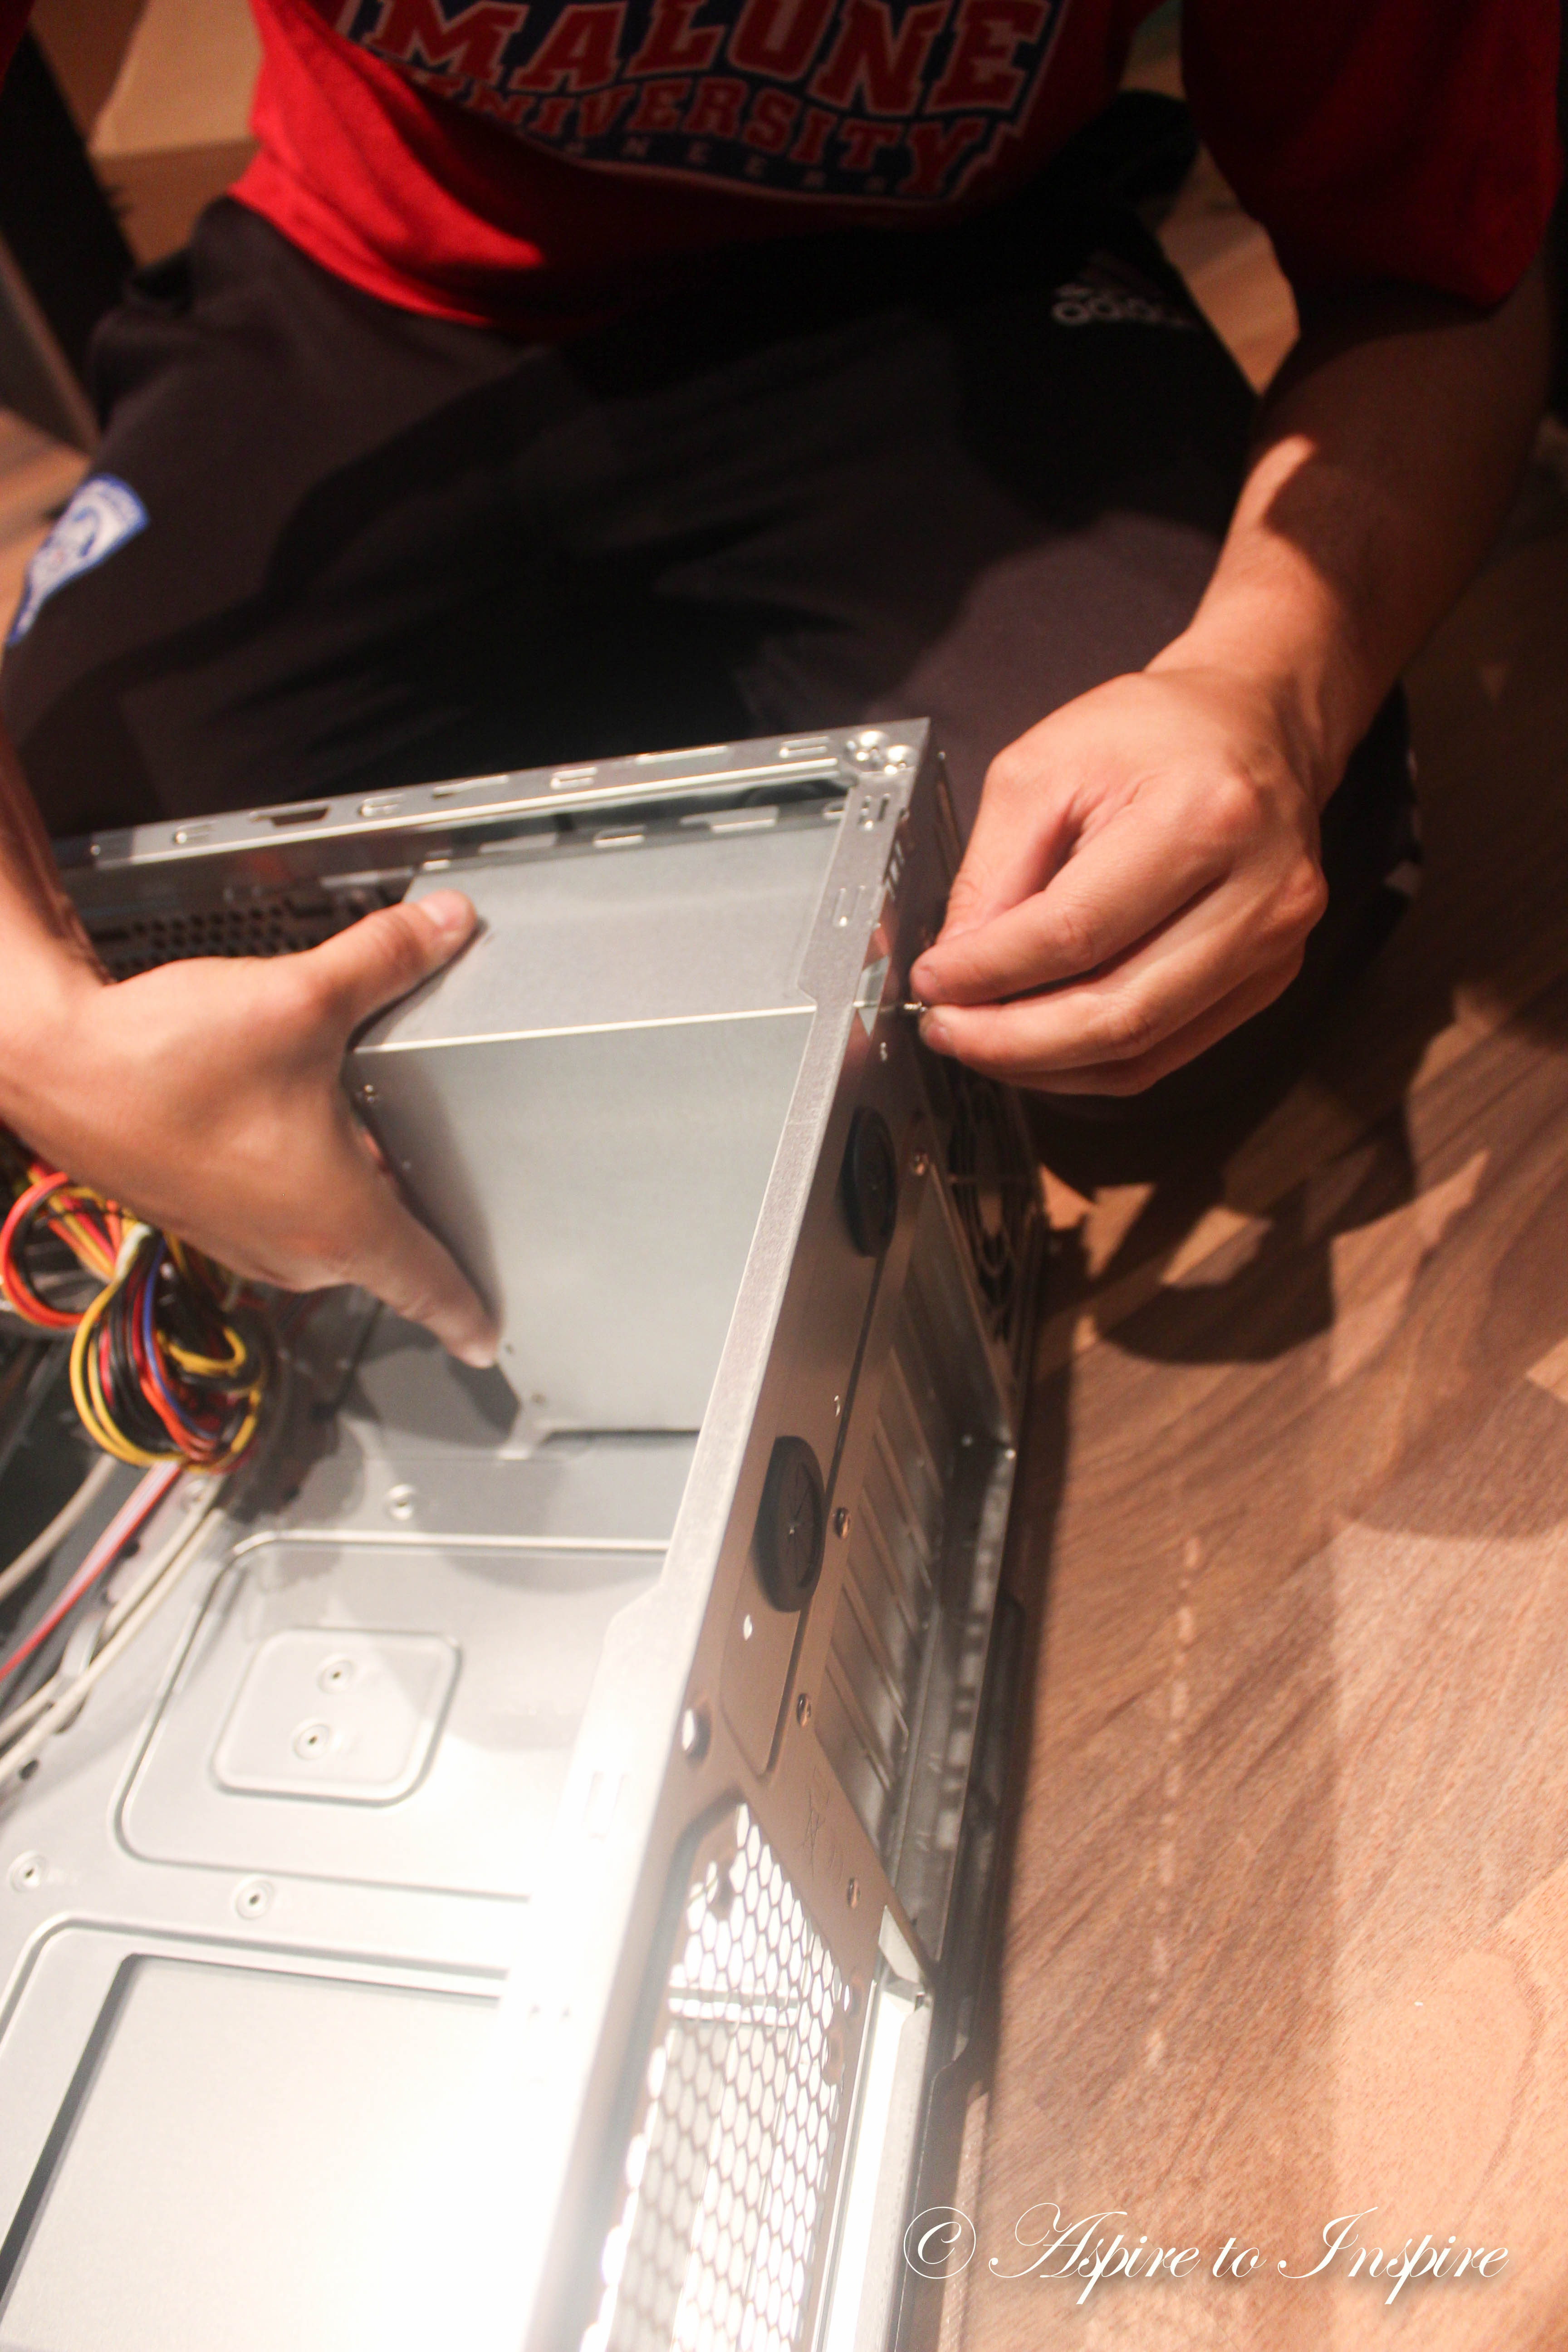
Step 1:
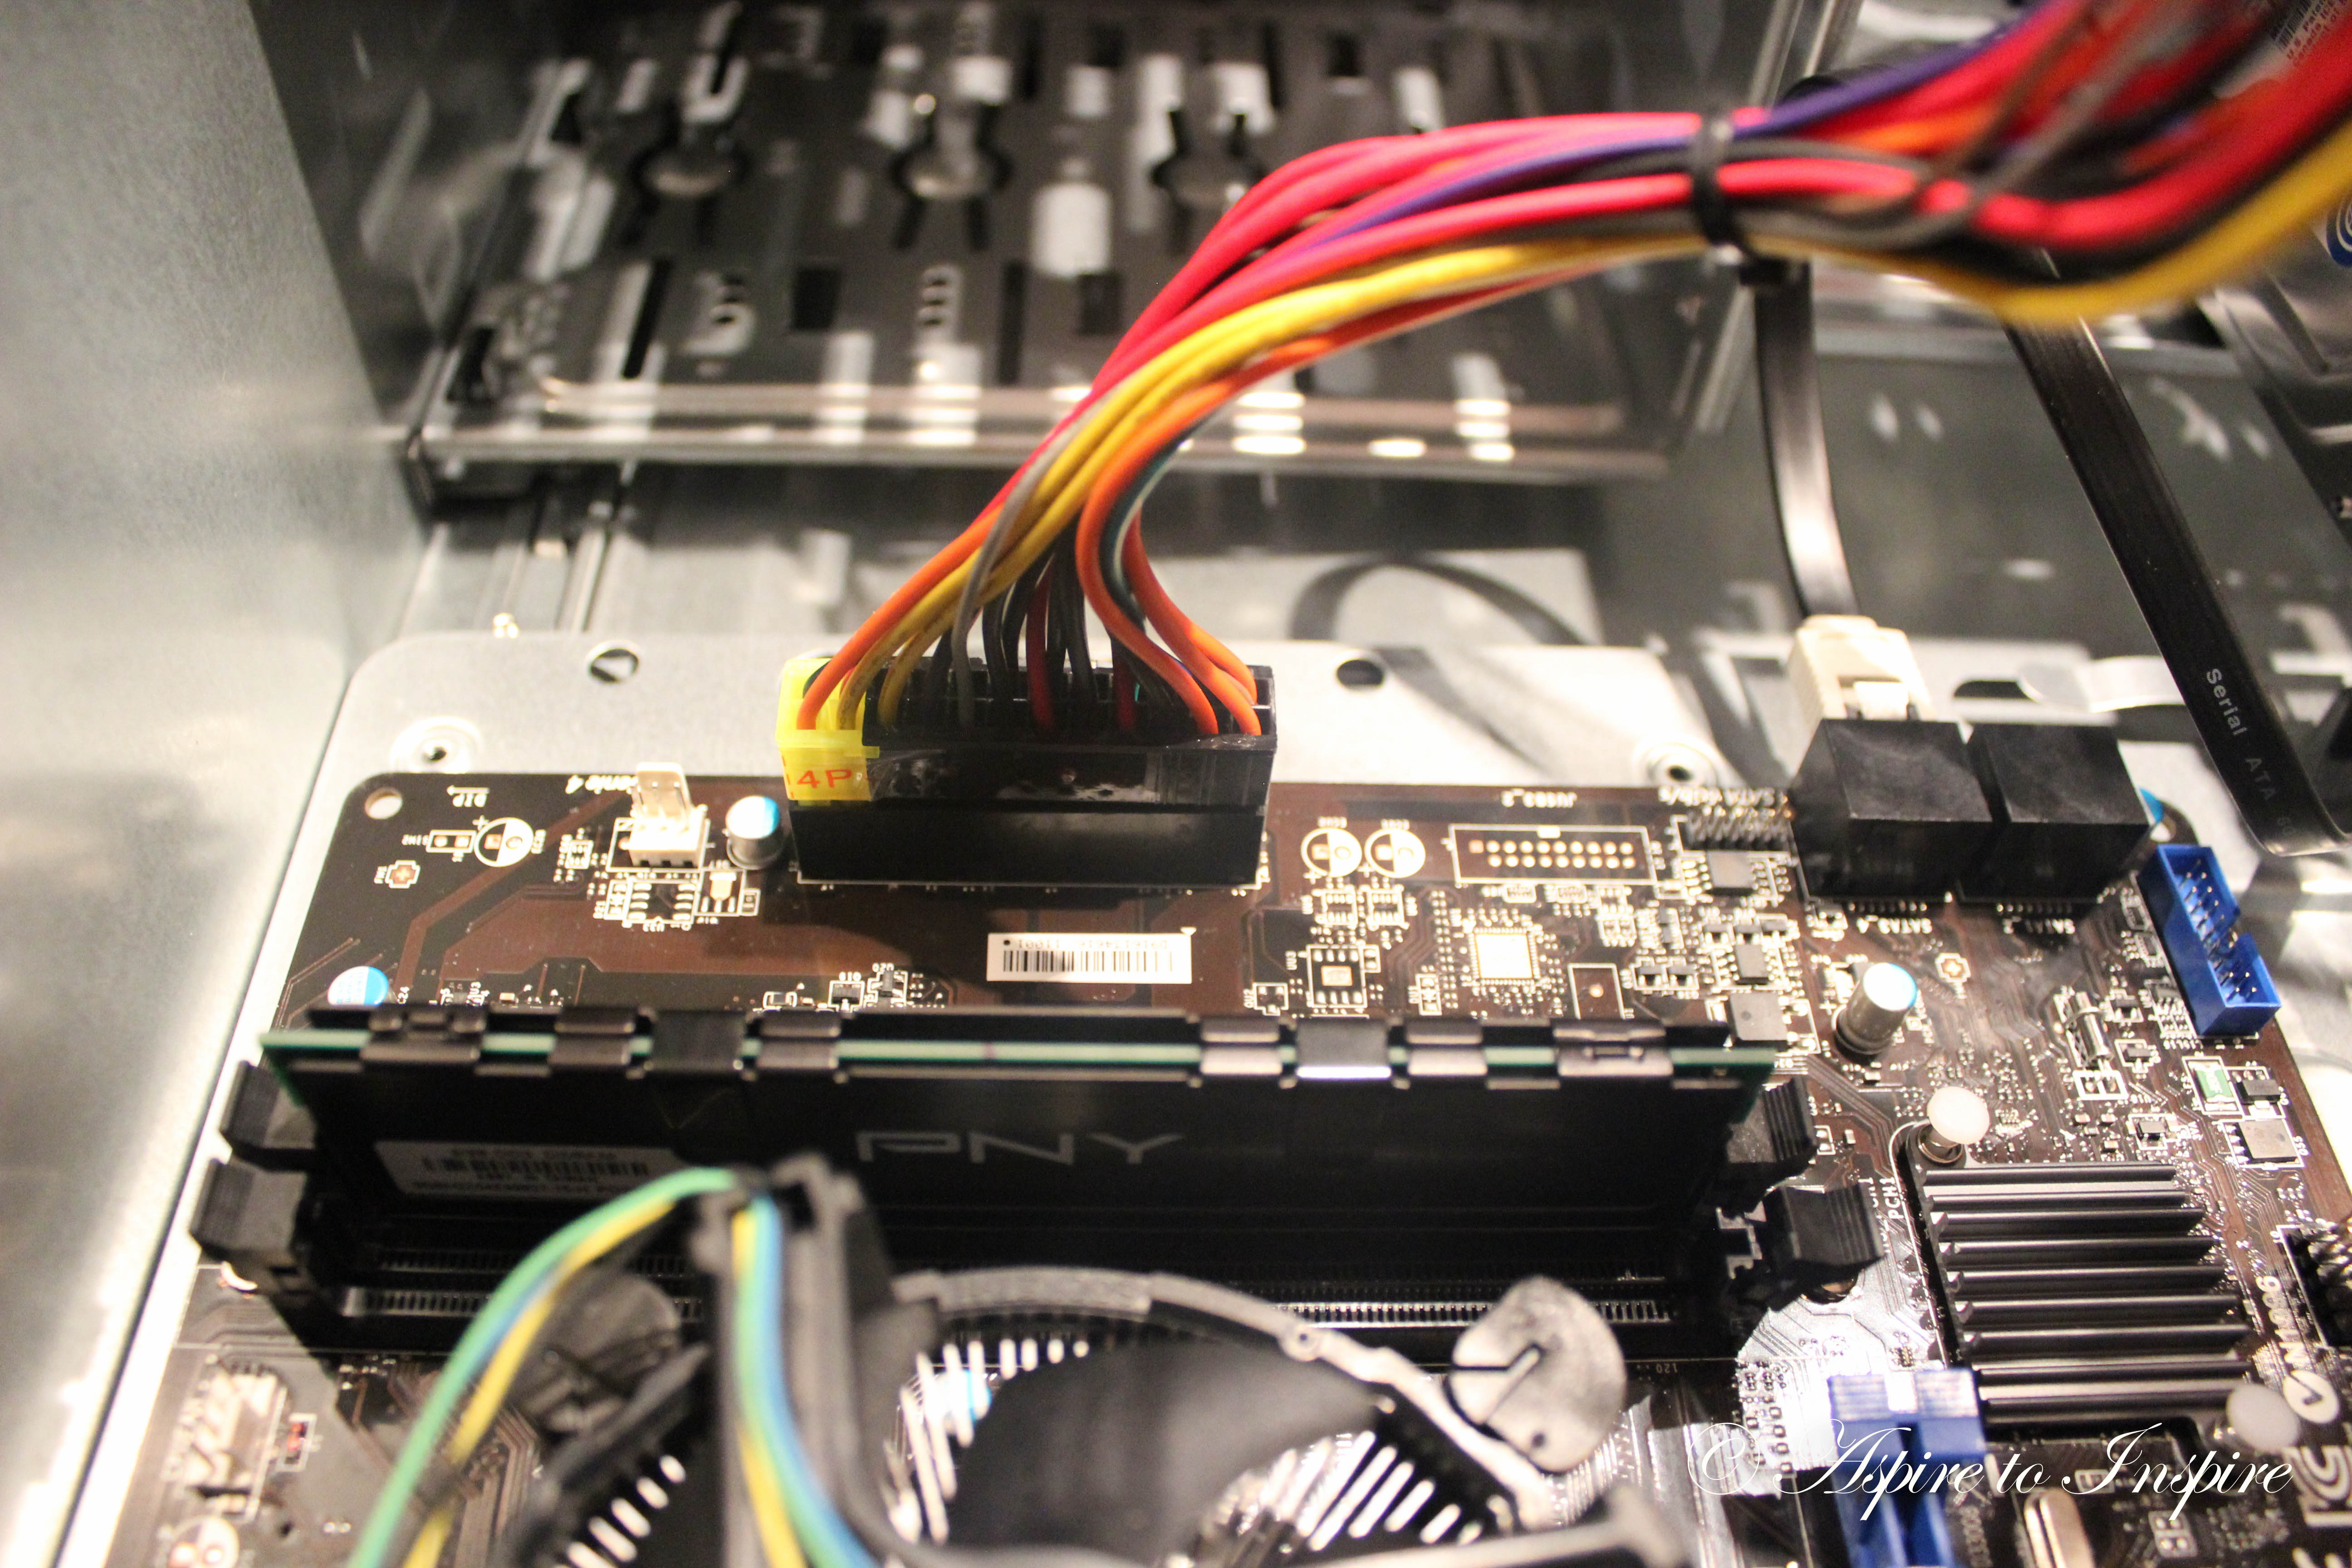
Insert power supply to tower (there is a space designated for power supply)
[Power supply is what gives power to the whole unit, without a power supply or without your power supply having enough watts your computer would not turn on. However, if it has too much watts you’re using more power than needed causing your electrical bill to go up]
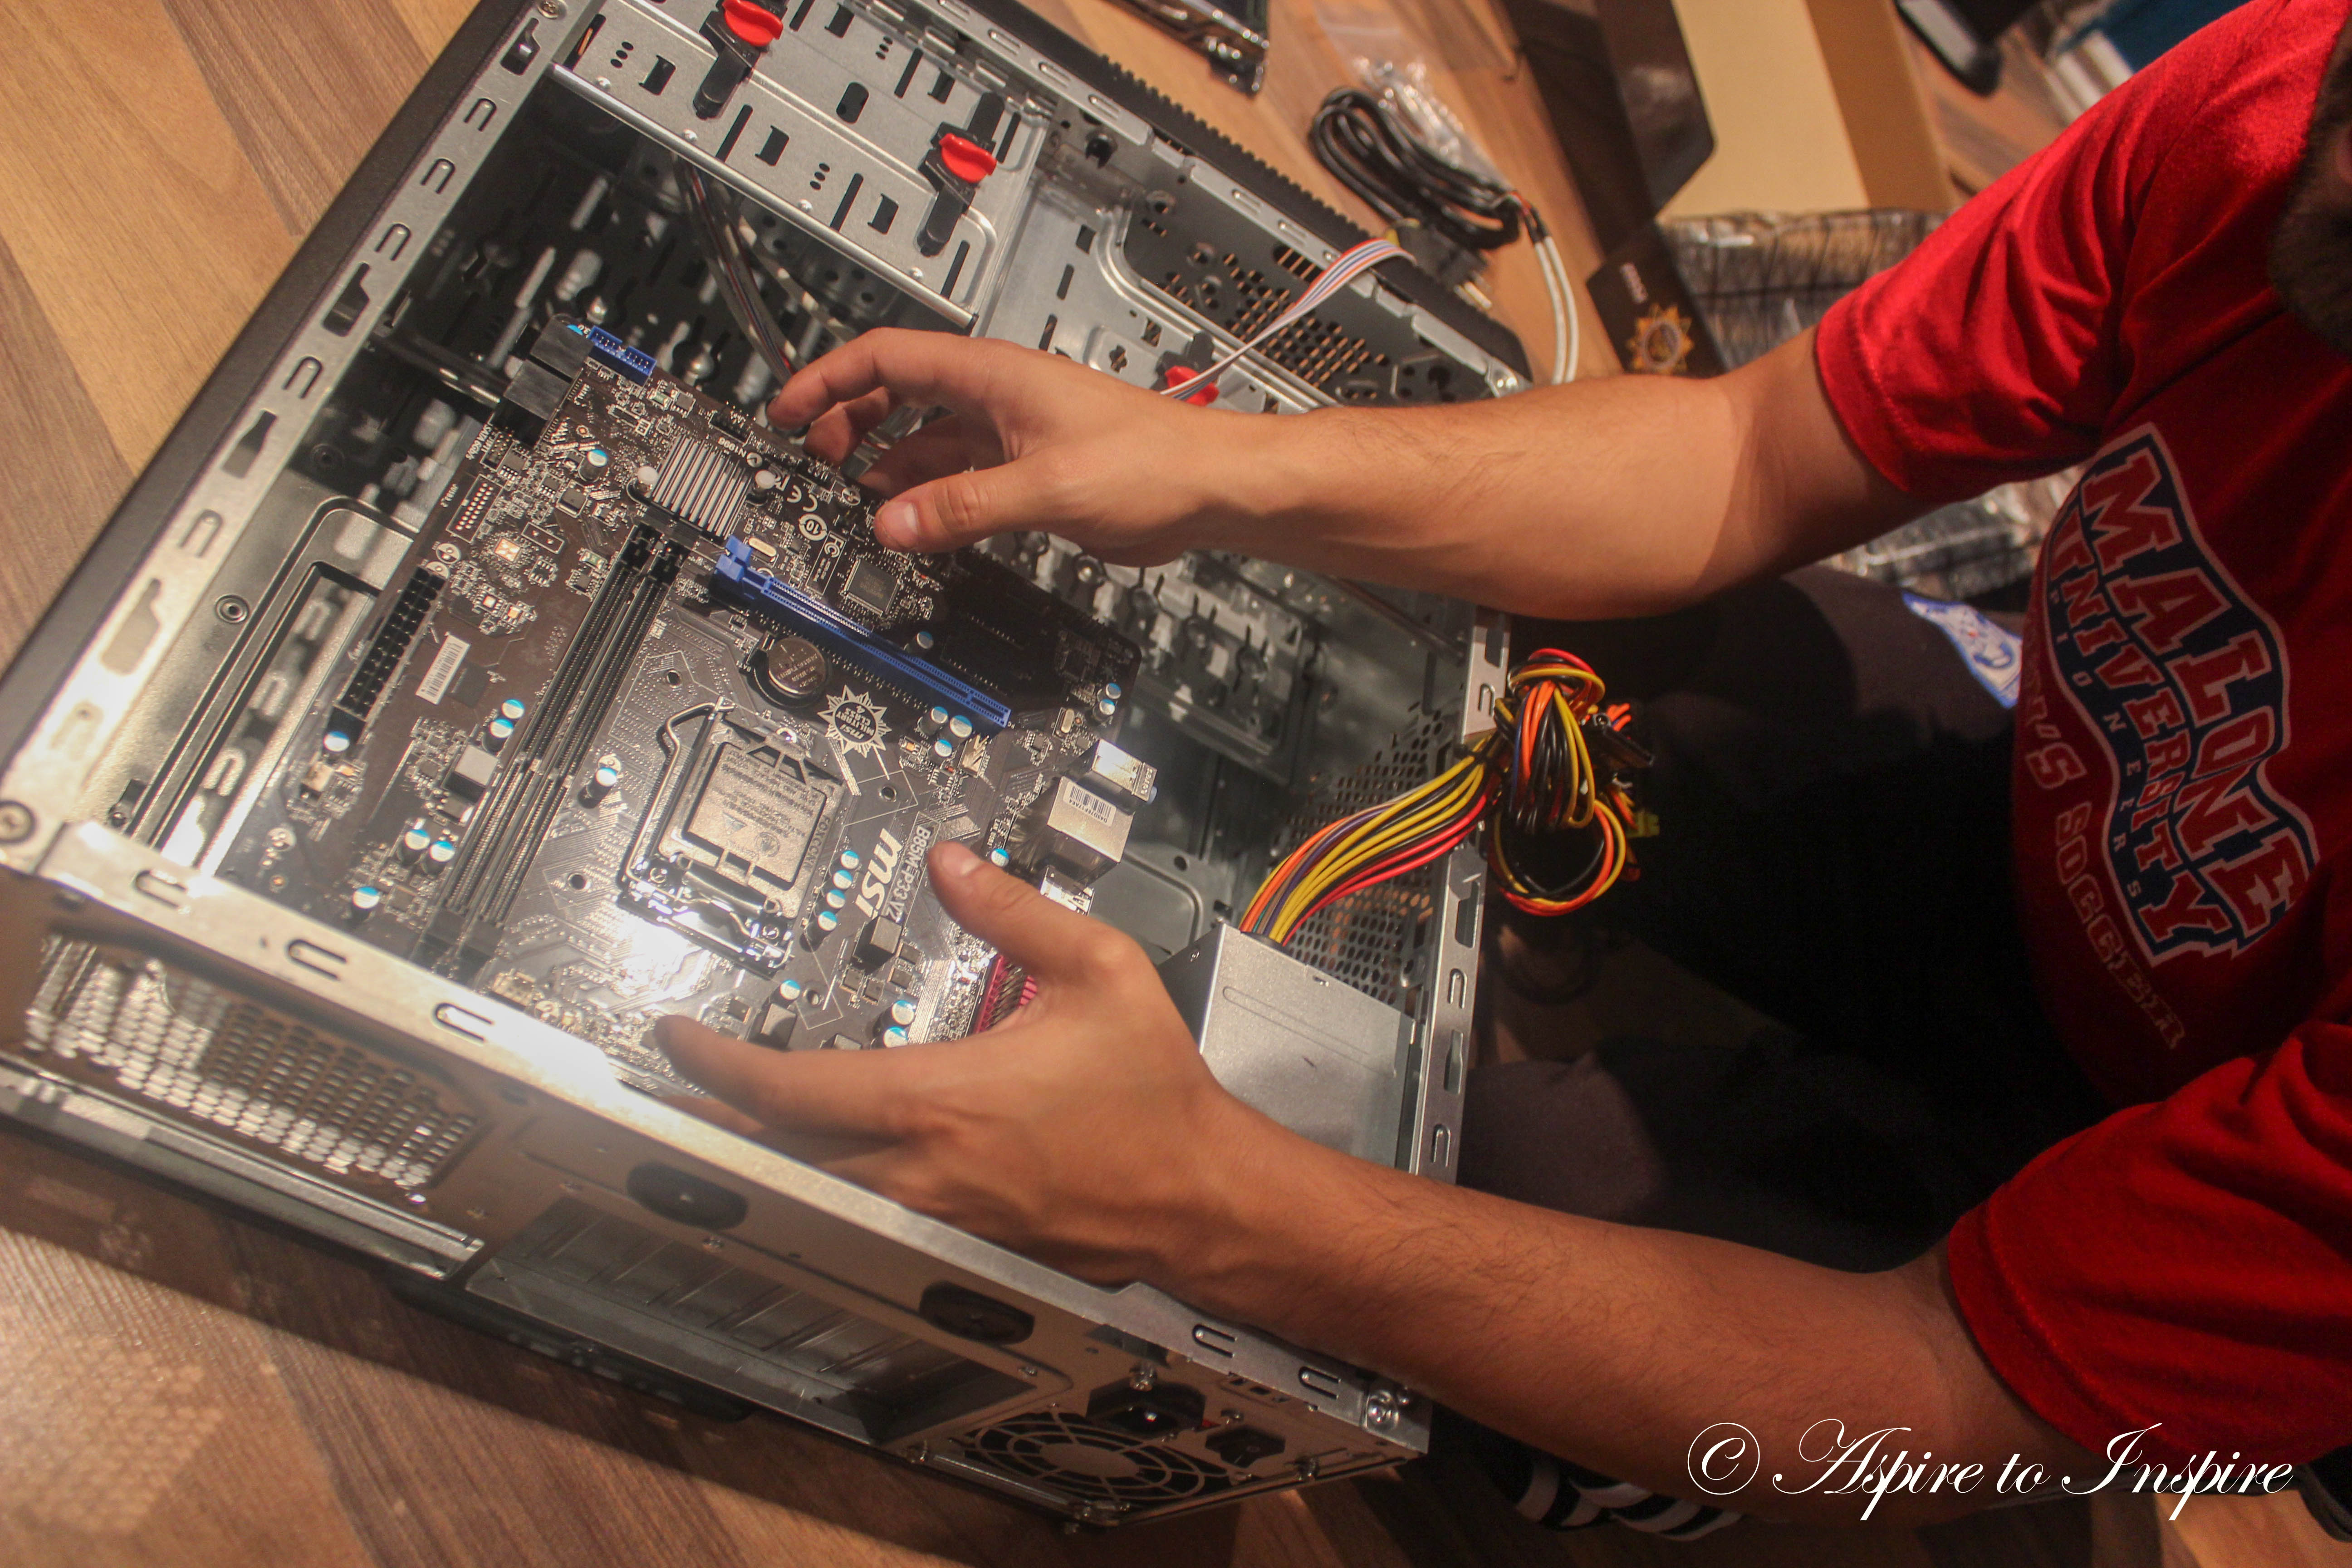
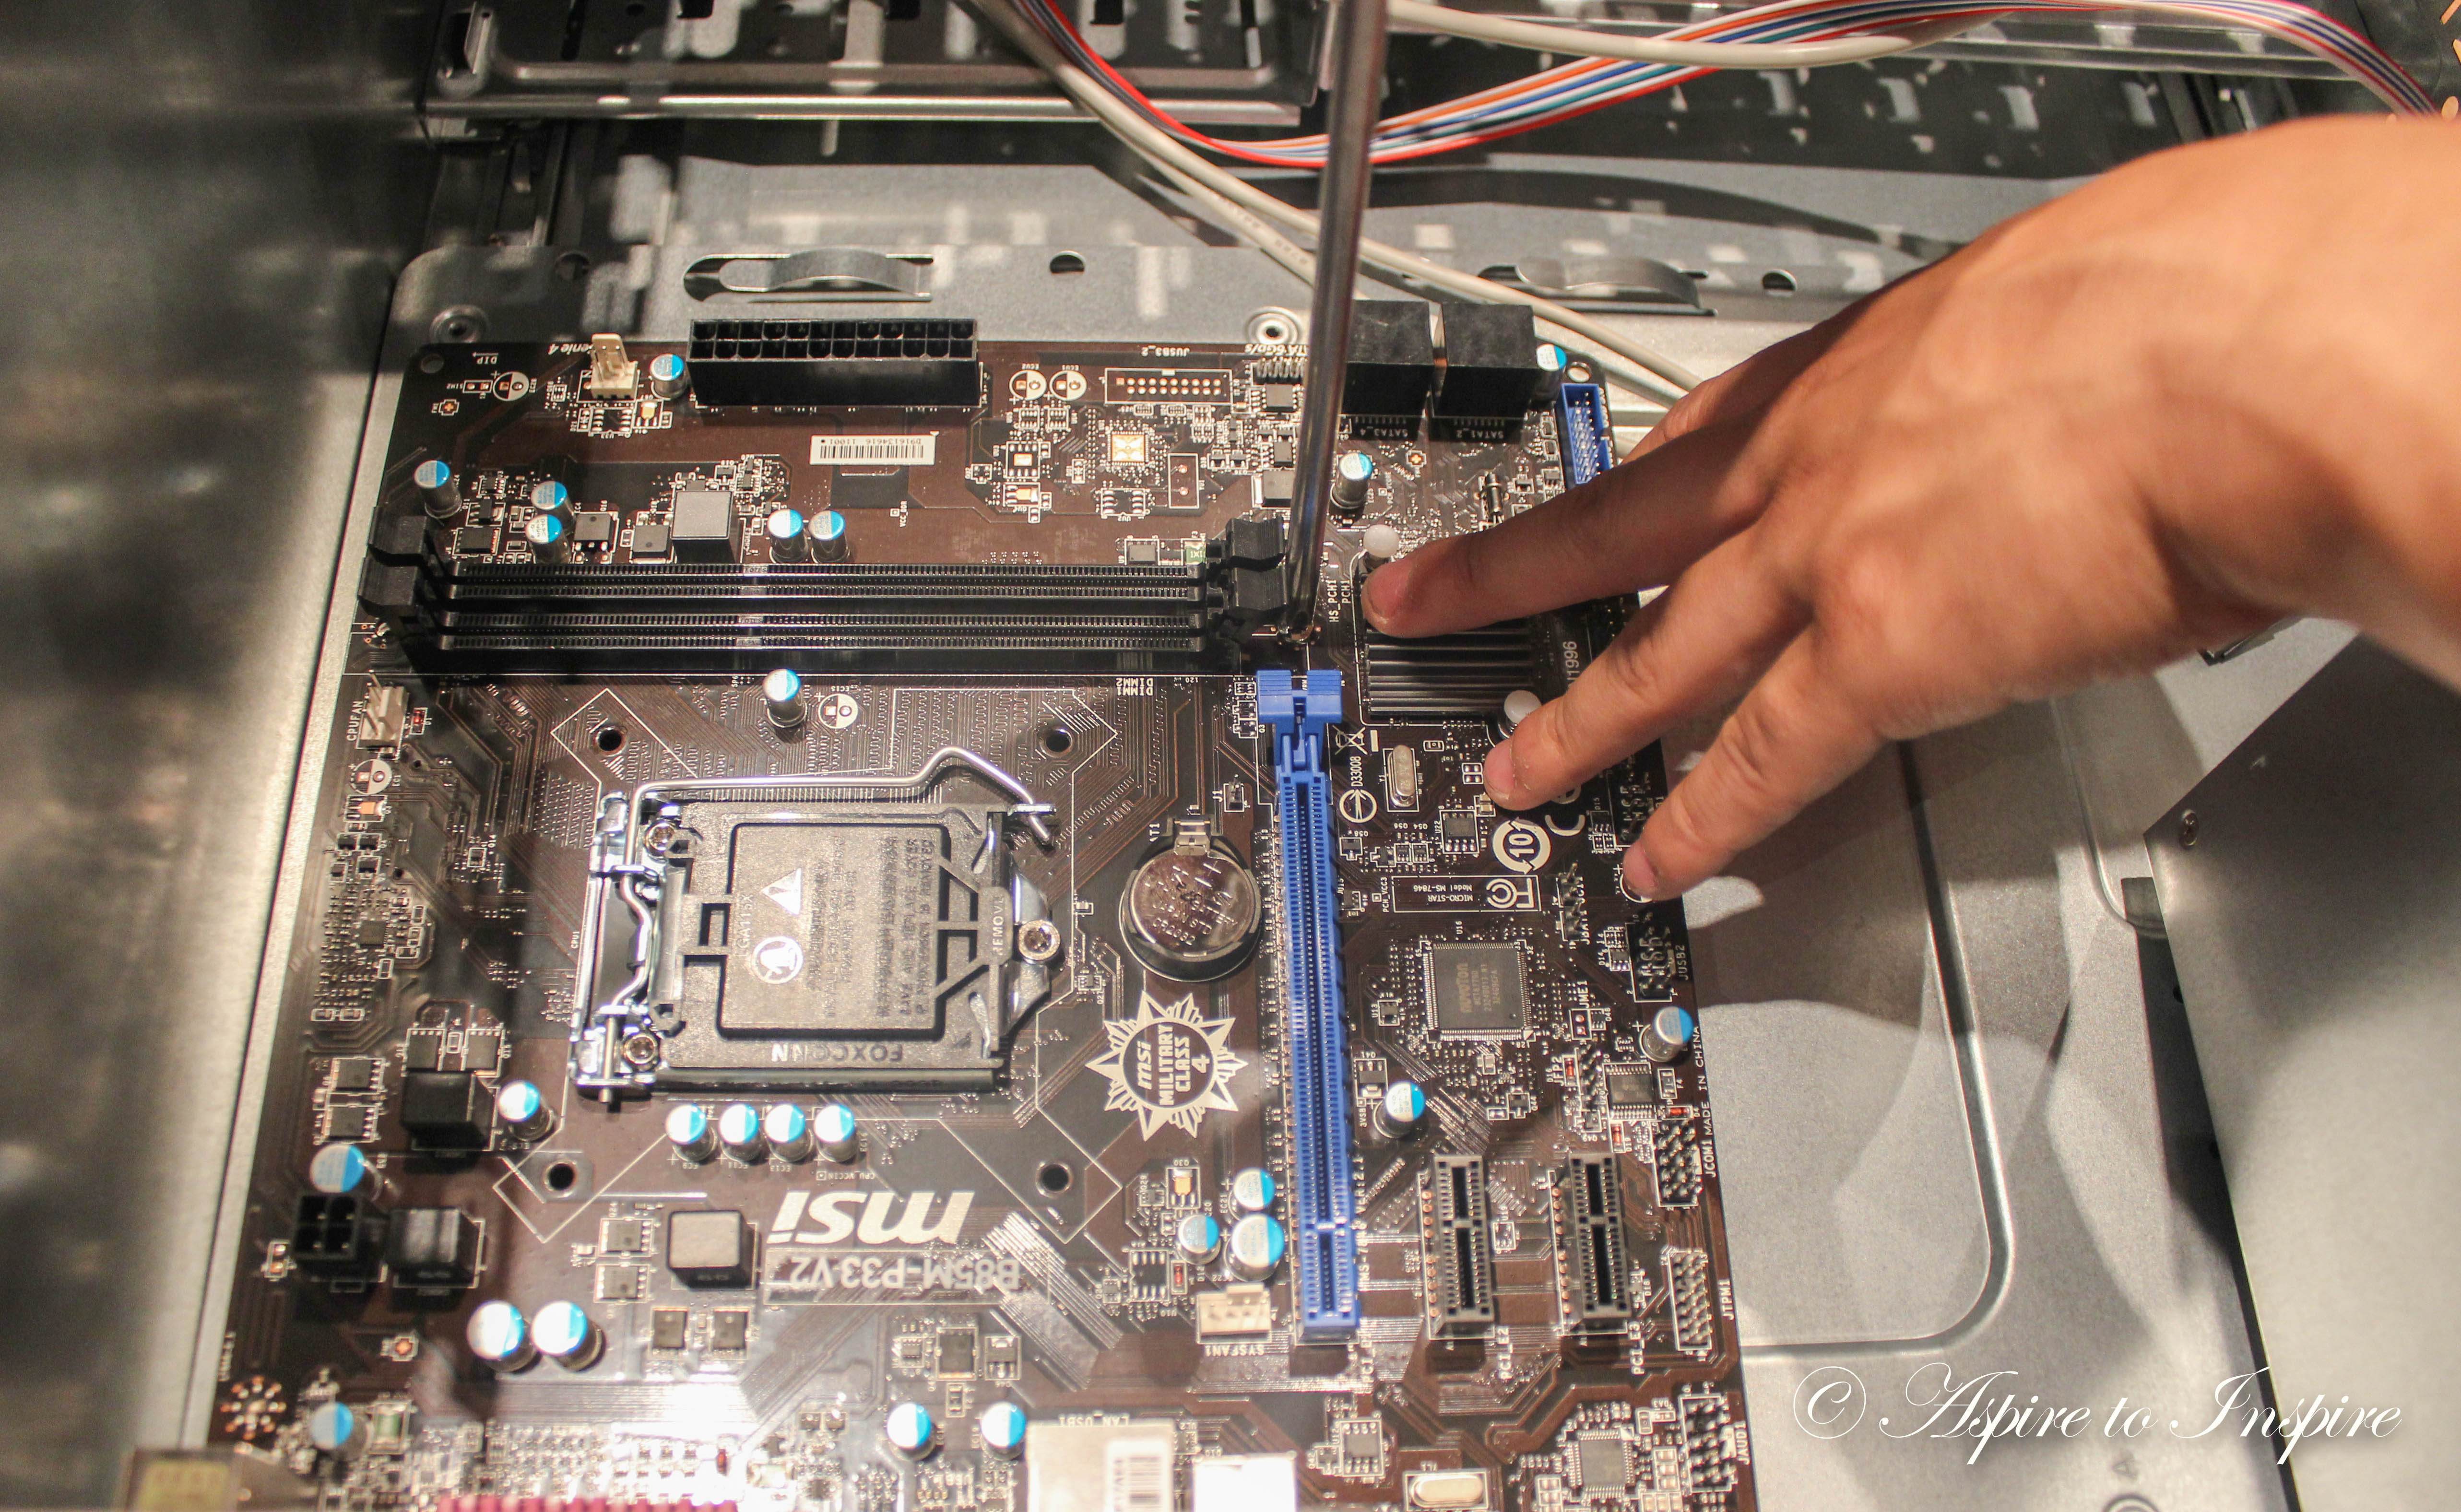
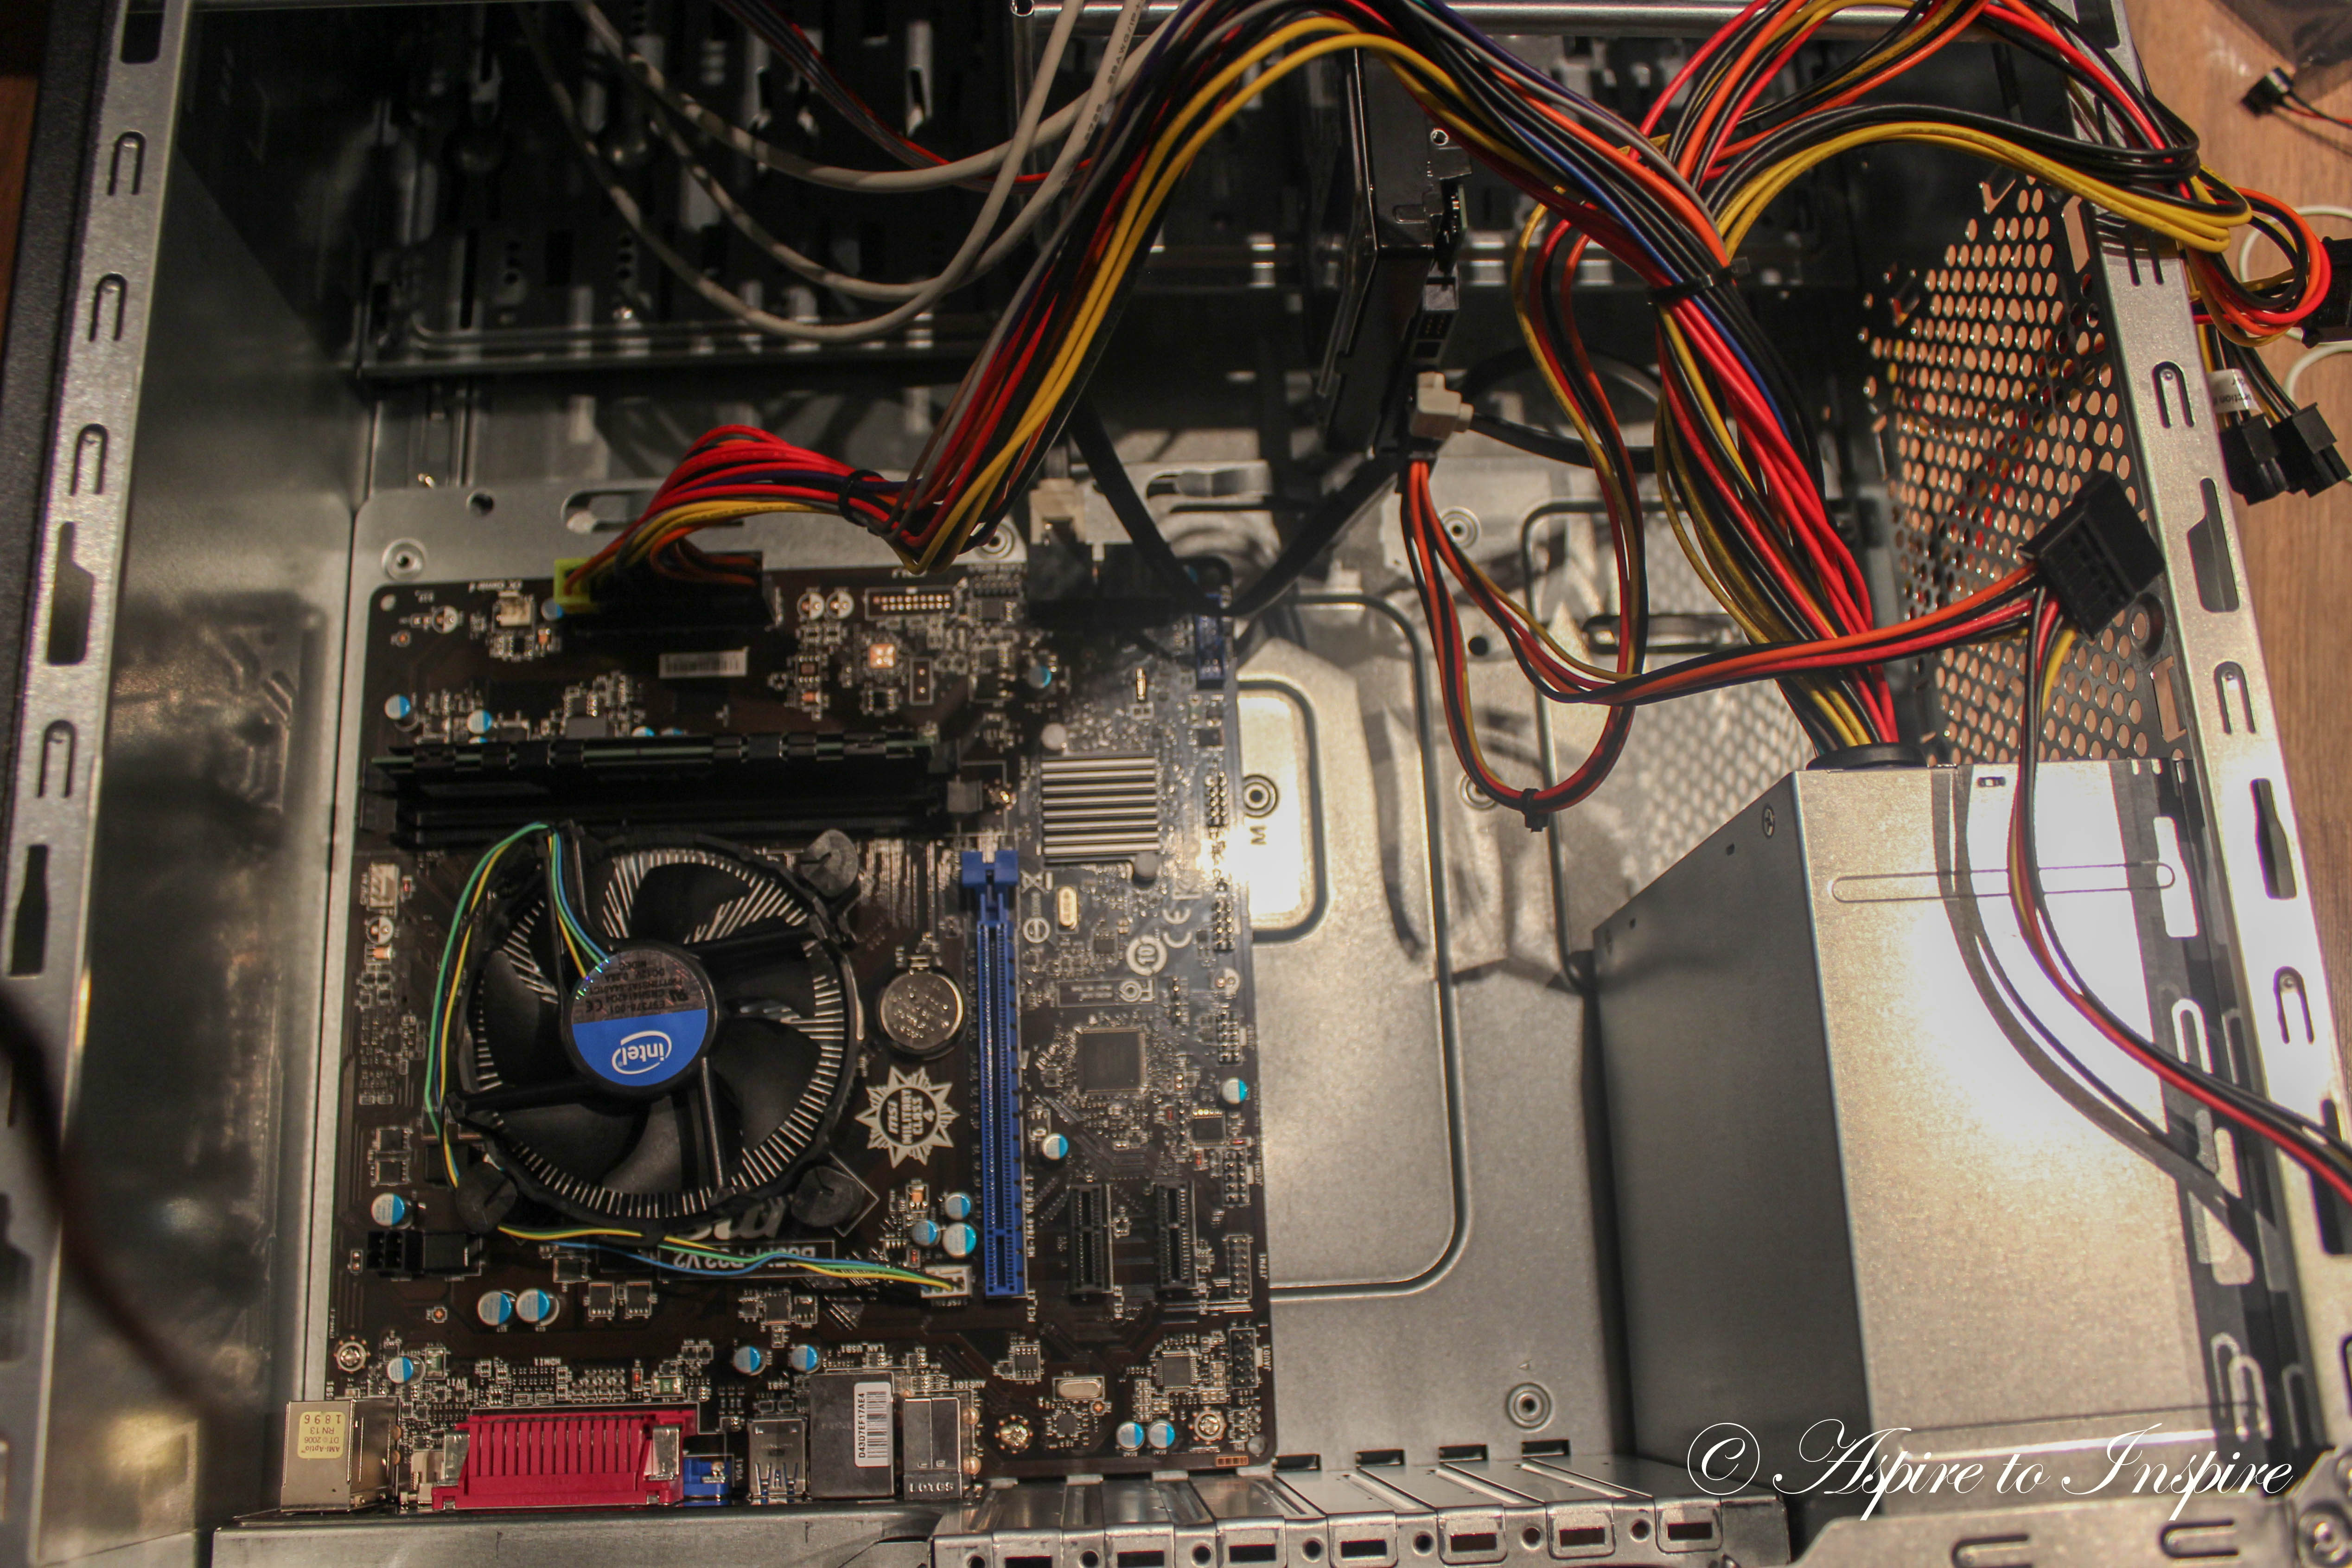
Step 2: Next you will be inserting the motherboard. By doing so you need to align the motherboard with the inside of the tower (there isn’t an exact measurement on how, but the holes in the bottom will guide you when placing it.) NOTE: Make sure not to touch the bottom of the mother board.
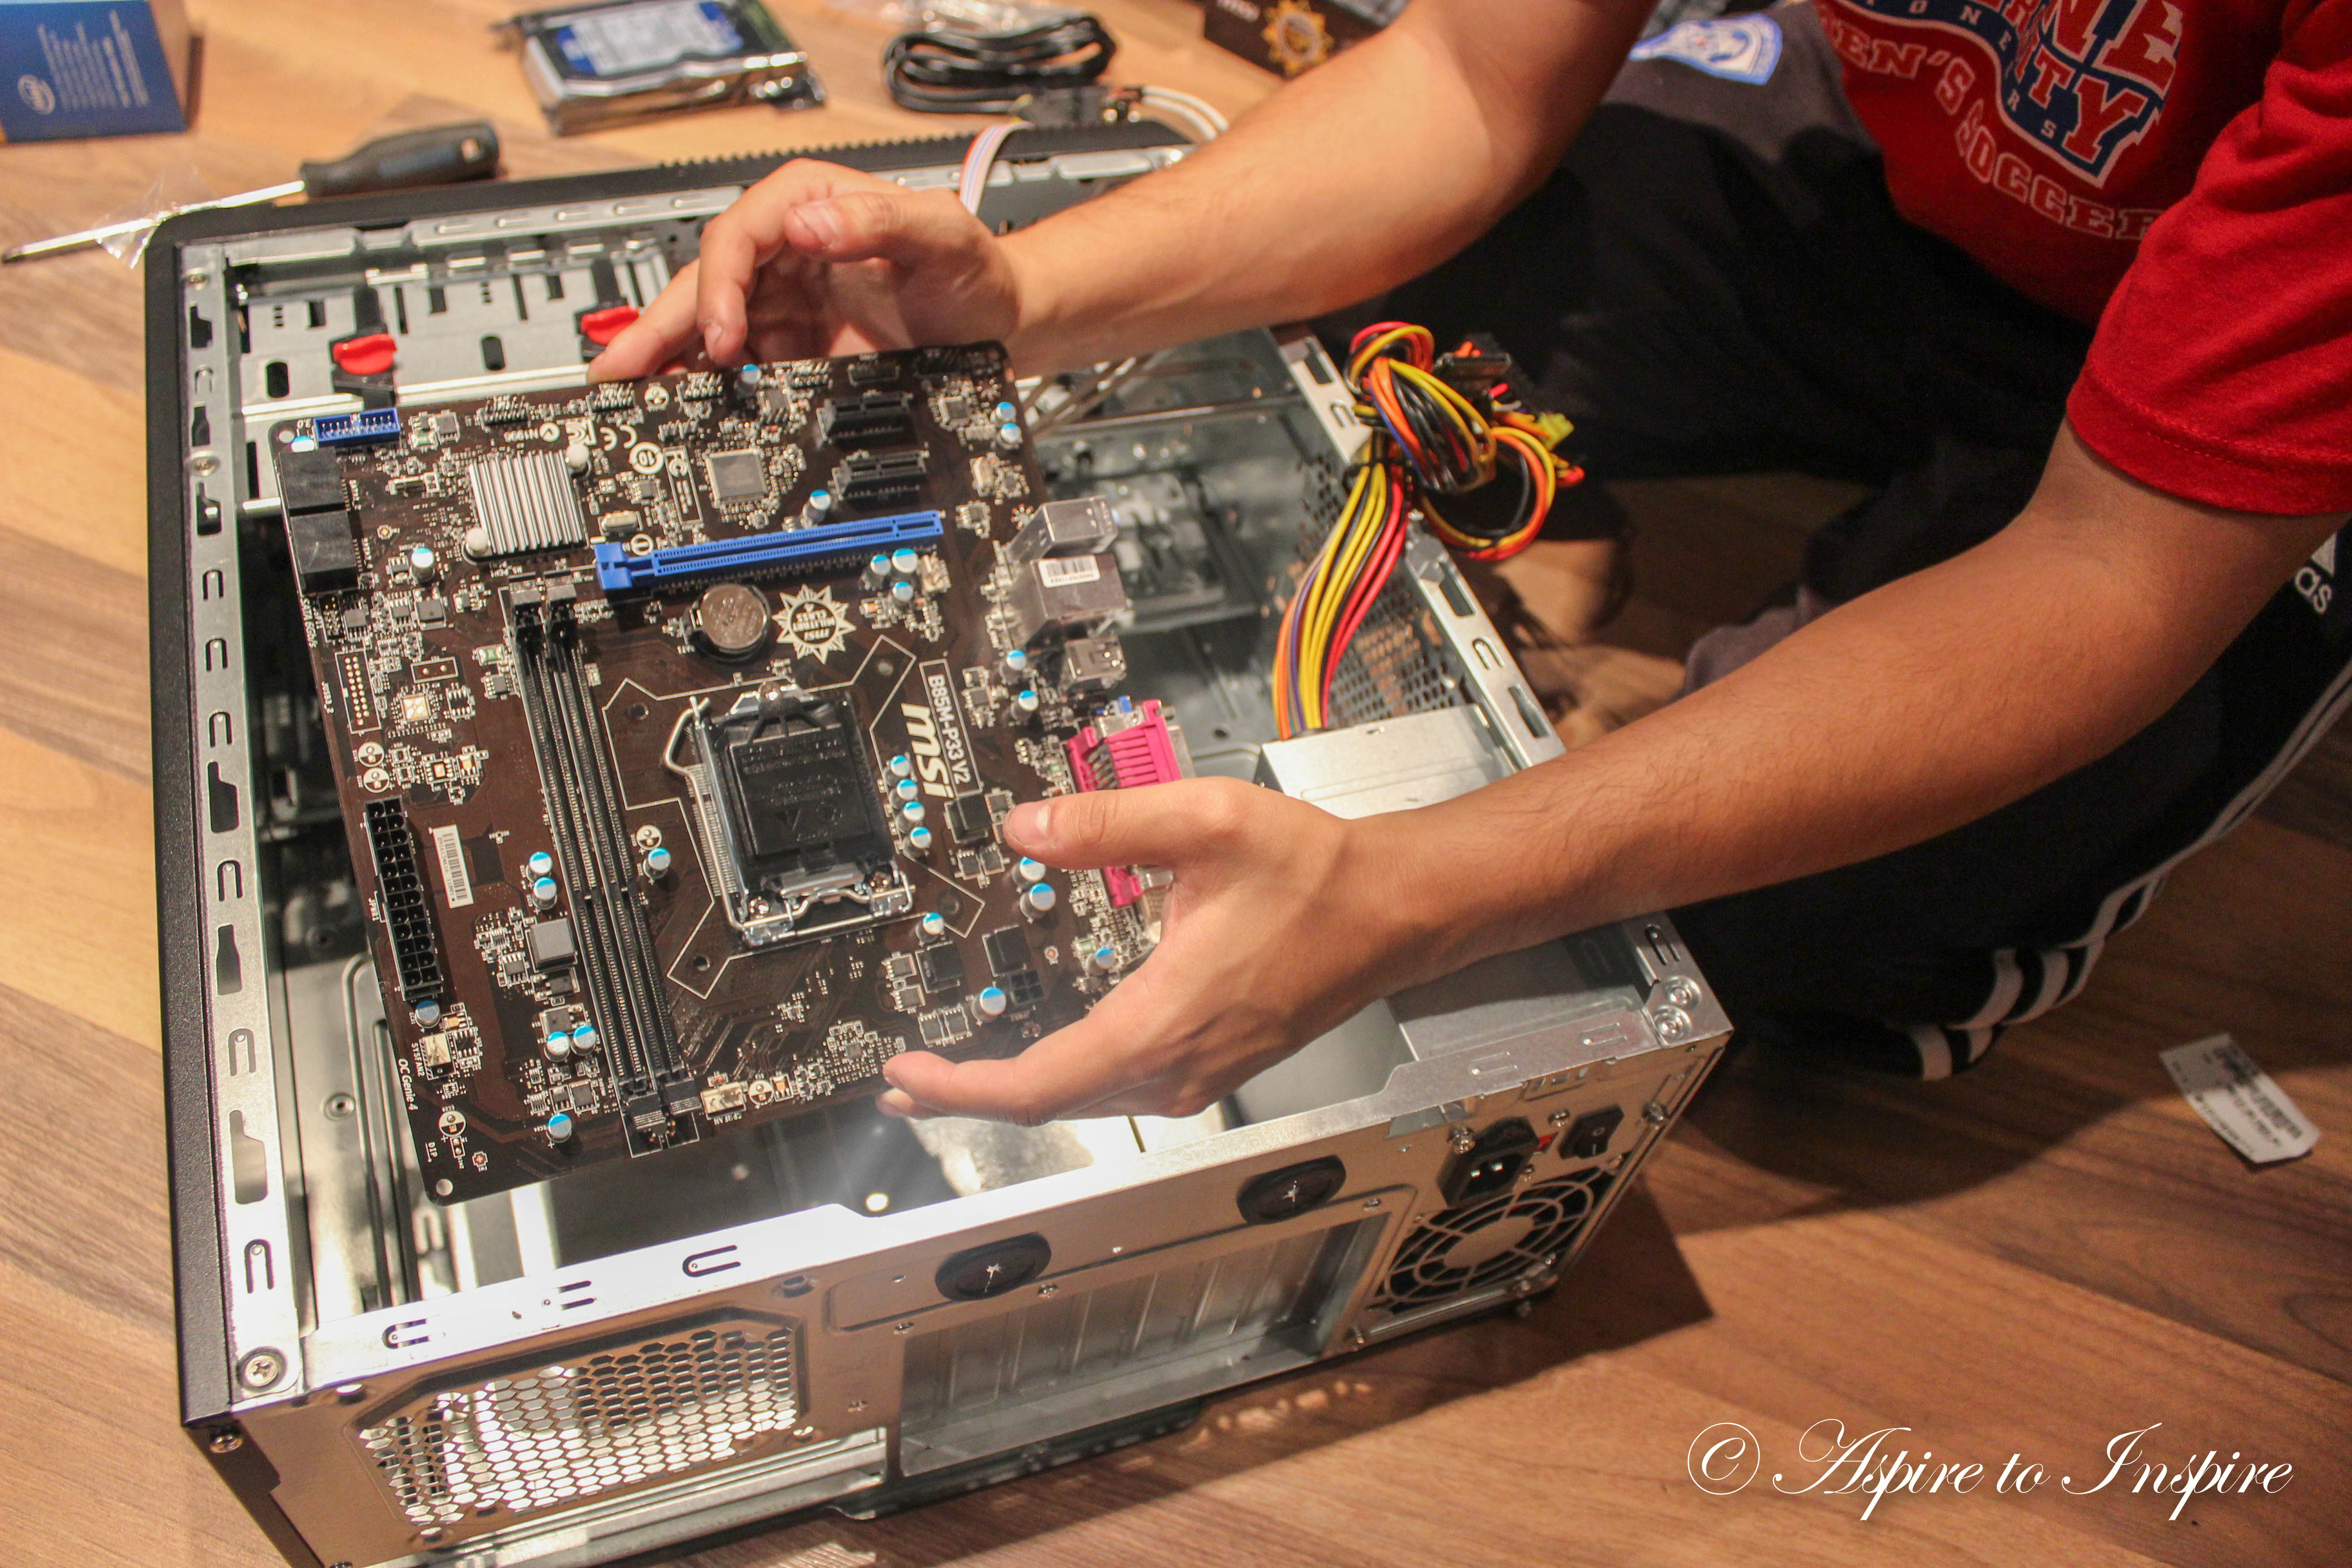
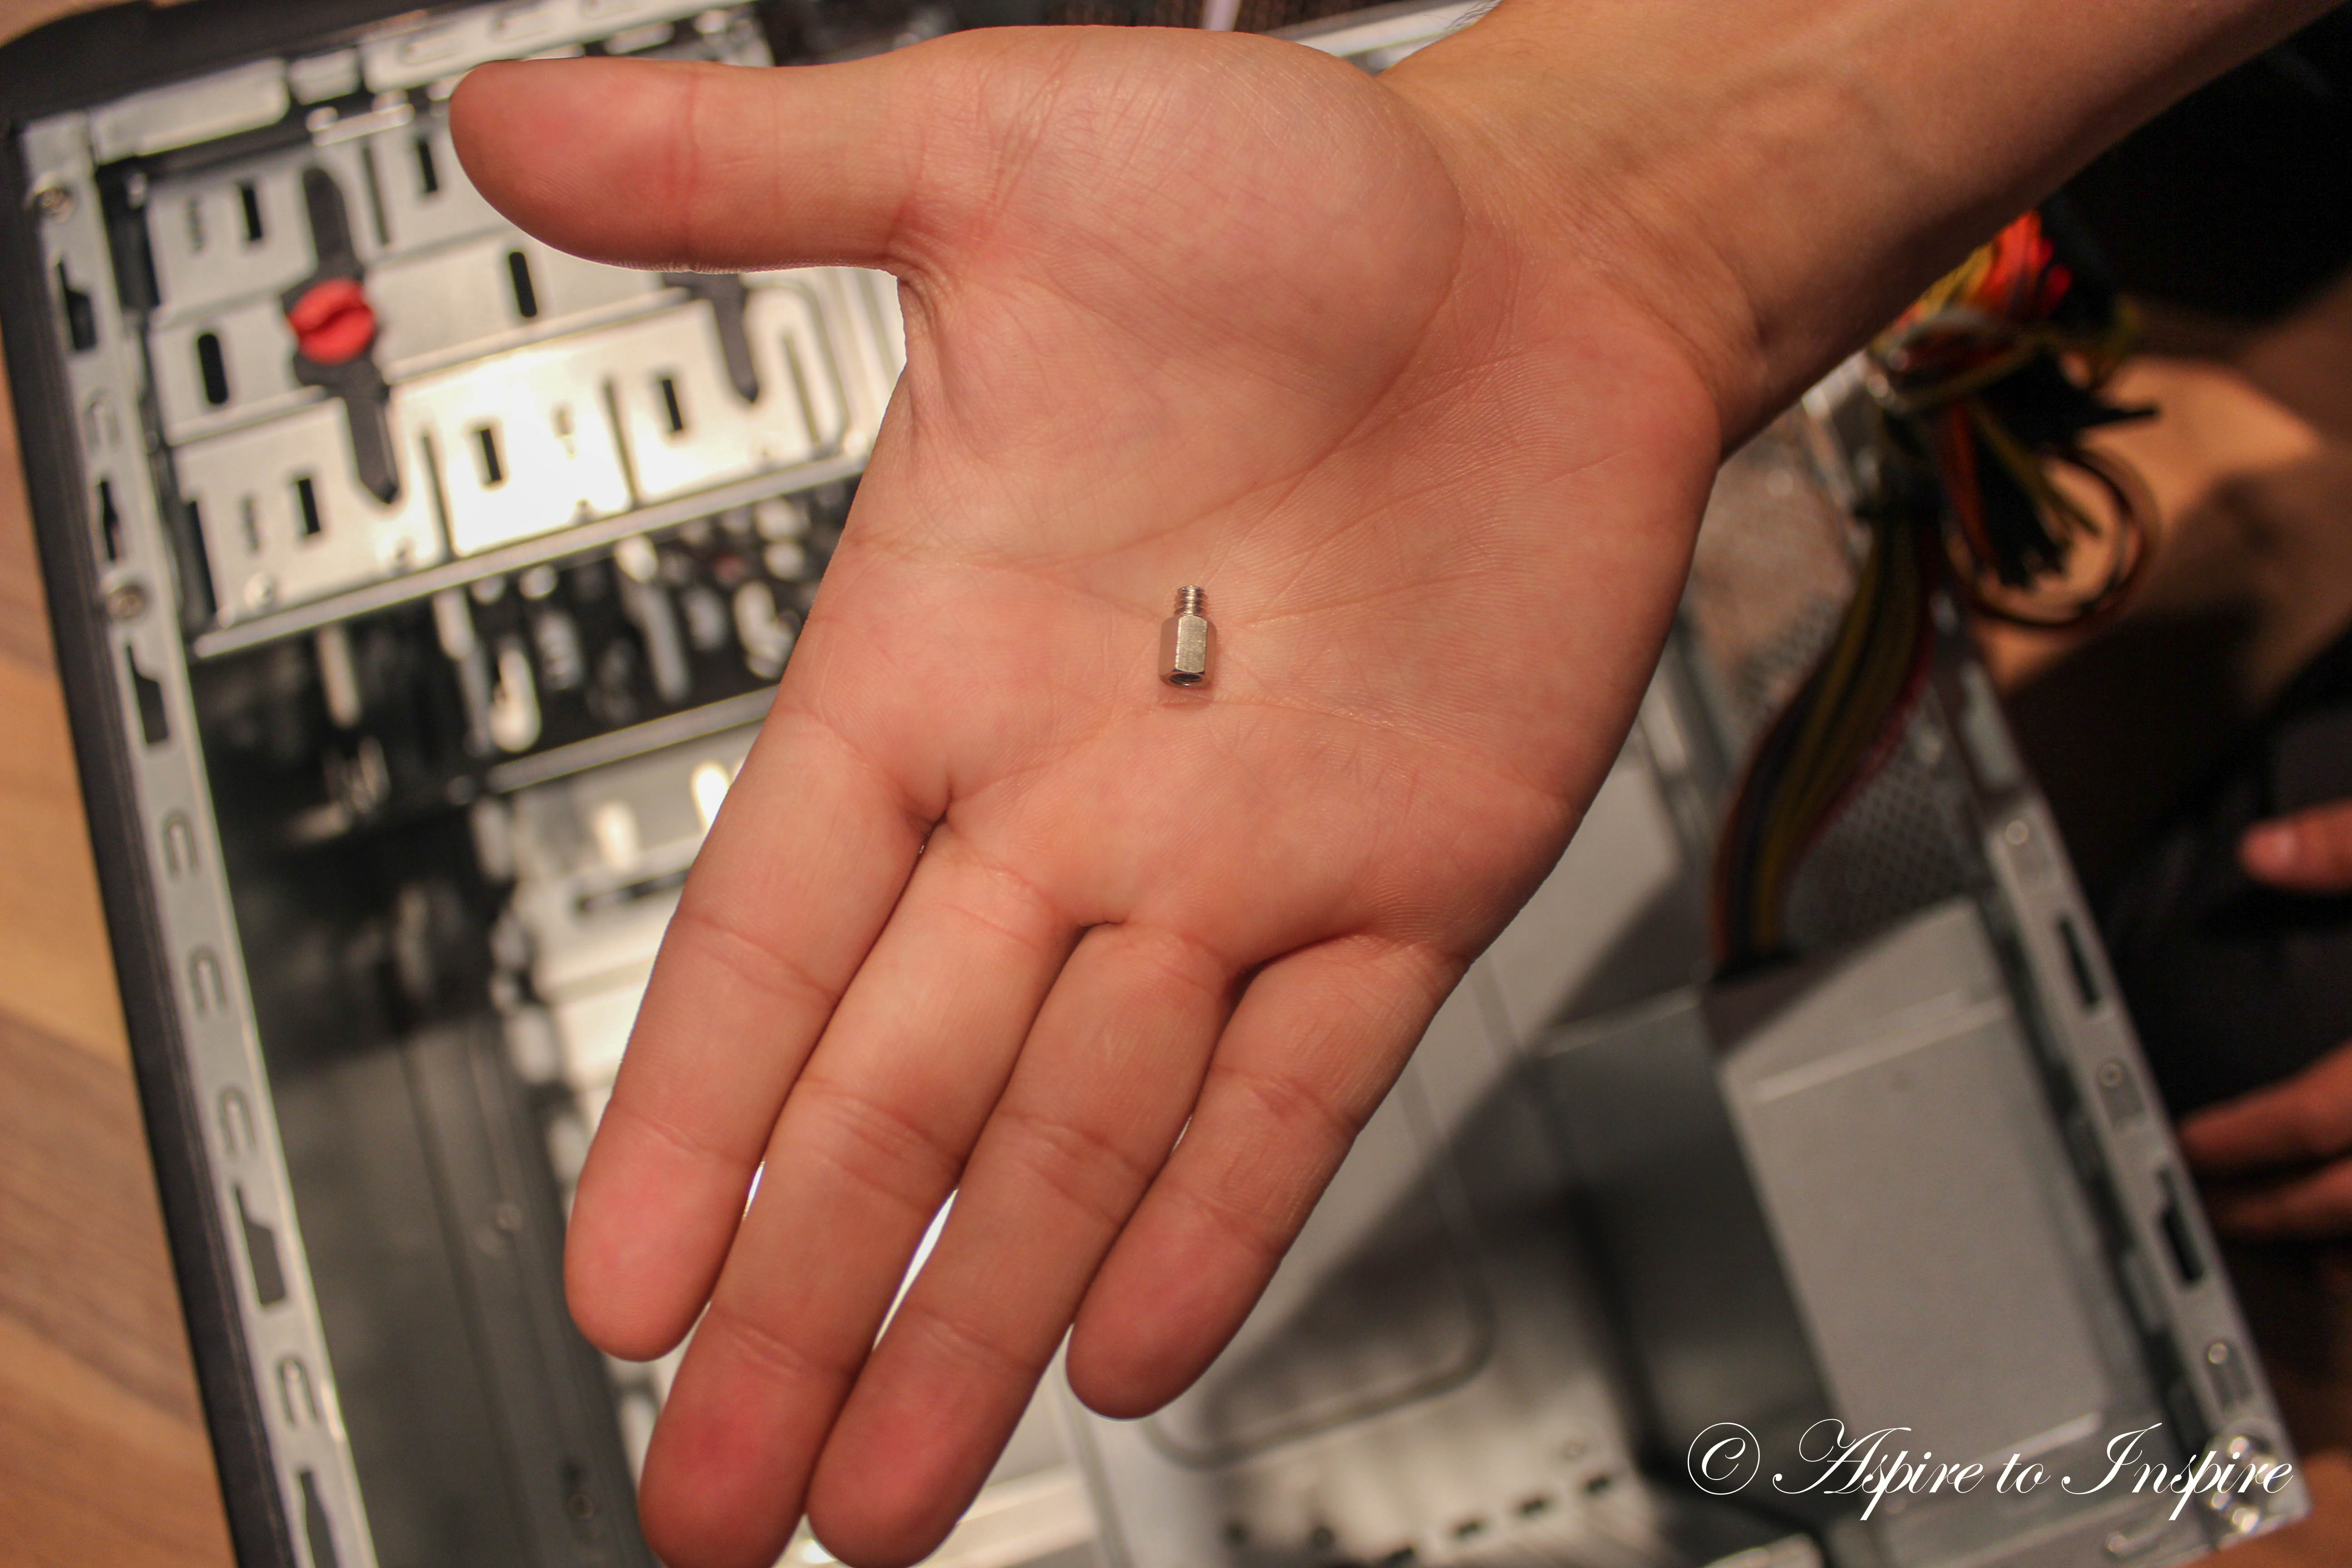
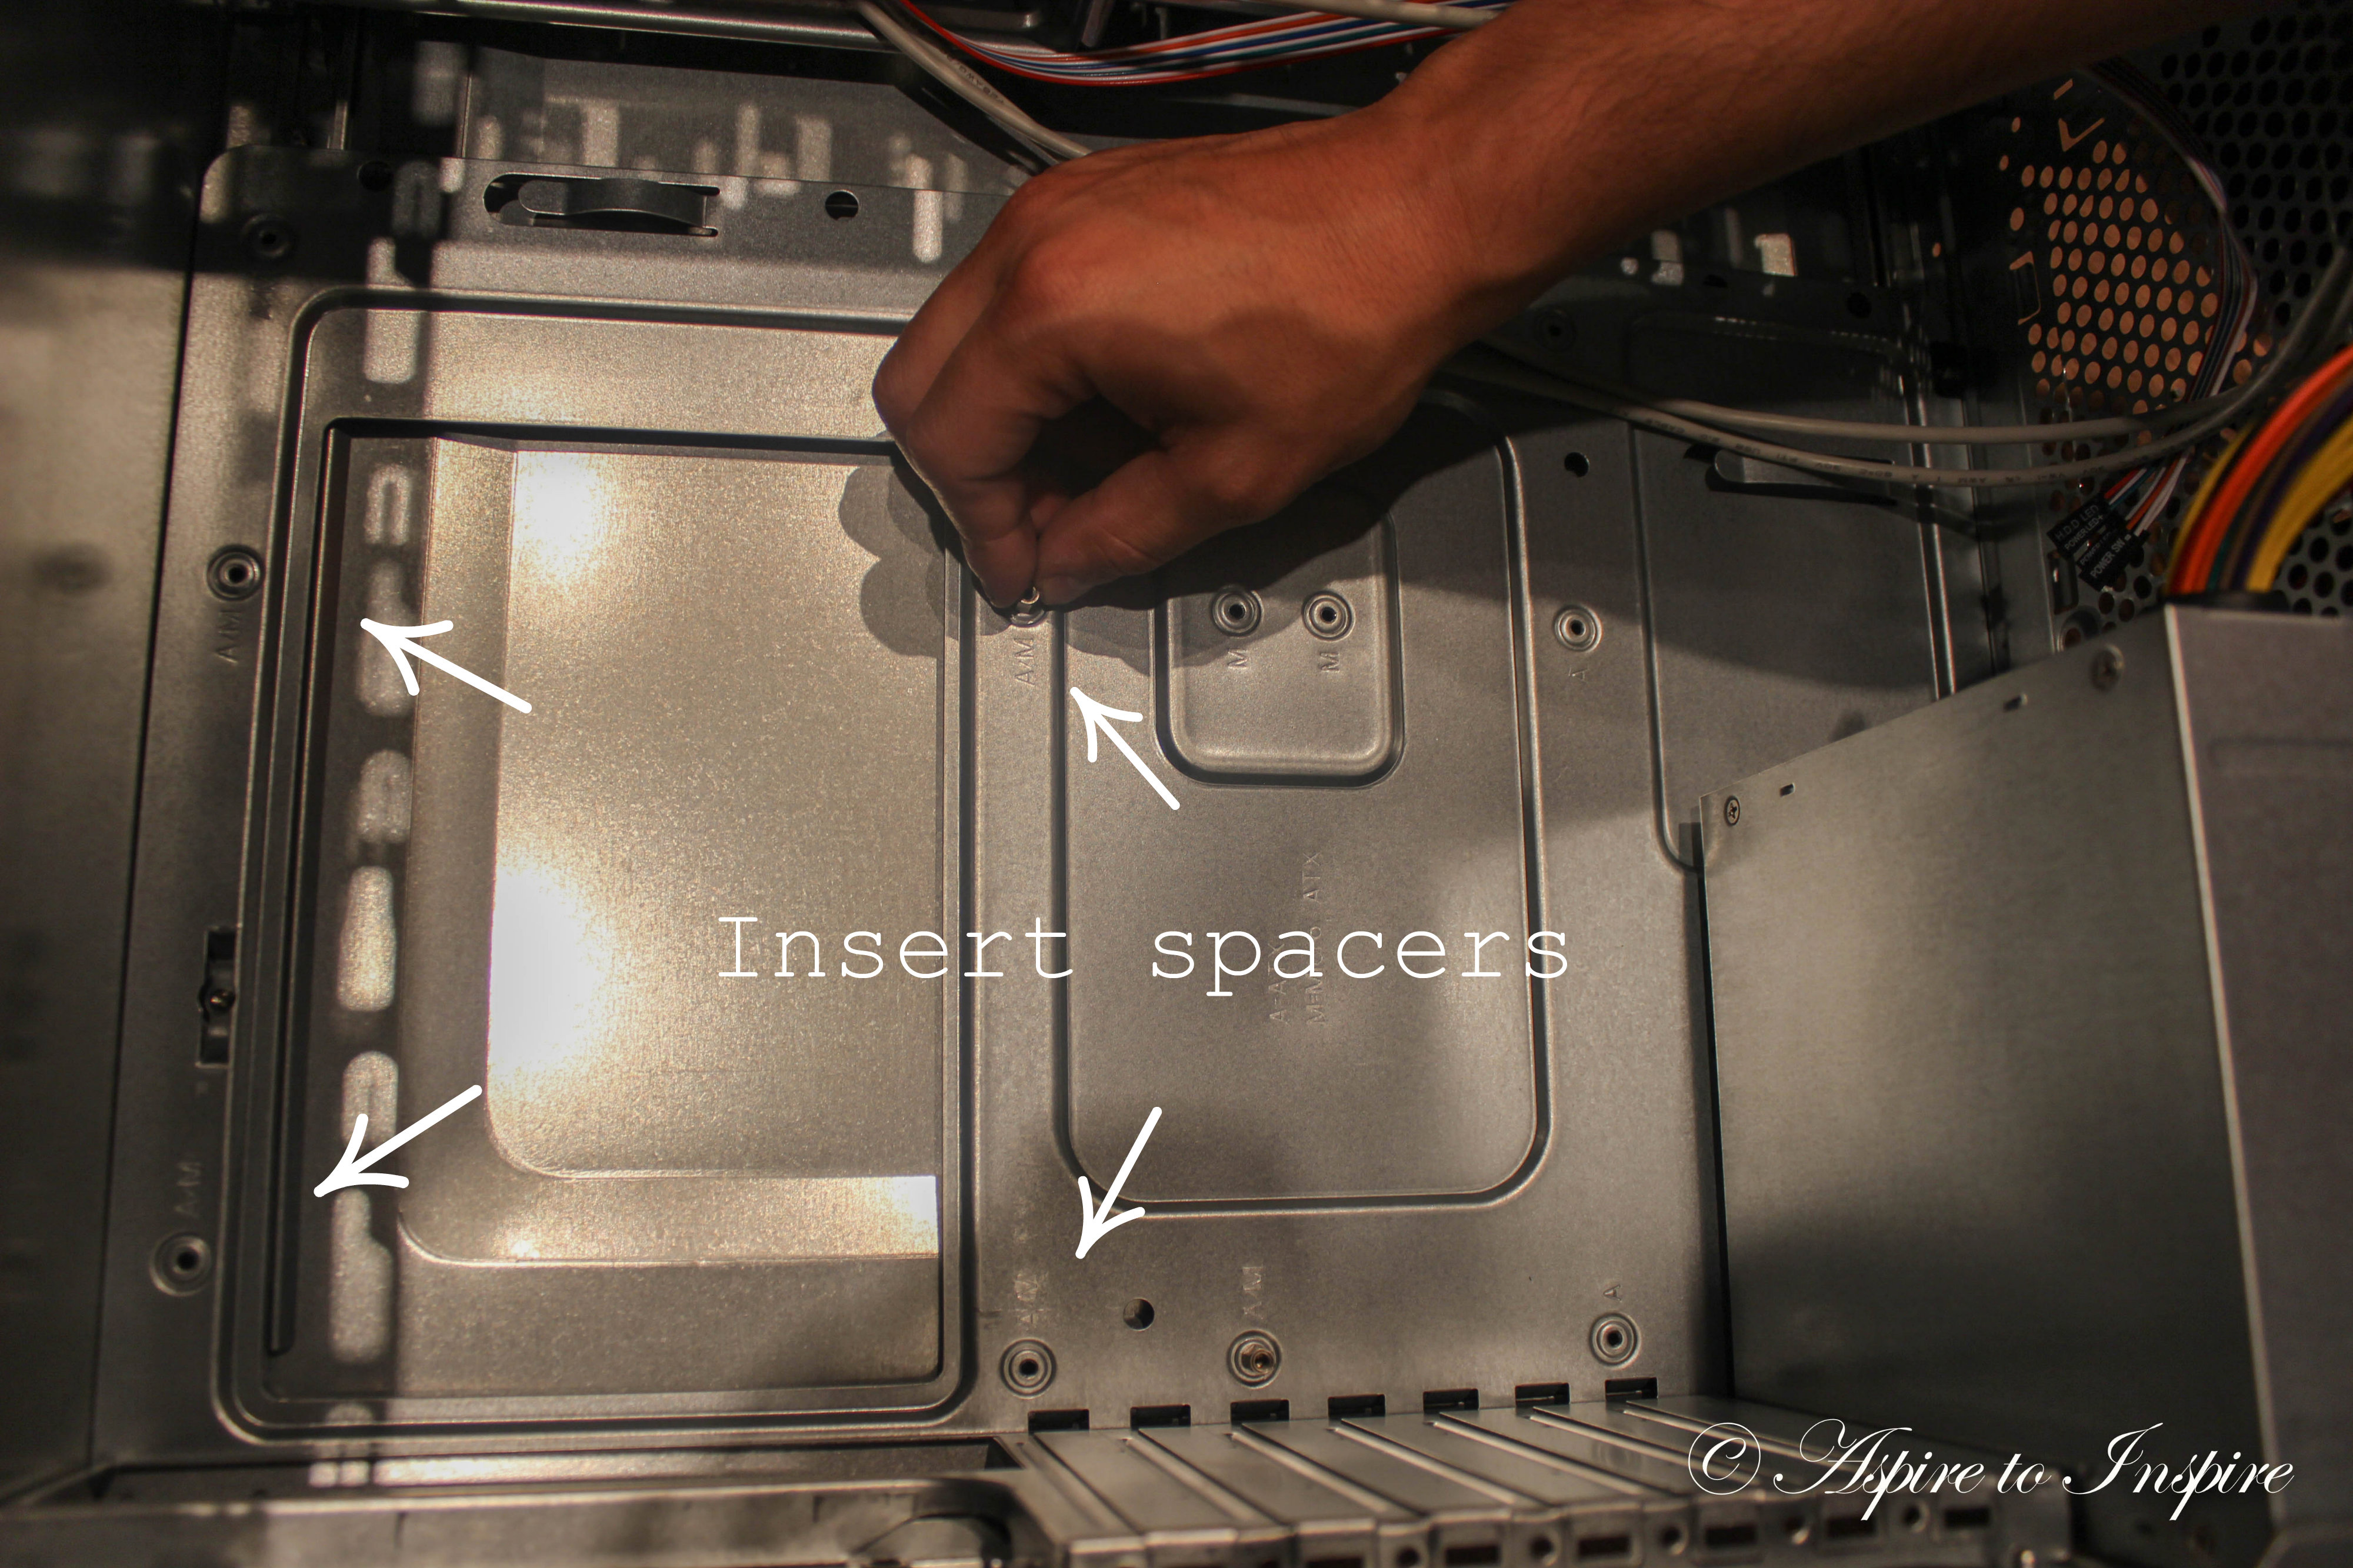
Once that is done you now know where the holes are located. You will then proceed by placing the spacers in the same holes you’ve identified. (As shown below)
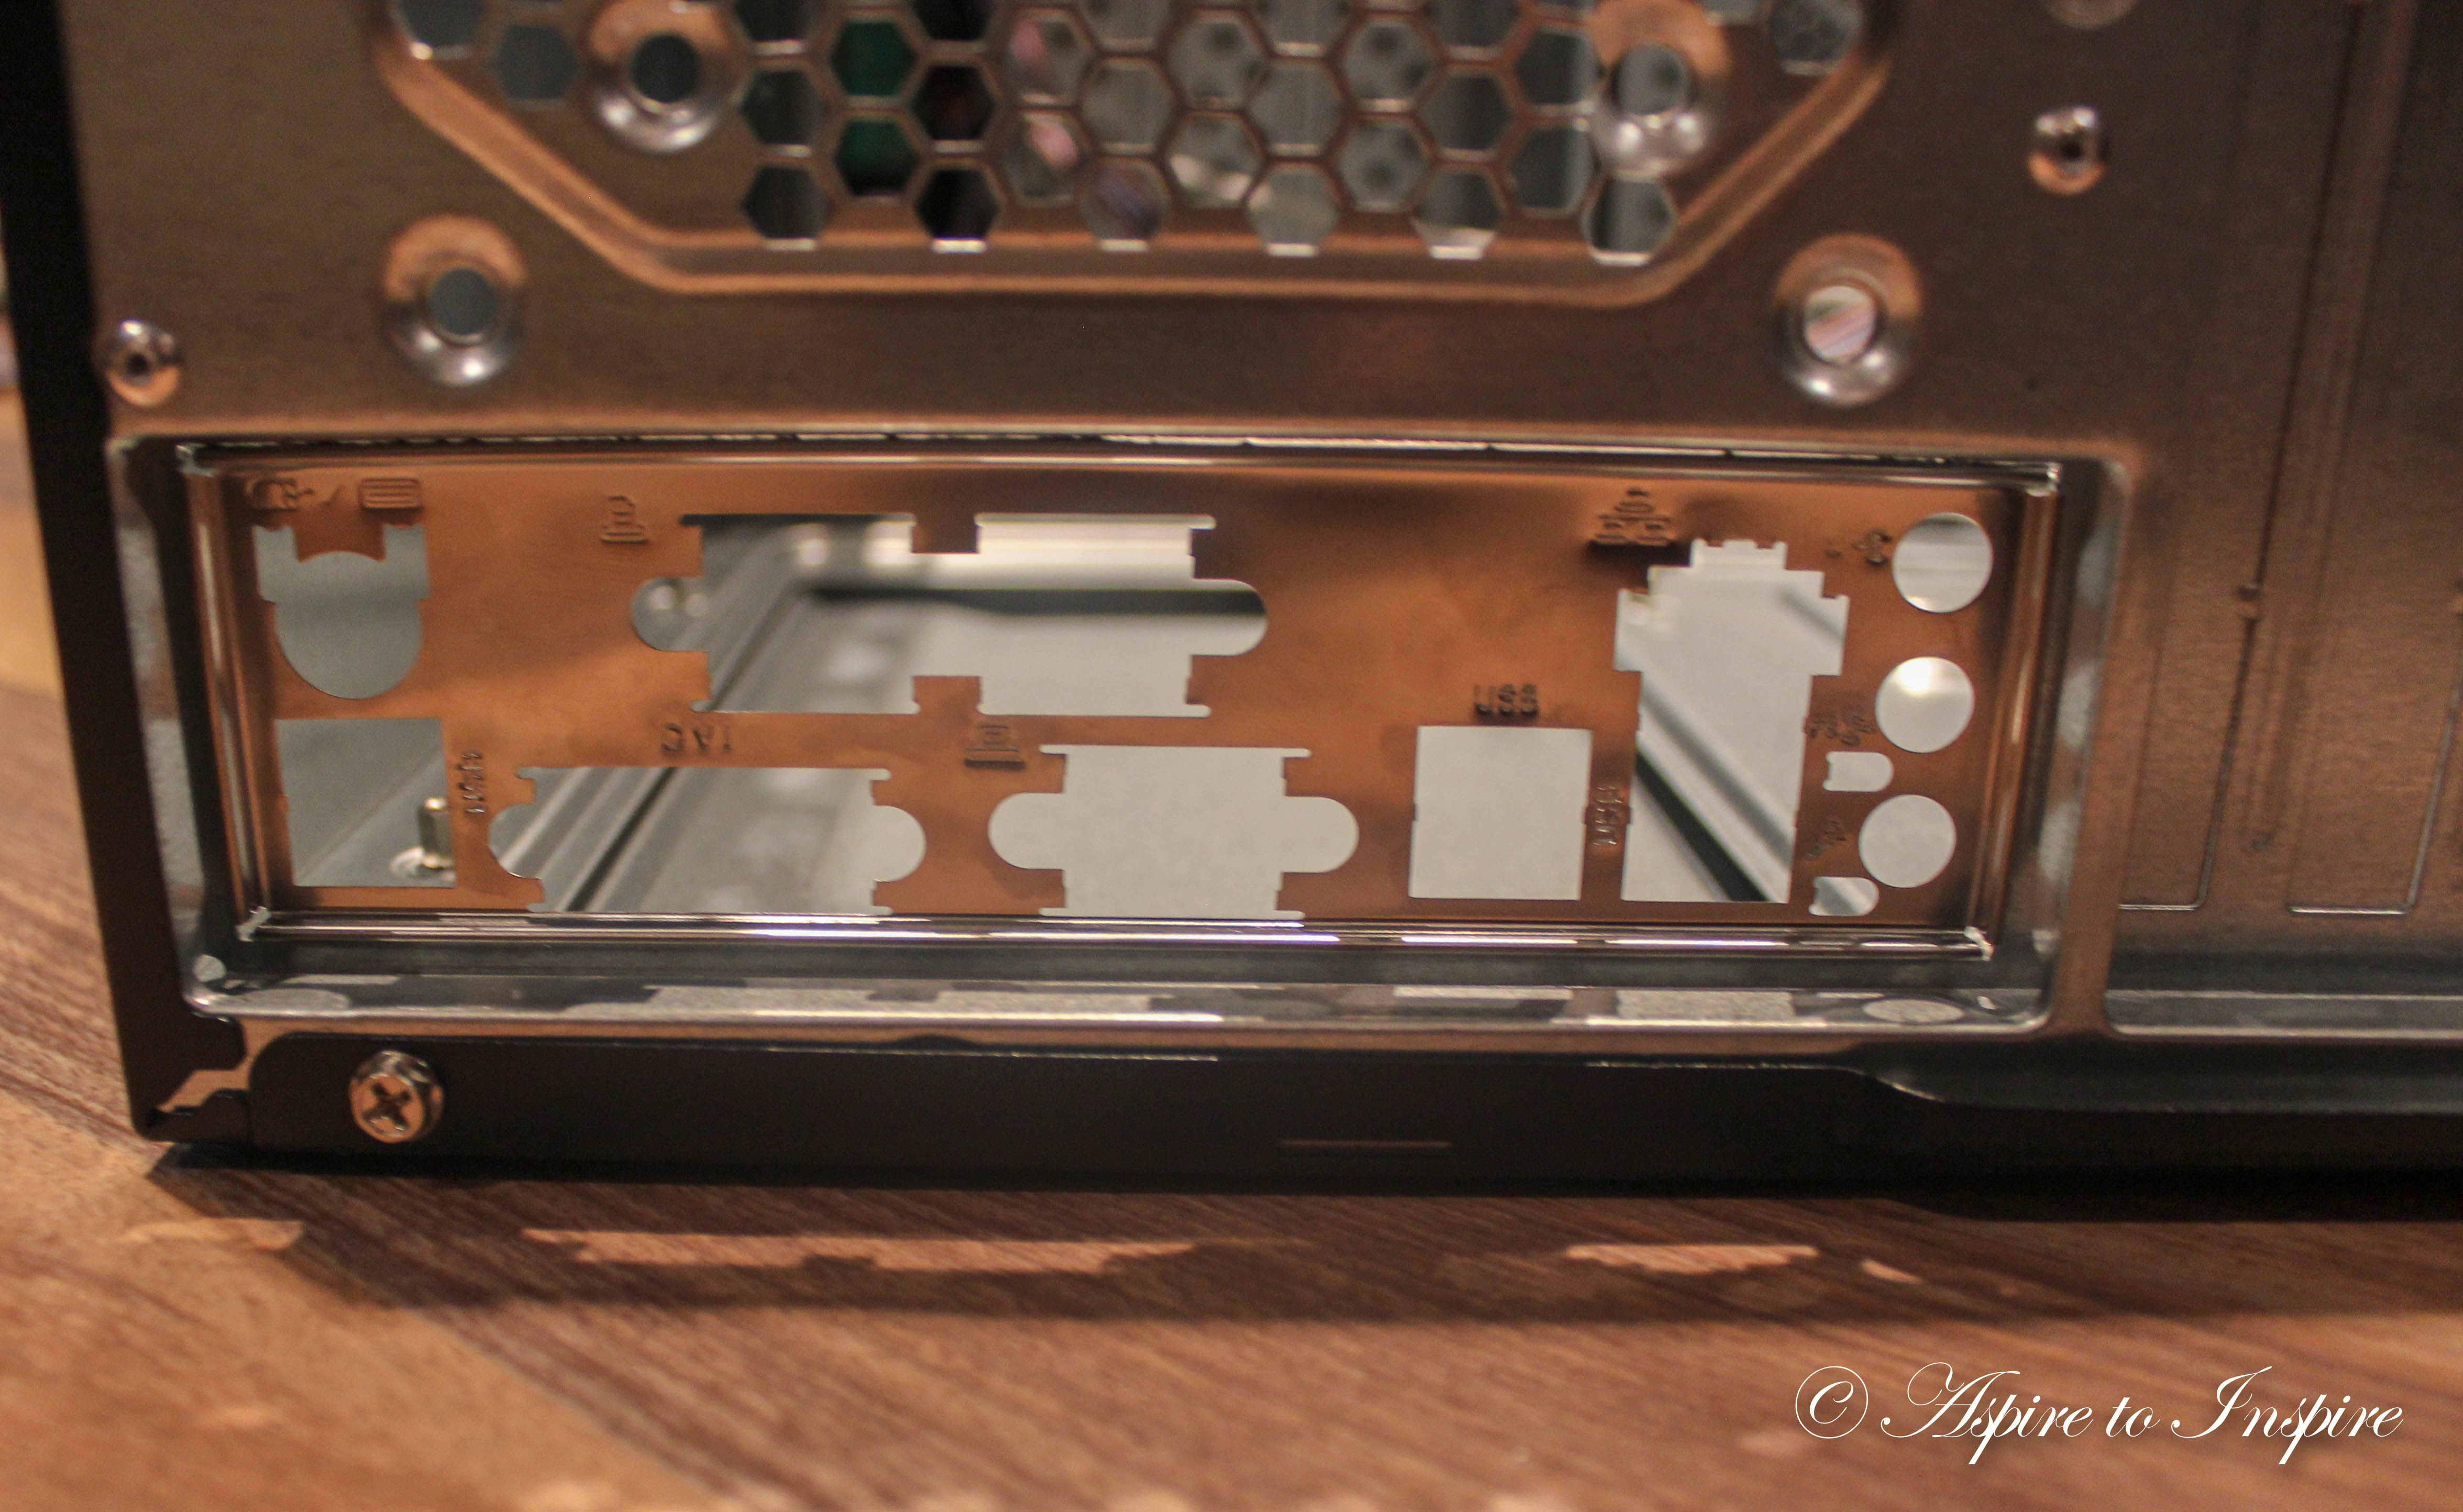
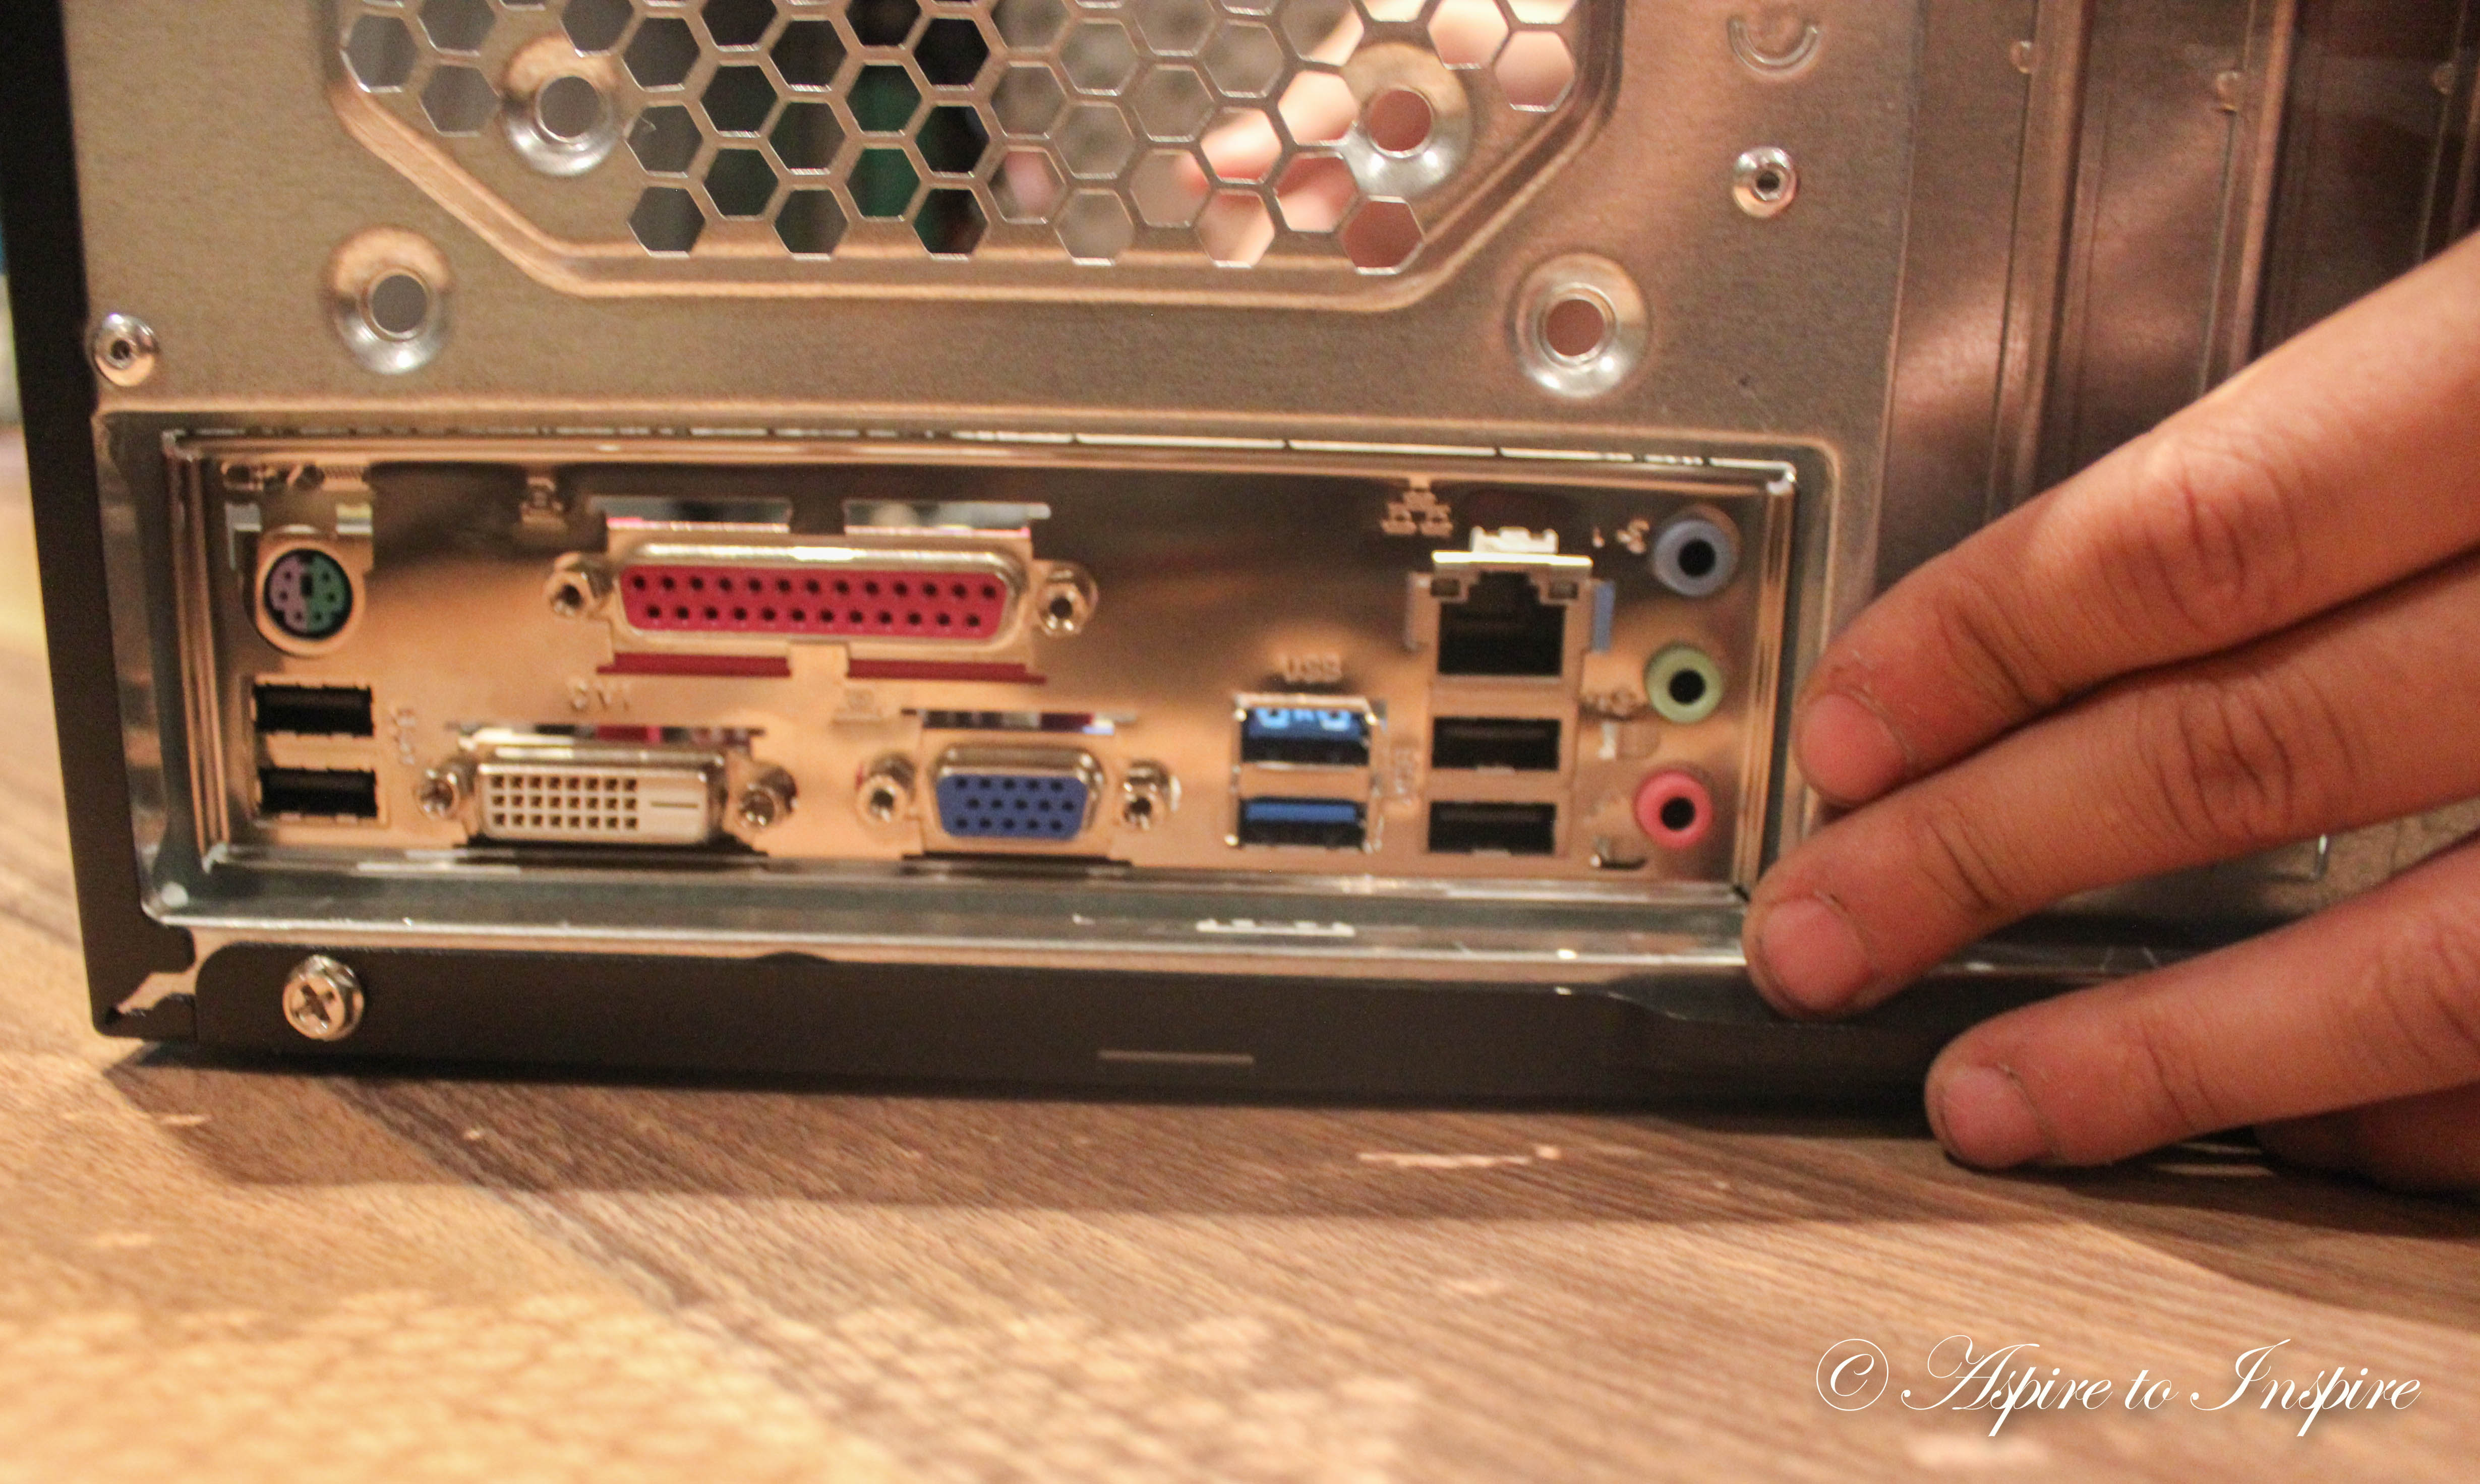
Now you will take the following “lid cover” (as seen below) and break the metal clips off. Once all are gone, slide the lid into the hole from inside the tower, it should make a sound that indicates it is securely in place.


Now that the lid cover is in, place the mother board back into the tower making sure it now lines up with the spacers, slide it through the lid cover perfectly with ease and screw in the mother board to the spacers
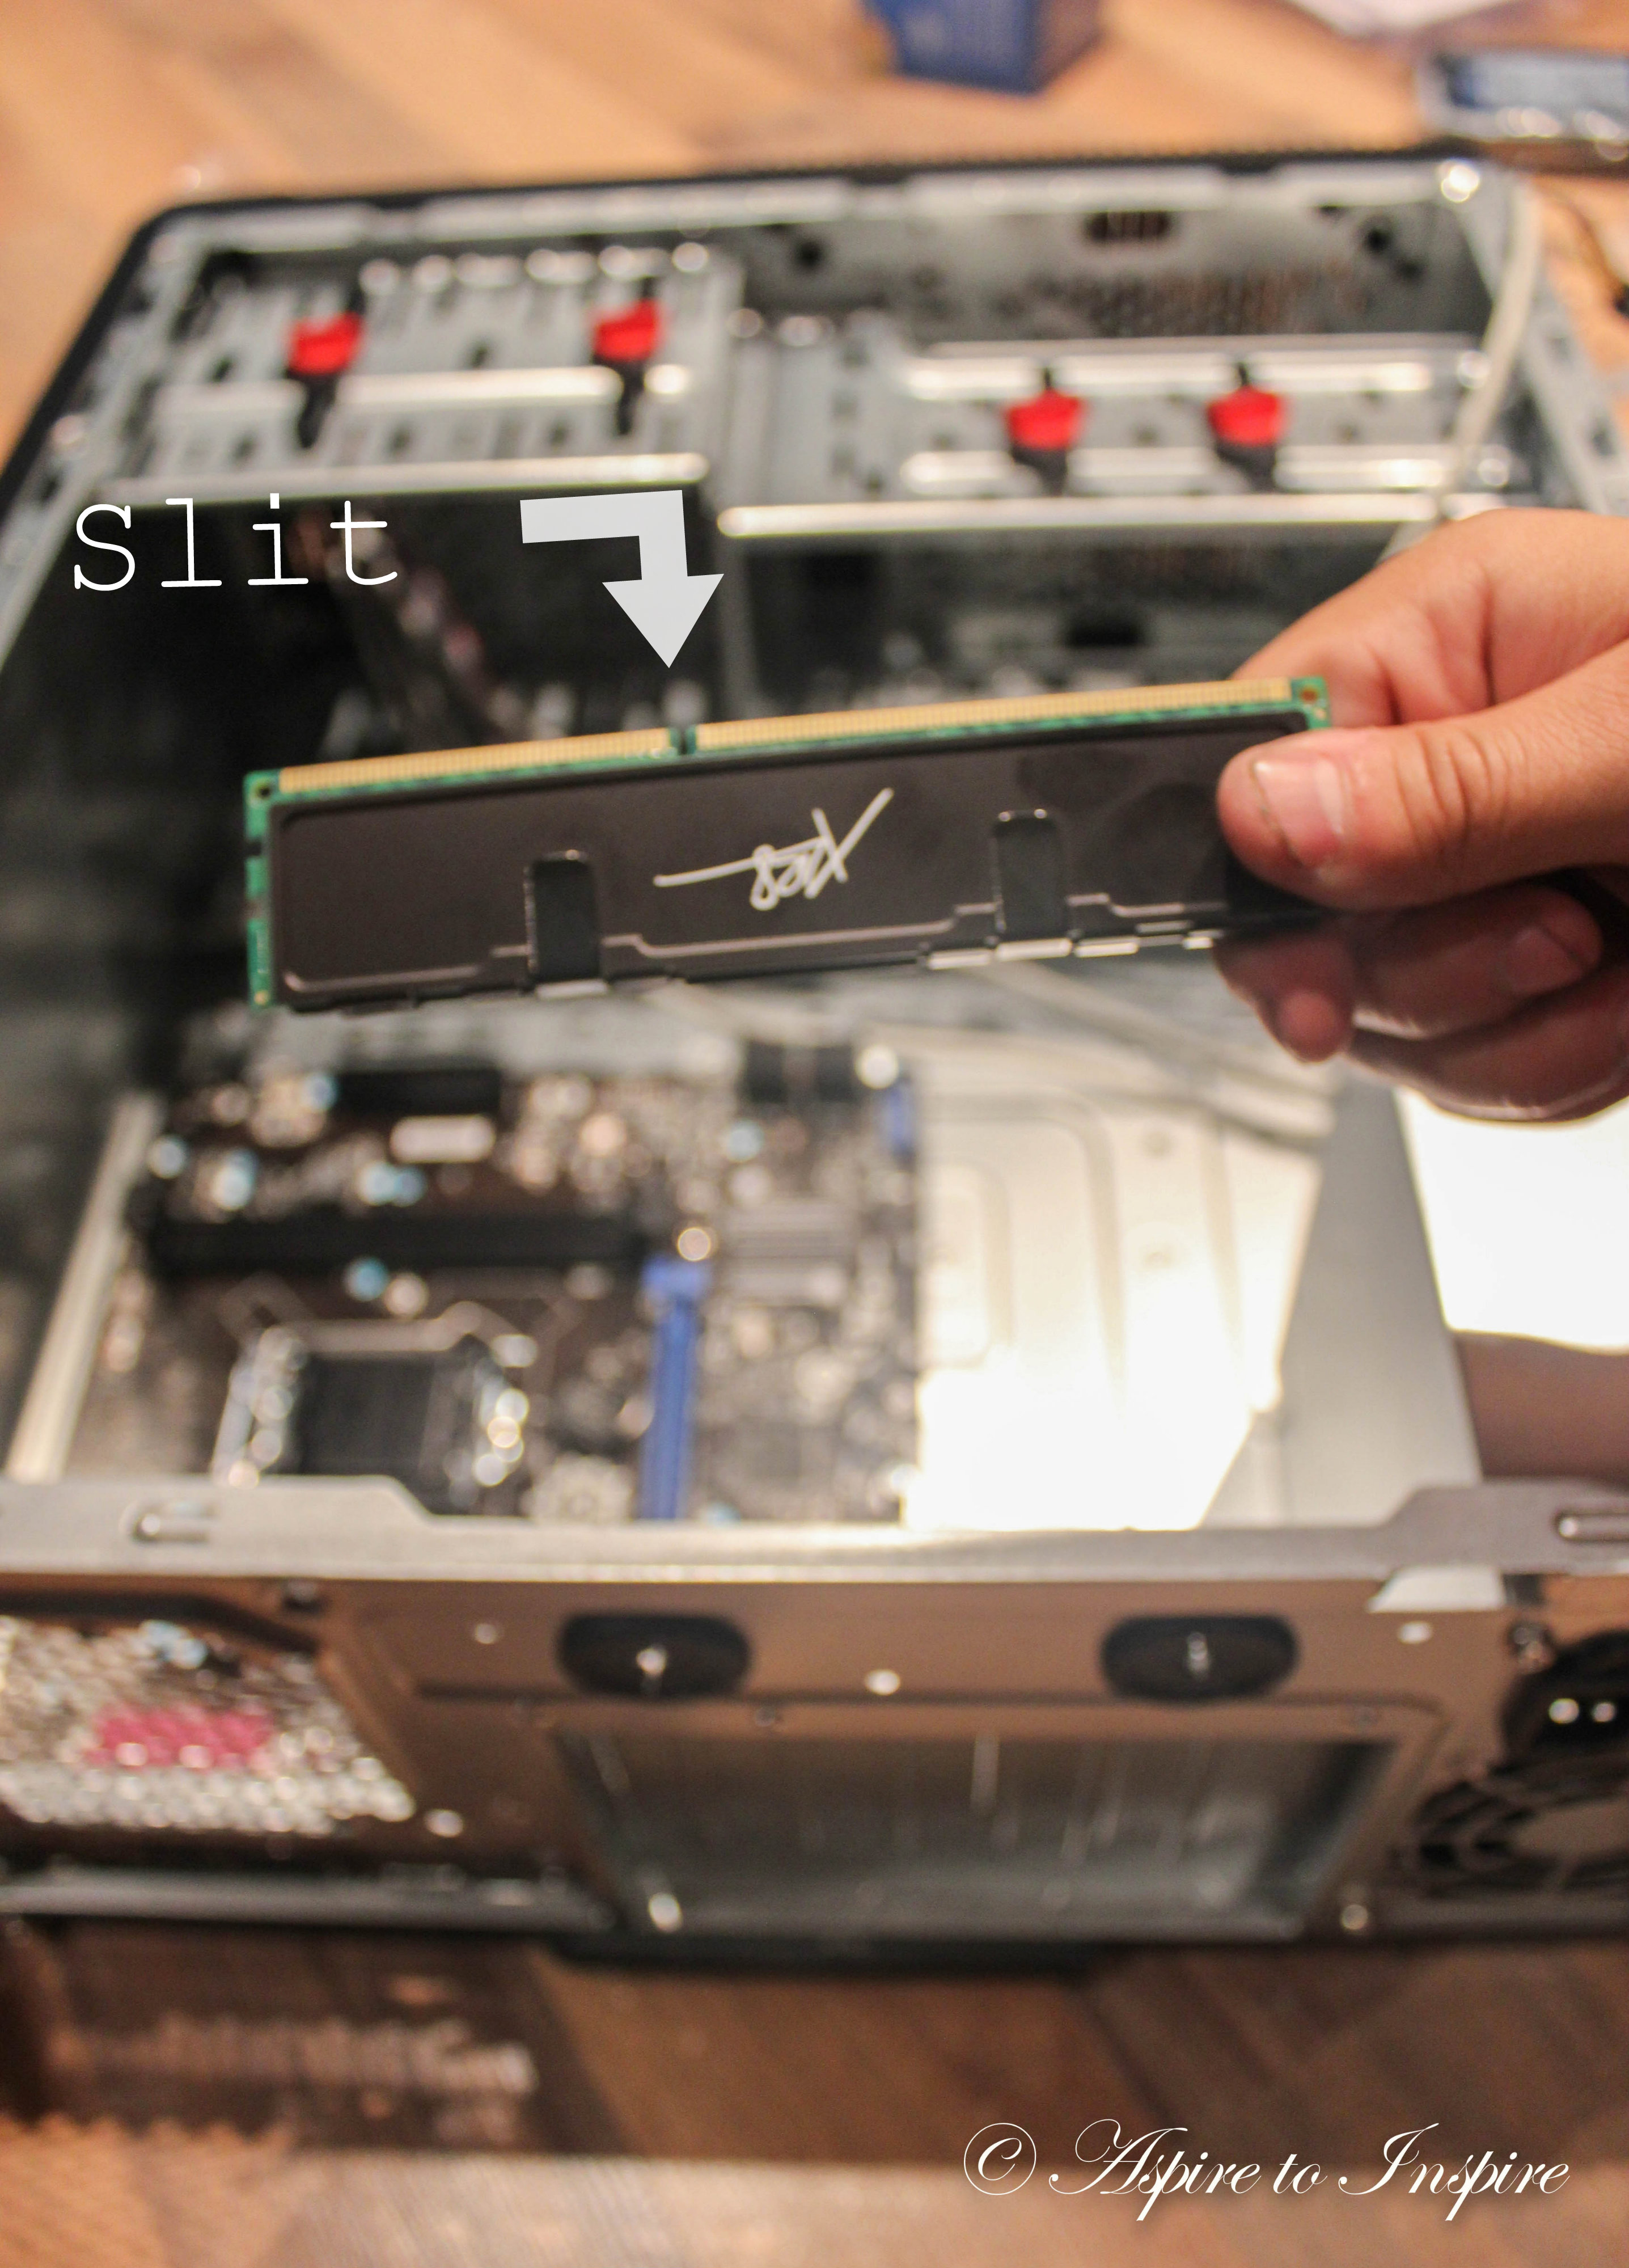
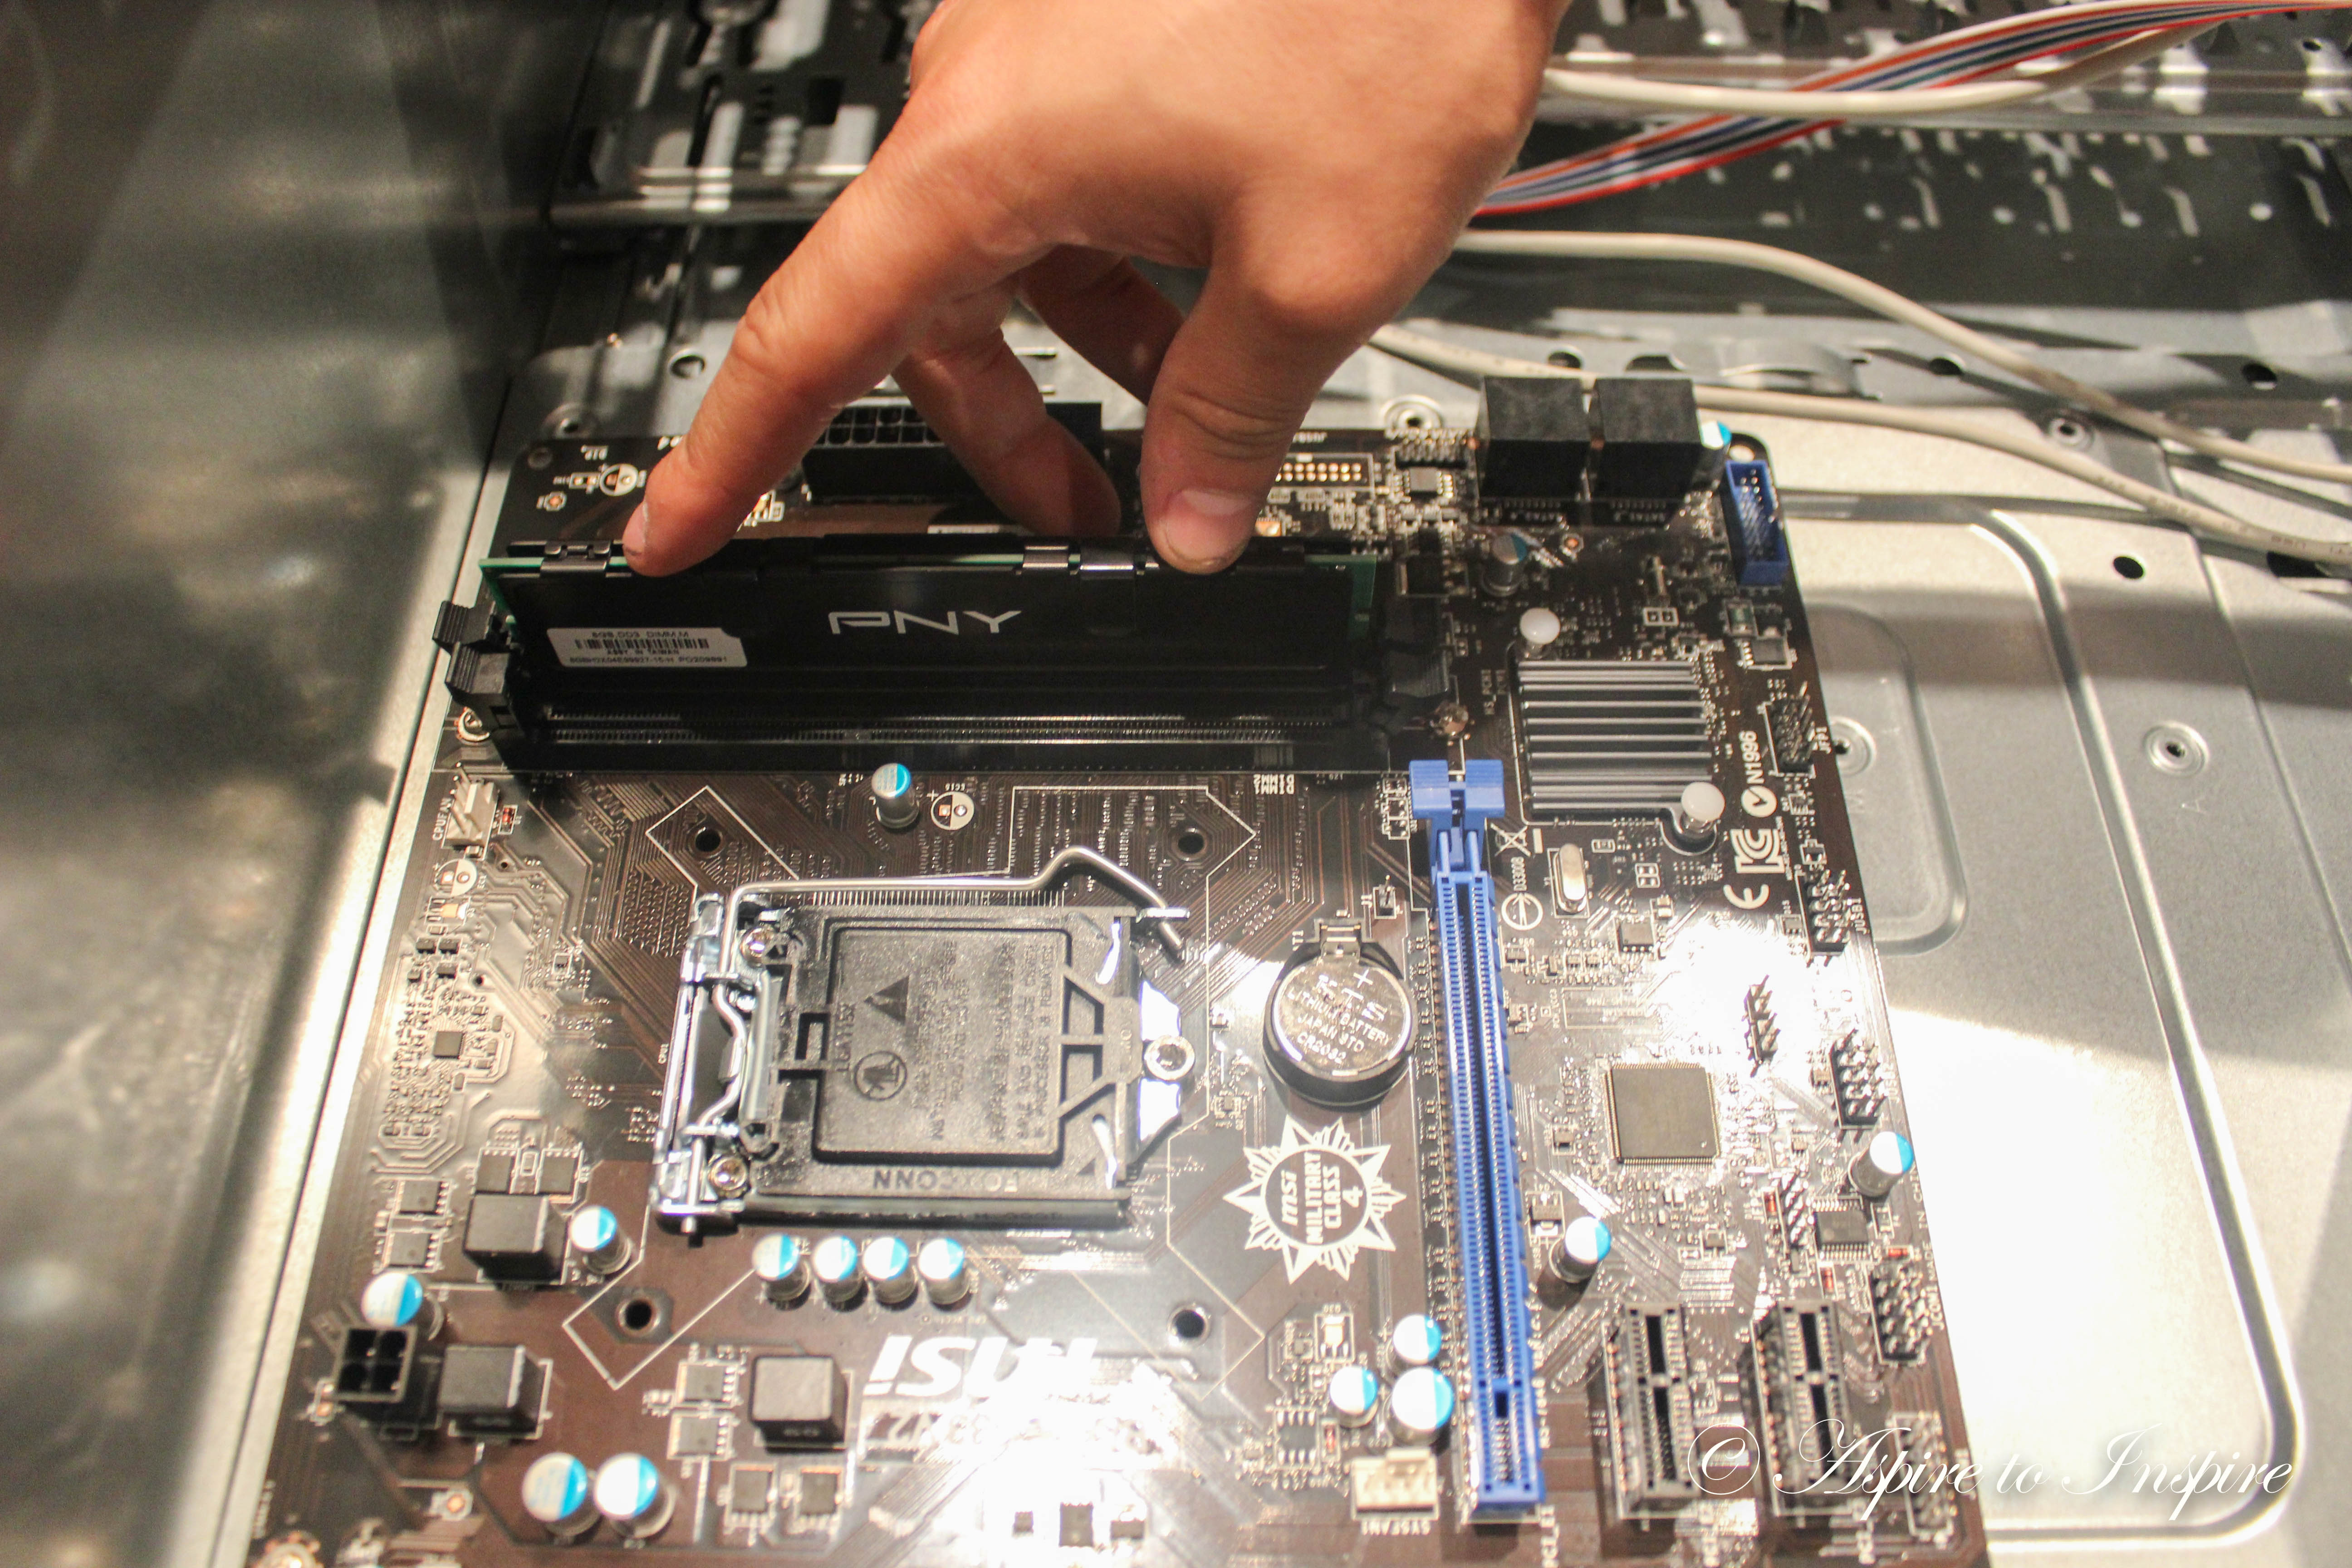
Step 3: Next you will be inserting the memory (RAM); in the following picture you will notice a slit on the memory that indicates to you which way it’ll go in
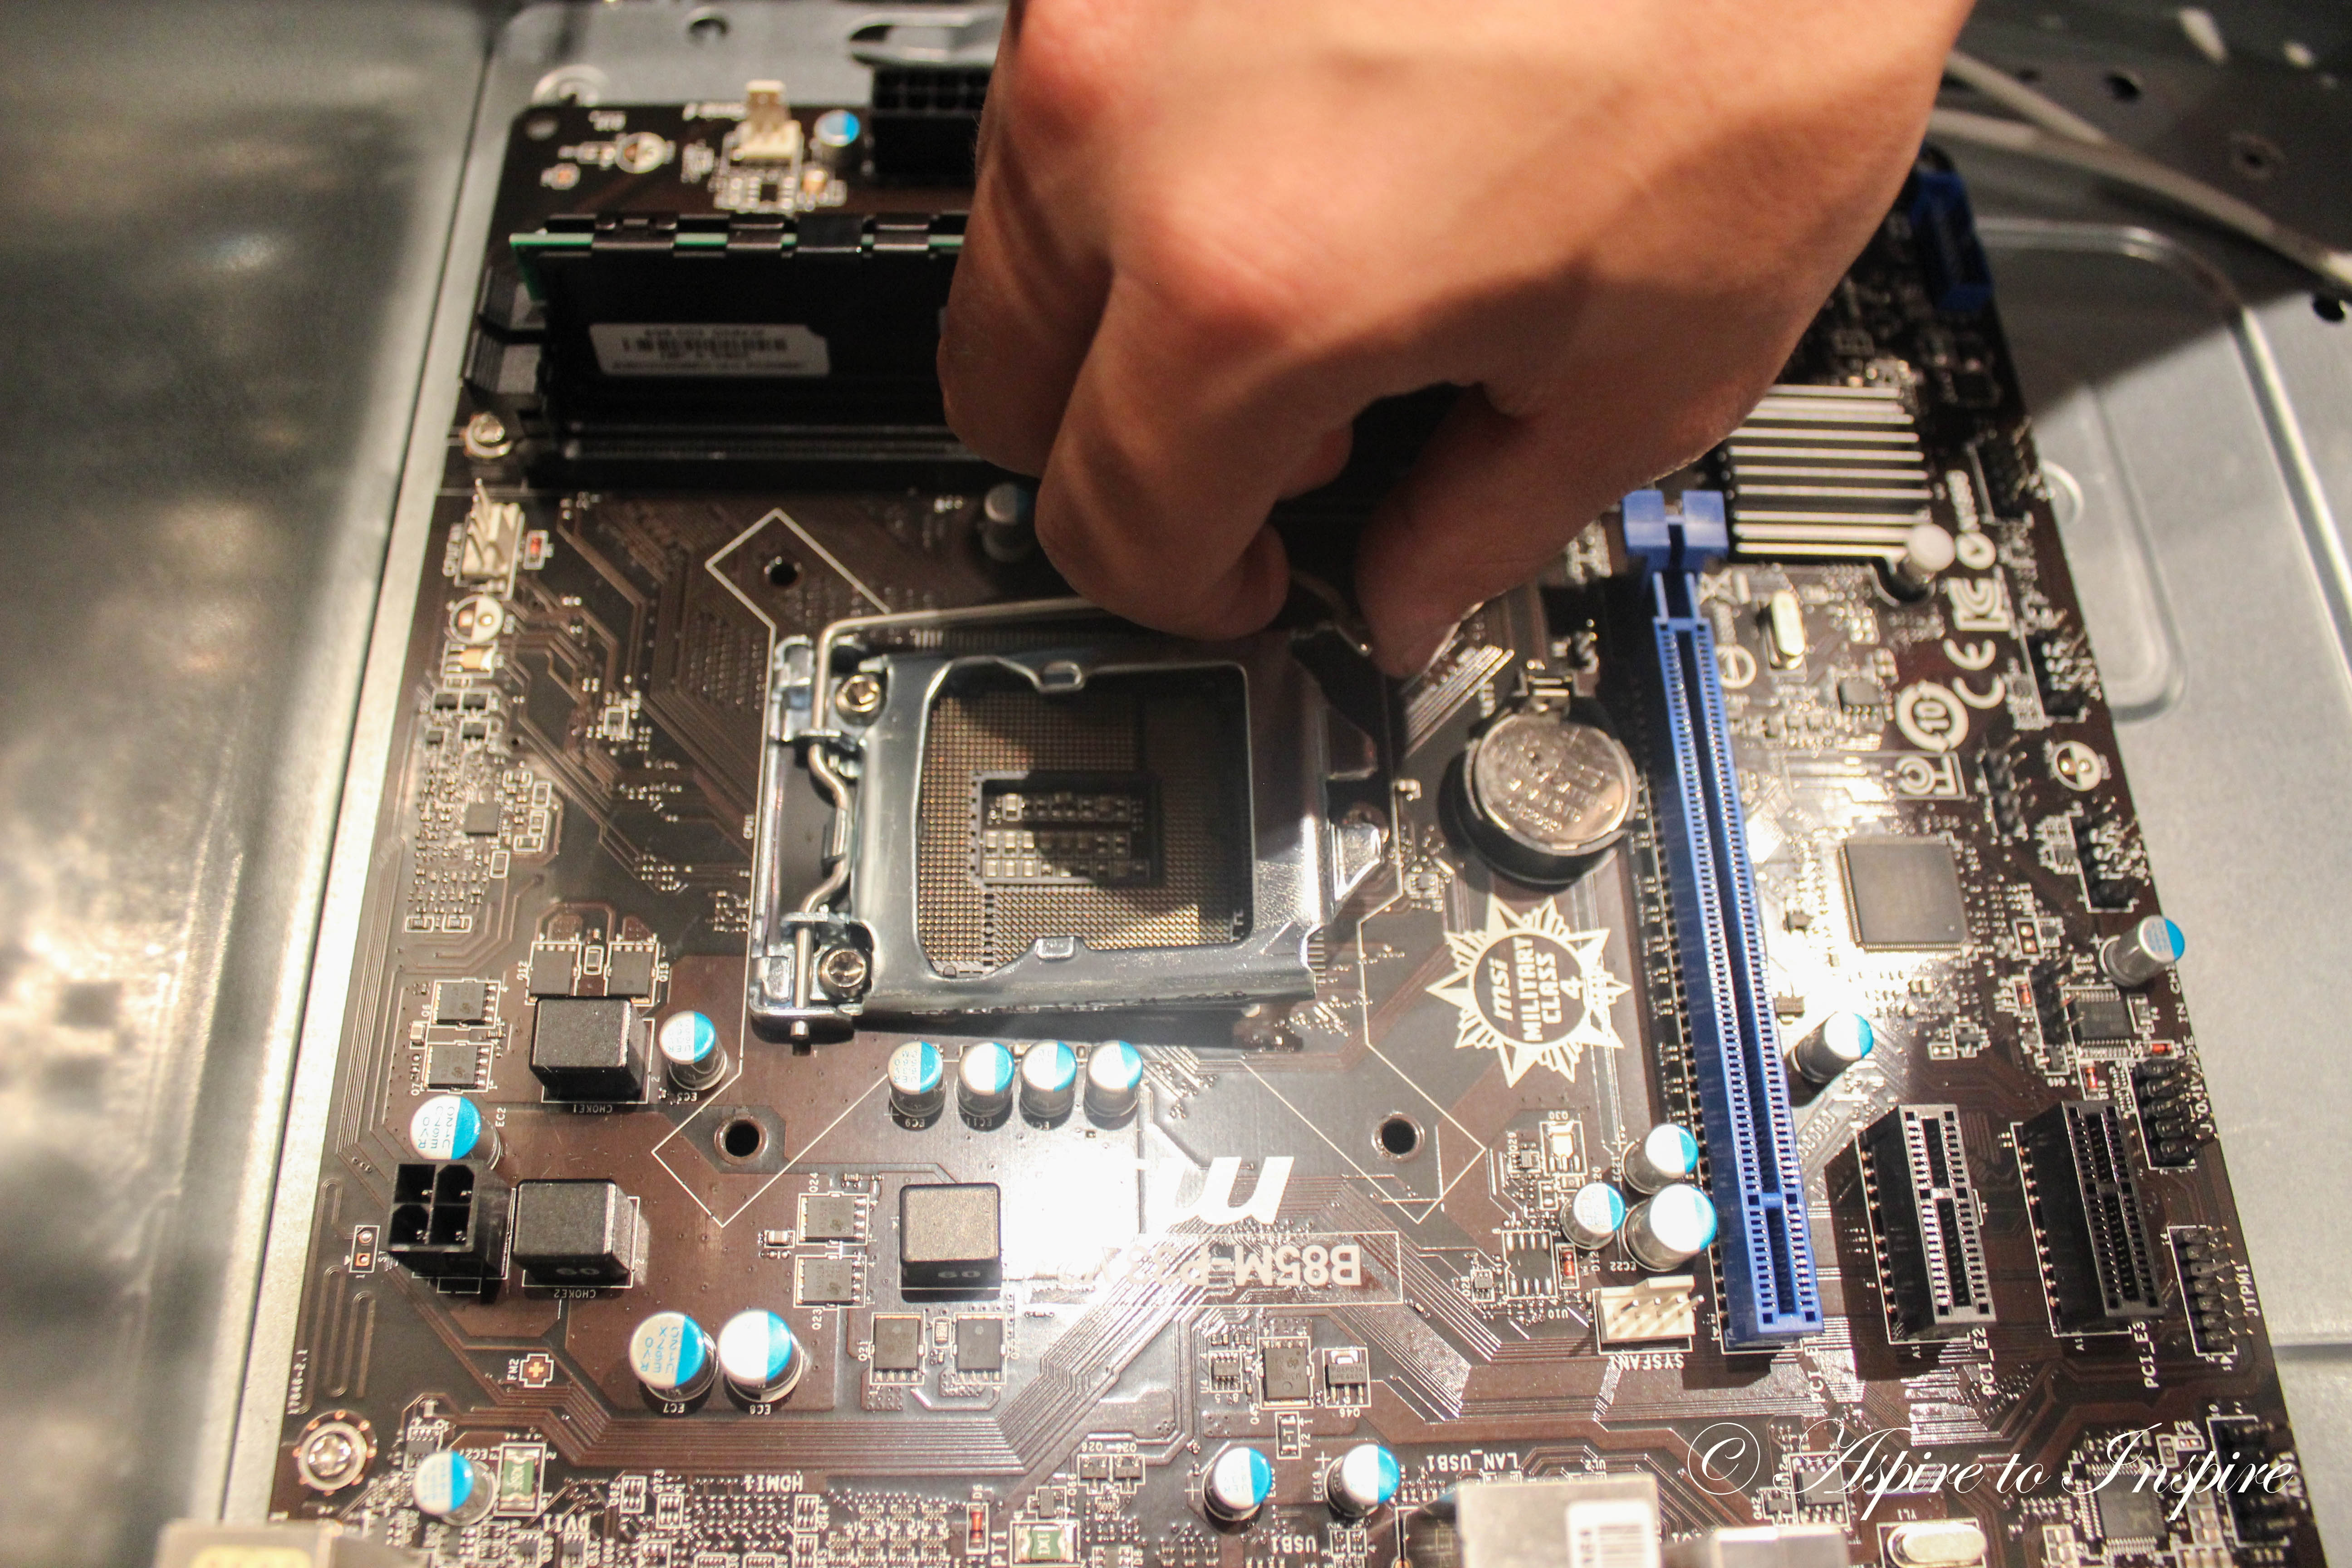
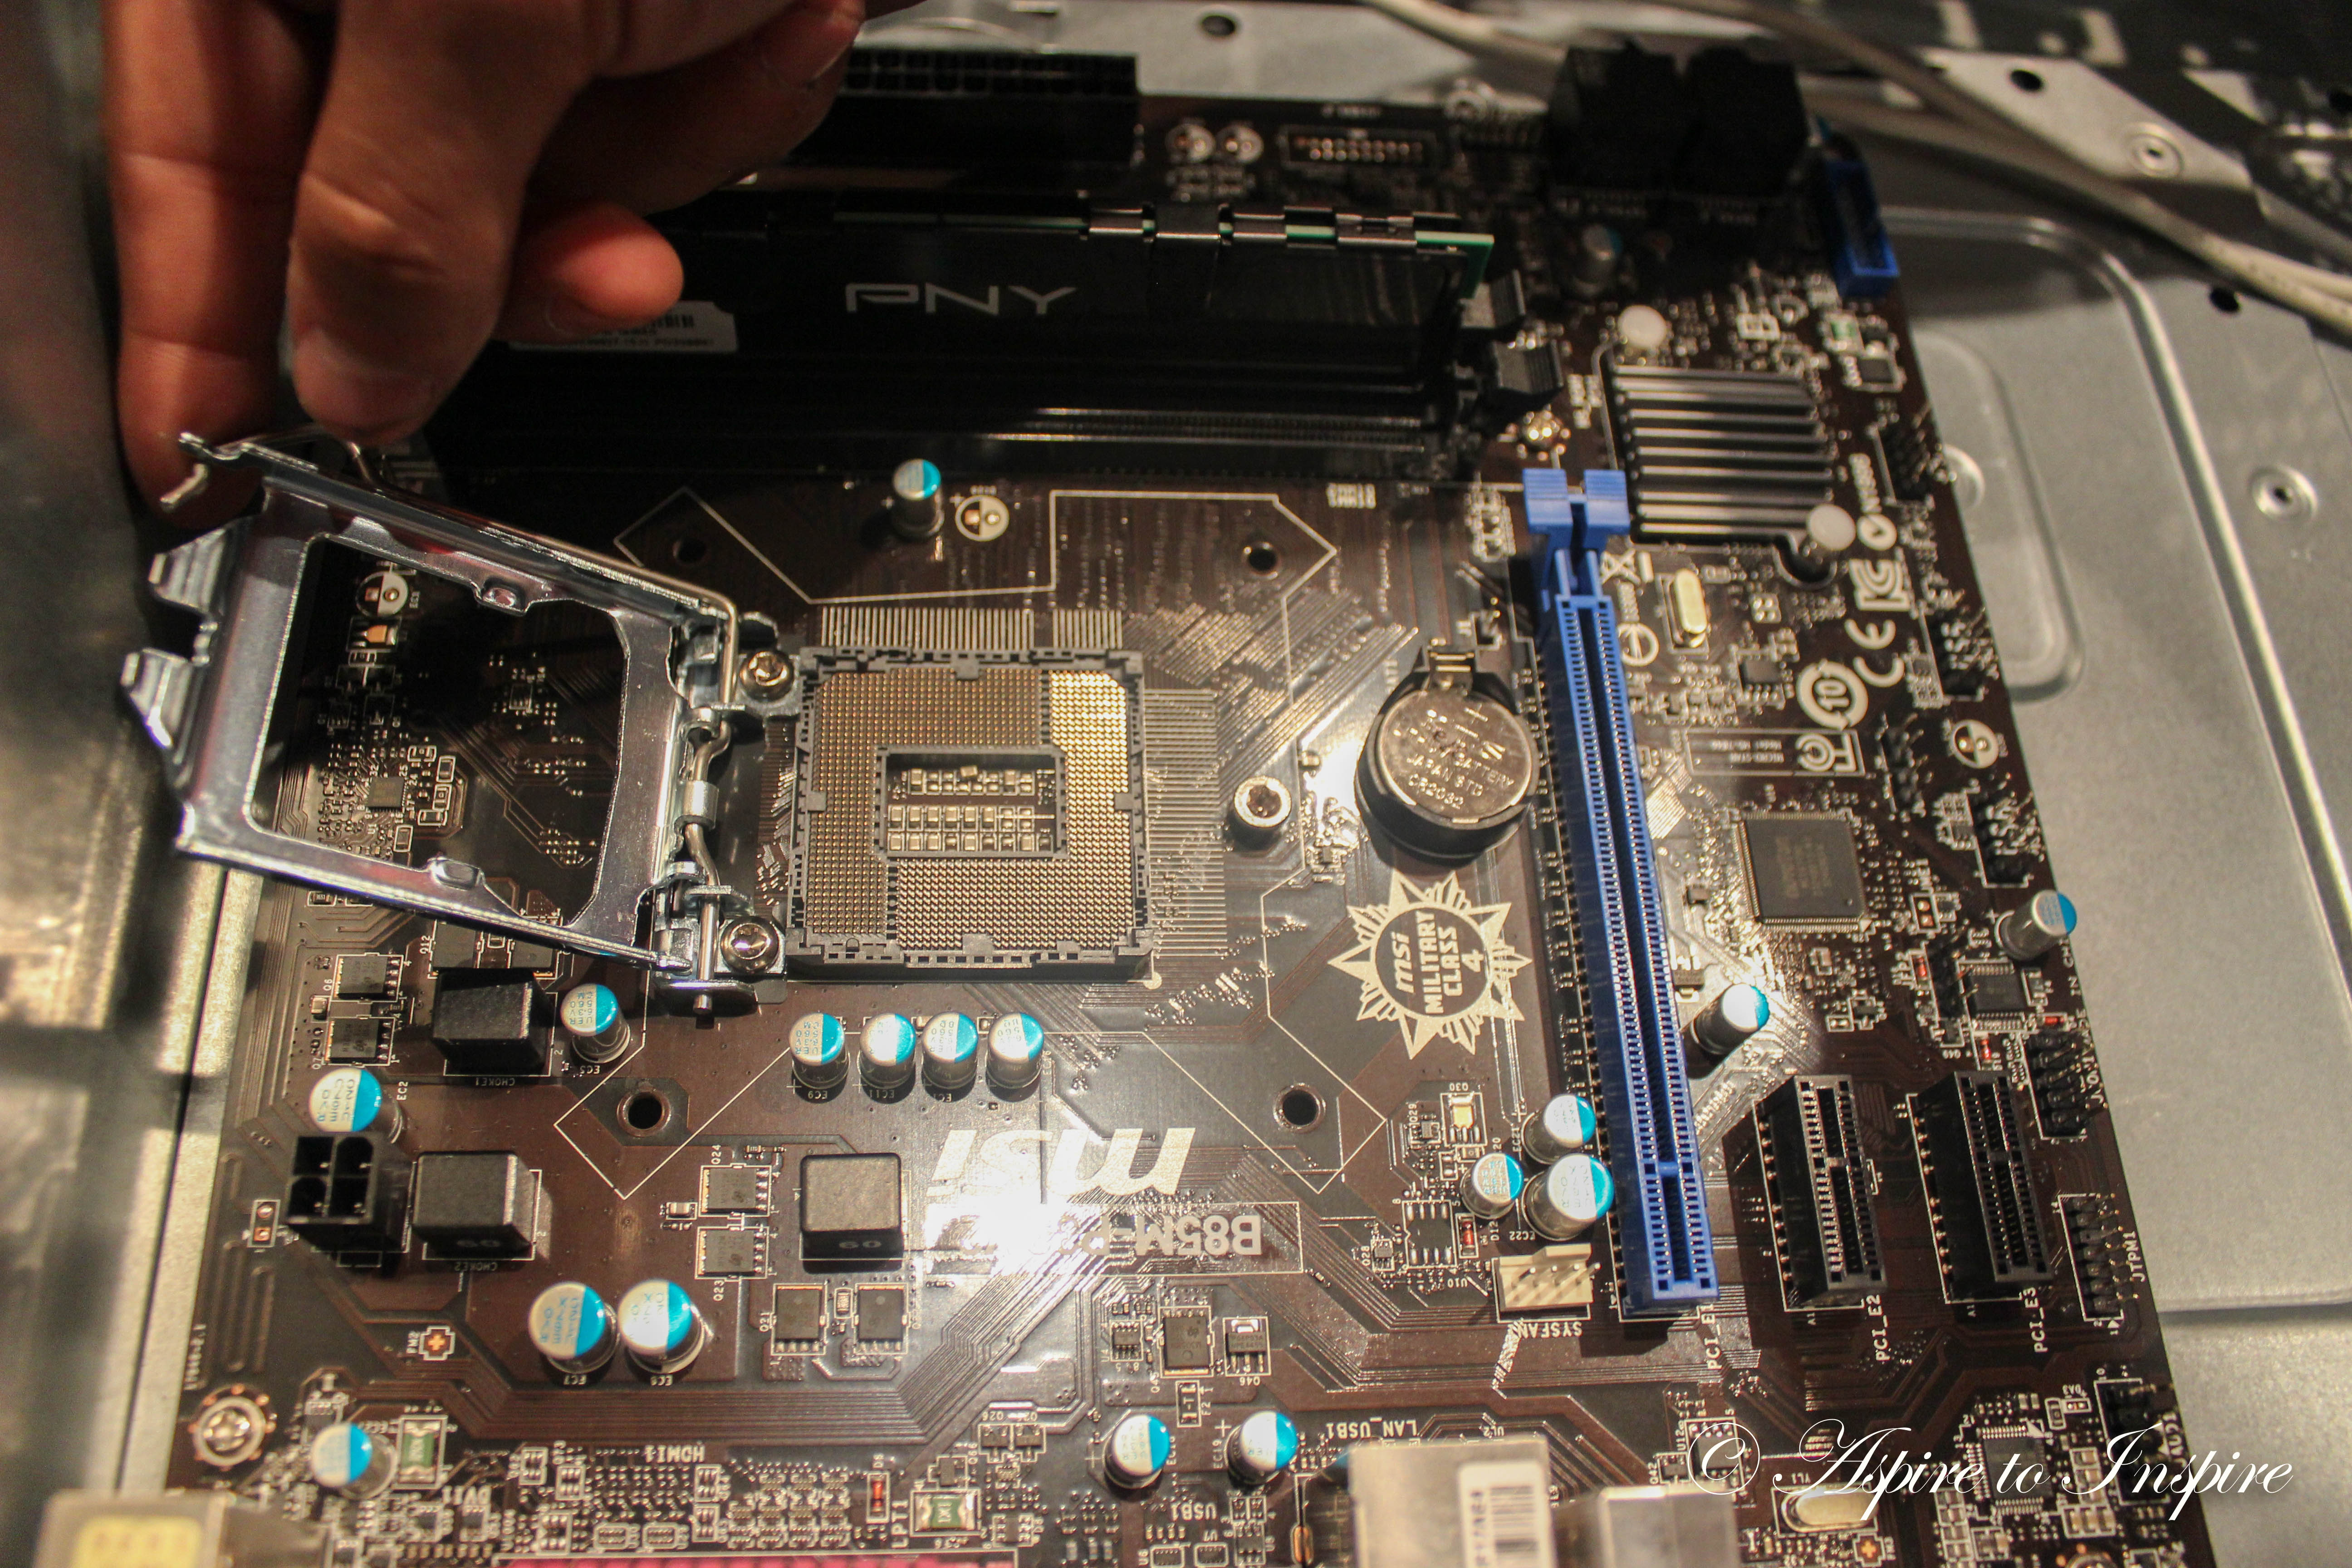
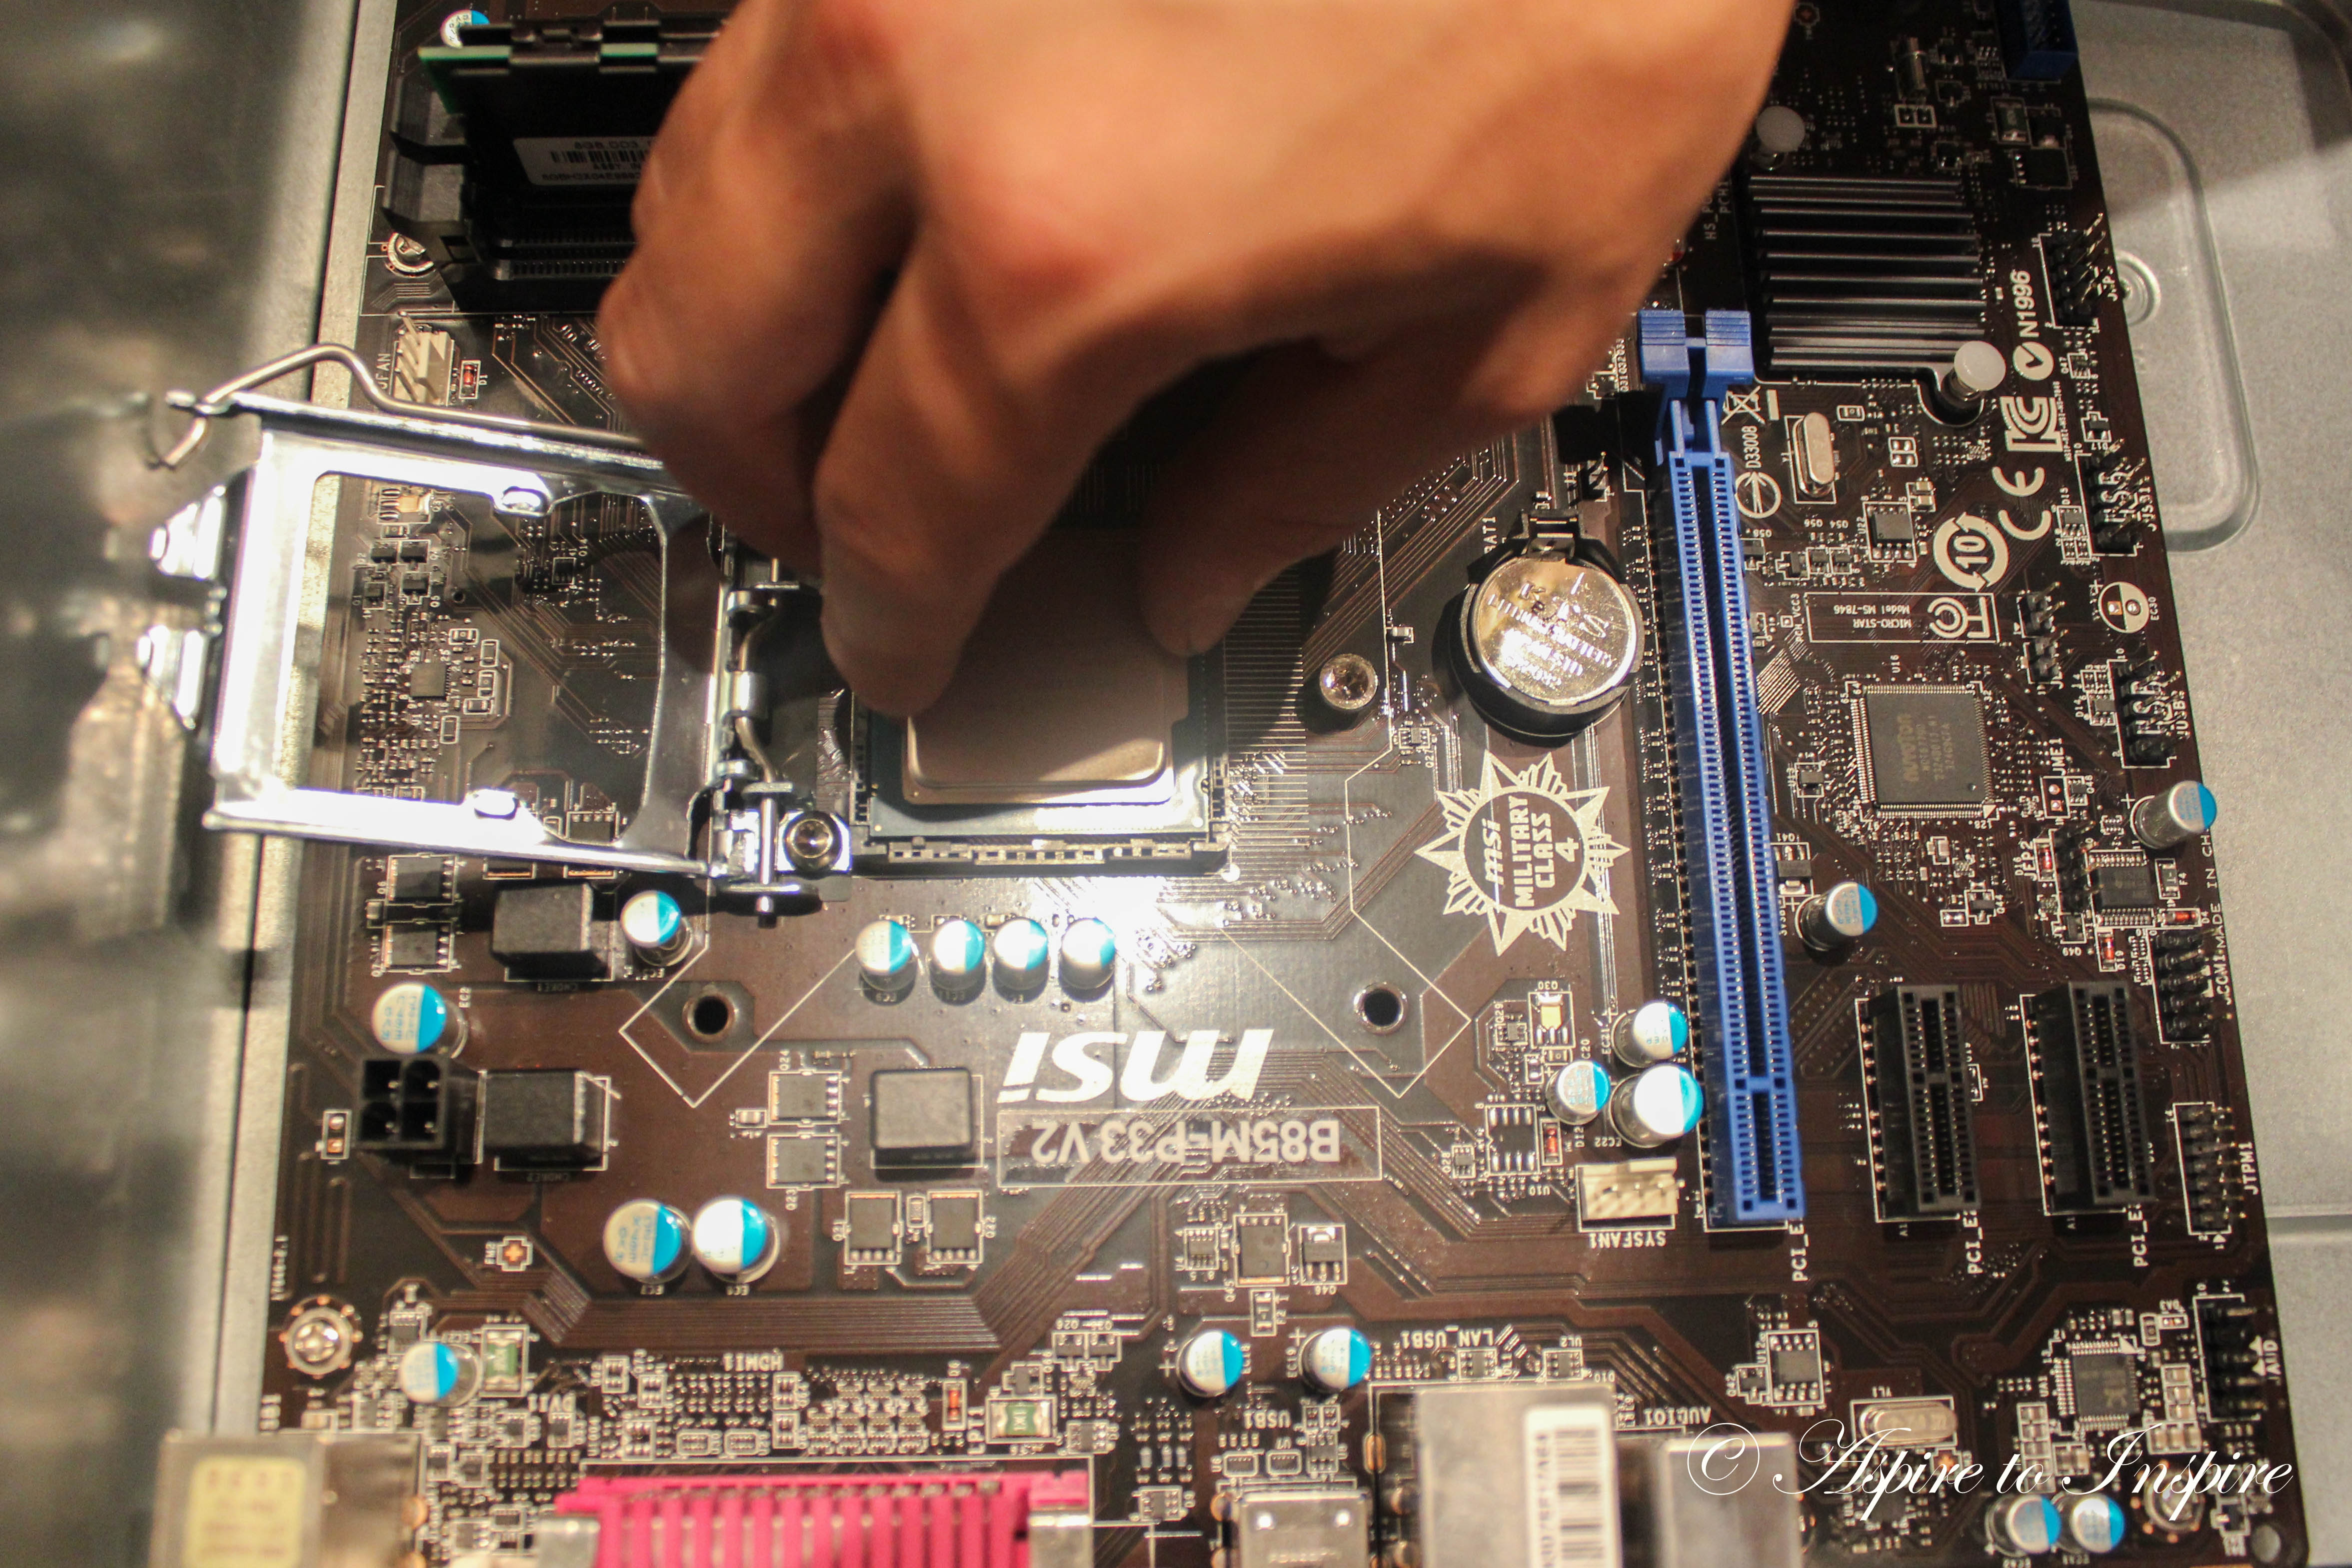
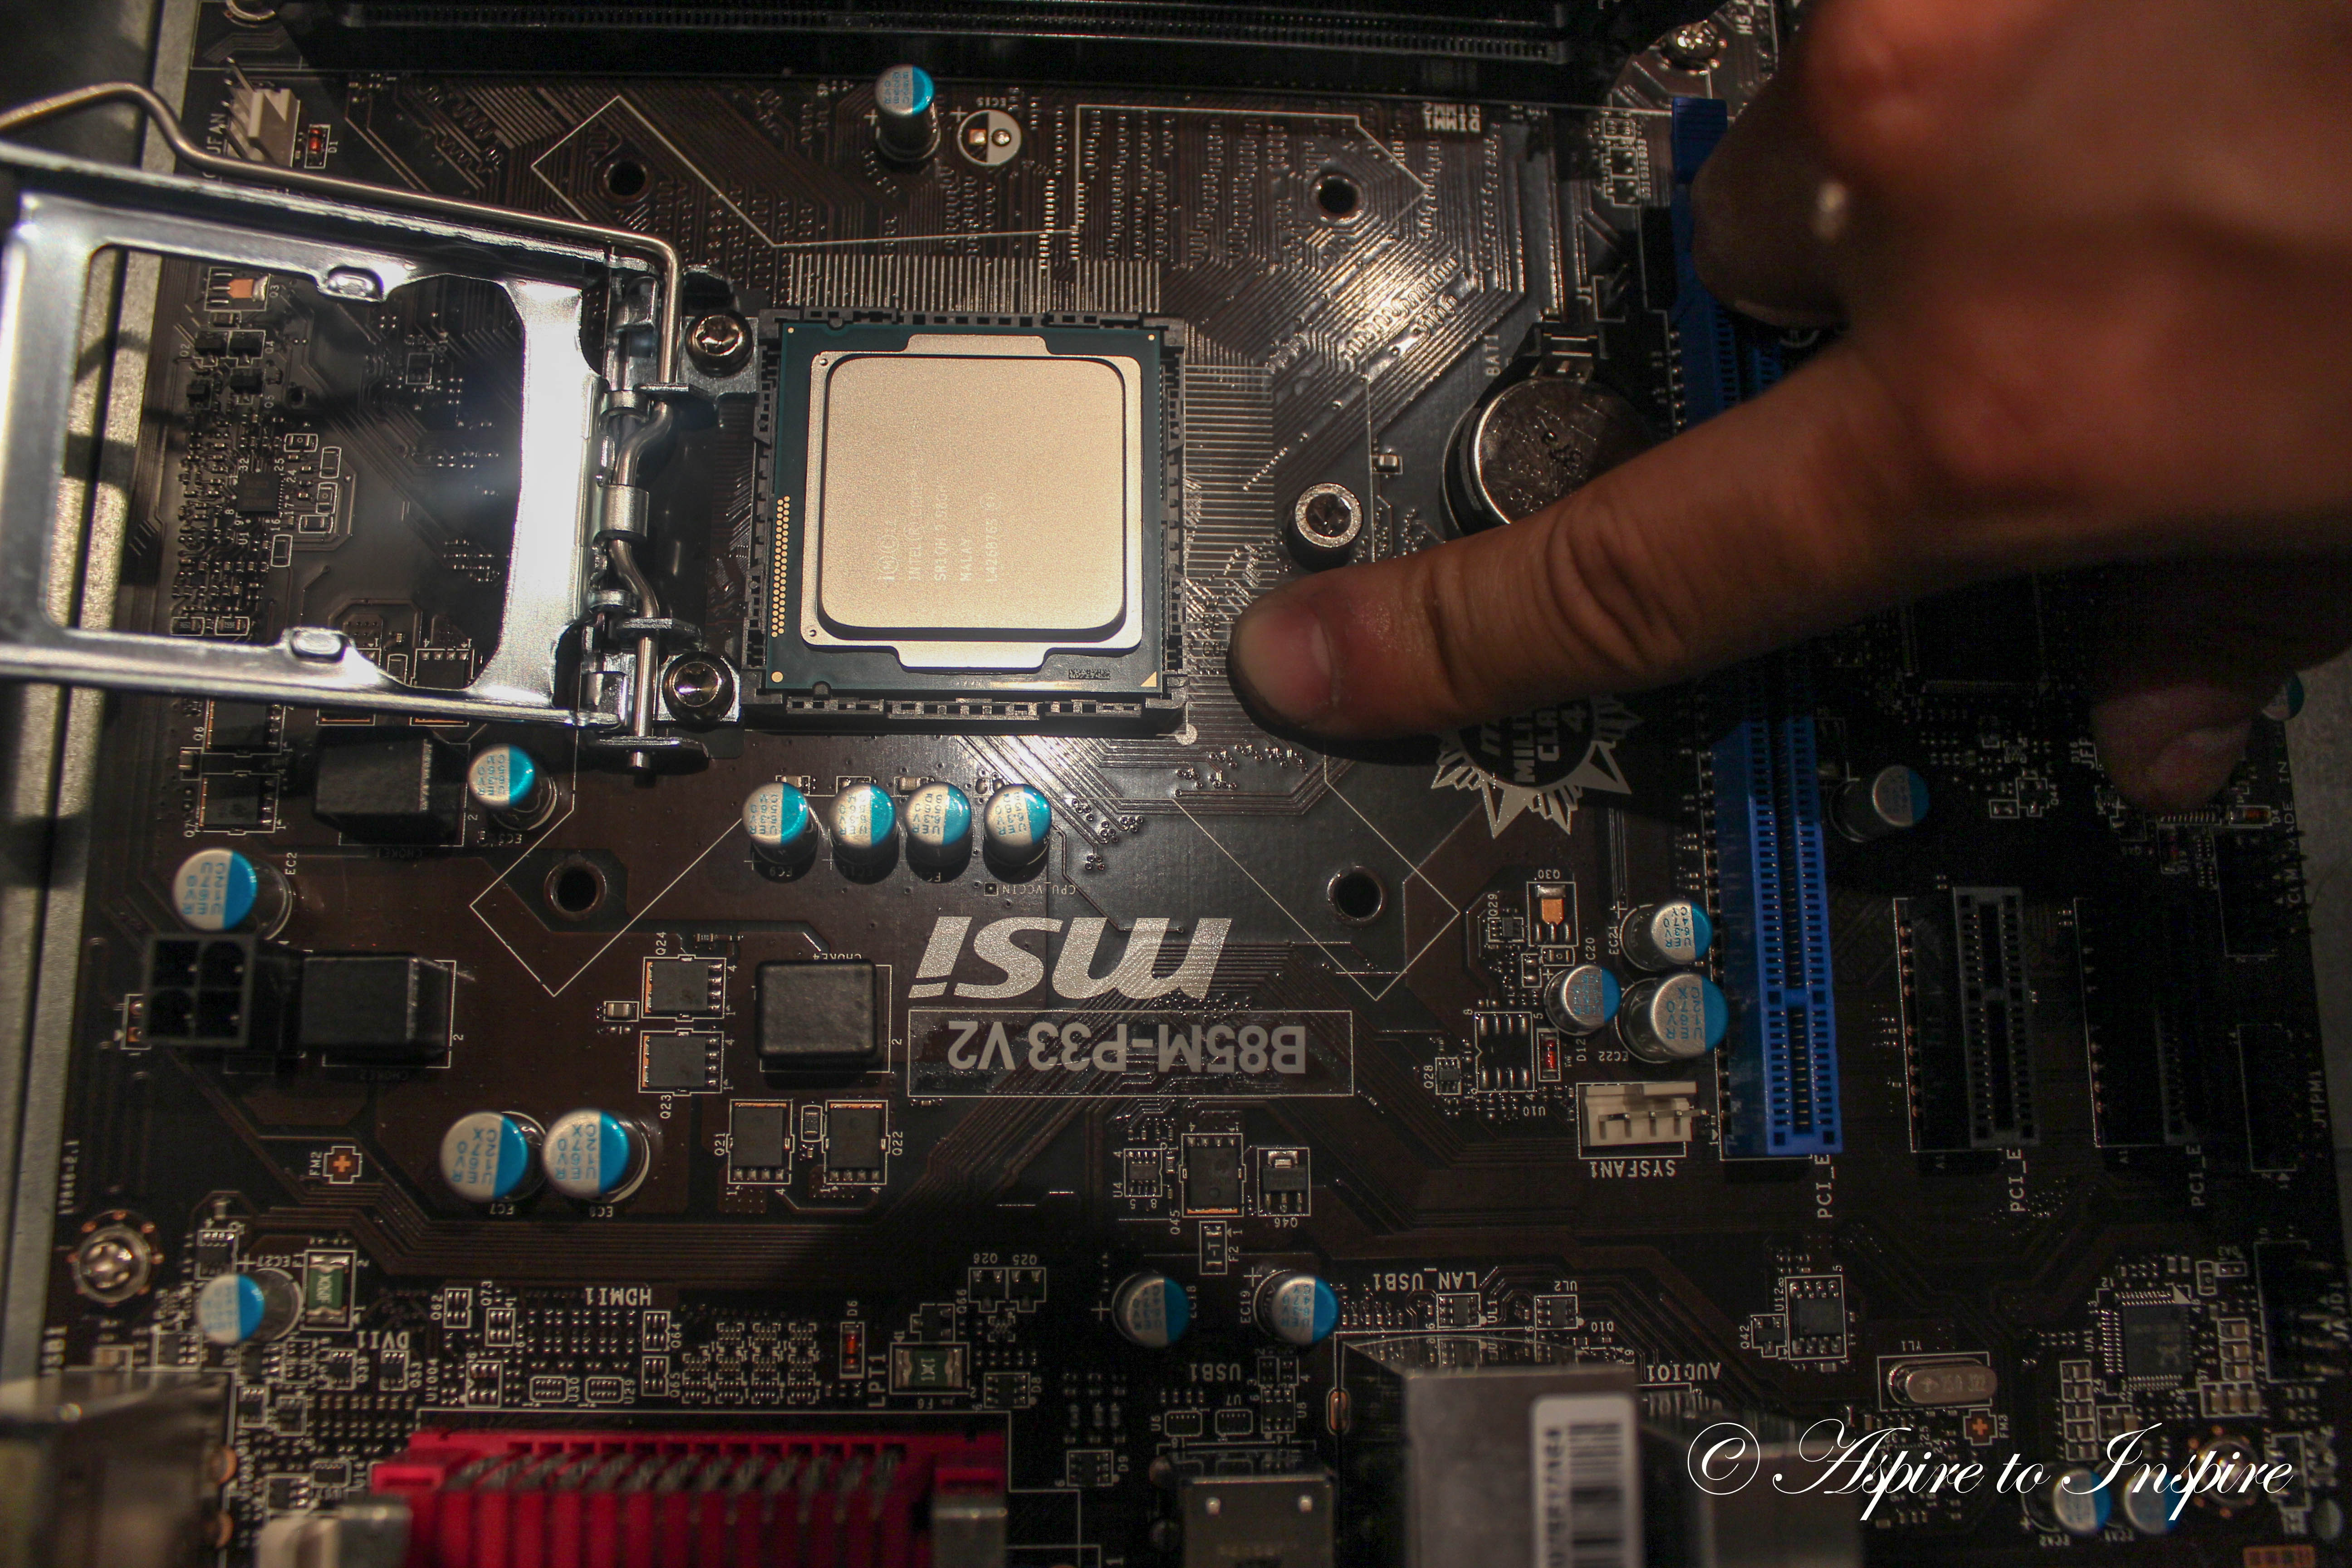
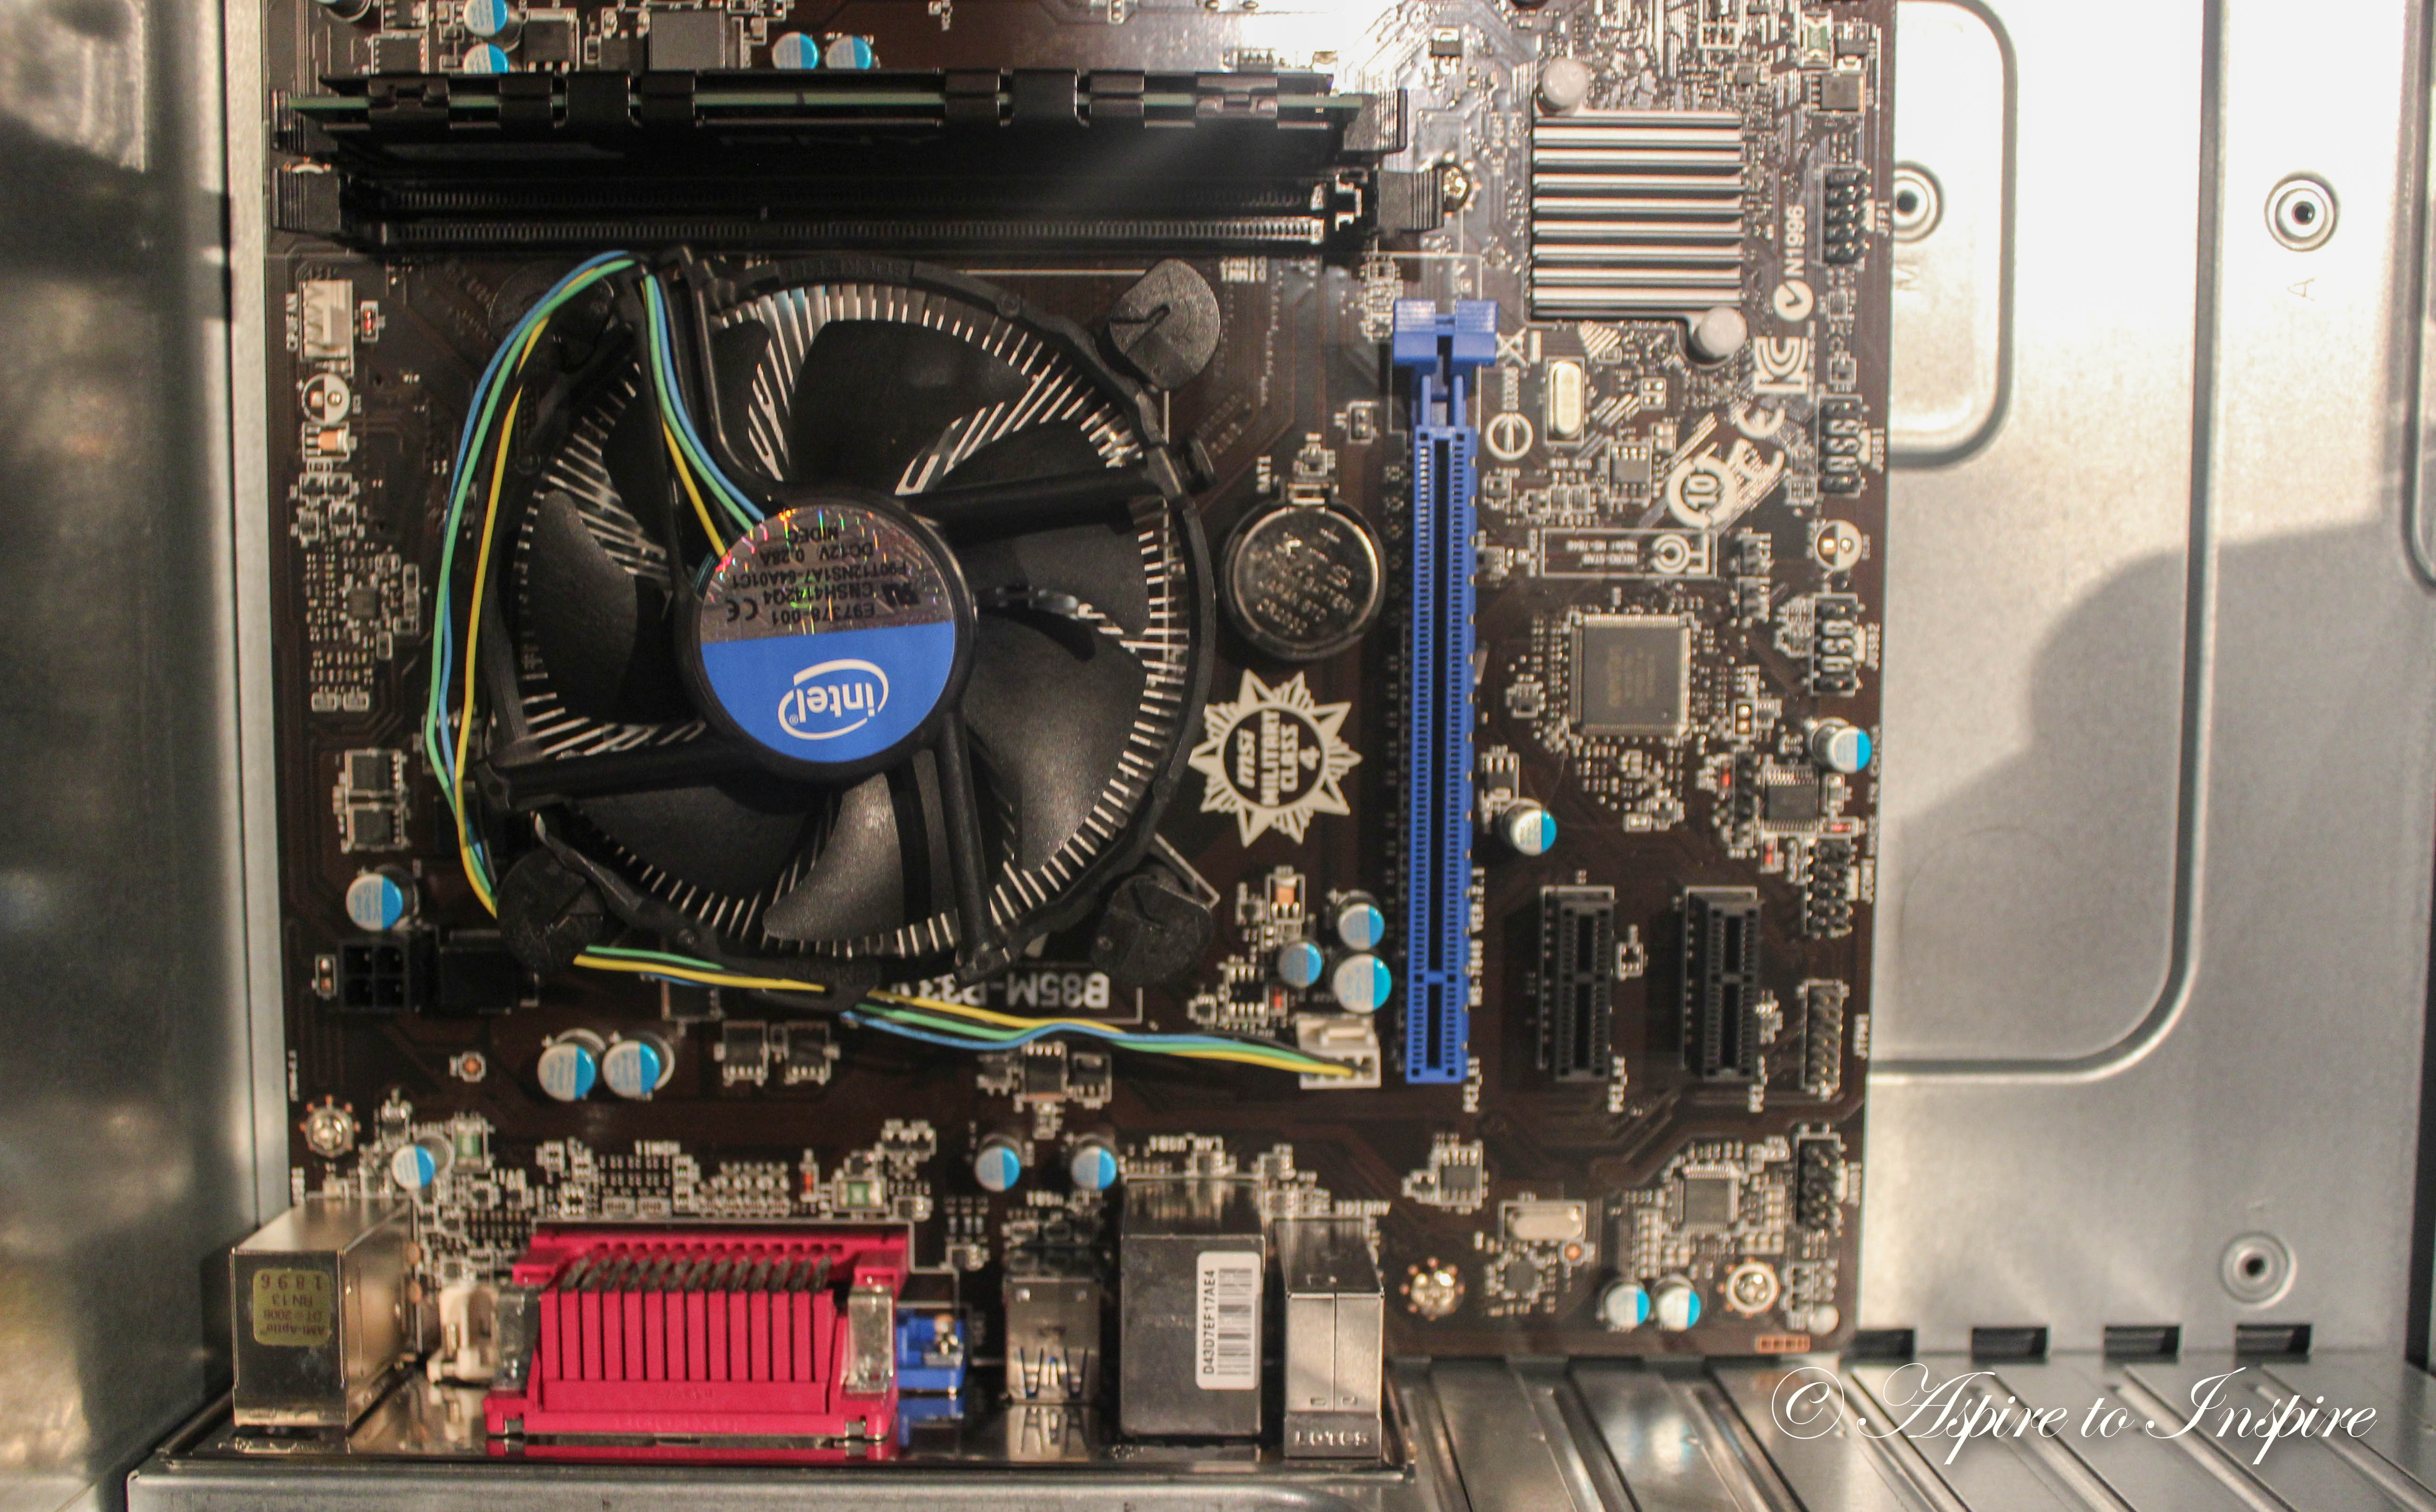
Step 4: The processor is the next element we will be placing. Unclick the holder for the processor (CPU), there will be a little triangle on the CPU that will indicate which way it’ll go, it should be in the same corner as the white dot on the mother board. Once placed in, close the cover. You should here a small squishing sound ( which is normal ) and lock it in place all the way.
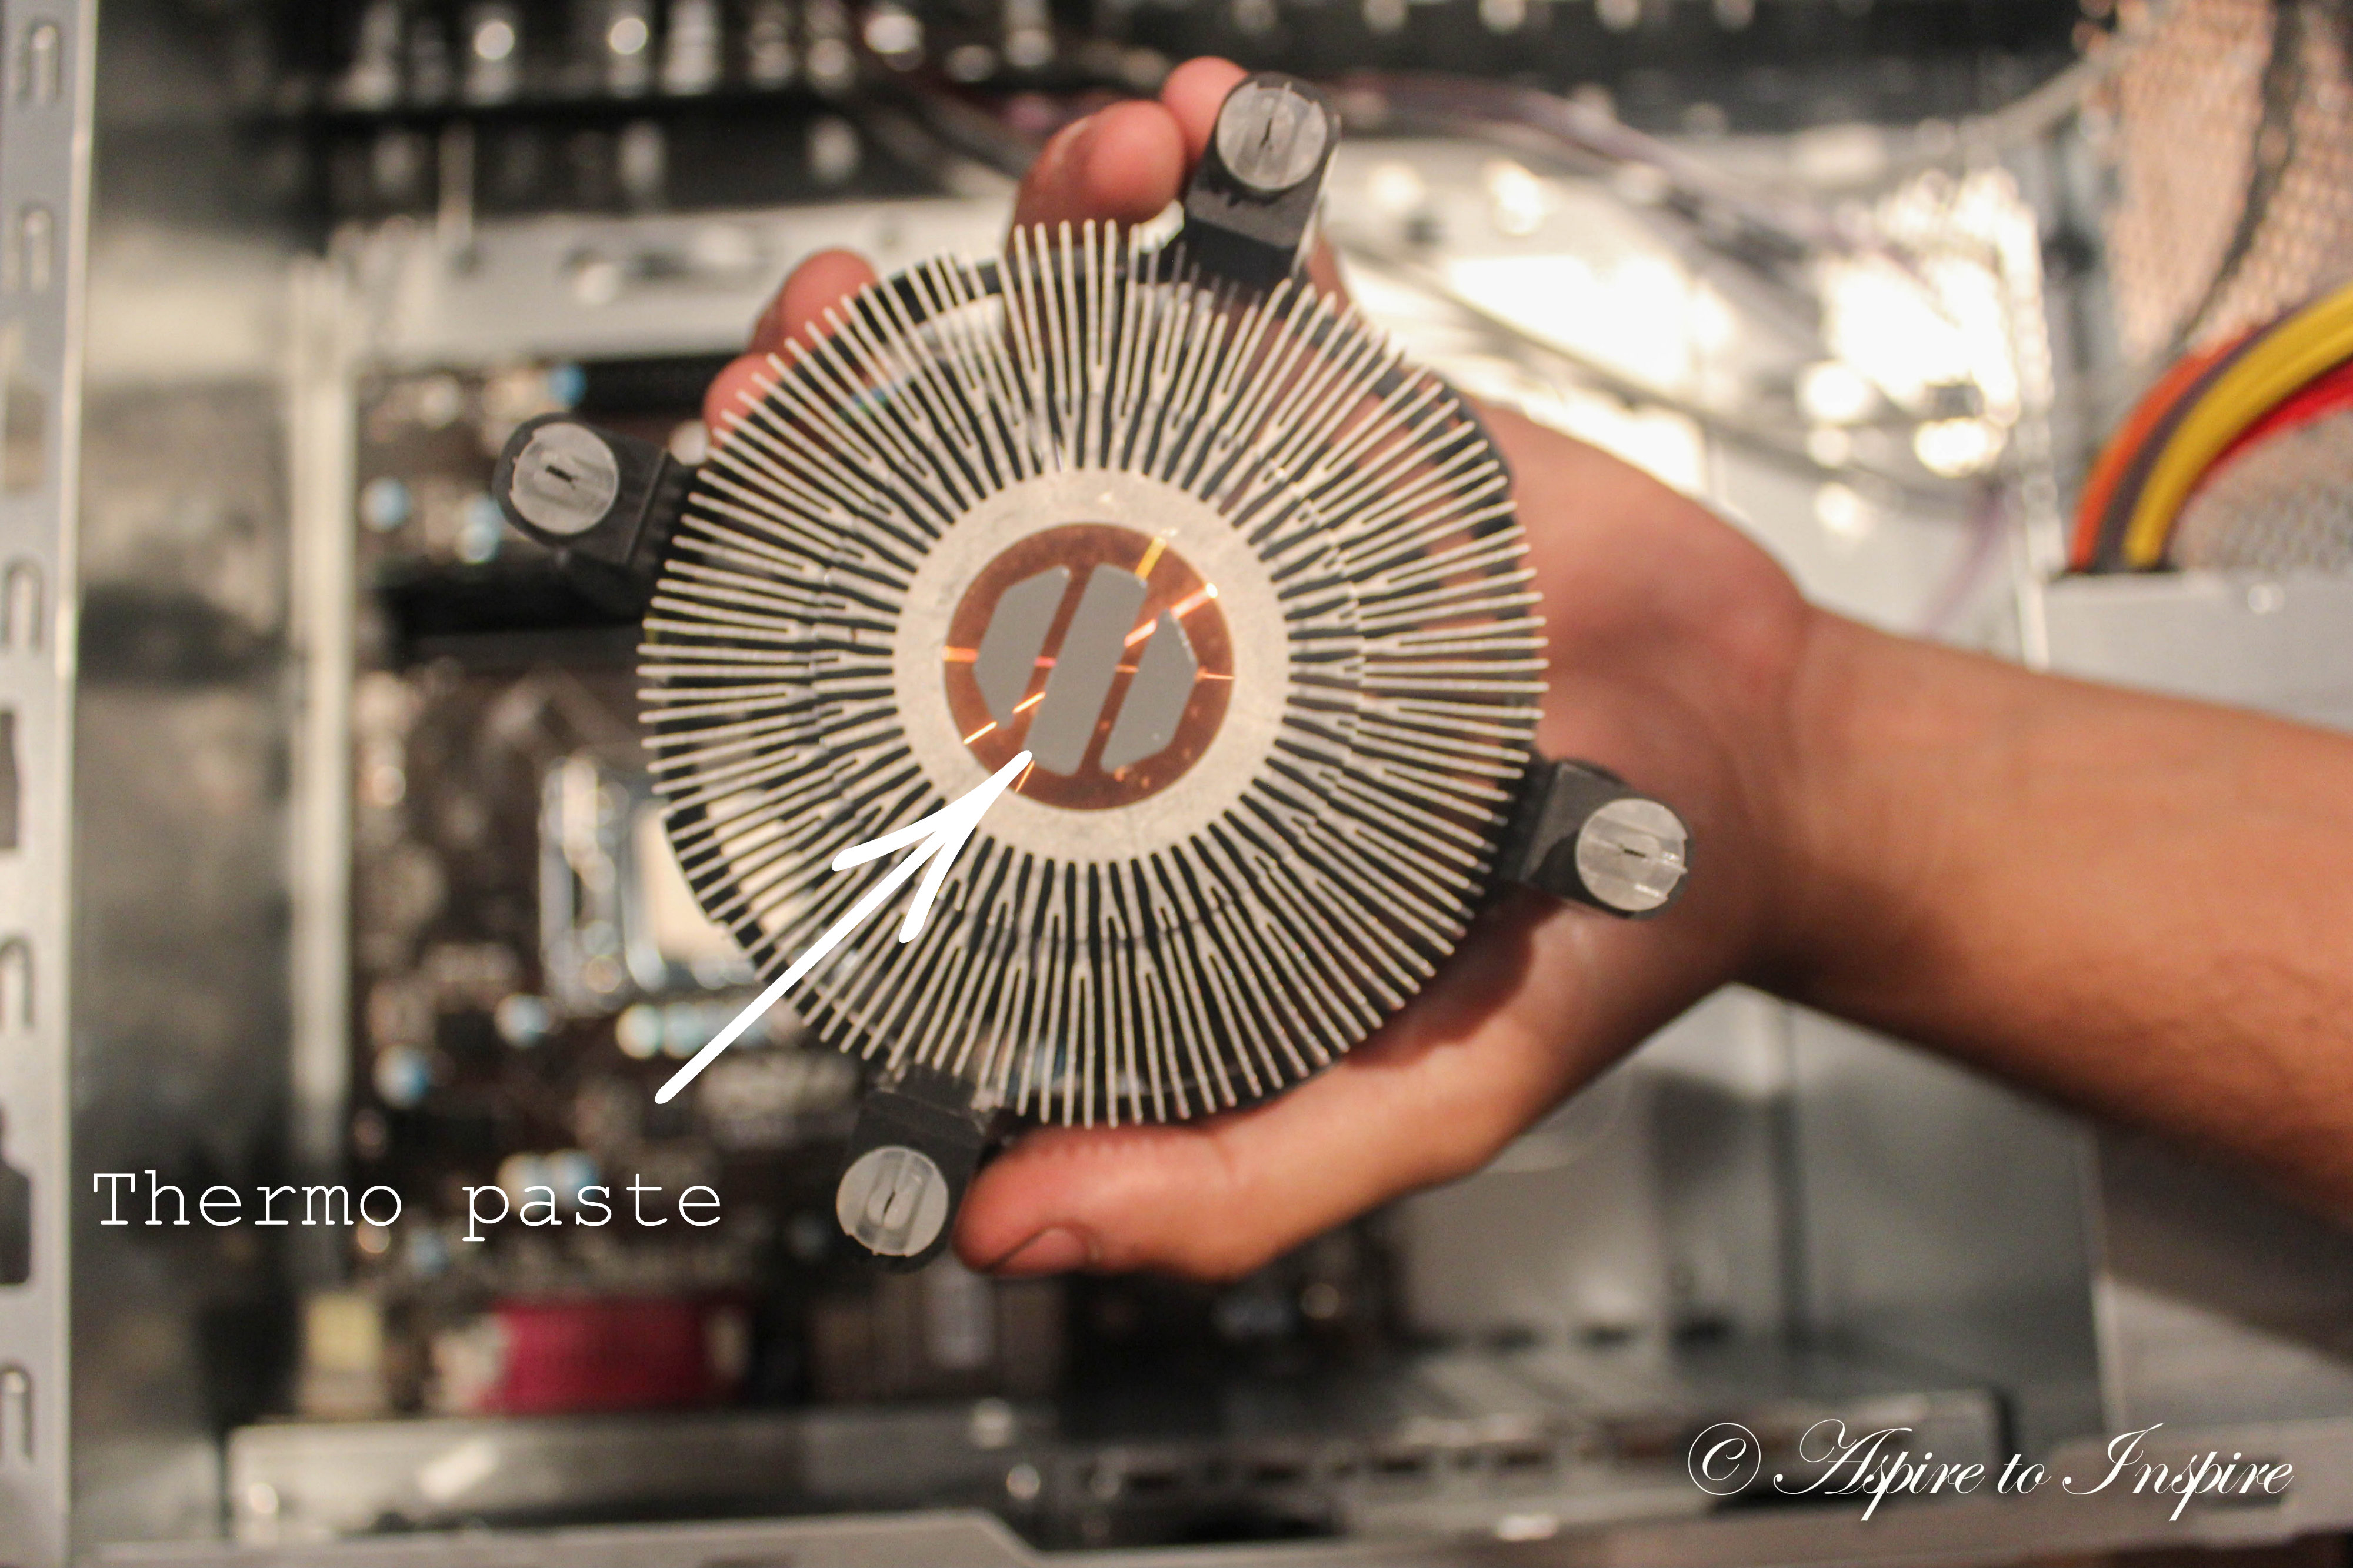
Step 5: Next is the fan for the processor. ( NOTE: Apply thermo paste, if not already applied under the fan. If you are unsure where it is located, you can located at the bottom where the brown part is. In this case this fan already brought it applied)
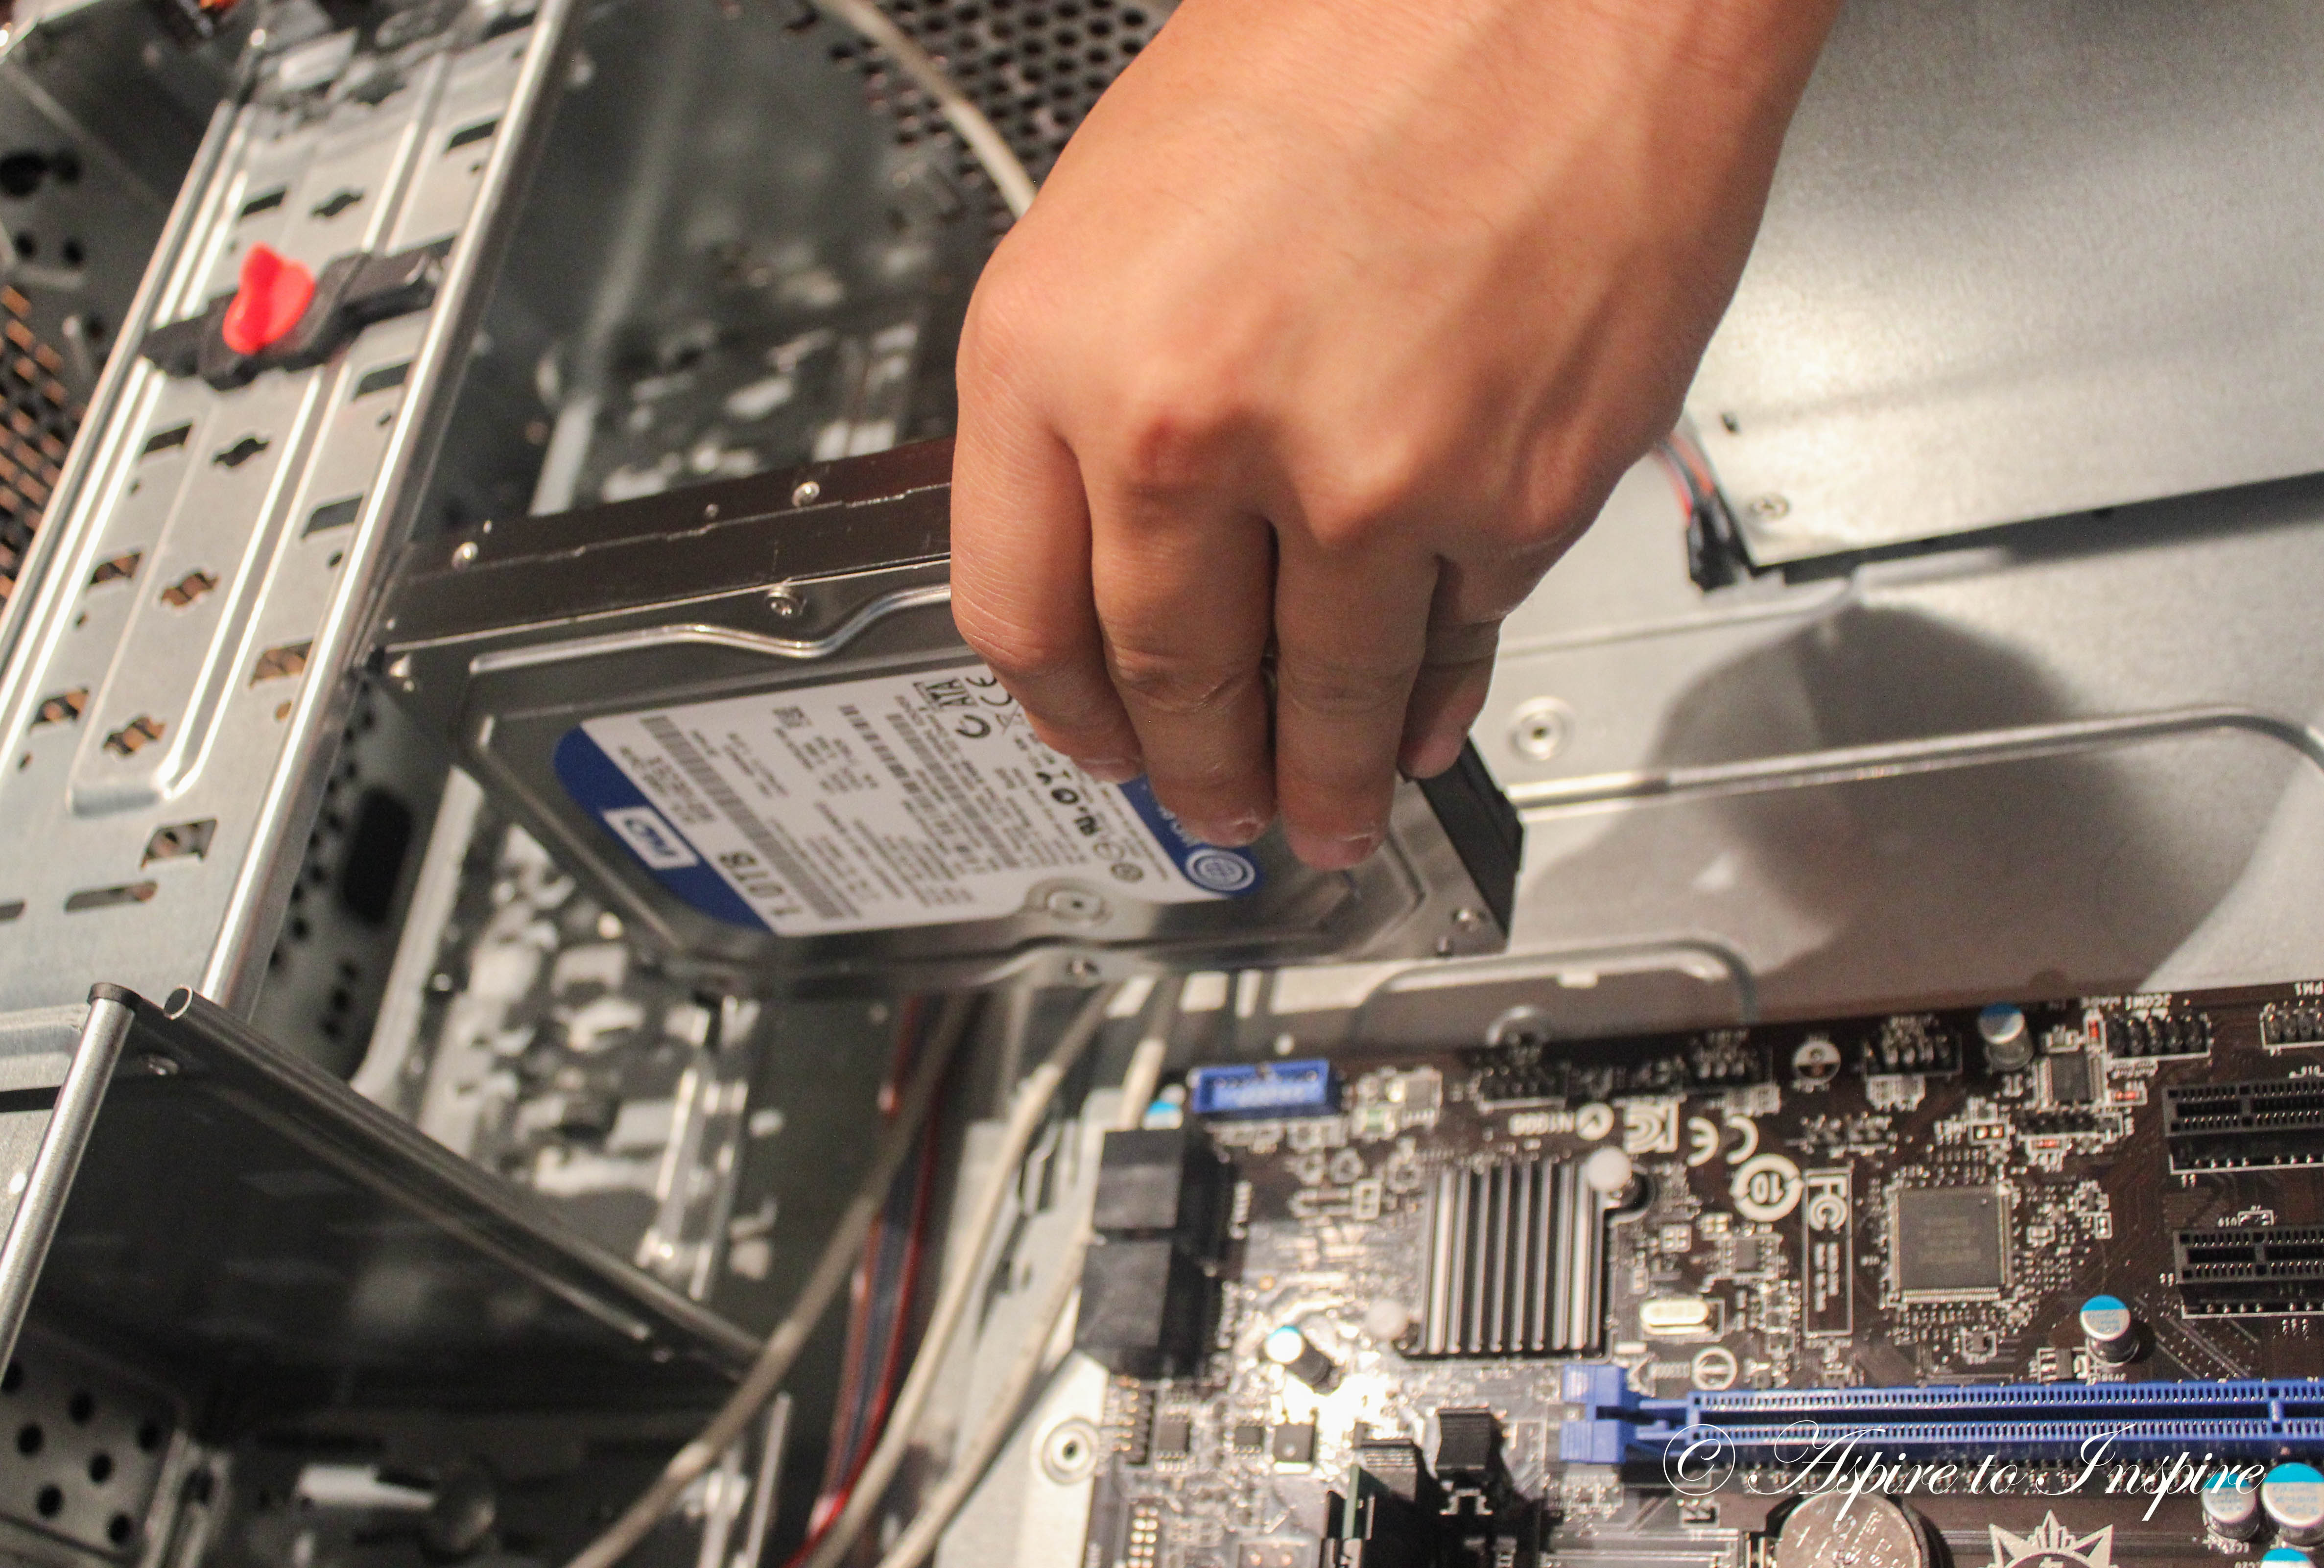
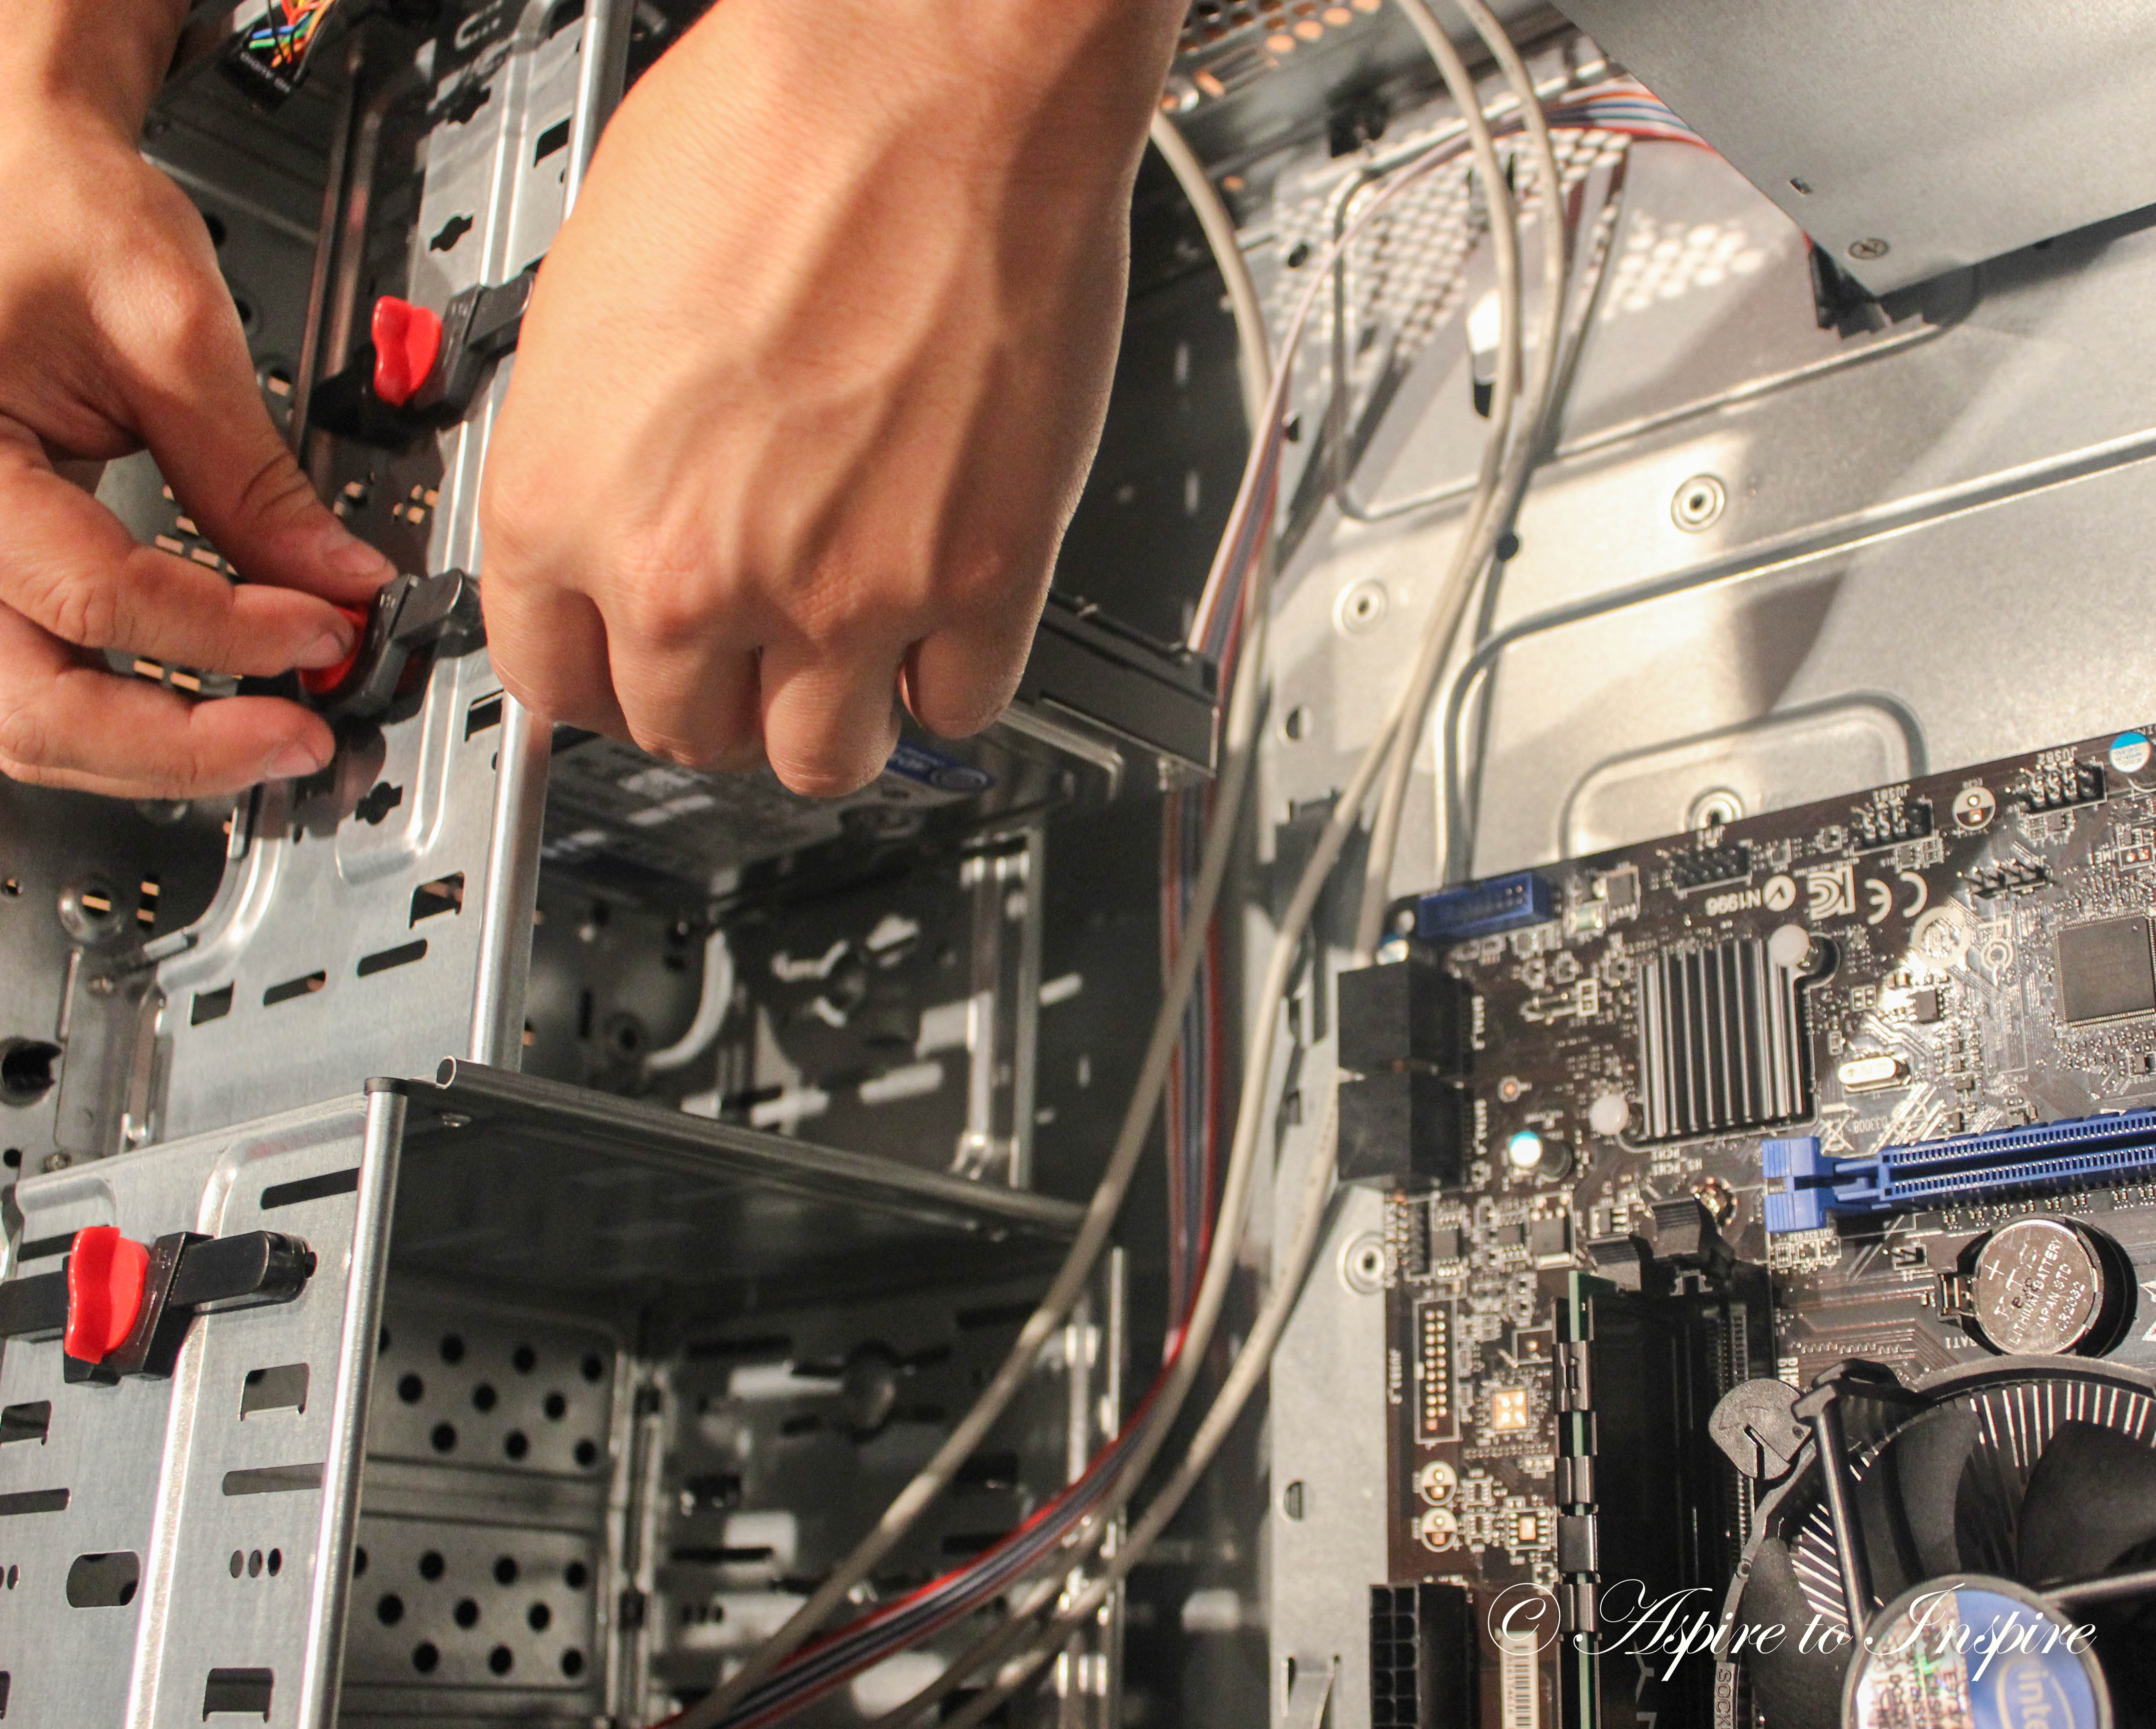
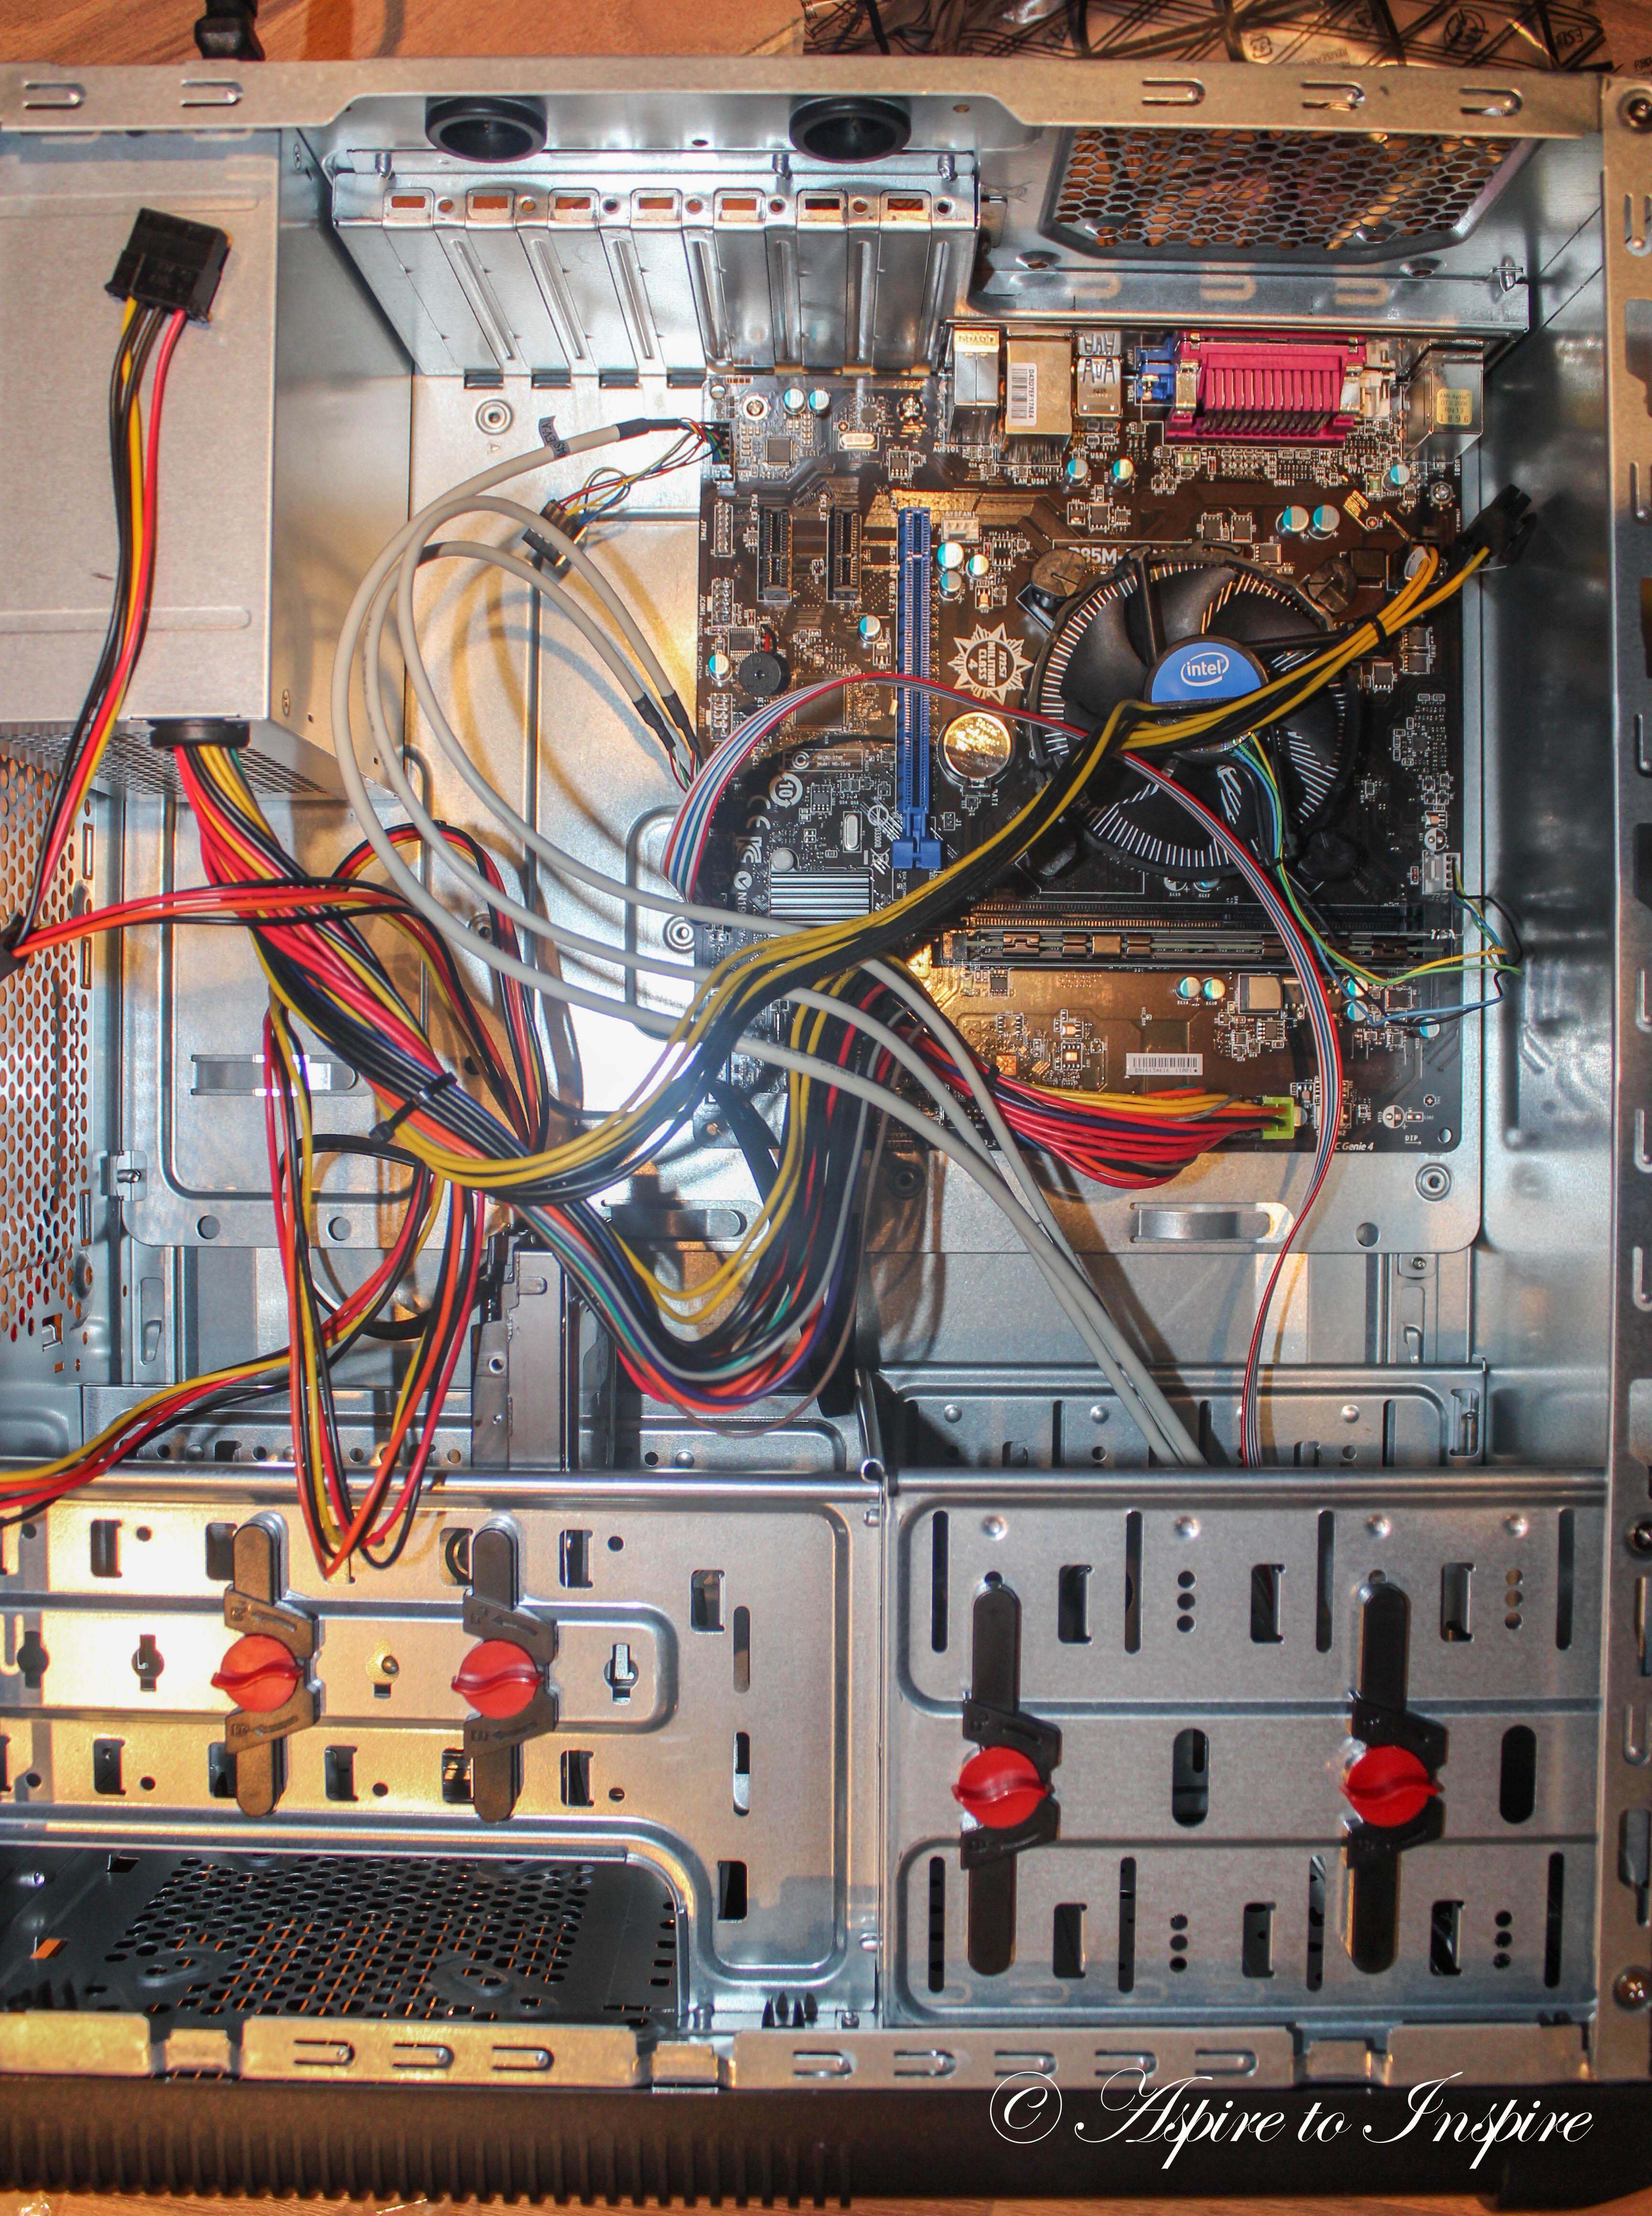
Step 6: Next we insert the hard drive, choose a spot on the bottom; anywhere will do as long as it fits. Slide into place and secure.
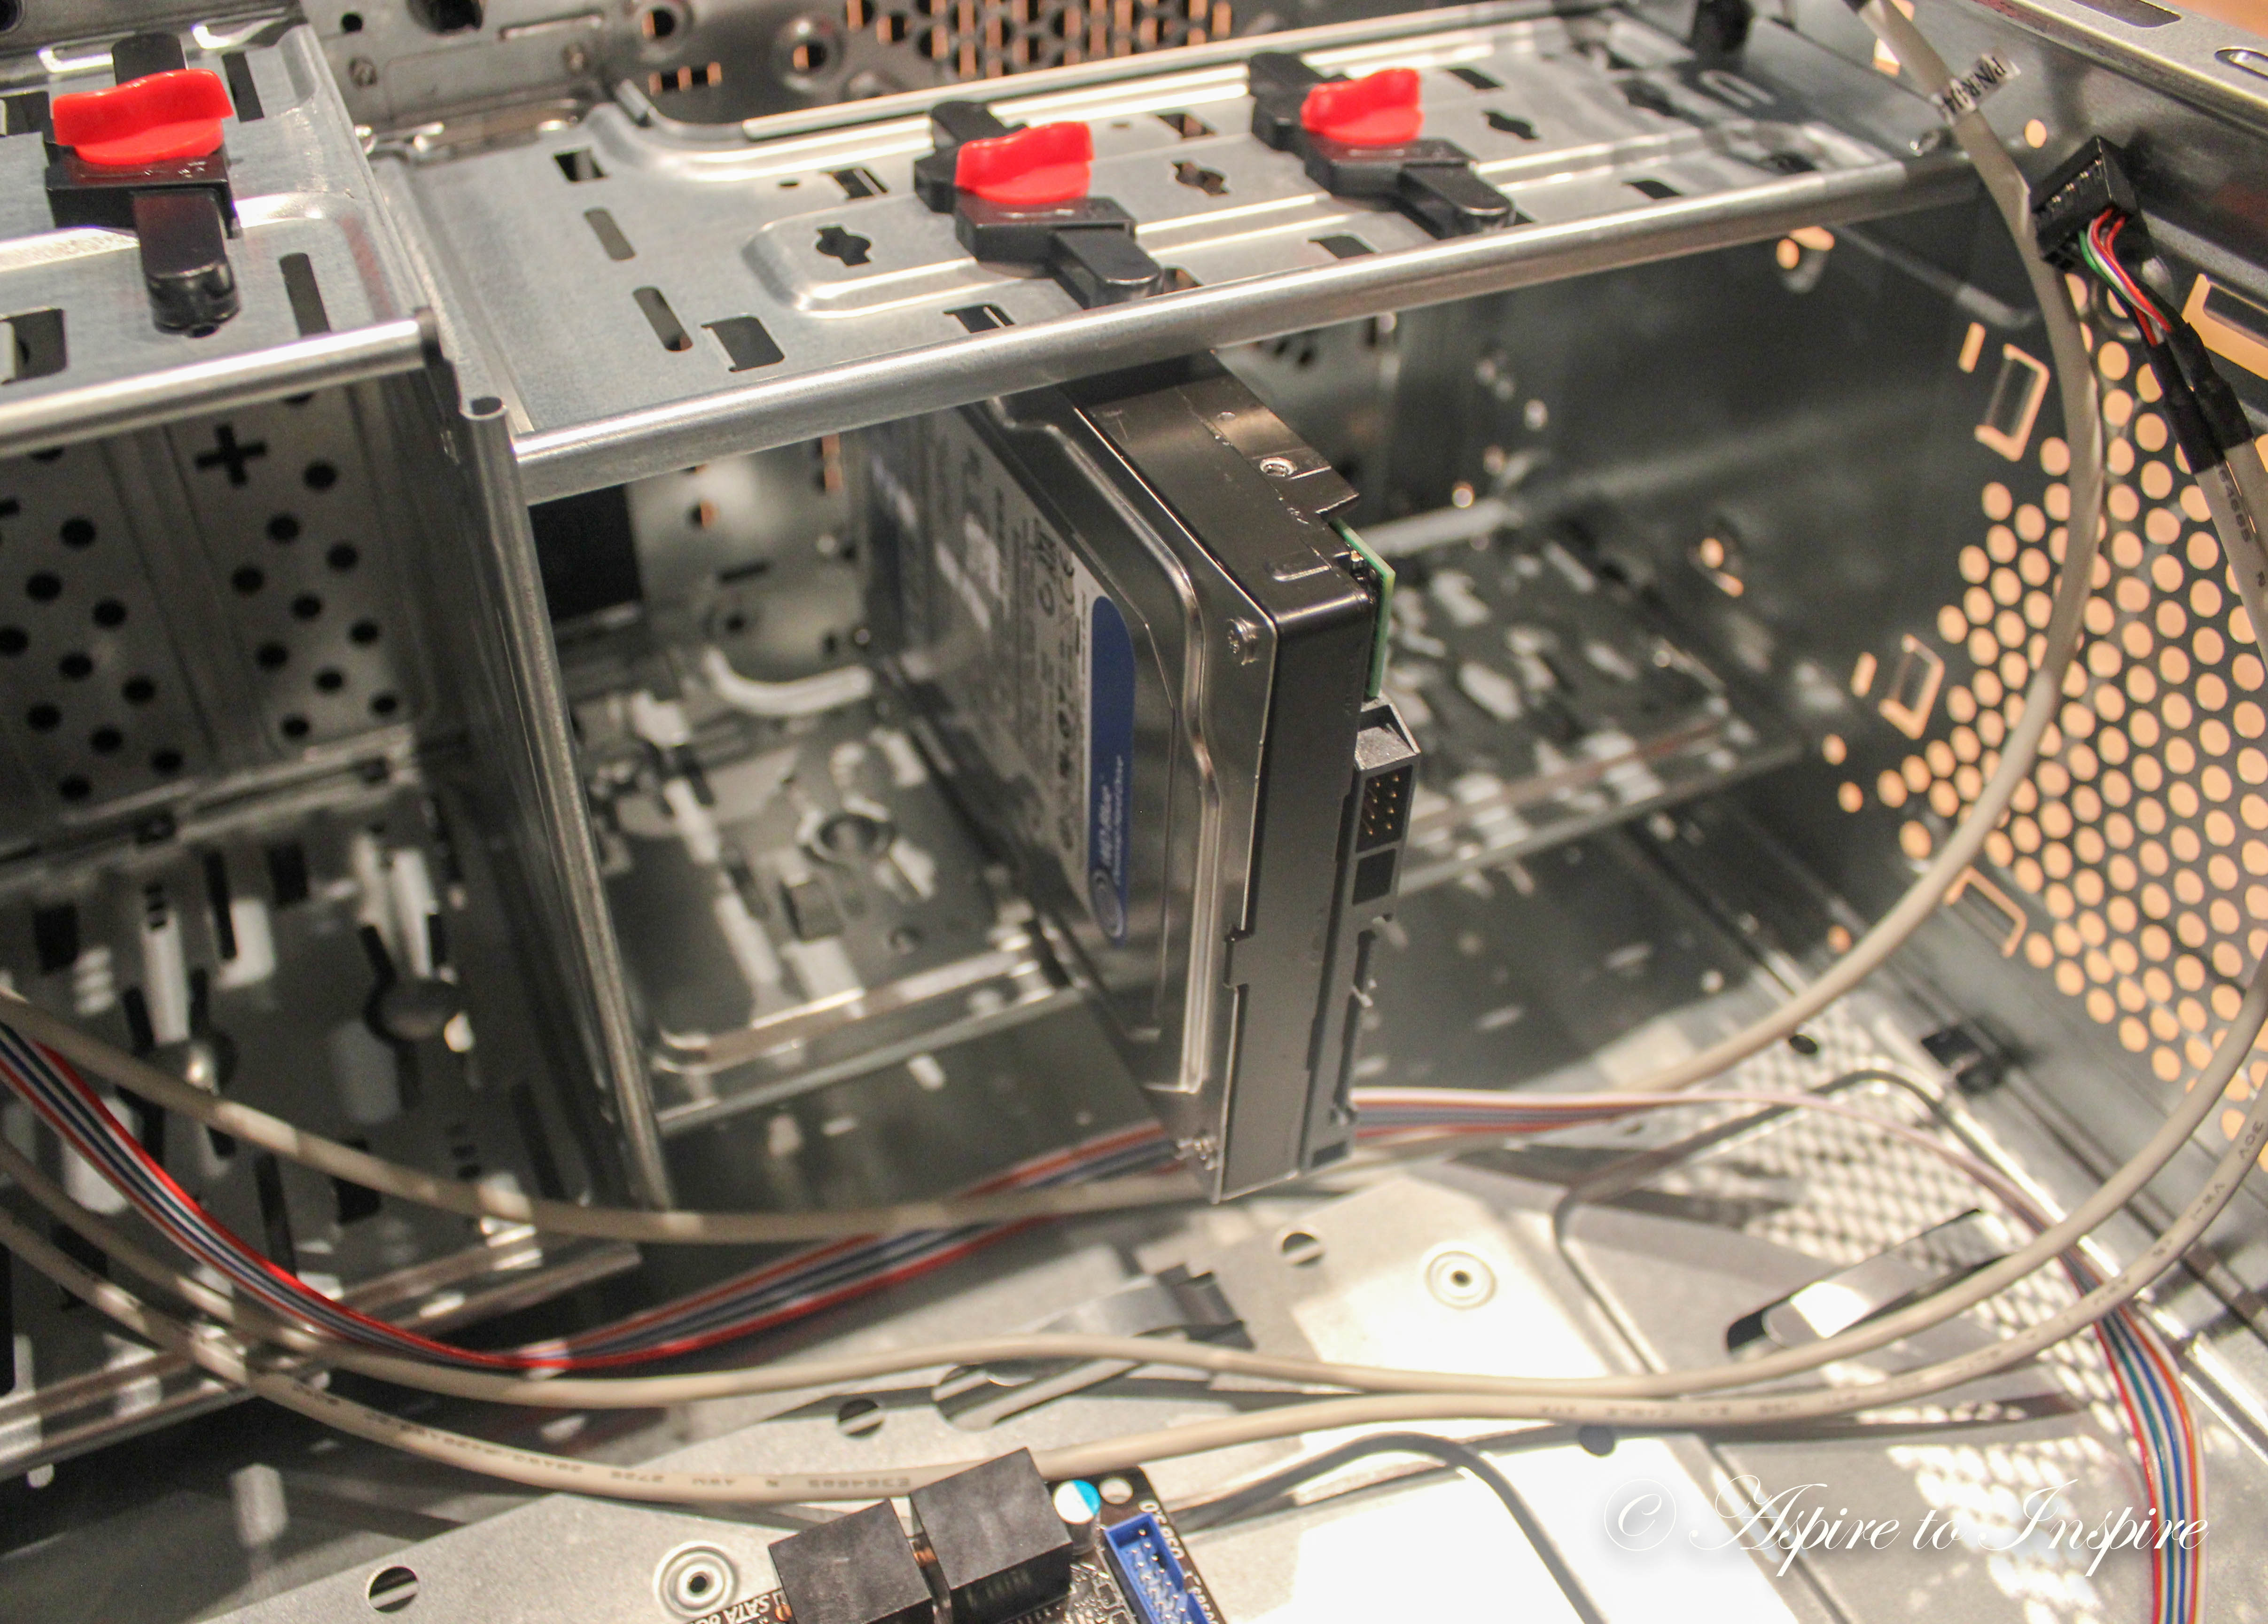
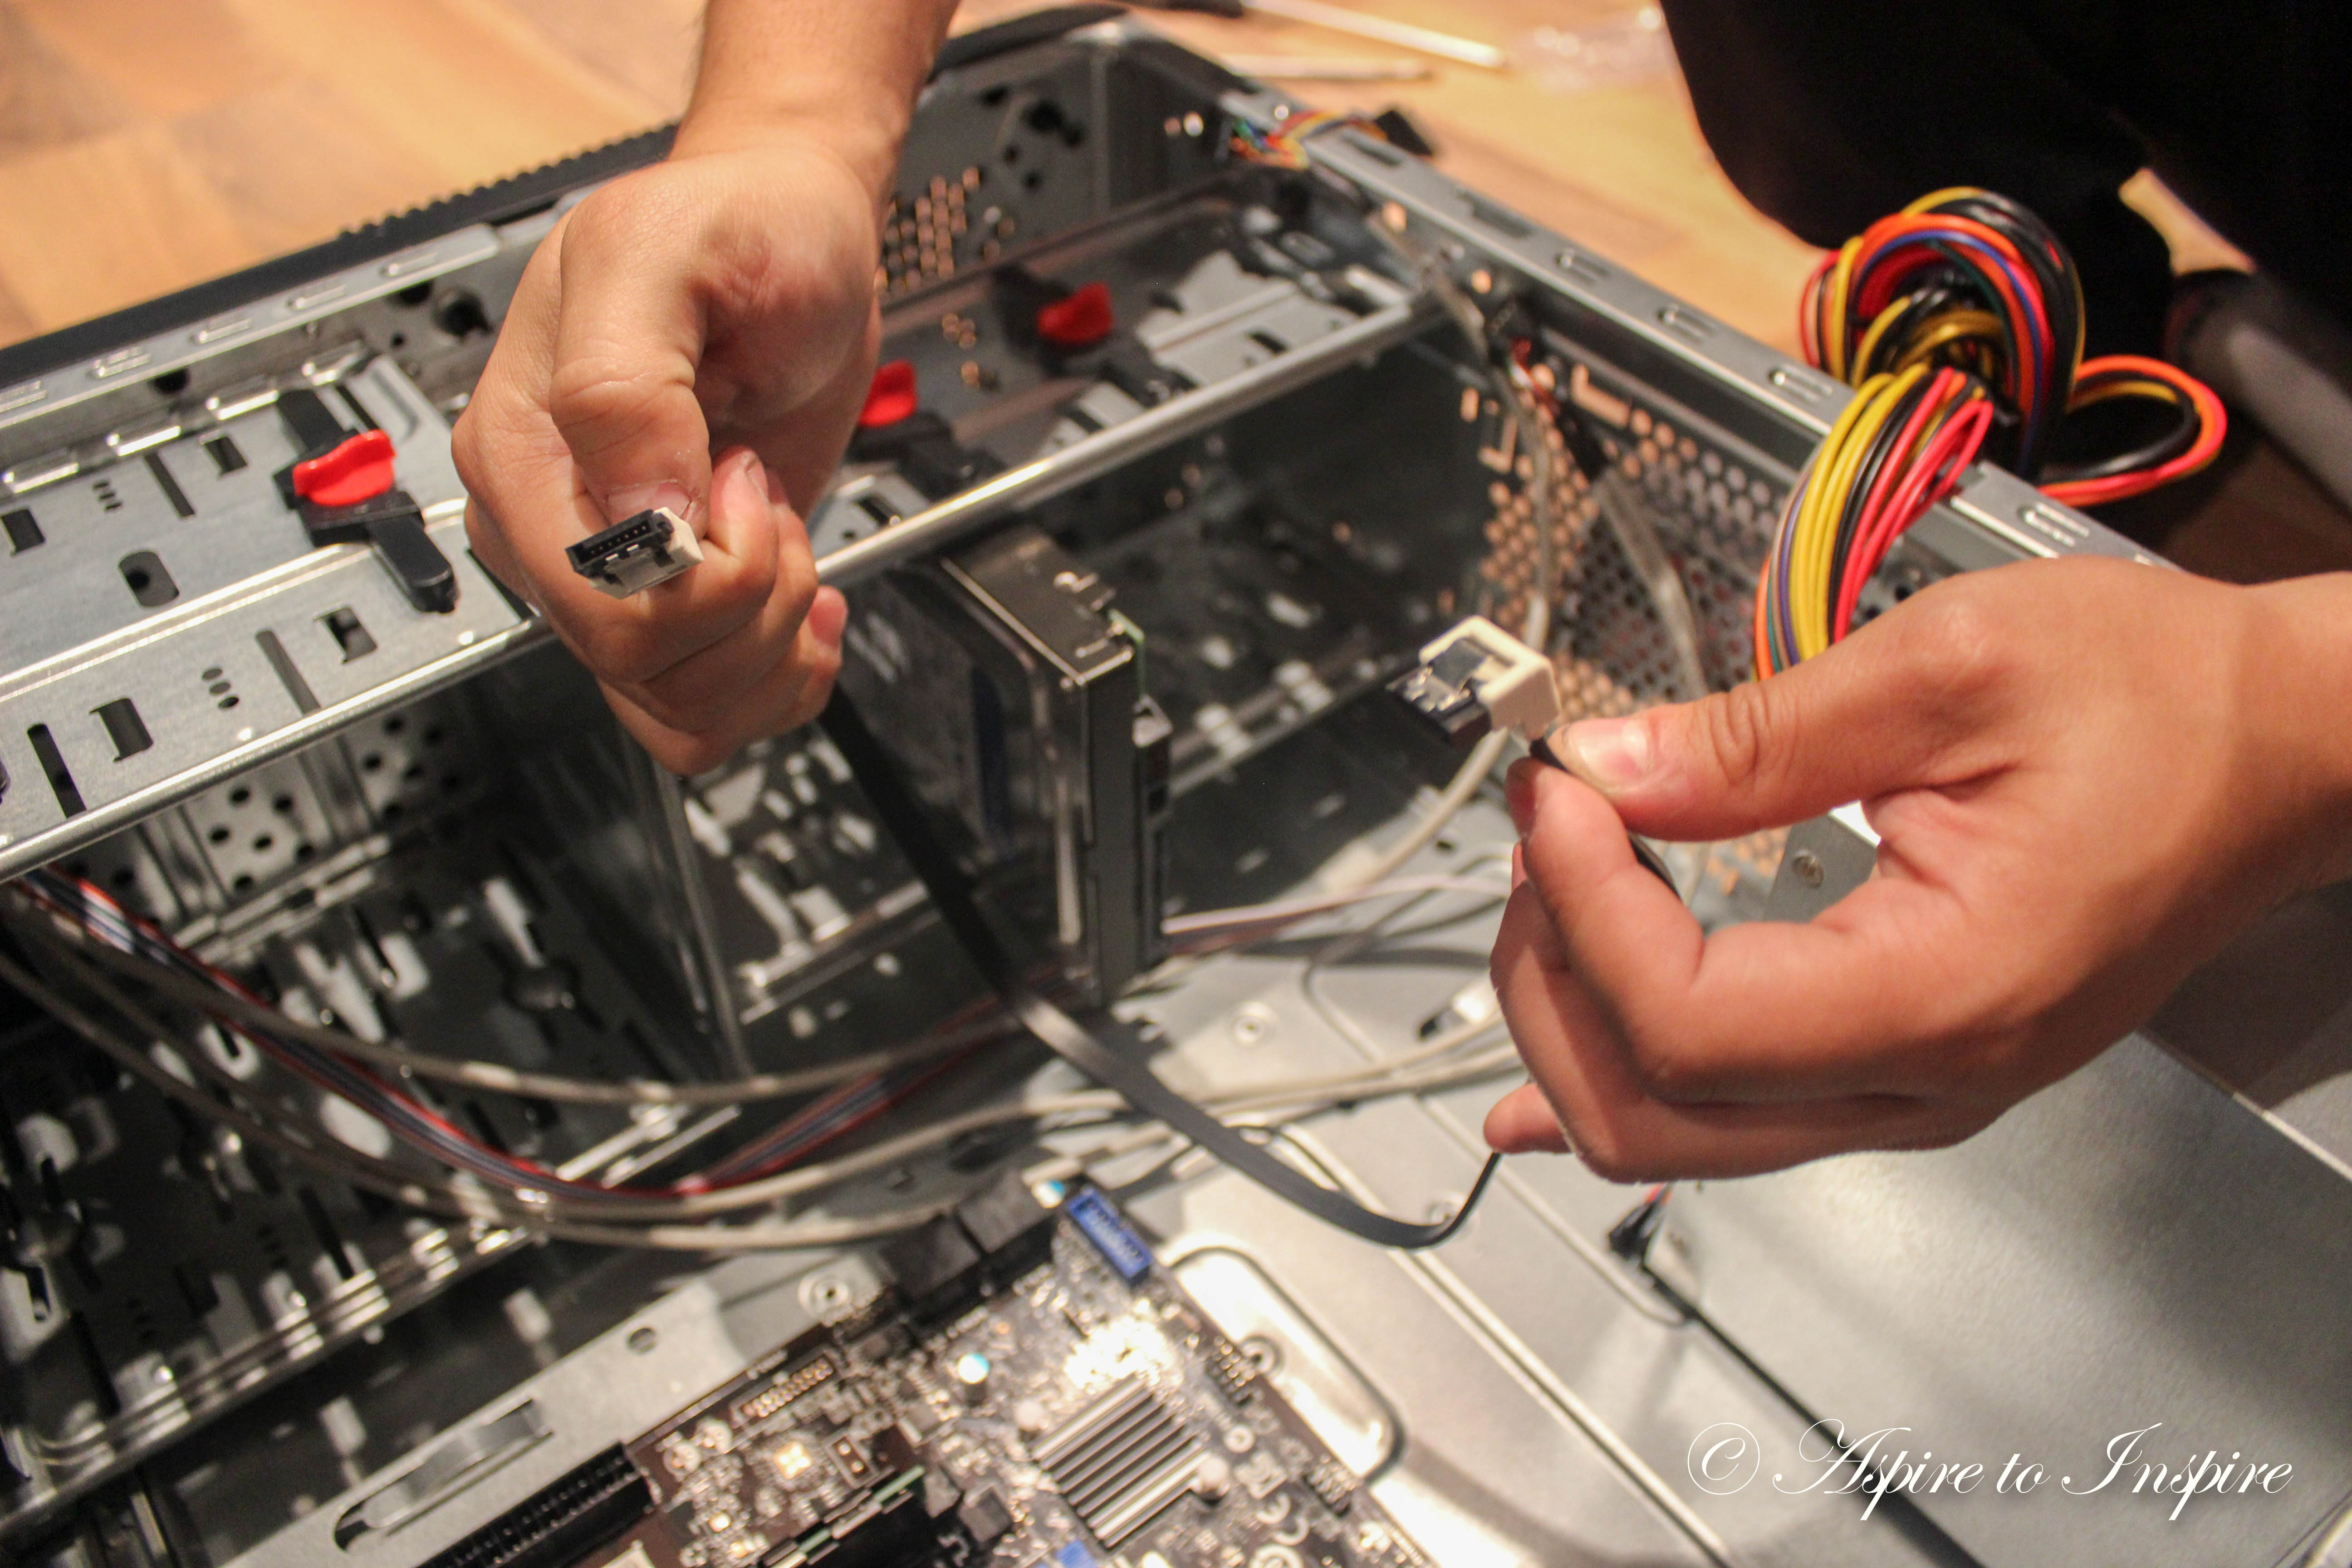
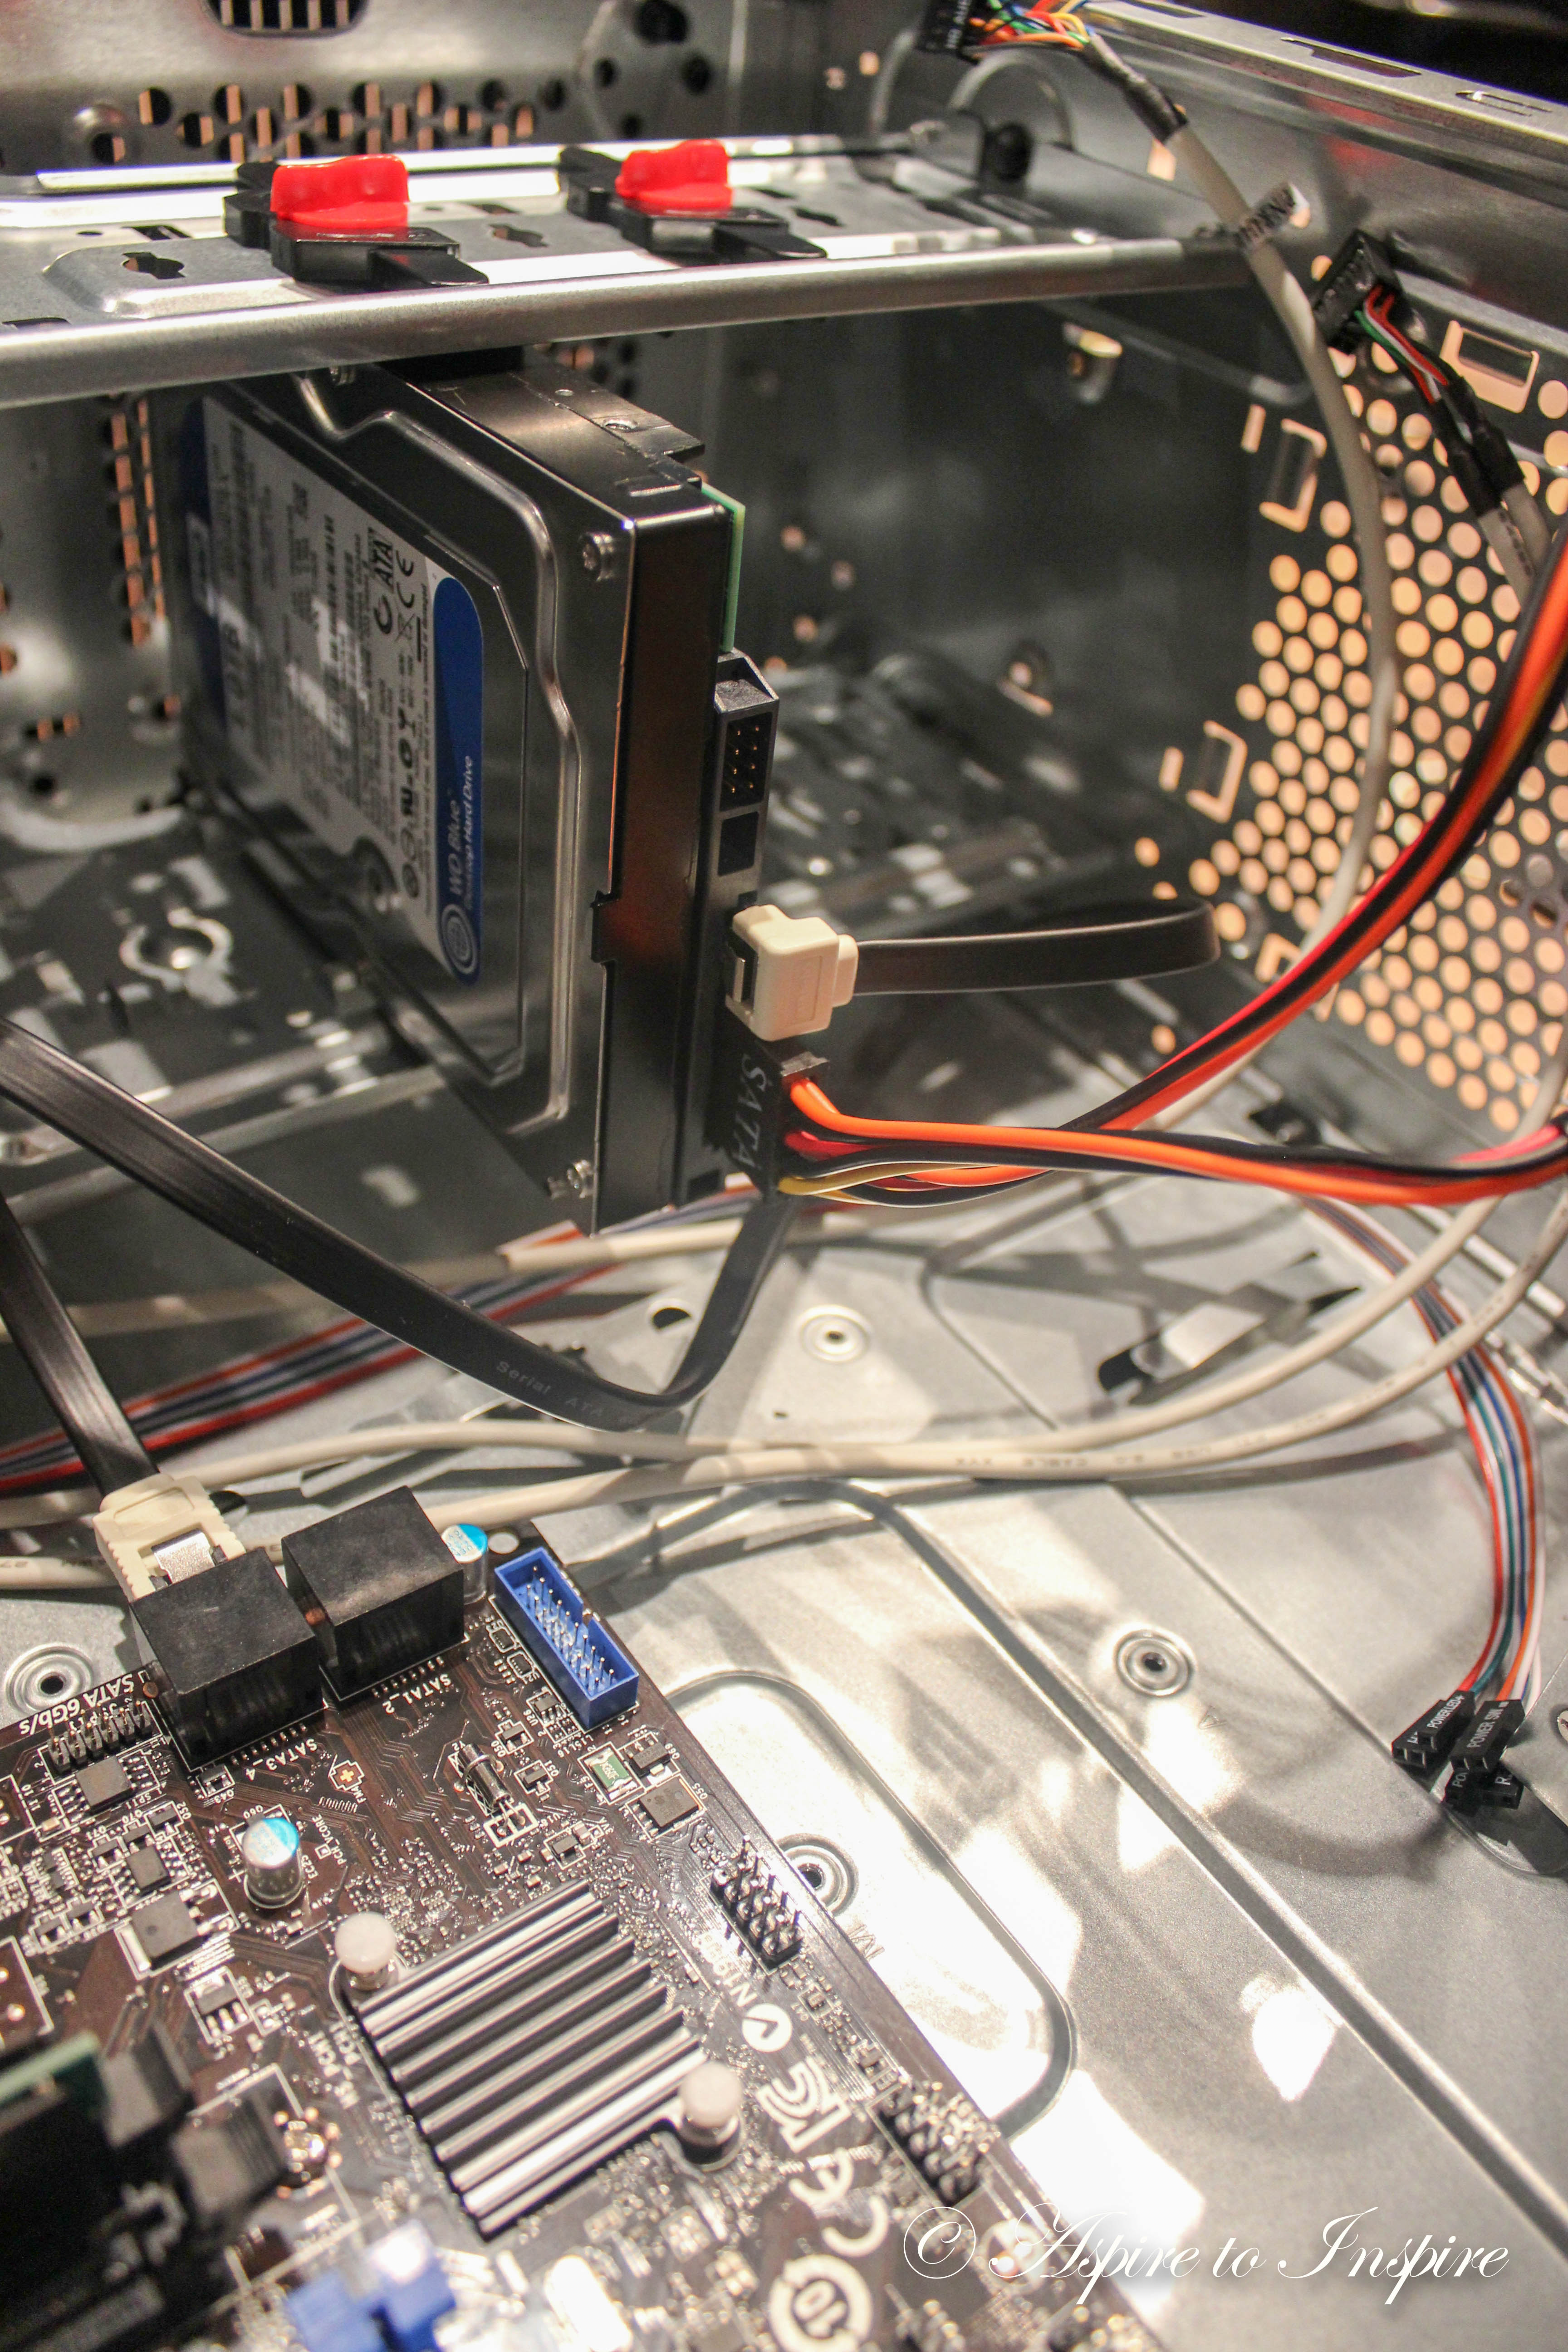
Step7: Next plug in the SATA cable from the mother board to the hard drive, and also connect the SATA power cable from the power supply to the hard drive
Step 8: Now plug in cables from front of tower to mother board (if it’s a USB you’re connecting it’ll connect to JUSB1 on the MB, If it’s Audio choose HD audio and connect it to JAUD1 on the MB; and finally the power button; reset button and light will connect to JFP1.)
Step 9: Finally plug in the computer to power outlet in your home or office and see if the computer turns on, if it does than your all set if not repeat step 8 again. Once you are up and running close computer up and install Windows operating system, using either a bootable USB or CD. Plug it in and turn on computer. The USB or CD should be read by itself, from there follow the steps to install Windows and you are all done. You have just built your first Desktop PC.
Thanks for reading,
Maritza, xo.
Comments