In honour of SEPT 15TH; a day which marks the independence day of Central America (my background, that is), I decided to make a treat that is commonly made back home, and one of my all time favs to eat. I figured during this time everyone is celebrating so I thought why not make something to enjoy with my family today!
This sort of dessert is so simple to make and a wonderful one for all friends with a sweet tooth like moi!
Here’s what you will need for CHOCOBANANOS OR also known as CHOCOLATE COVERED BANANAS:
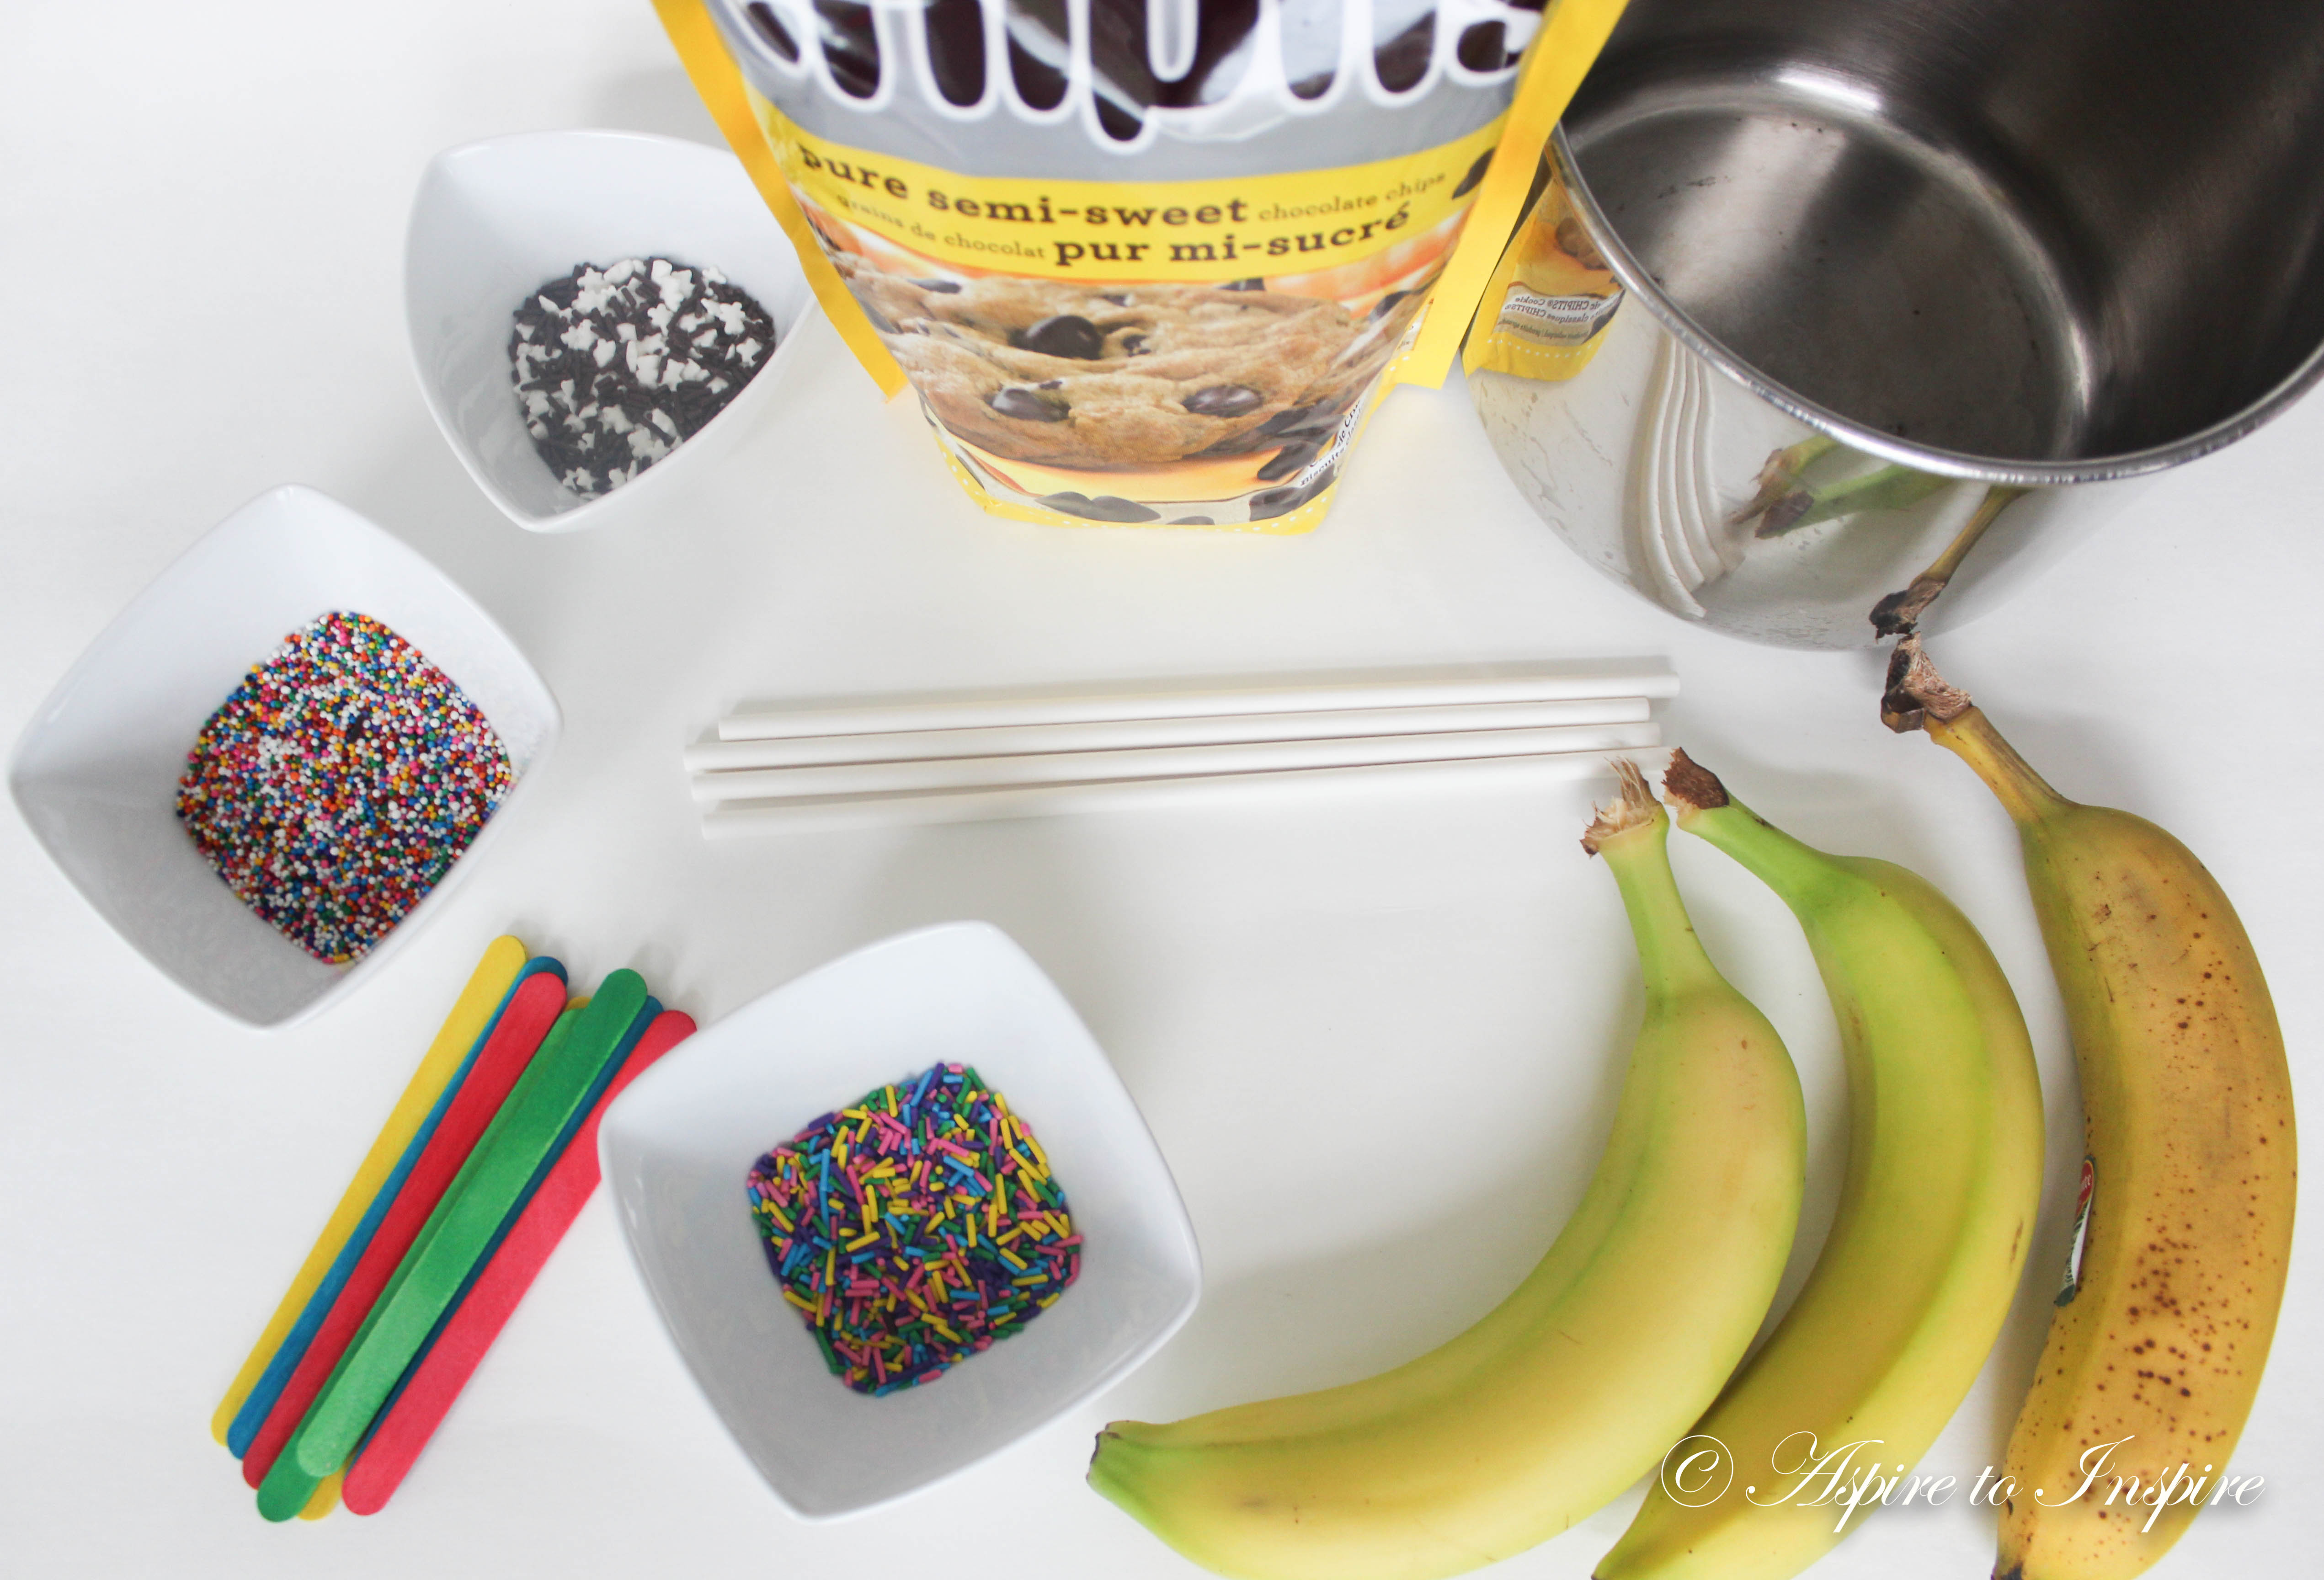
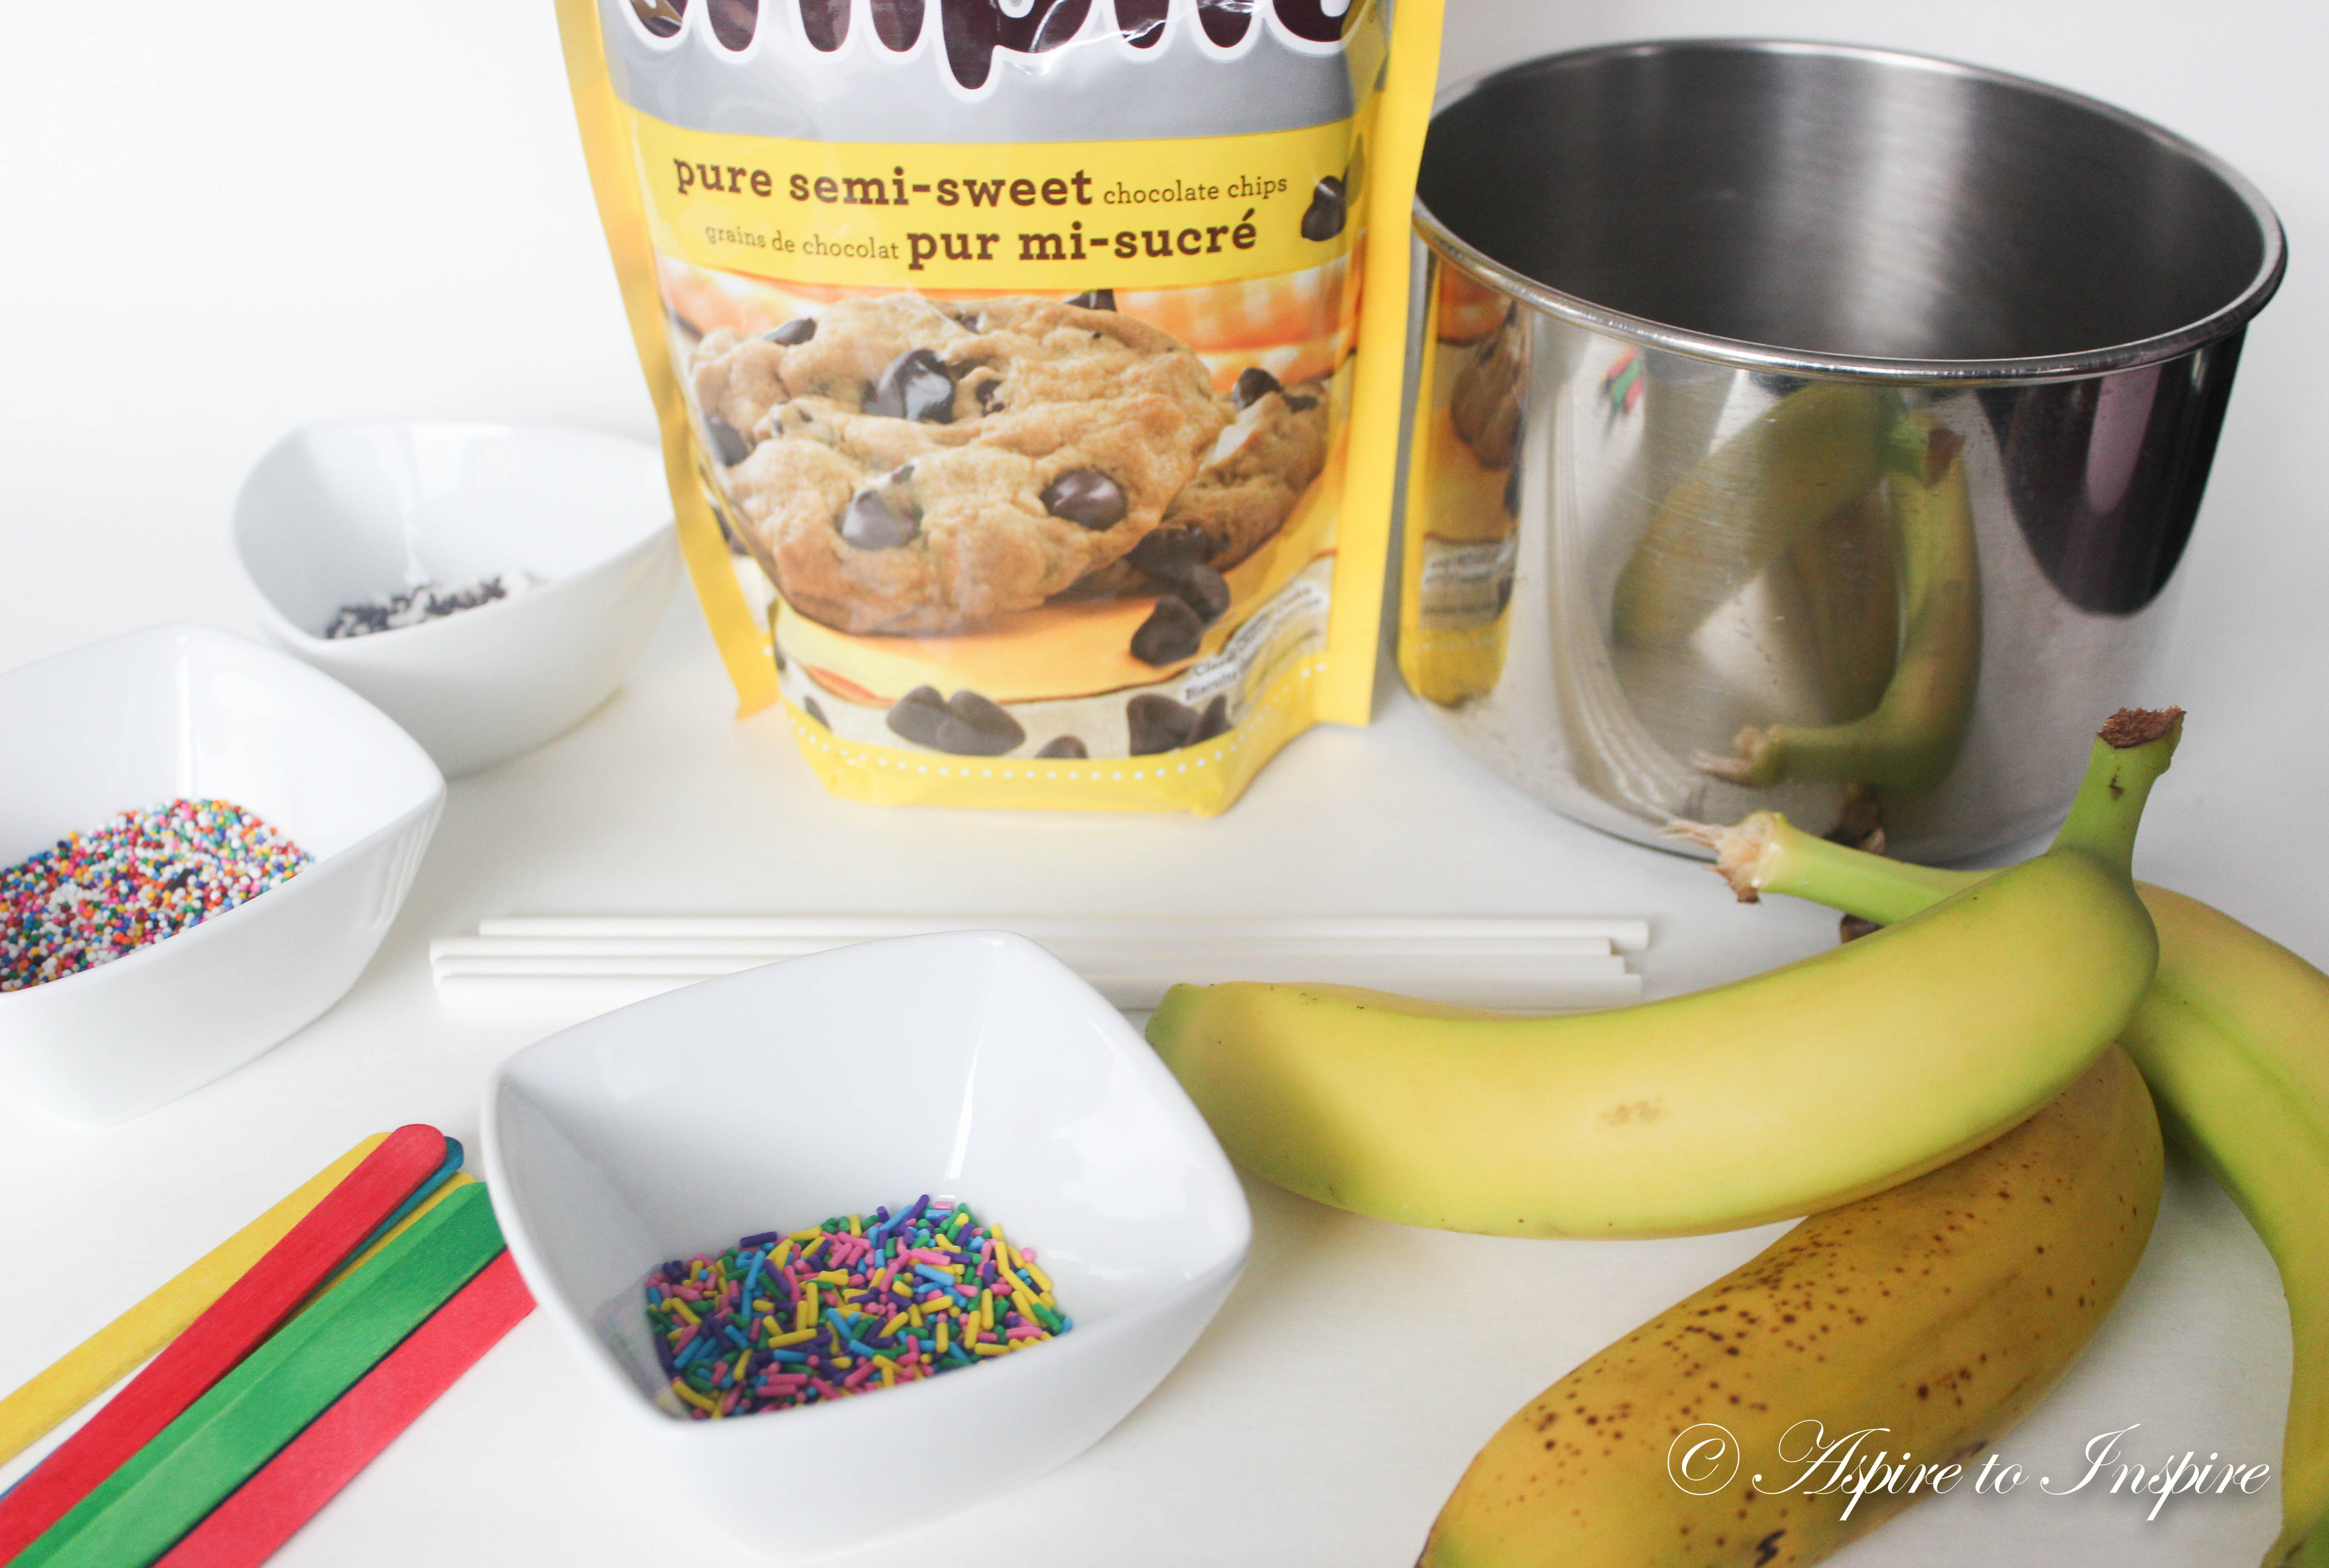
Supplies needed:
– Milk or dark chocolate chips
– Bananas
– Popsicles sticks/ Cake pop sticks
– Sprinkles {optional}
– Pan
****************************************************
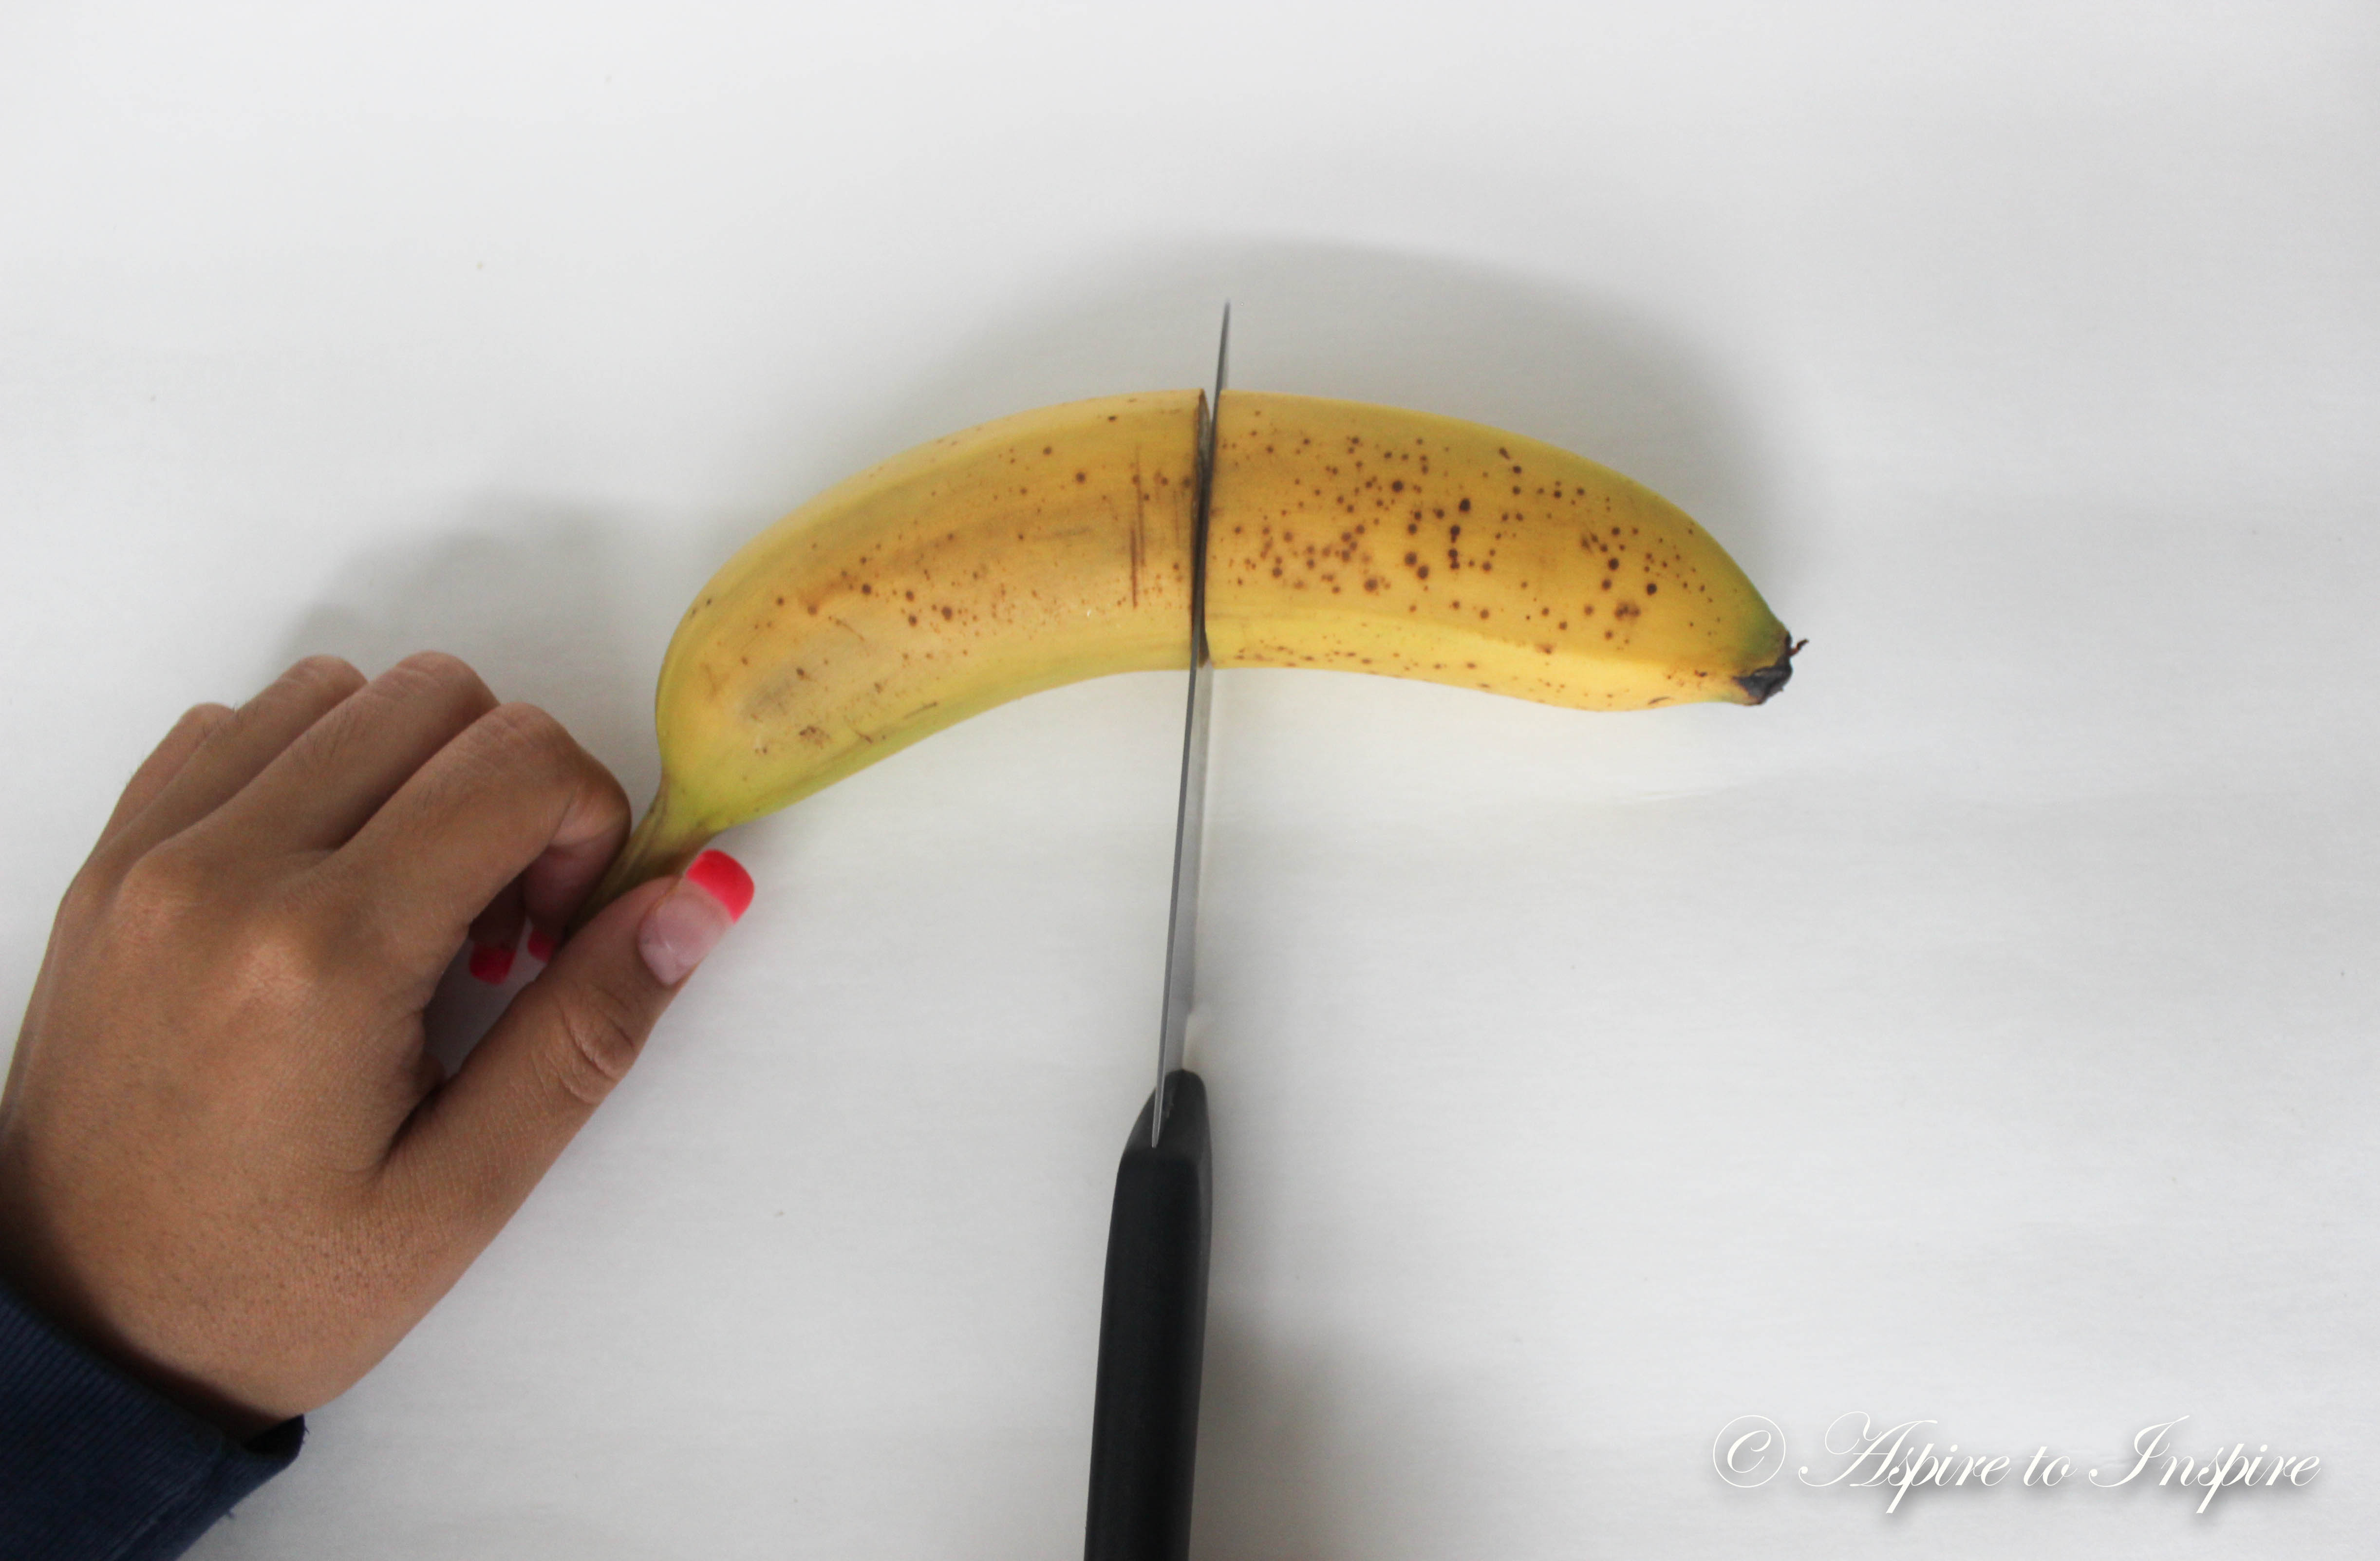
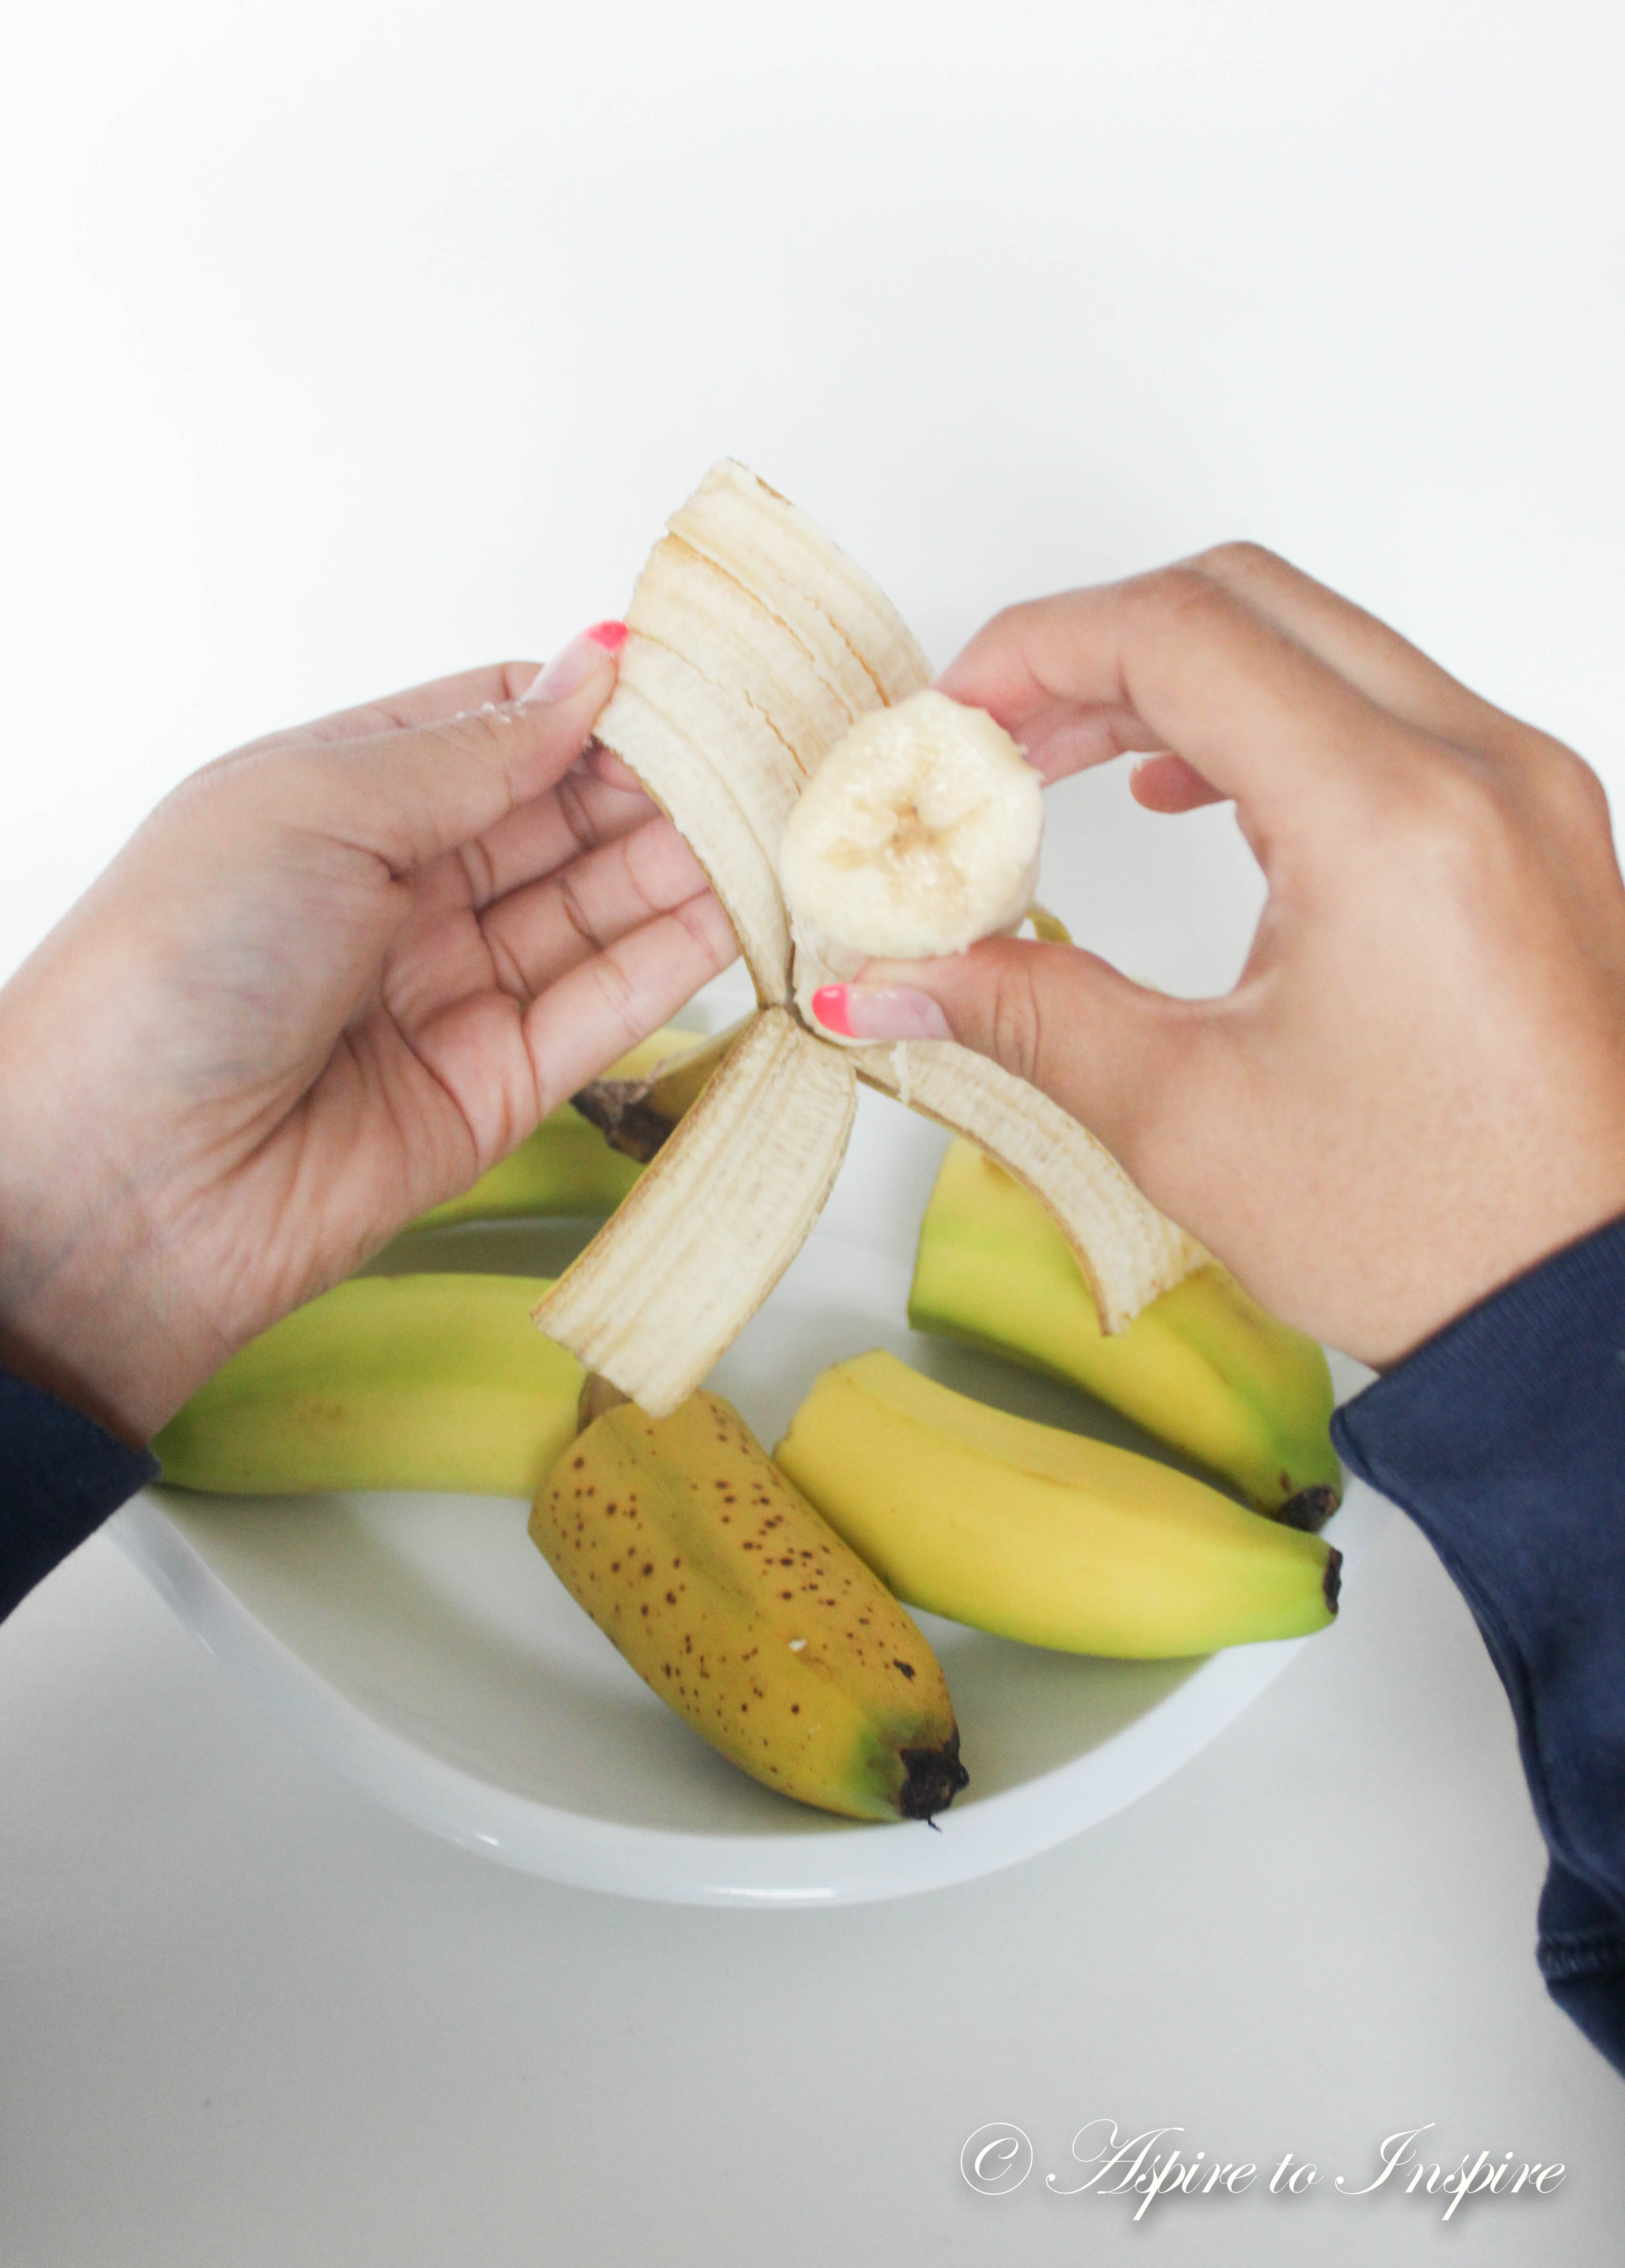
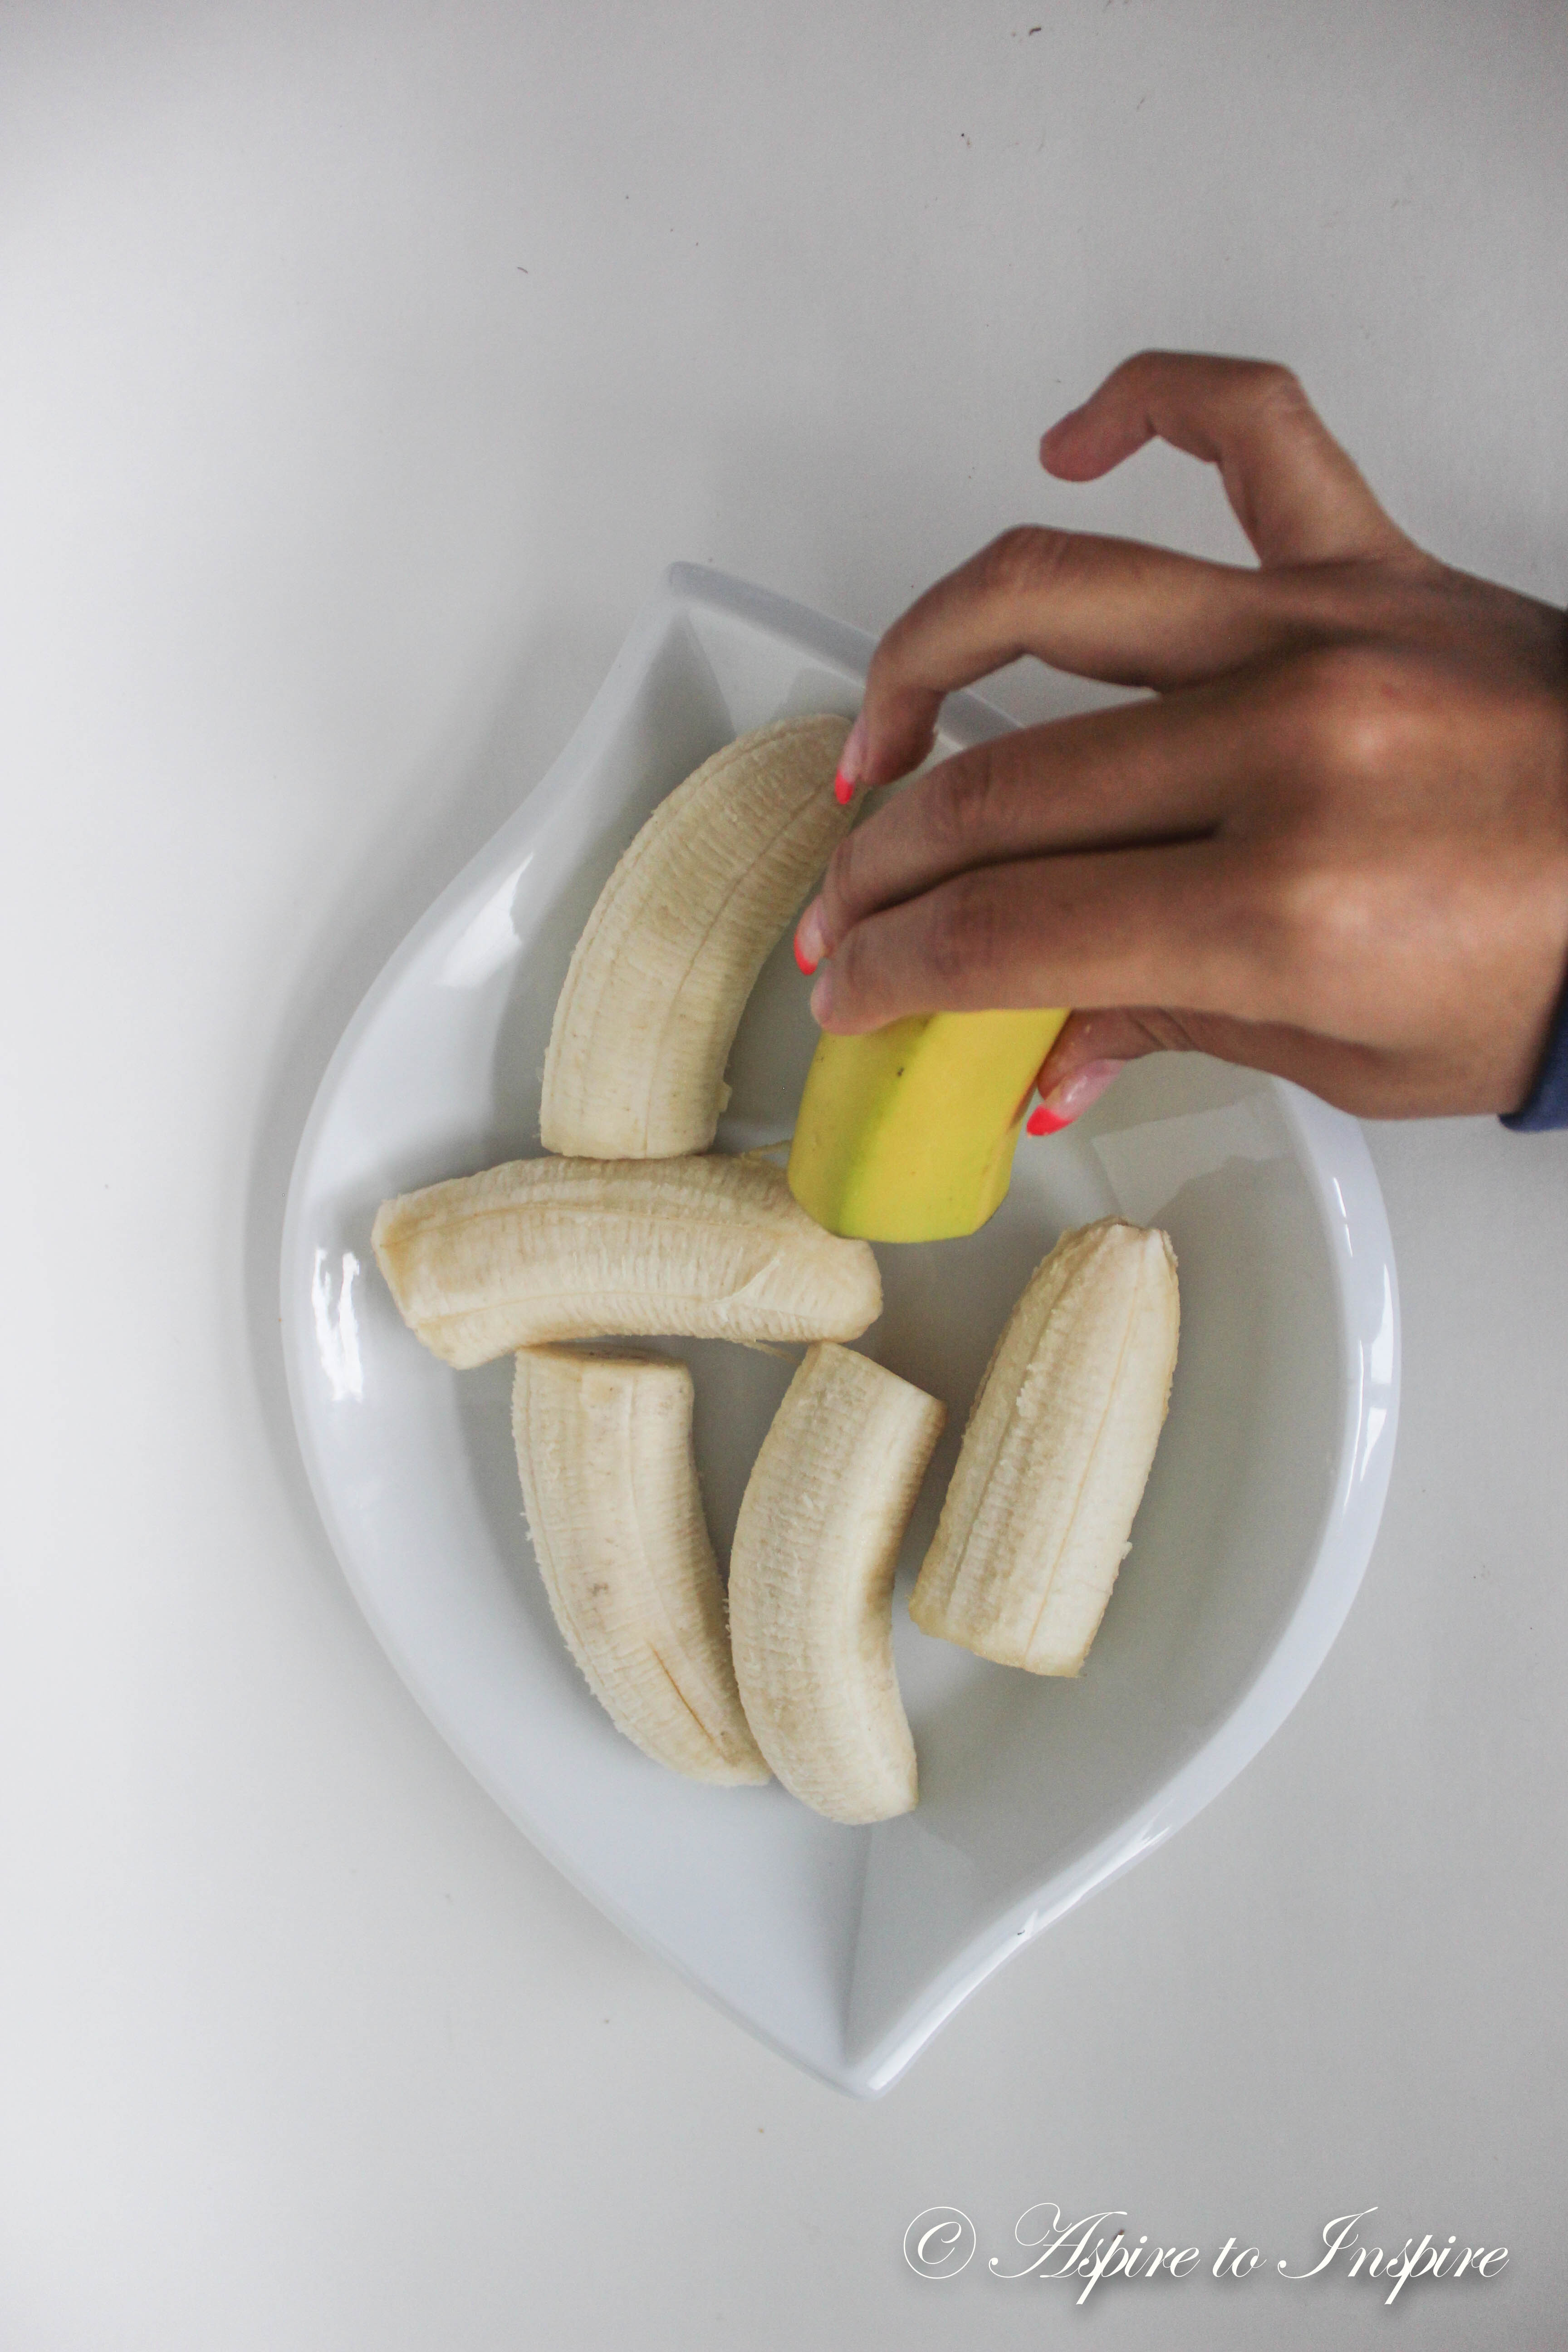
Step 1: First you have a choice of either cutting your bananas in half or you can use the whole banana as it is. Depends the size you want!
I decided to cut mine in half so I can have more of them.
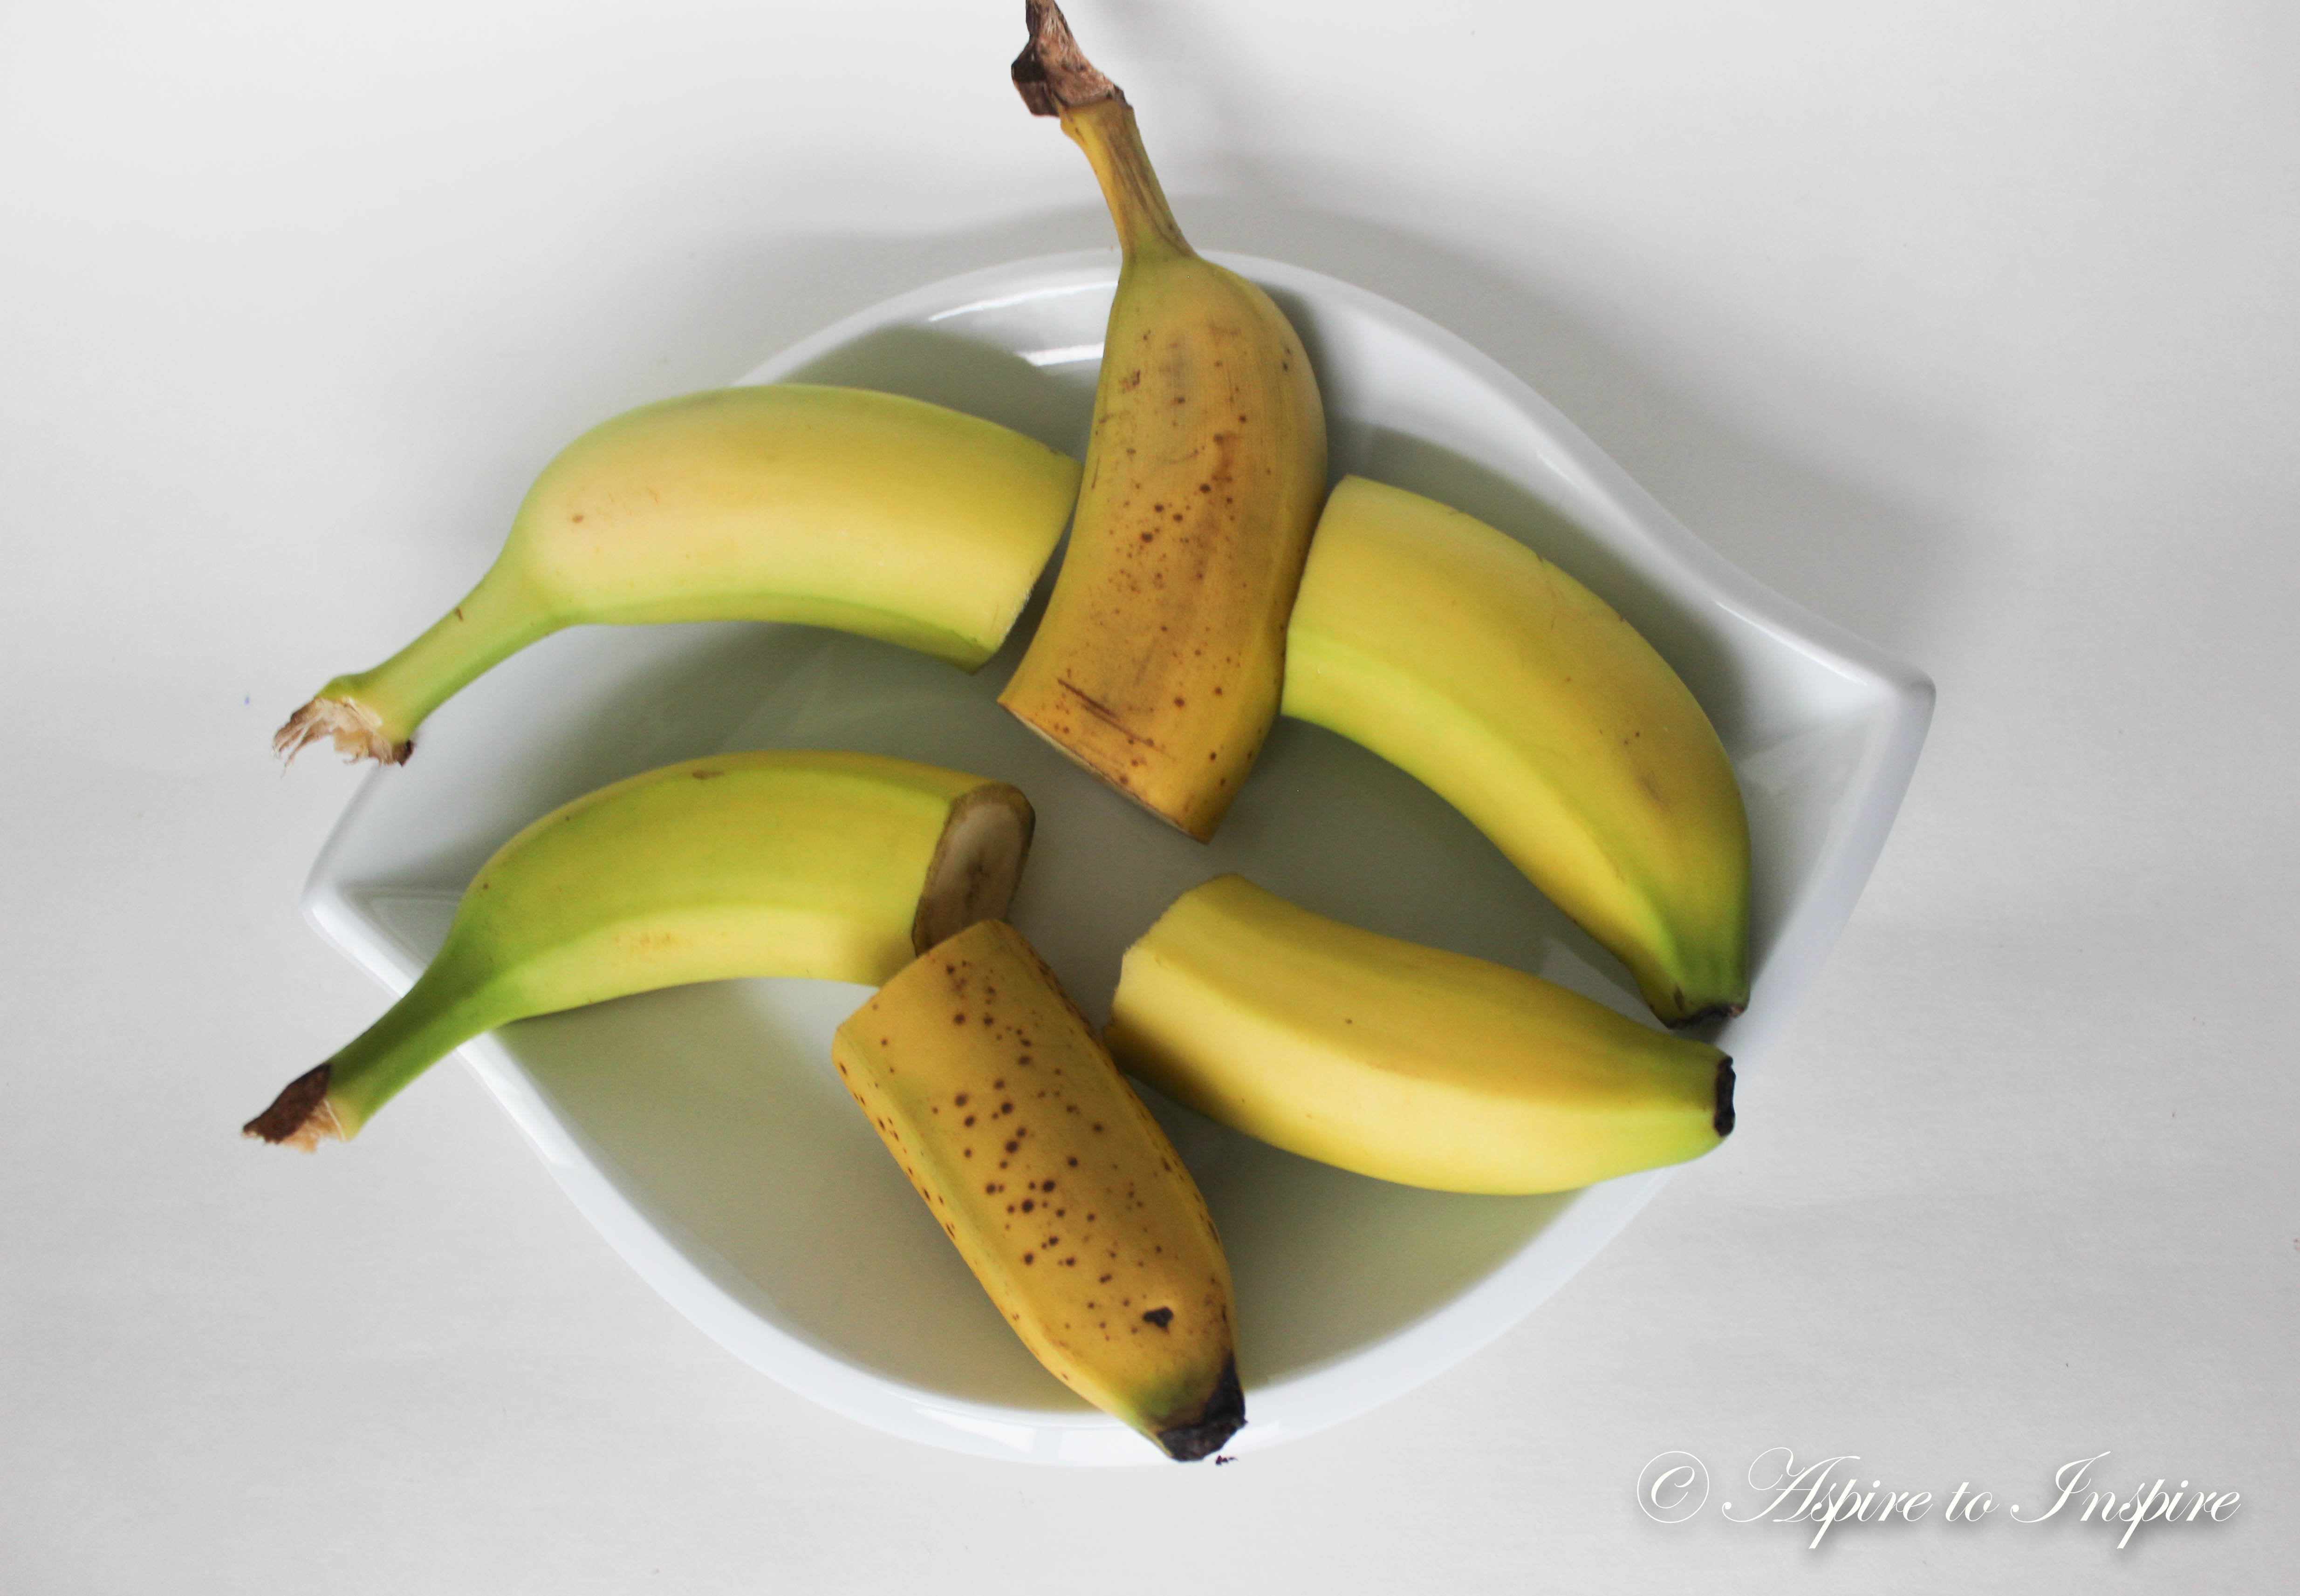
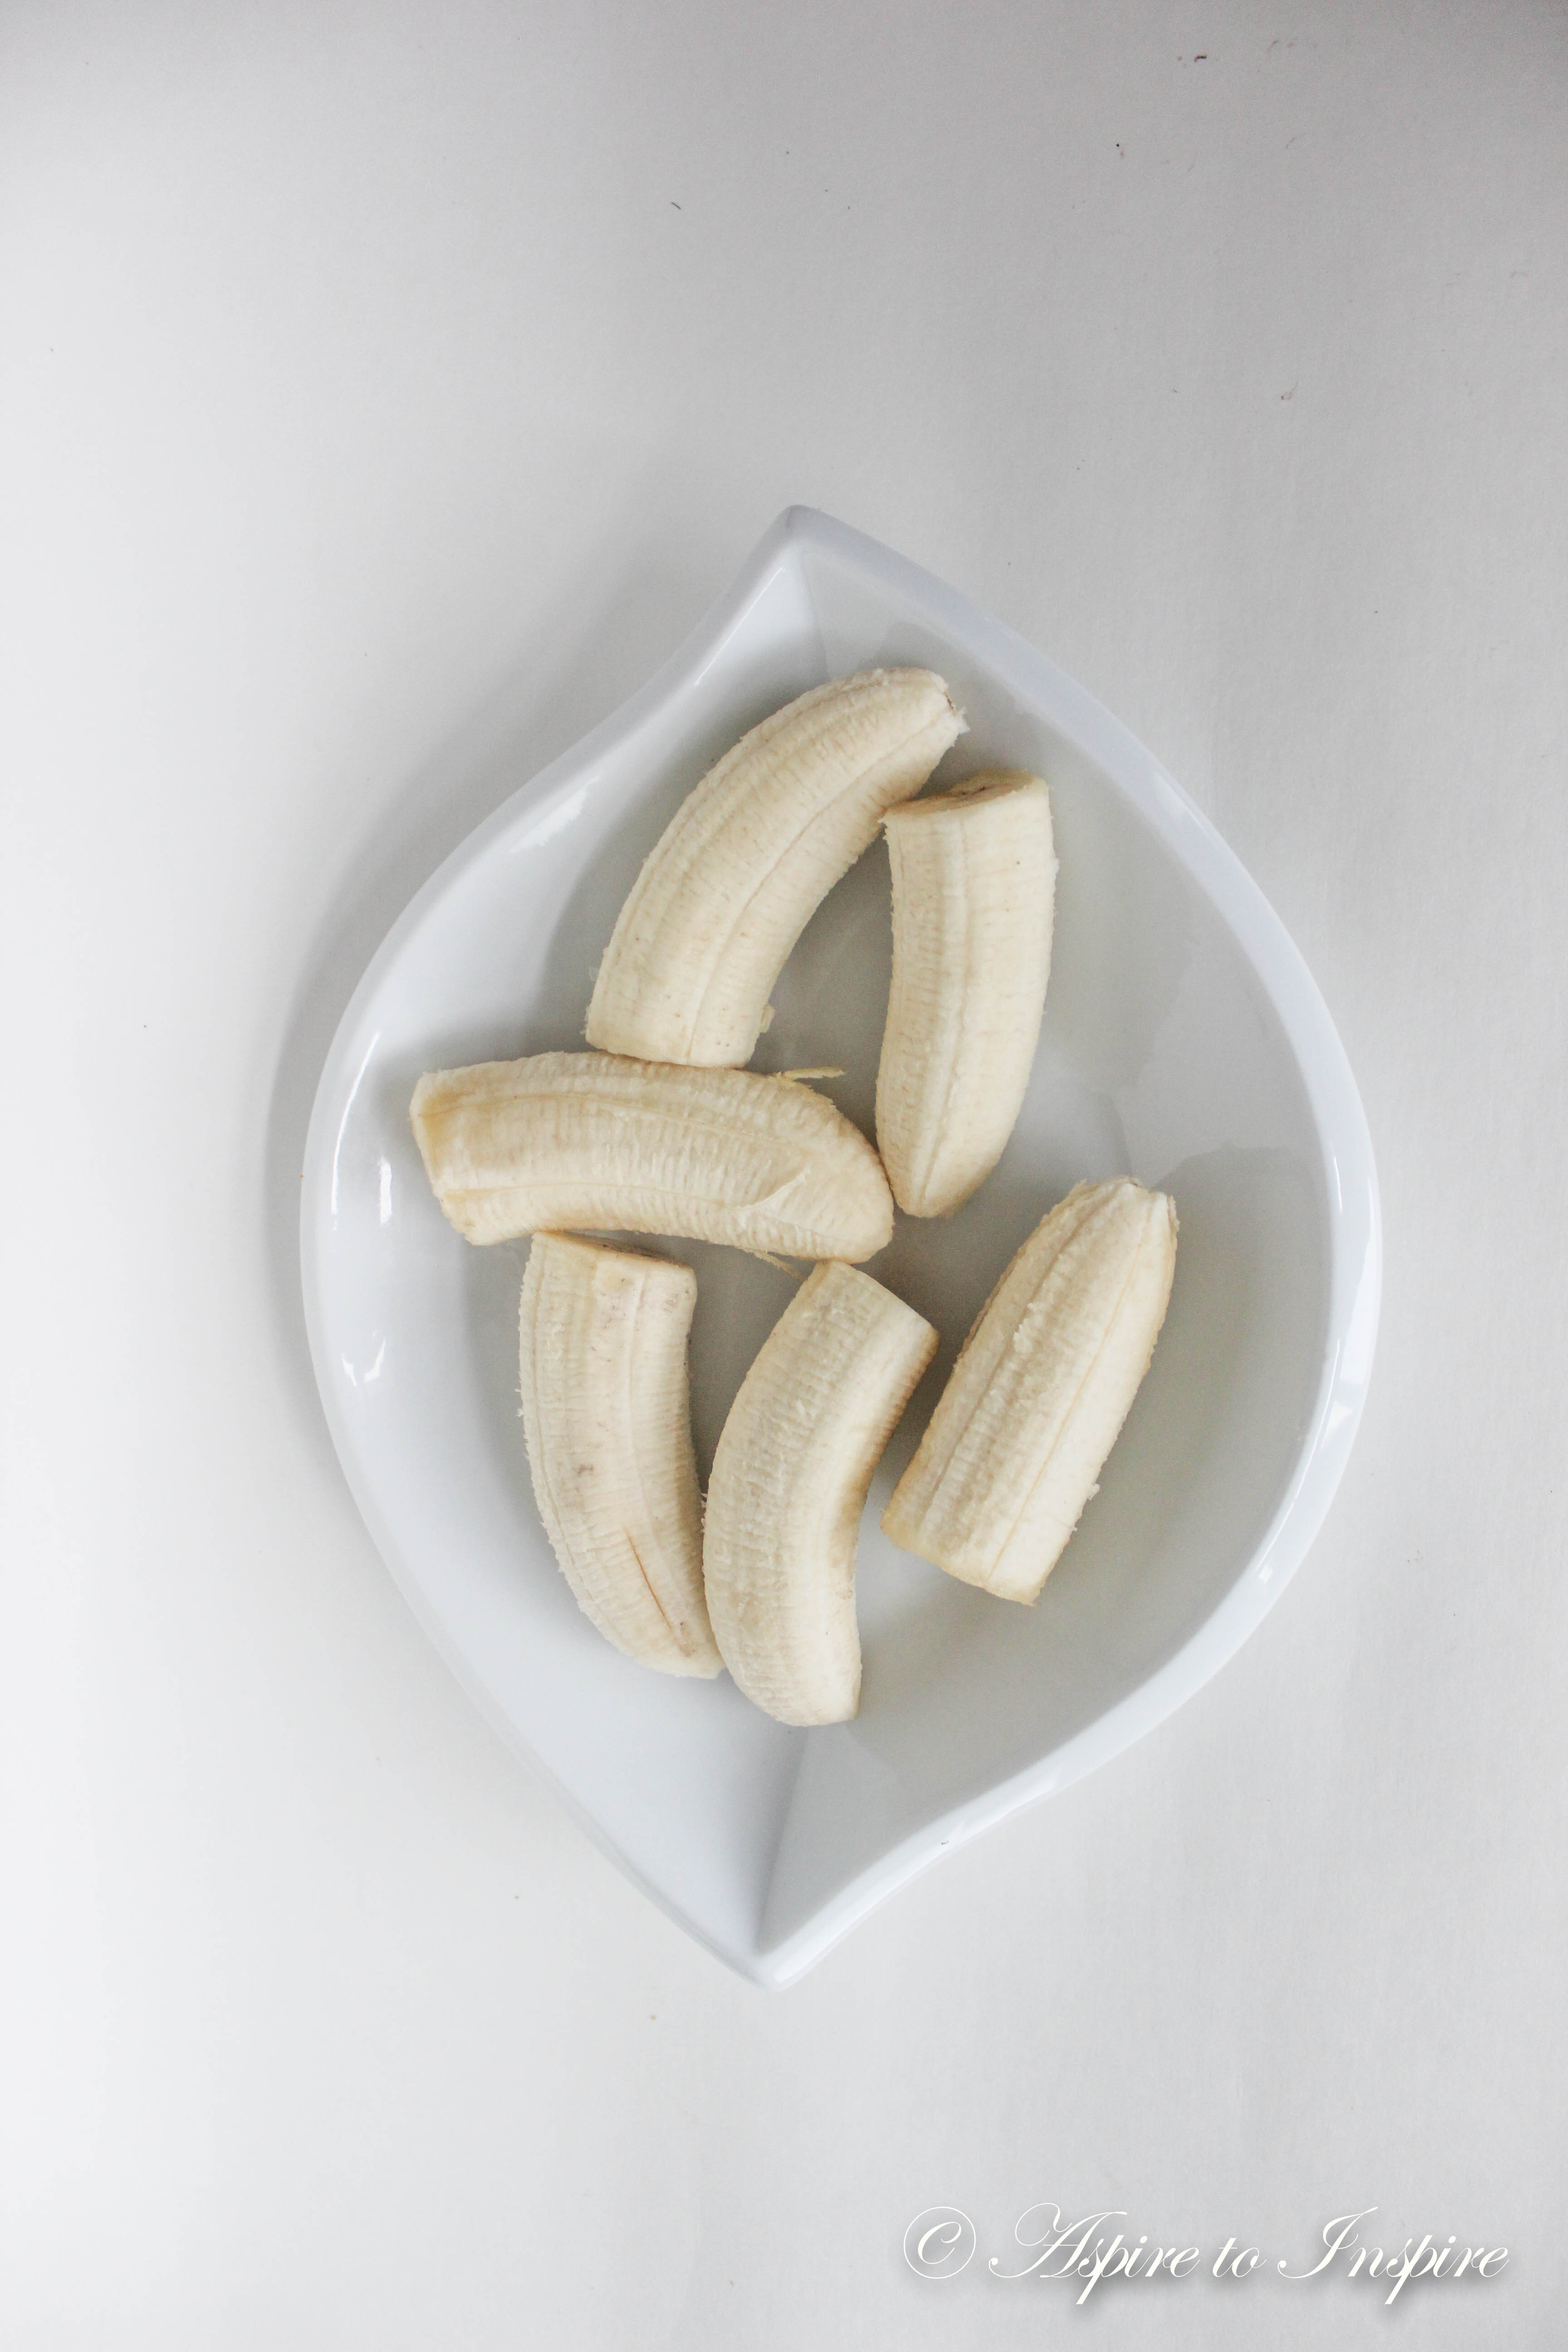
Step 2: Once all cut, you can peel away!

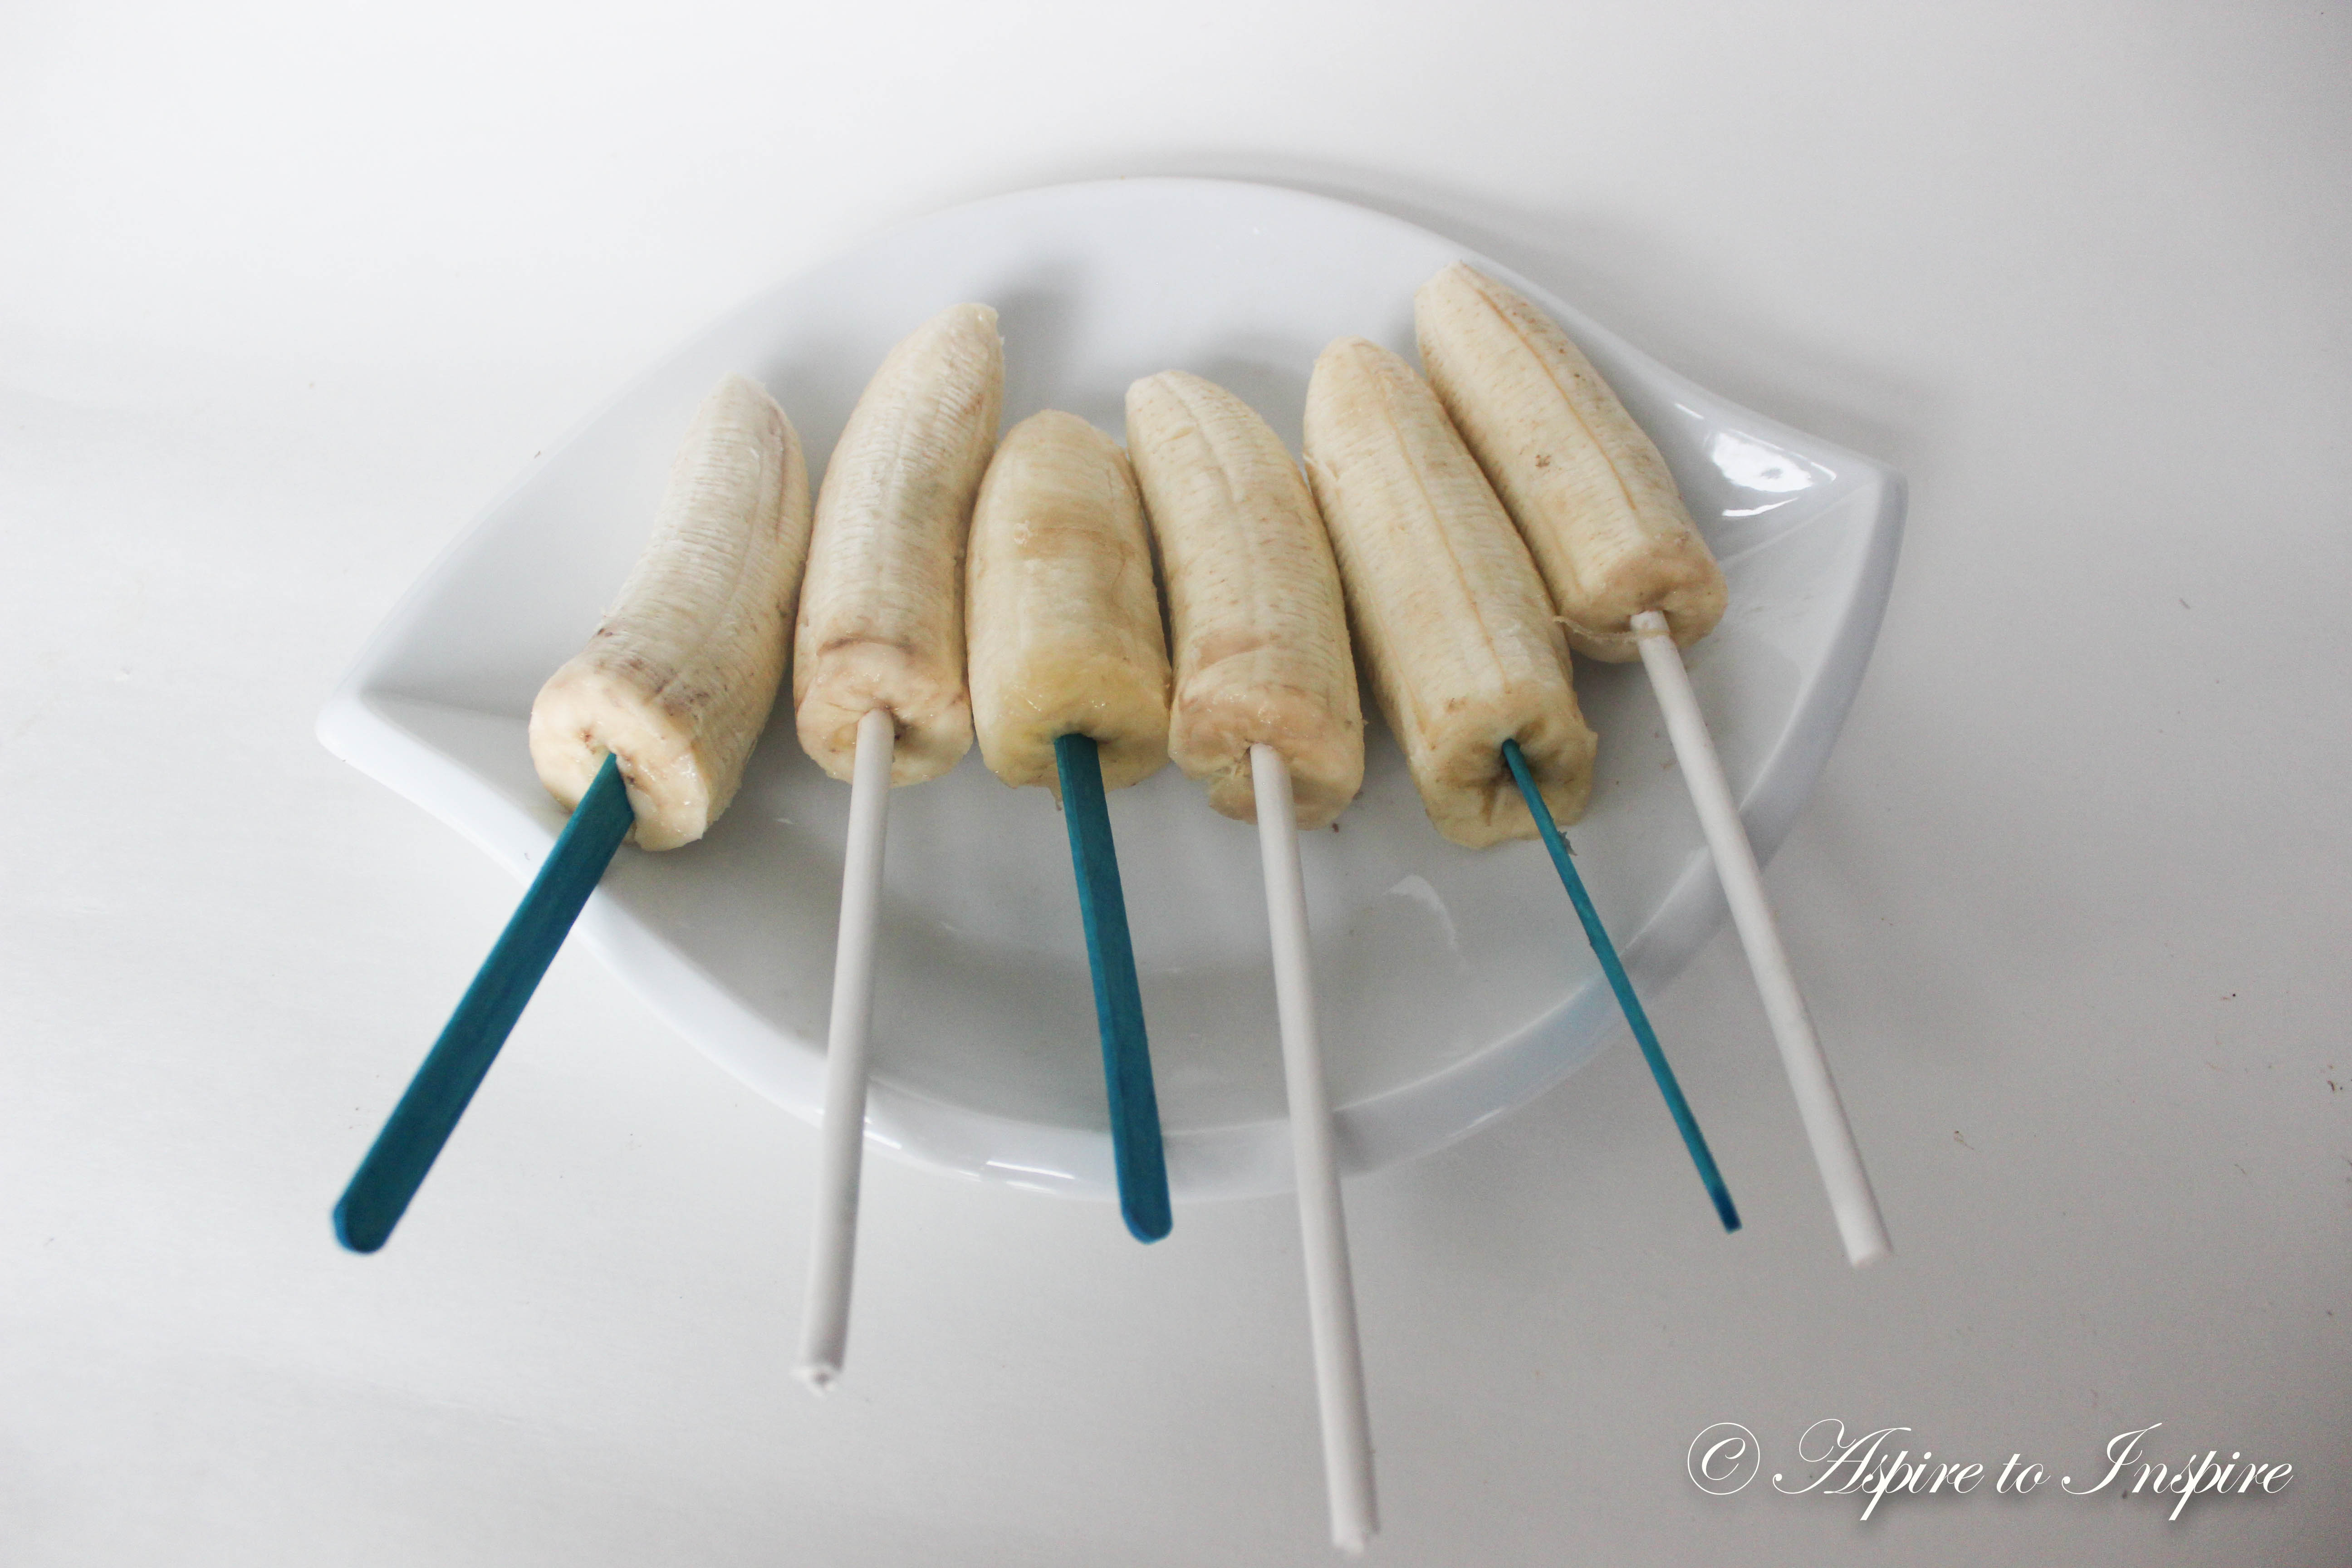
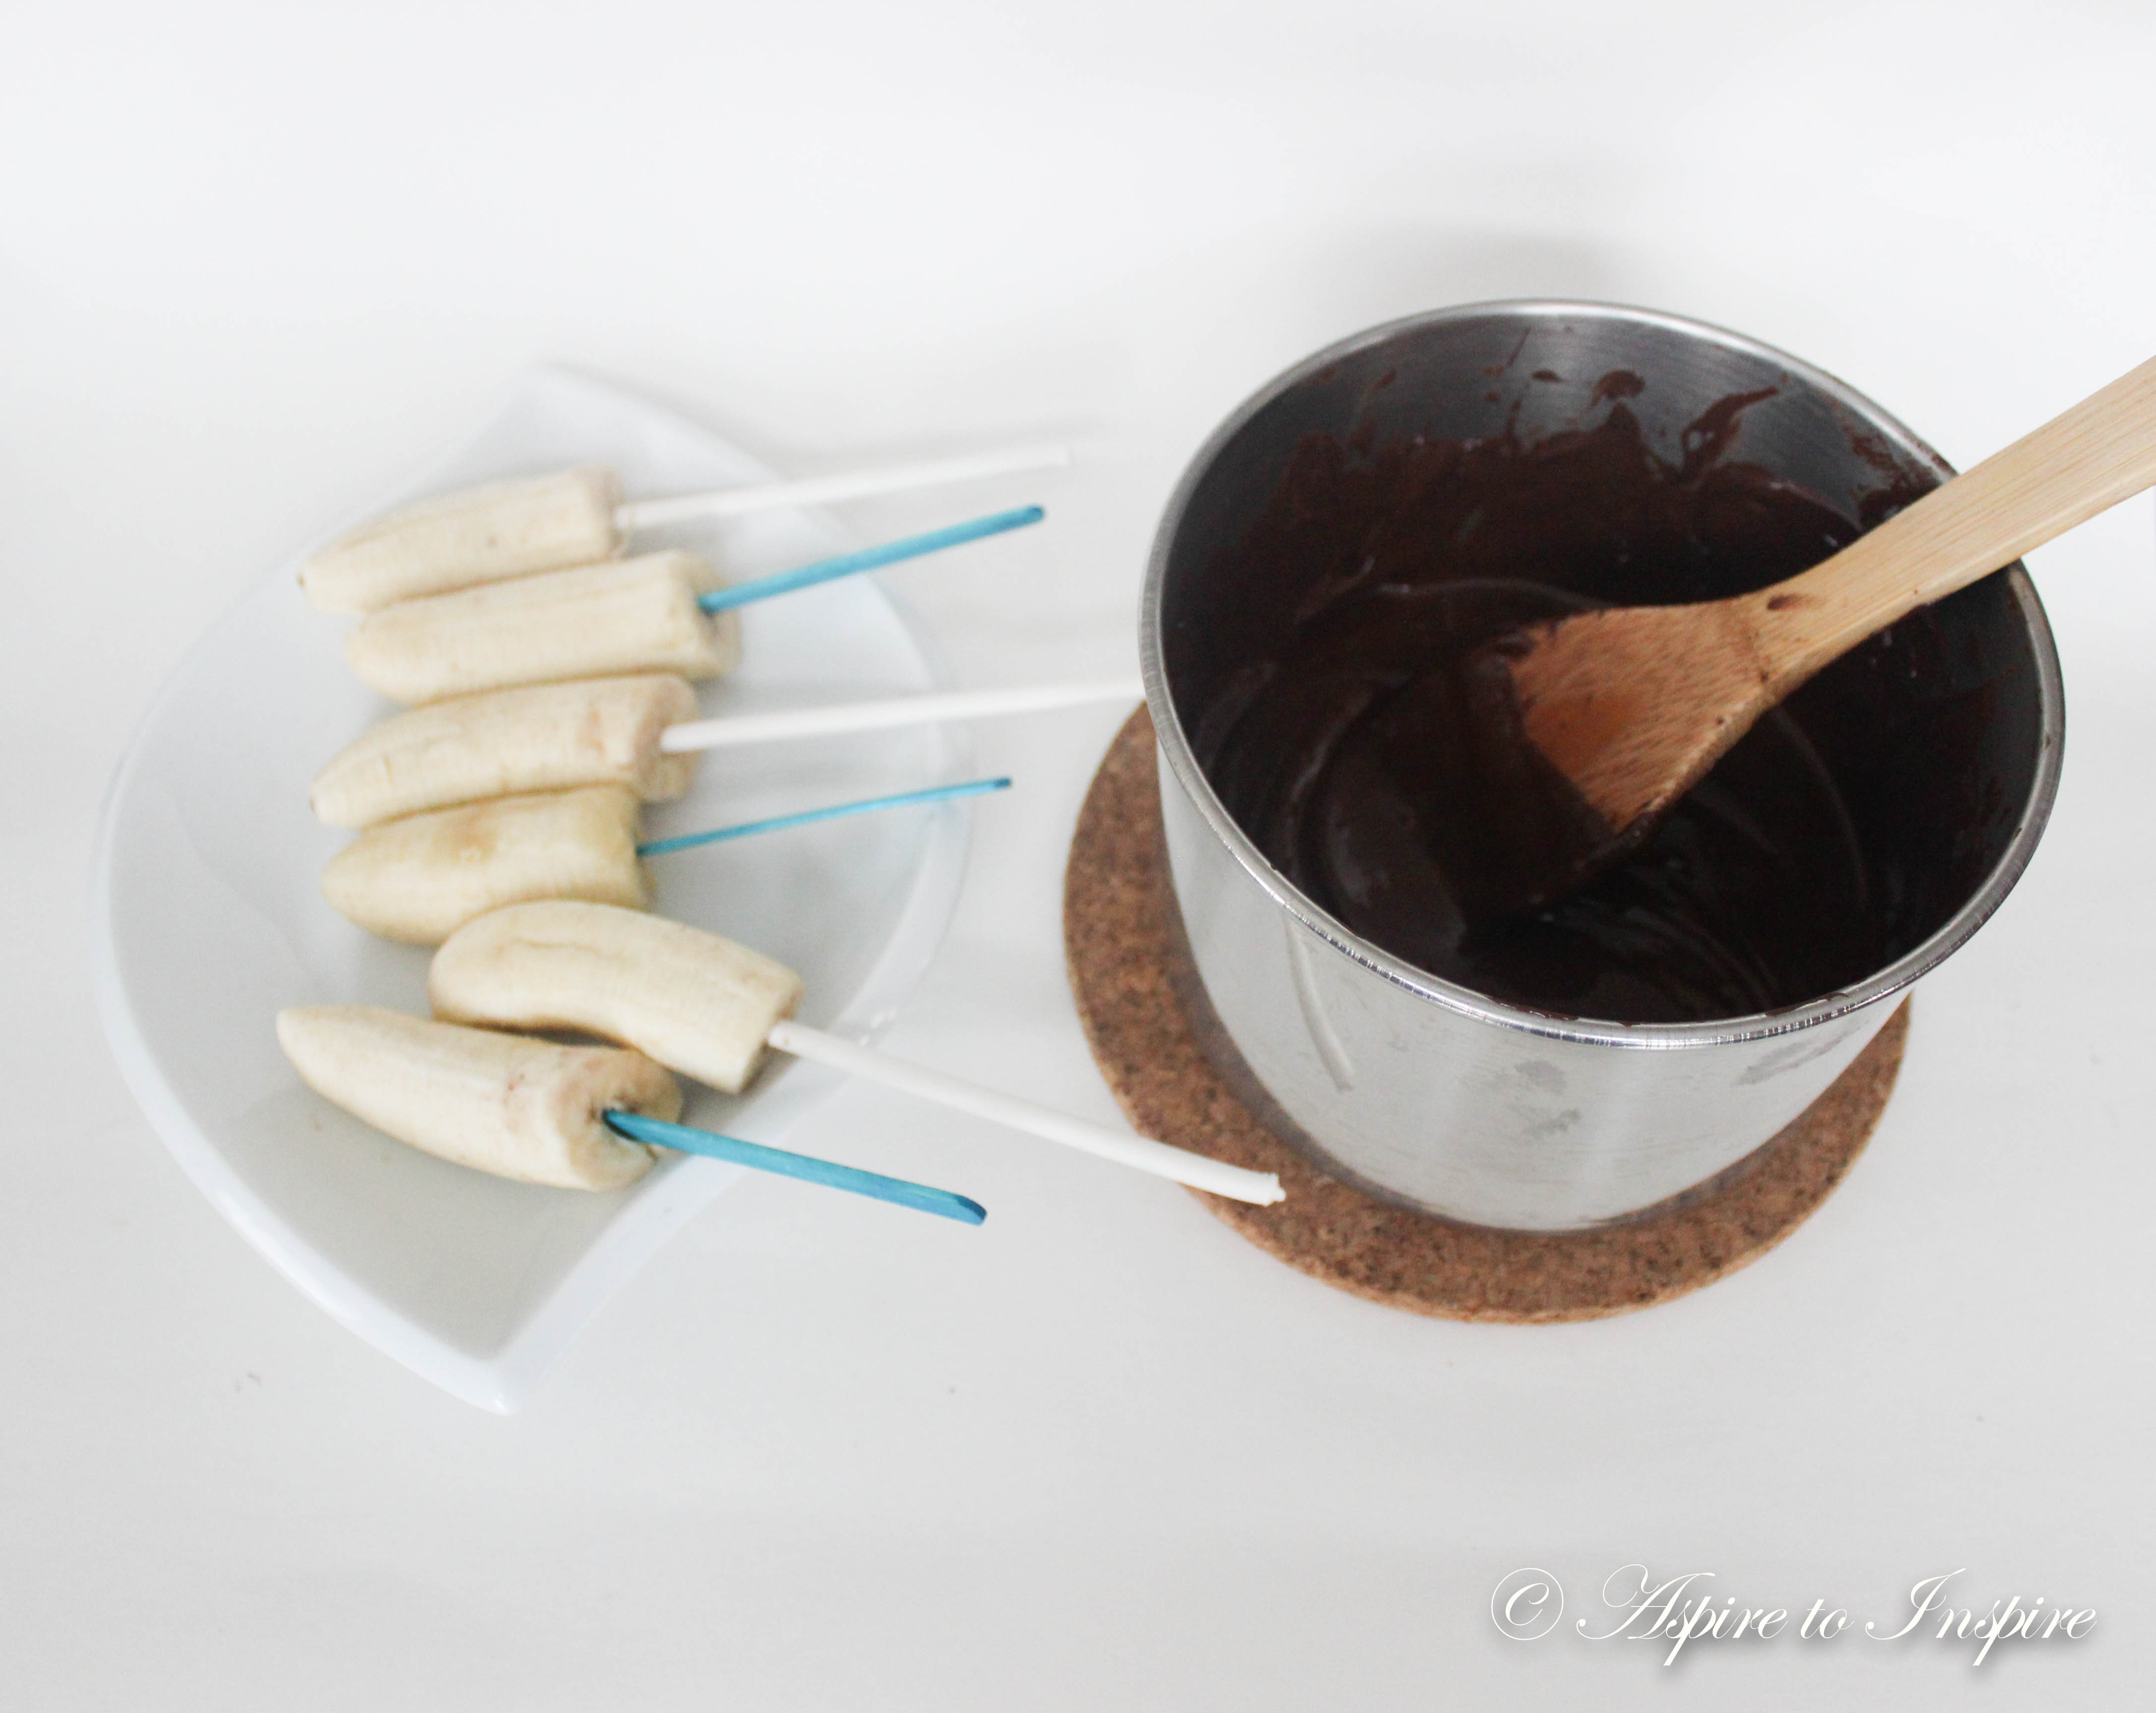
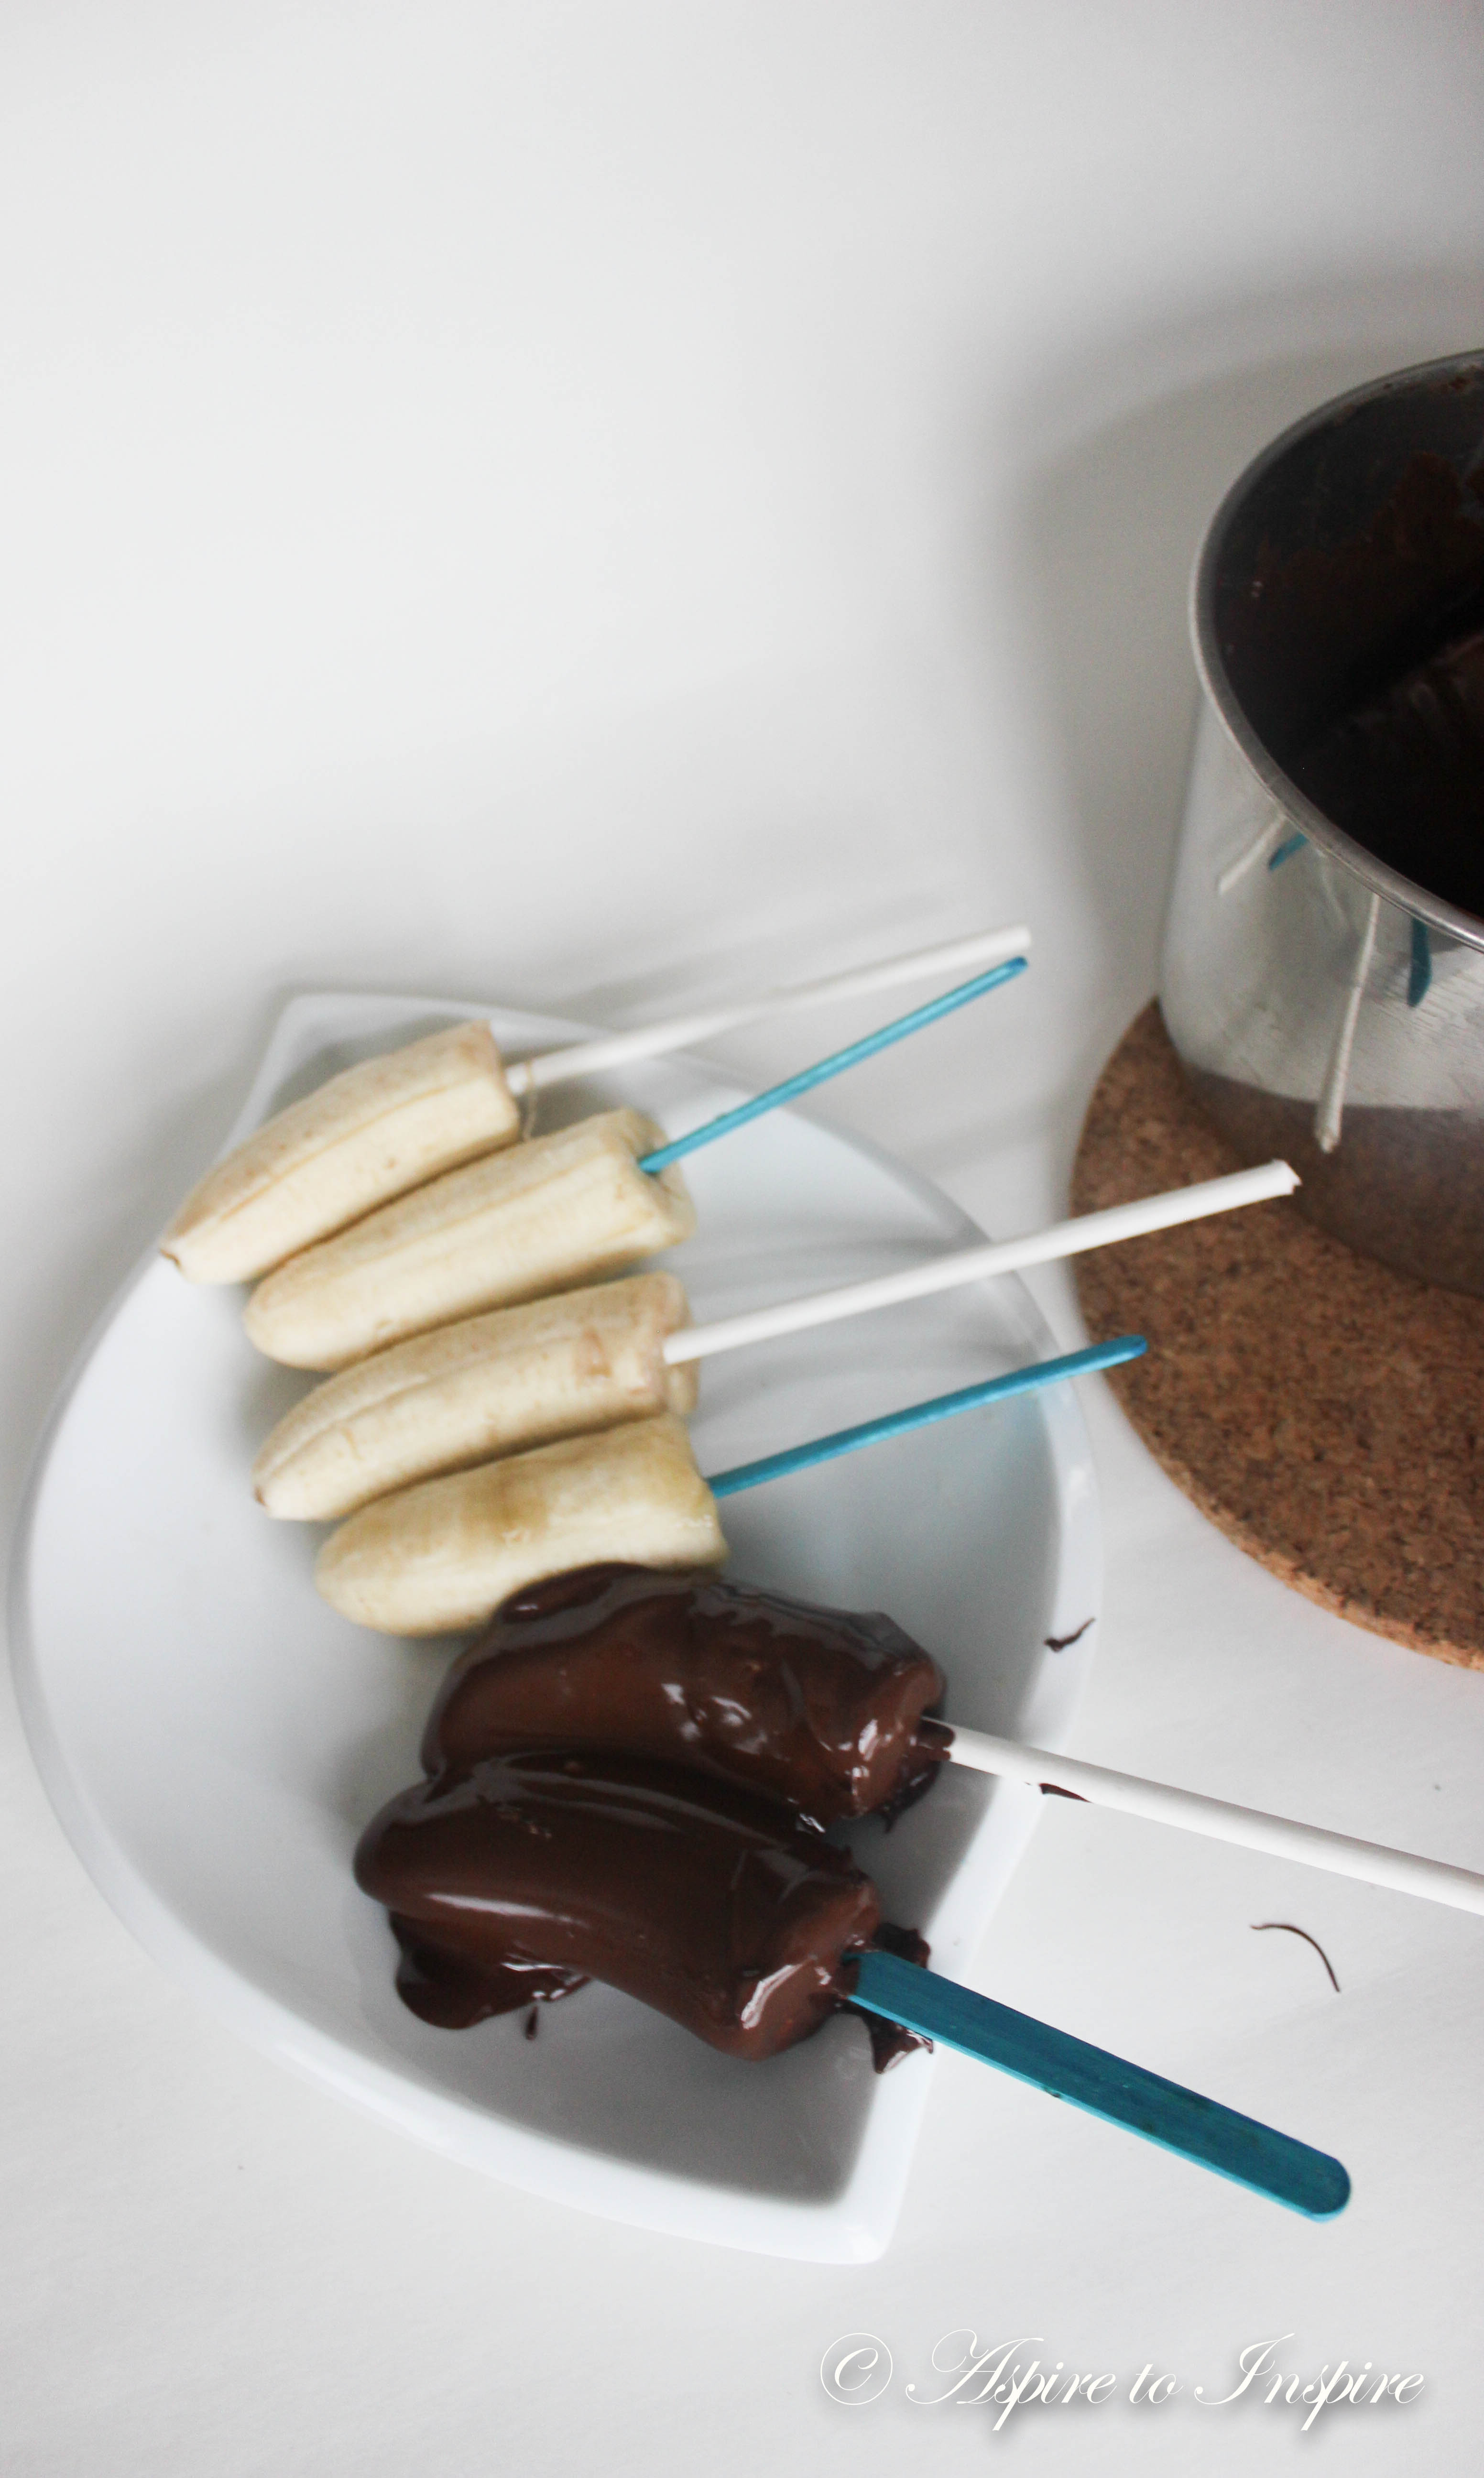
Step 3: Now that you’ve got them all peeled. You will then grab your popsicle sticks or sticks of choice, and insert it from the bottom of the banana, so they will start looking like banana popsicles. I choose blue and white for the colours of my lovely country!
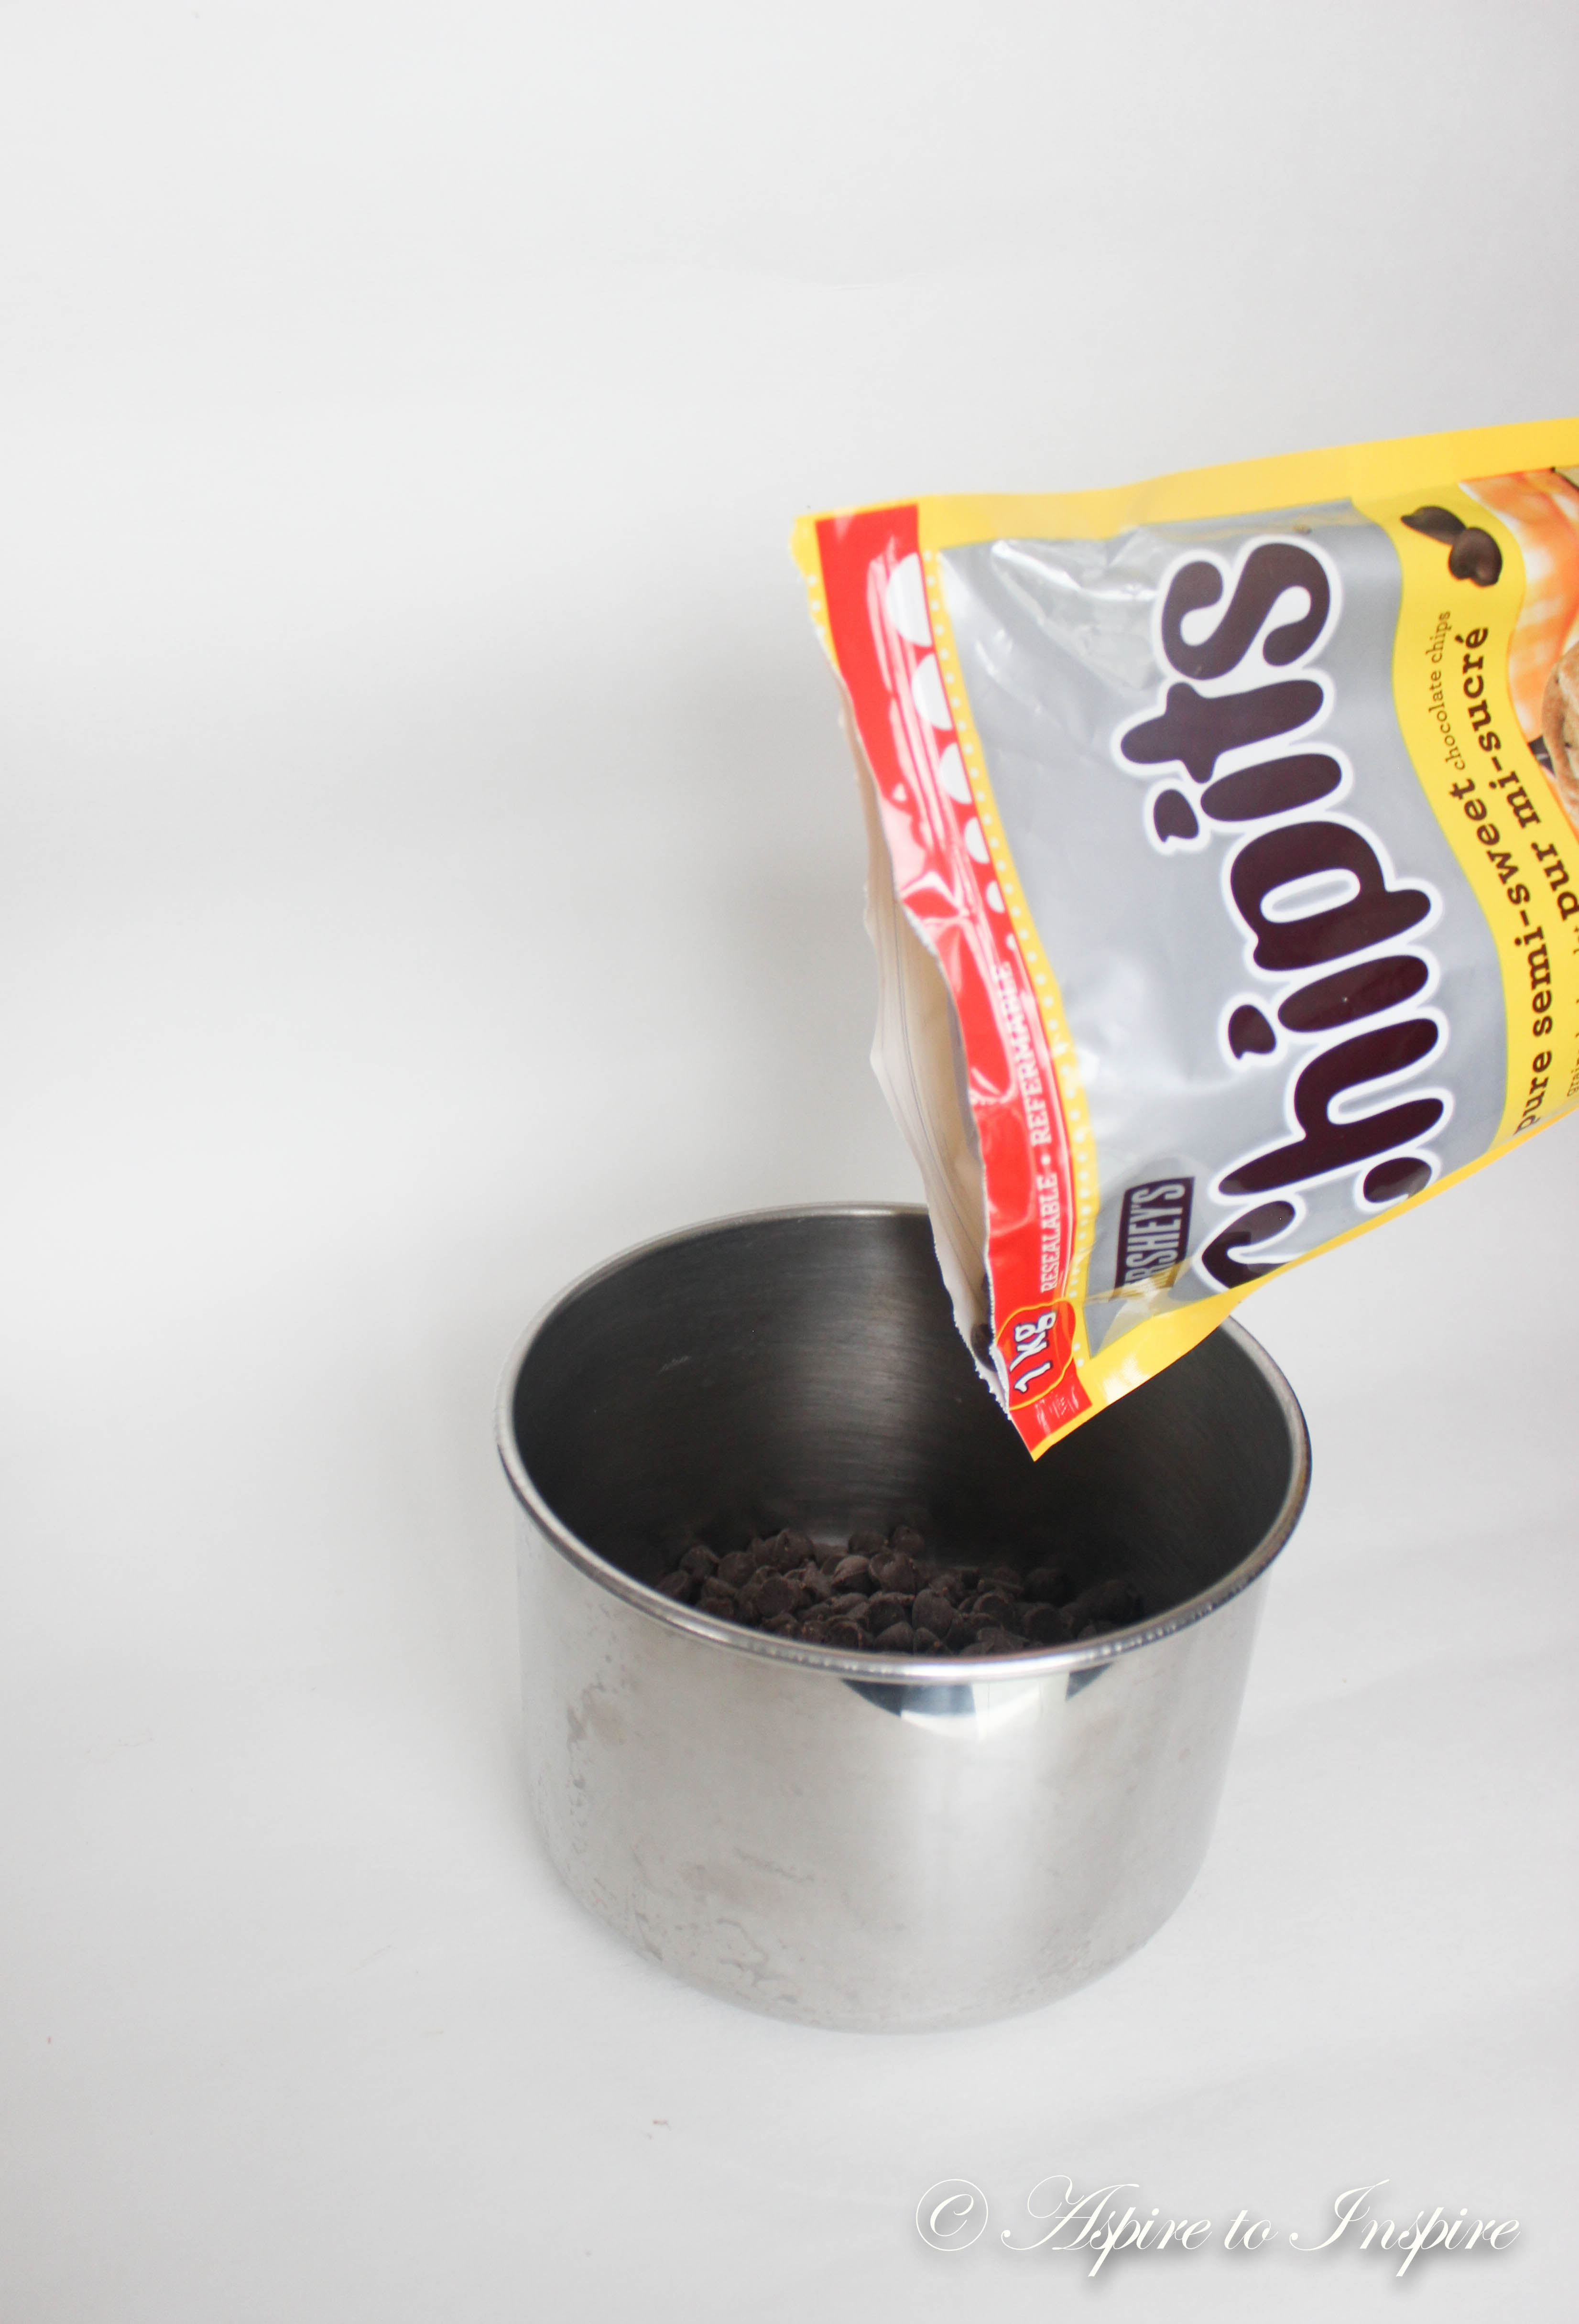
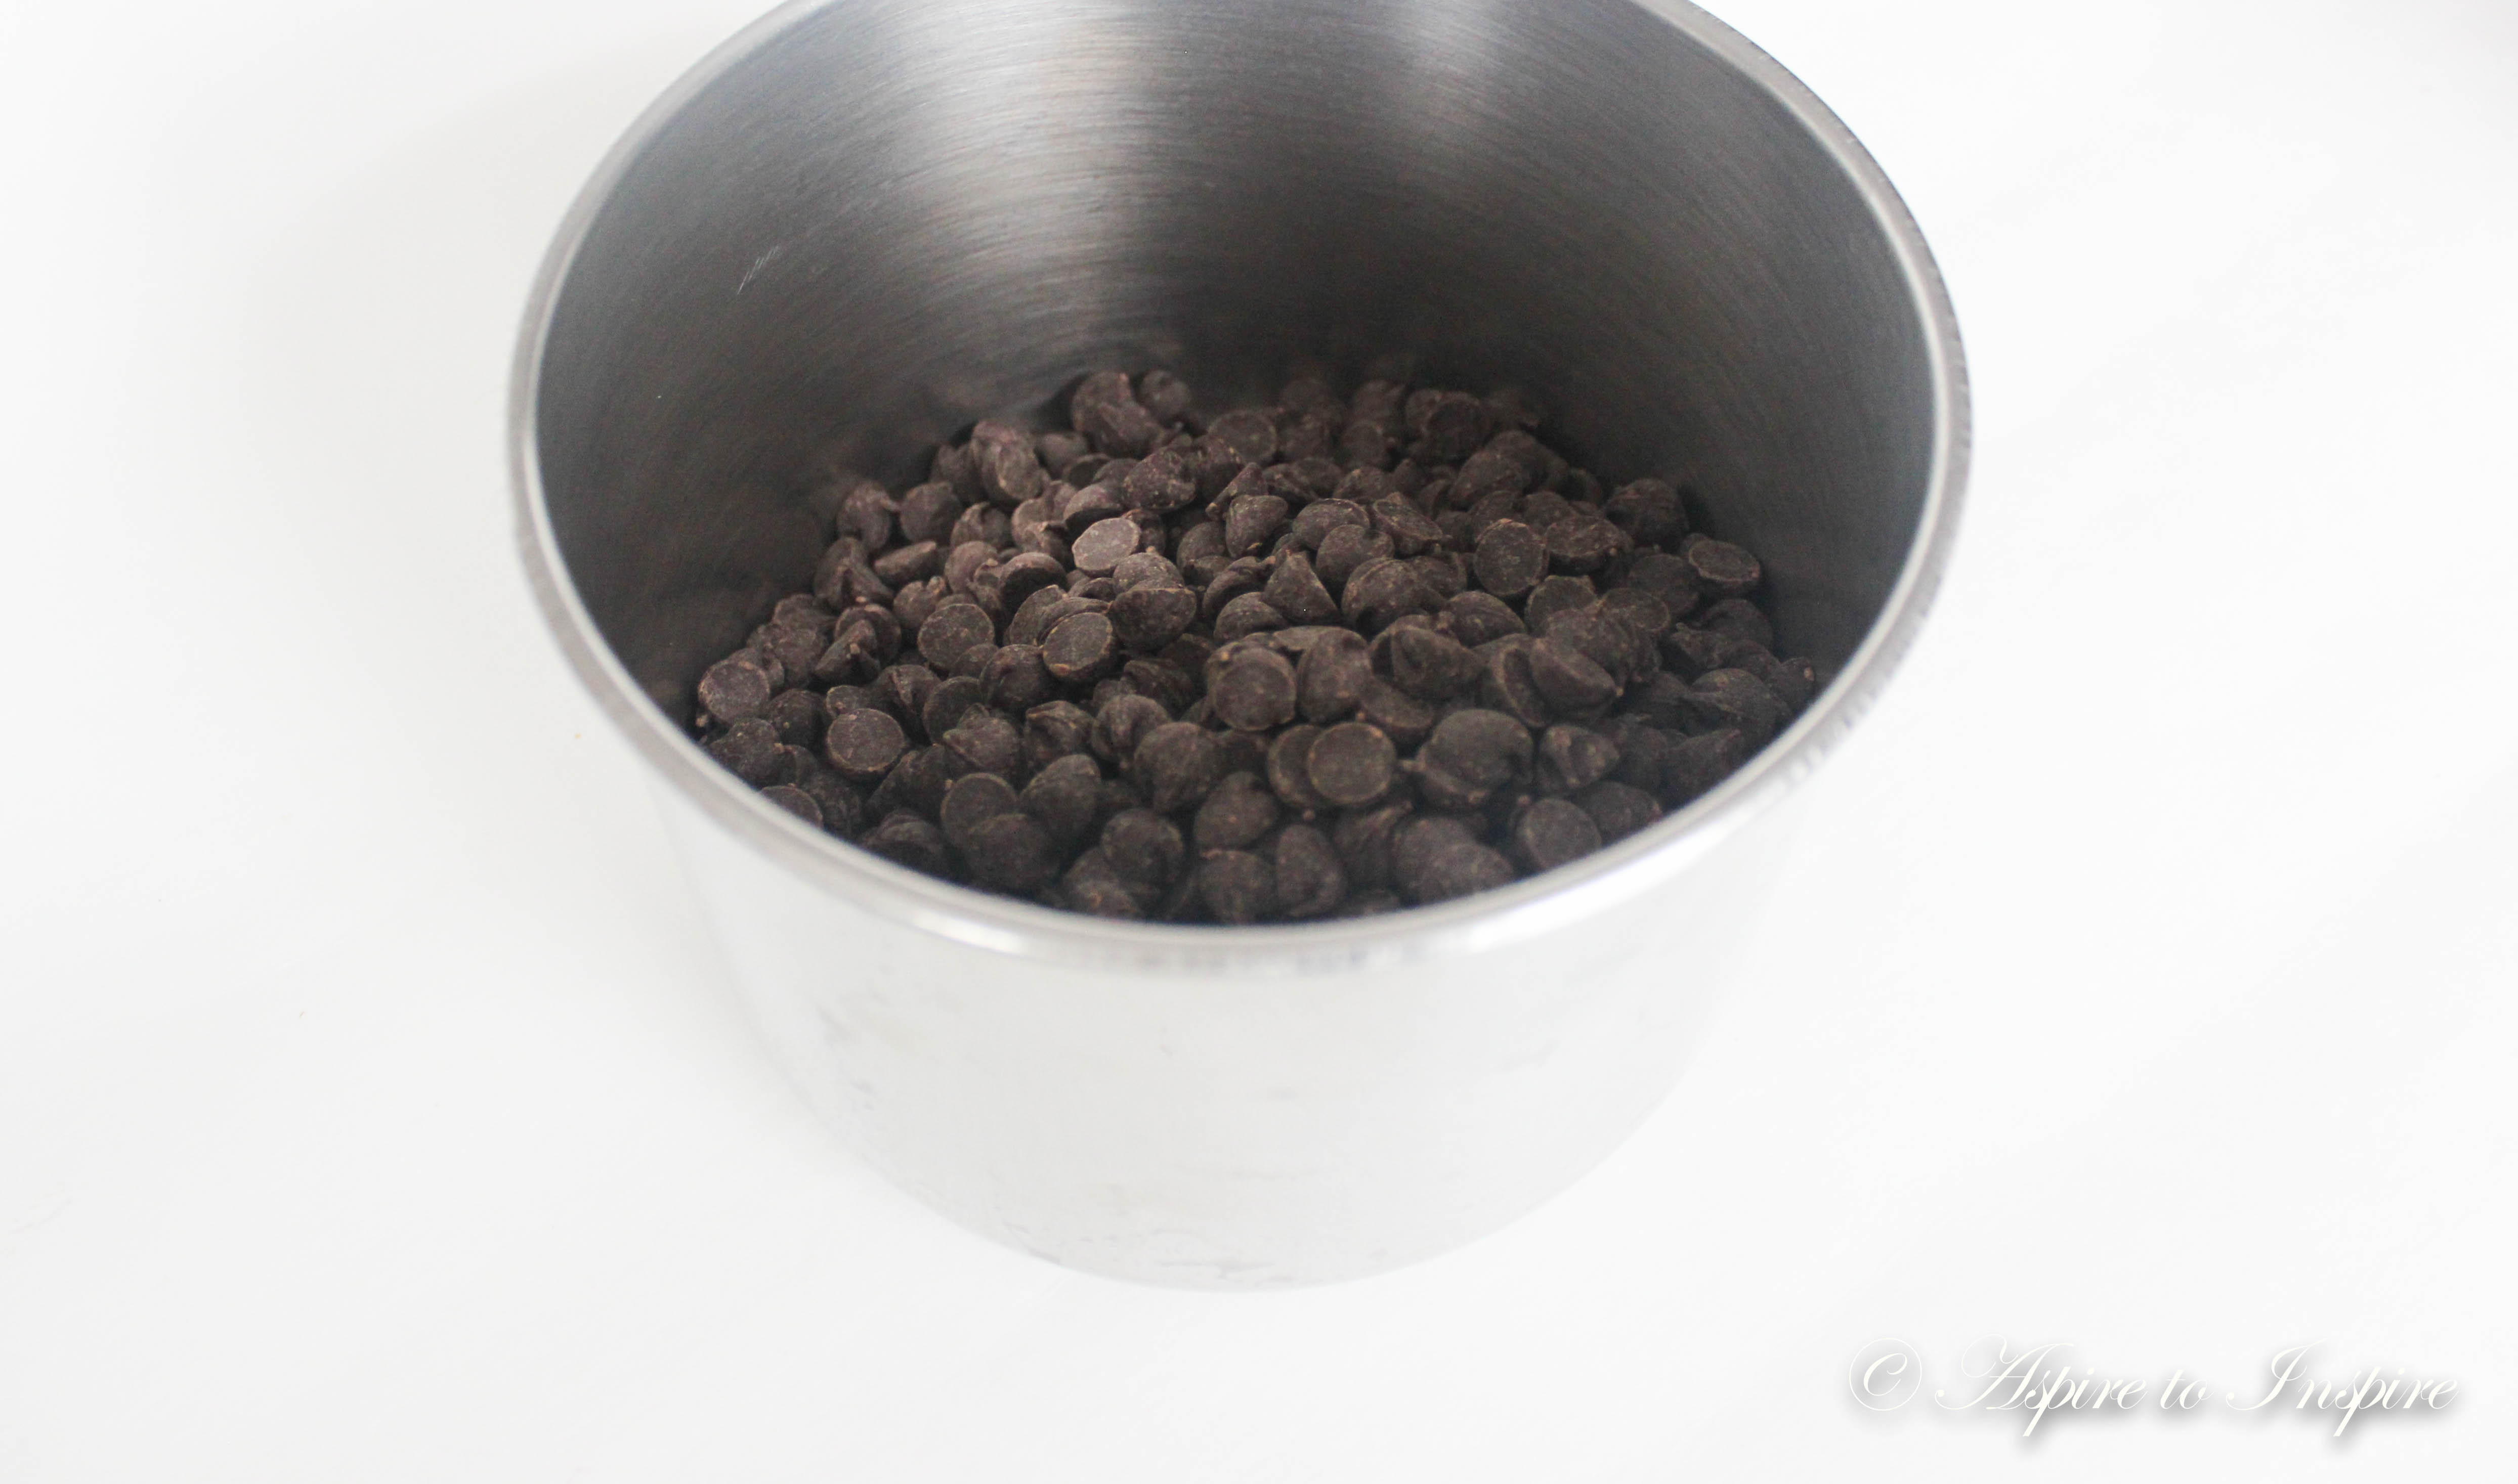
Step 4: NEXT, you will pour the deliciousness (CHOCOLATE) into a bowl or pan. I do suggest a pan if you will be melting the chocolate on a stove. If you are using a microwave to melt your chocolate then a mixing bowl would work as well.
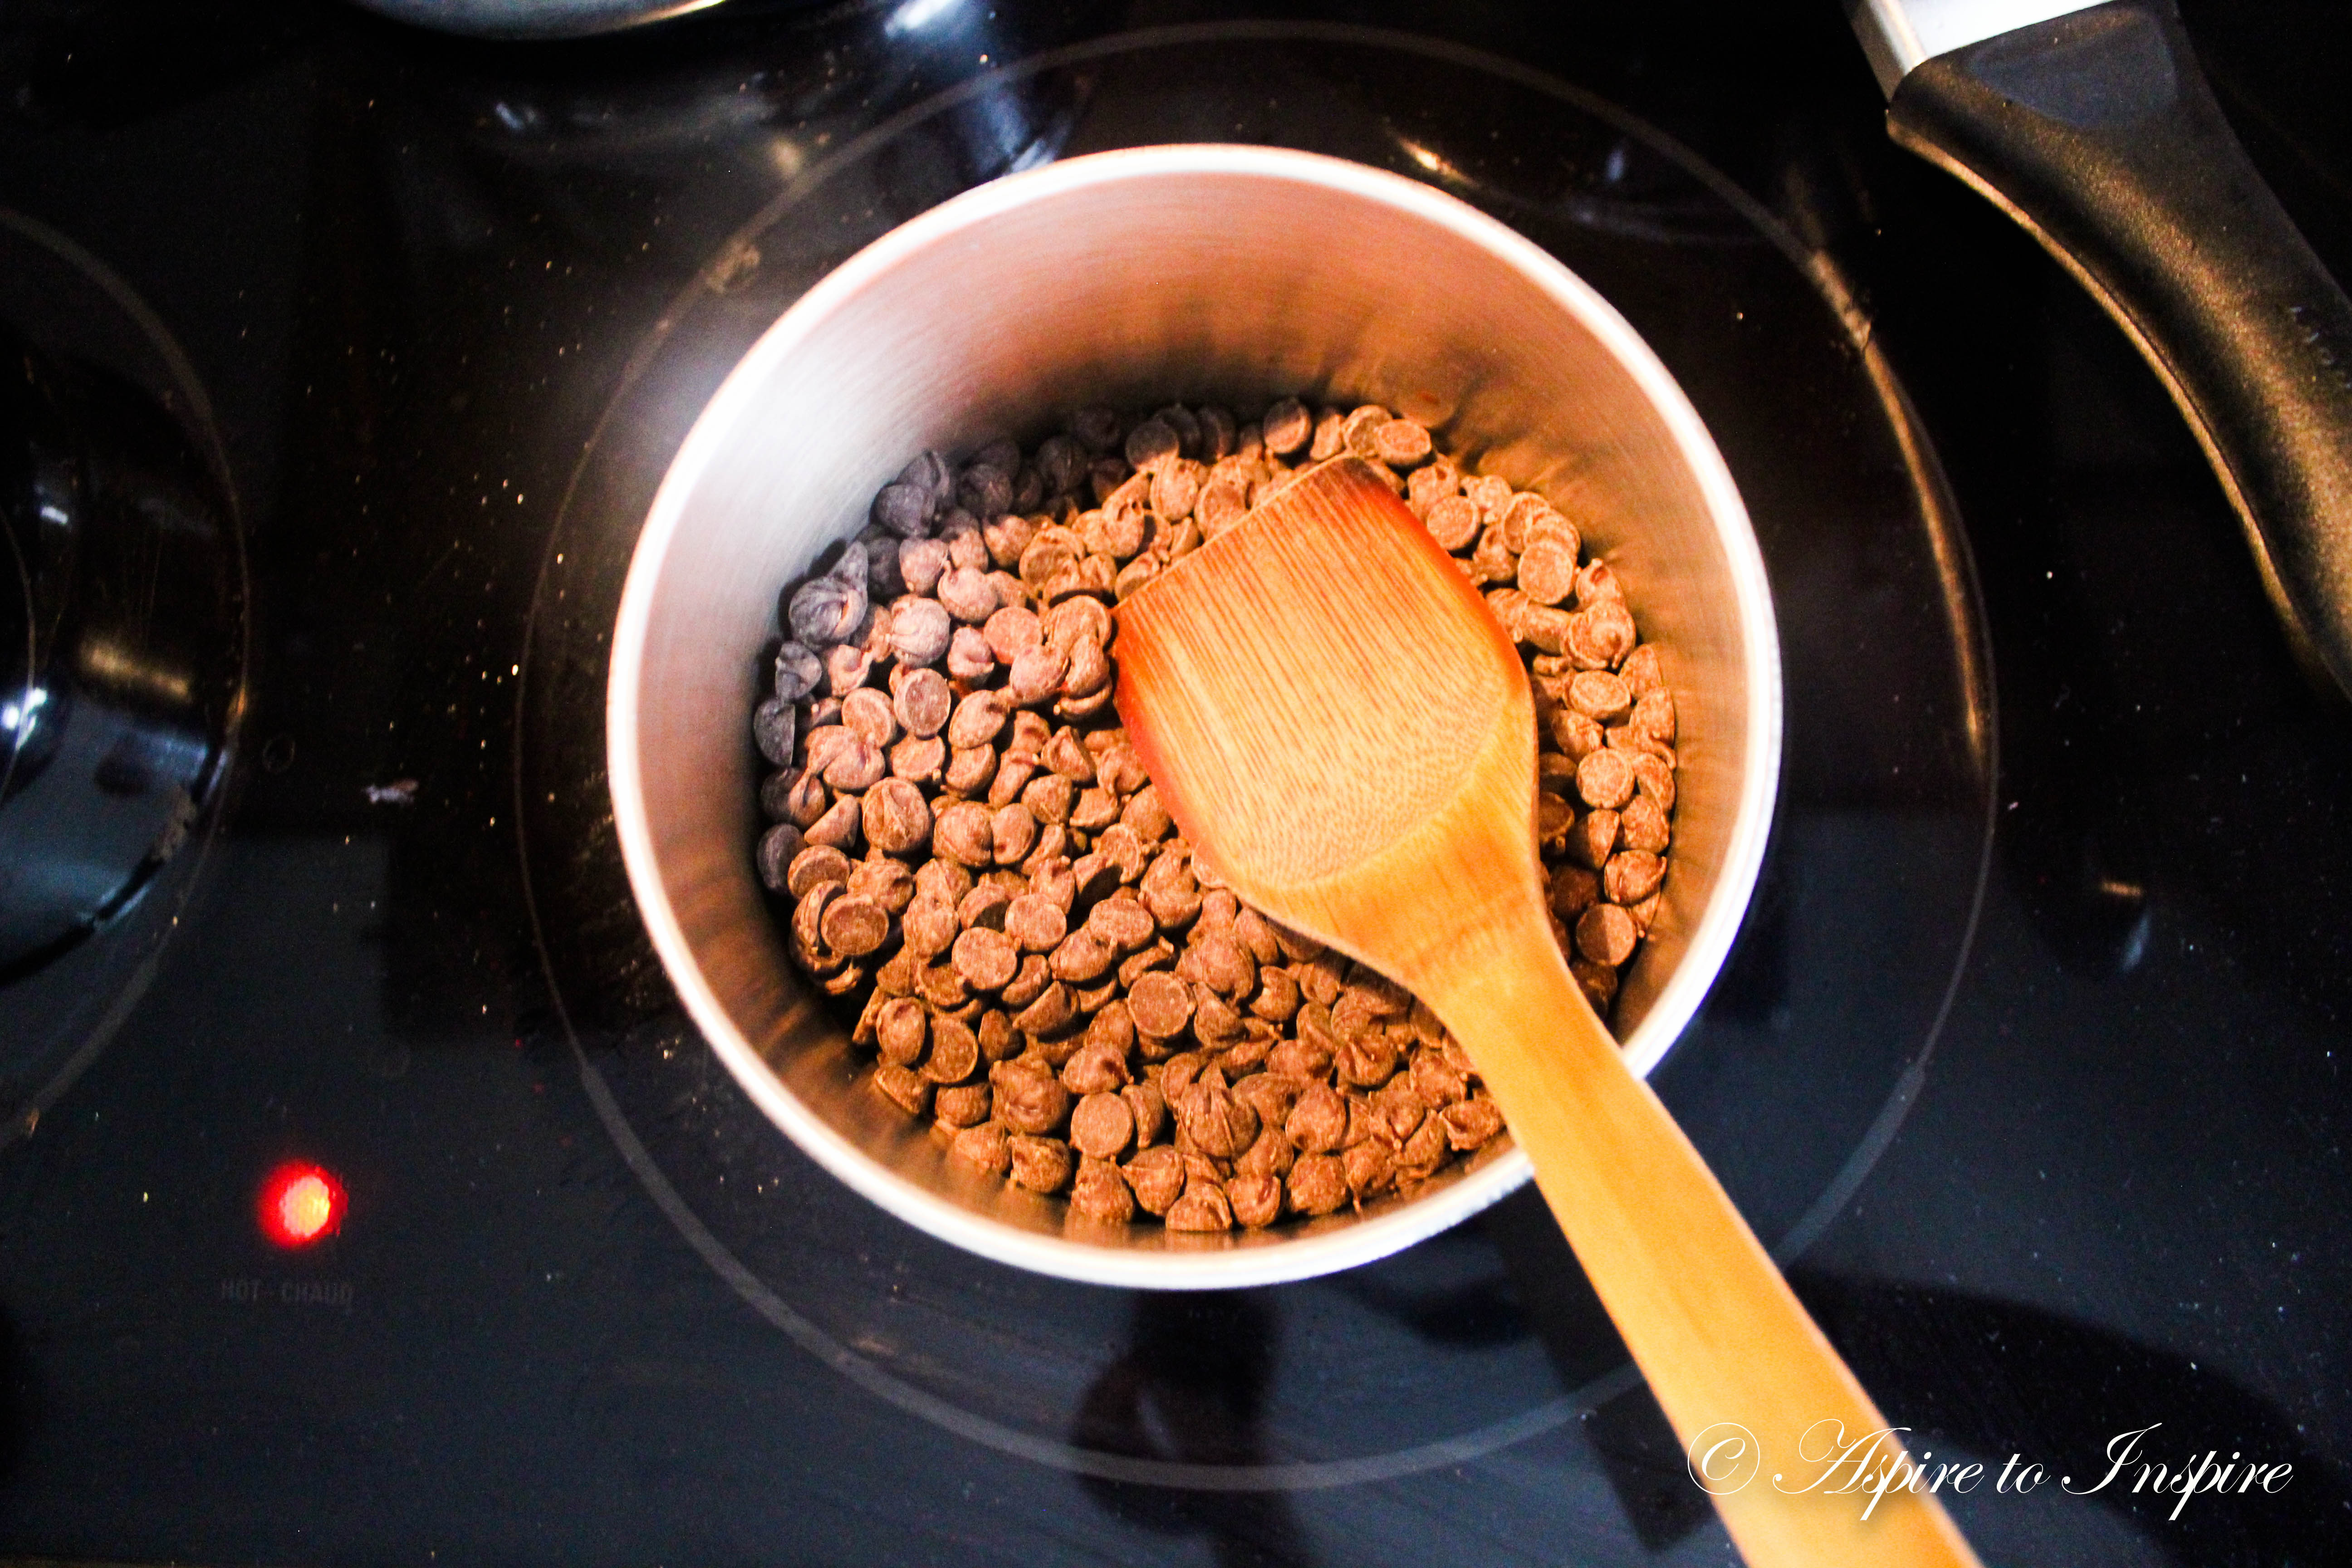
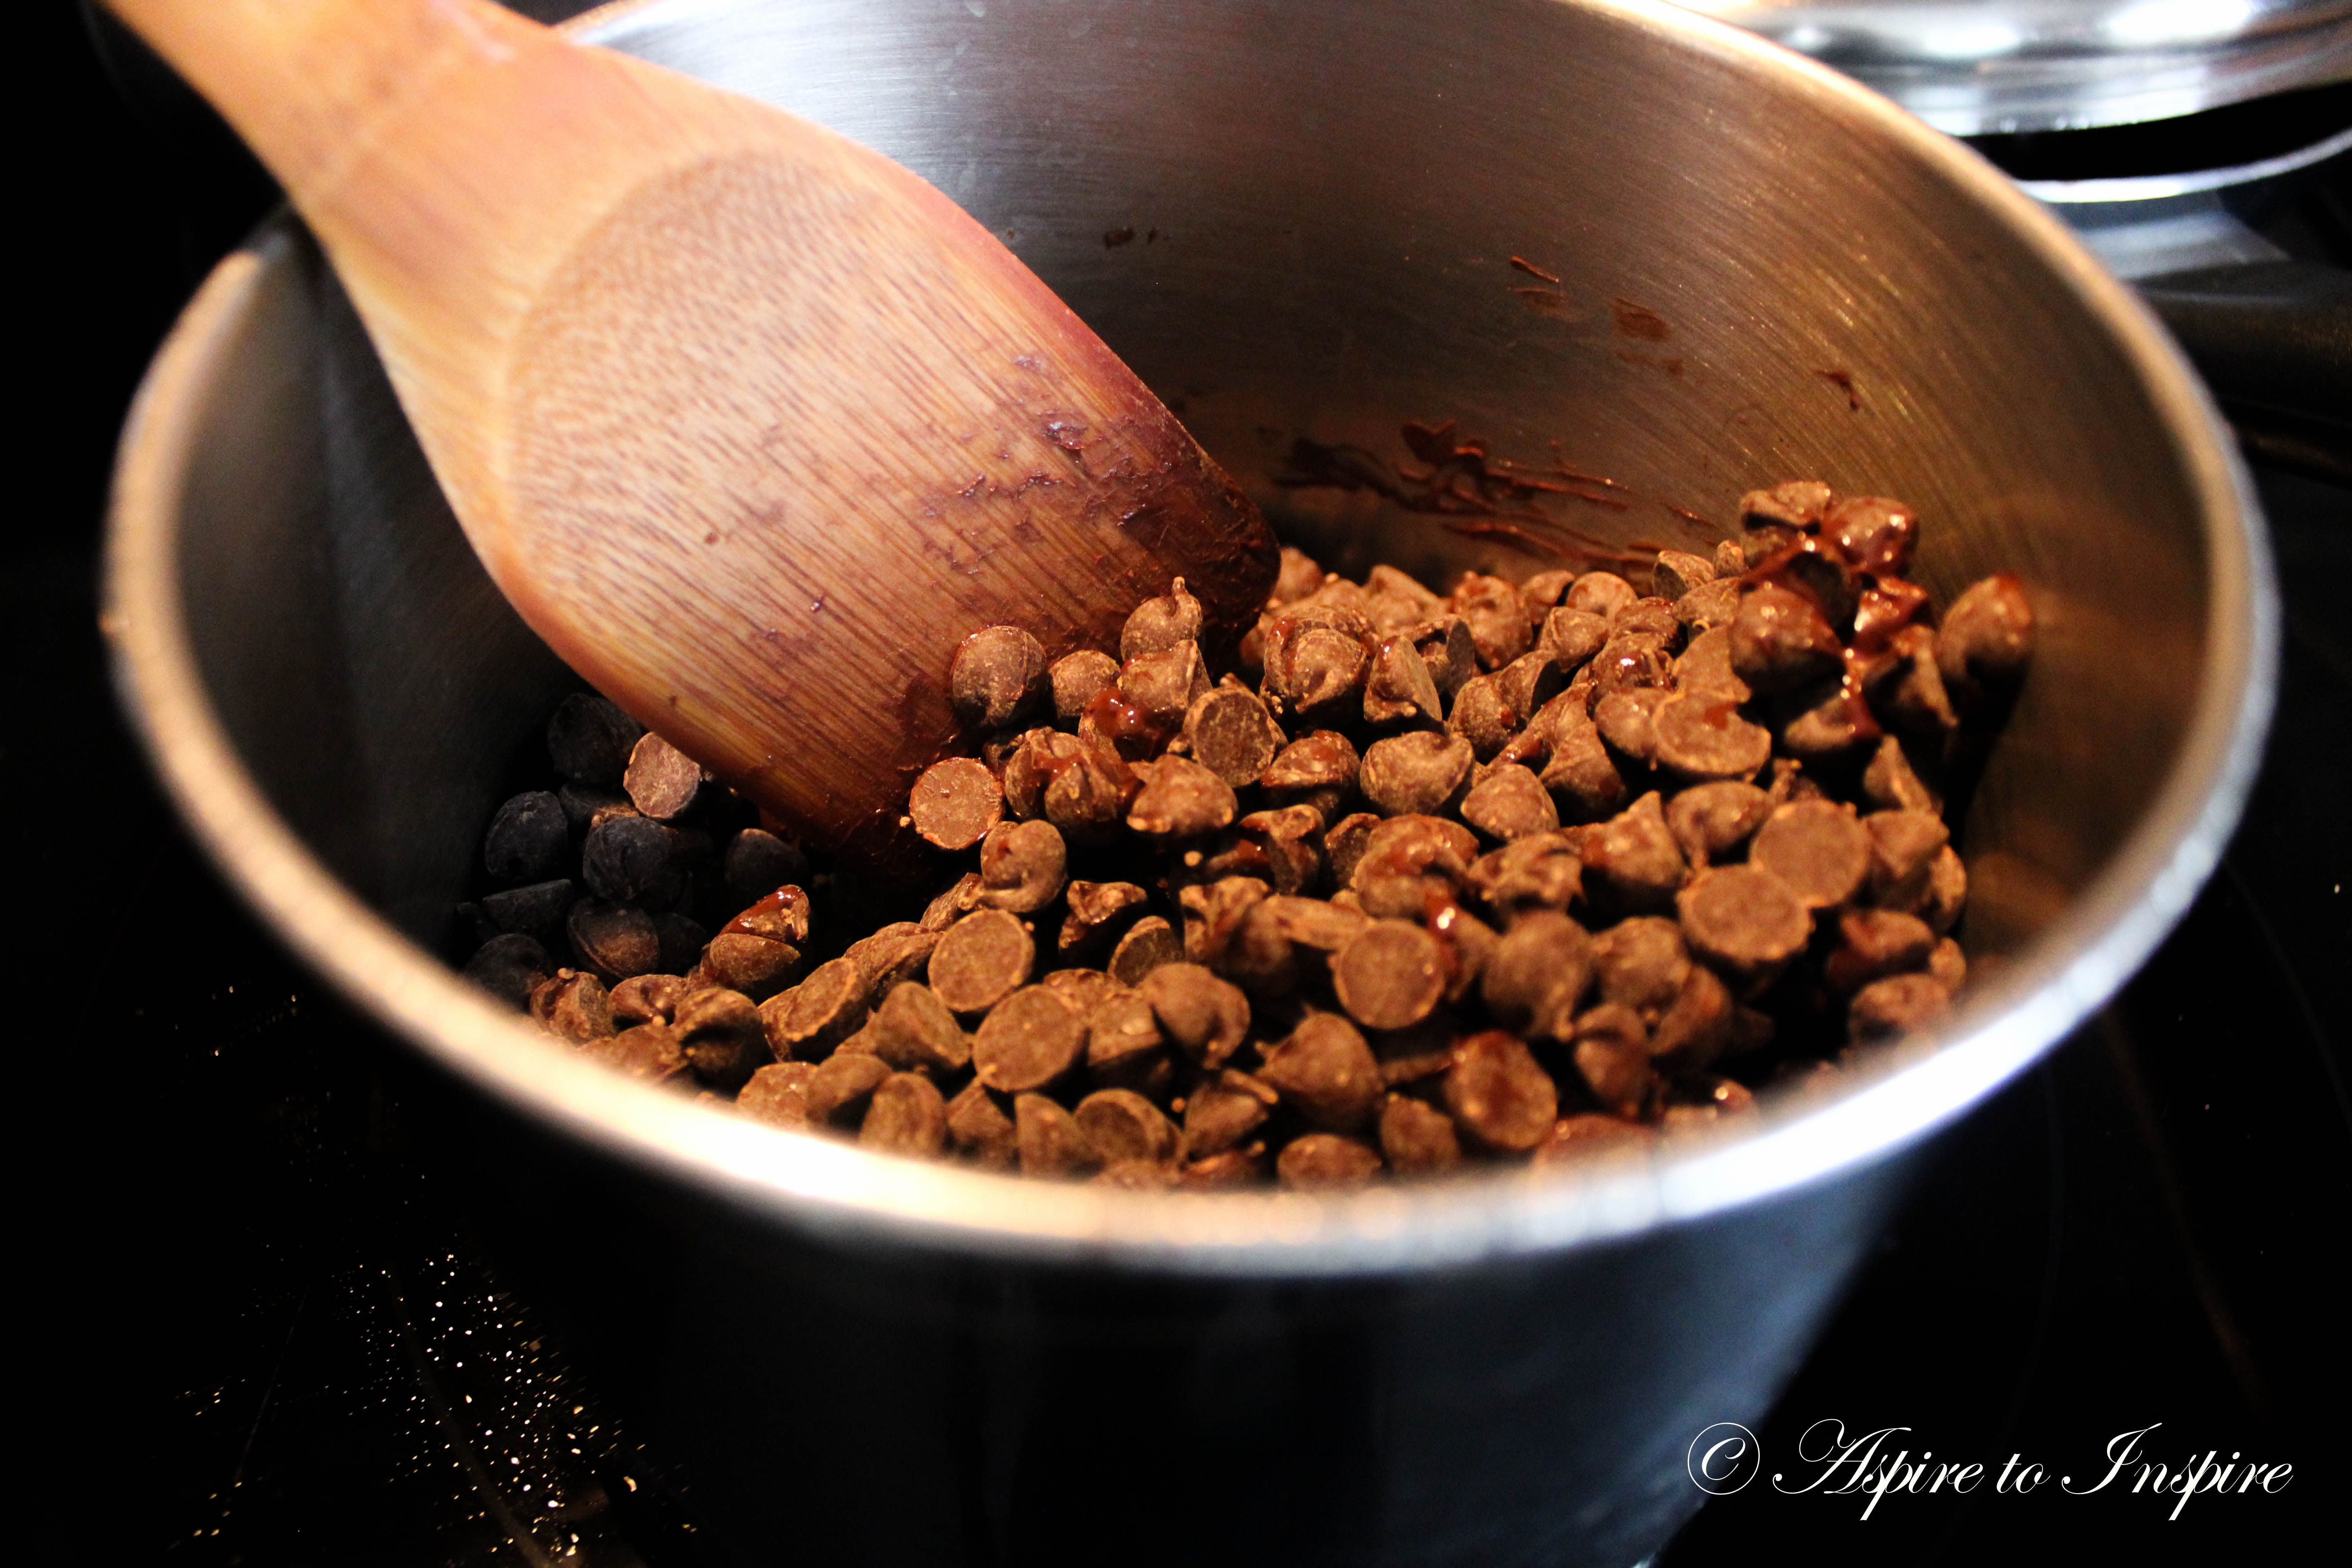
Step 5: For heating purposes, it all depends on your stove; if that’s the alternative you are going with. I heated my stove to low medium; make sure when you are melting the chocolate you supervise it at all times because it can burn from the bottom, so stir it frequently while melting.
In microwave, you can put your chocolate in for about 1 min, take it out and stir it as much possible then put it back in for another minute and stir again, keep doing this until you reach a point where the chocolate is melted well without any chunks.
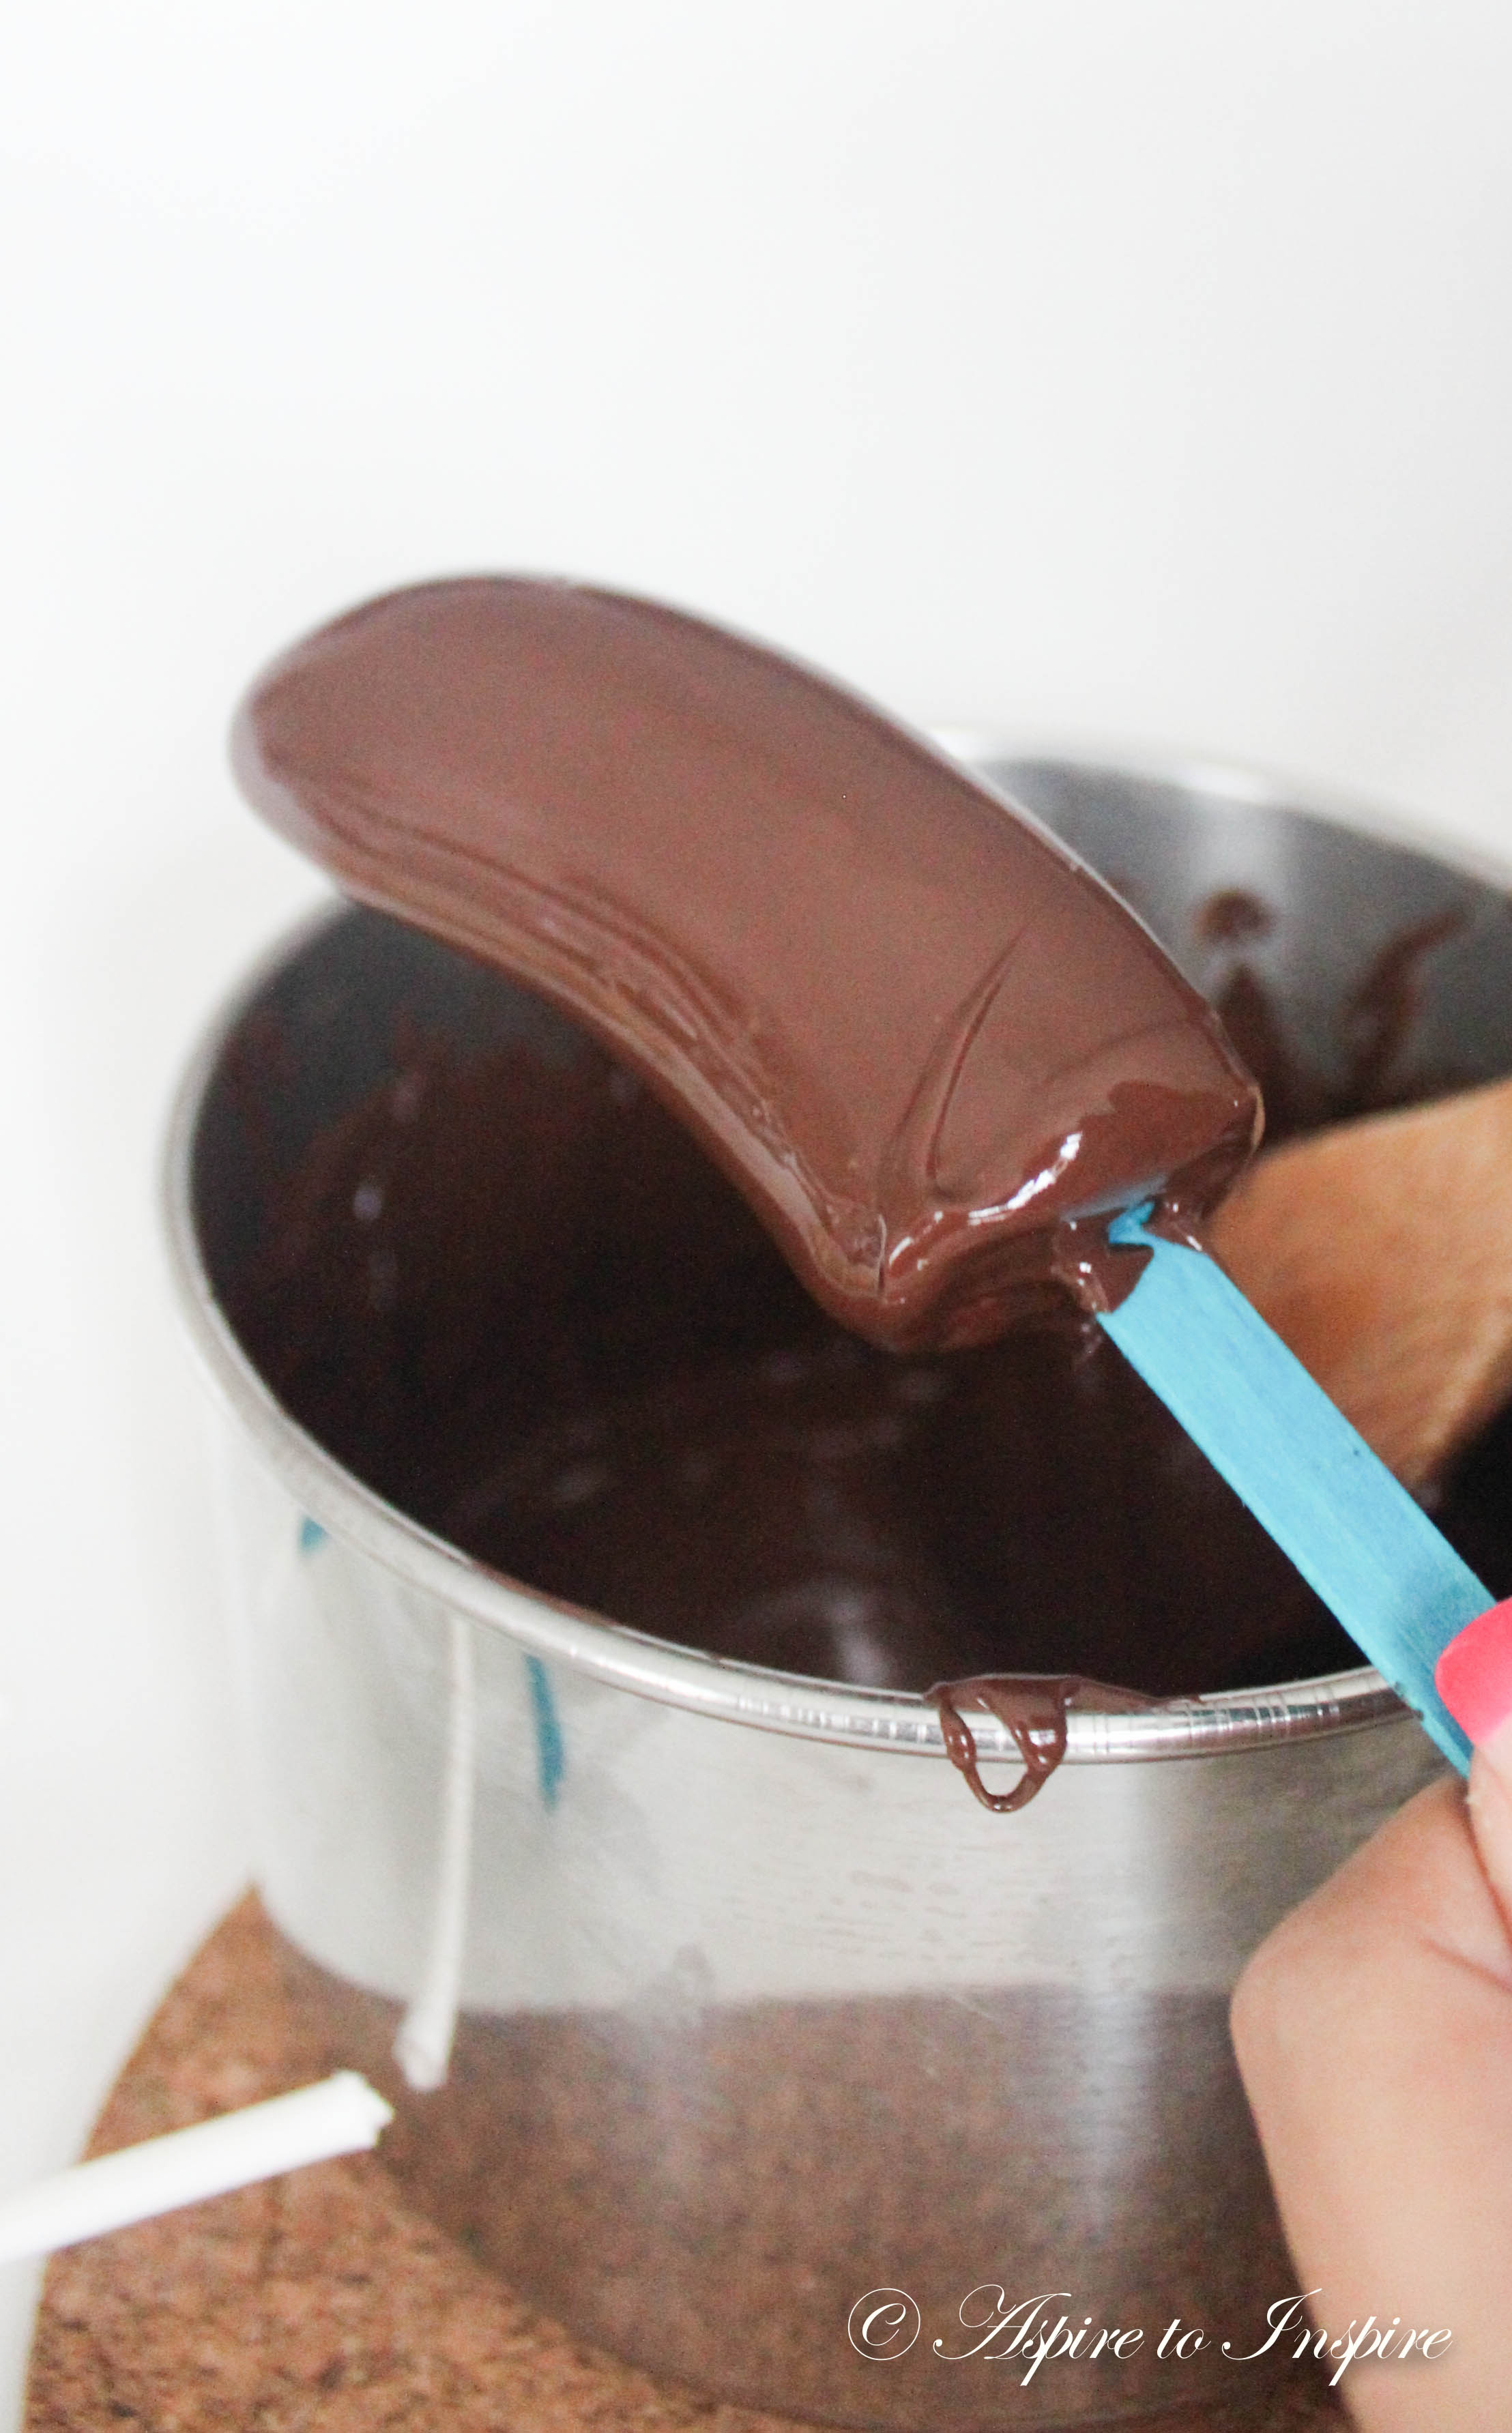
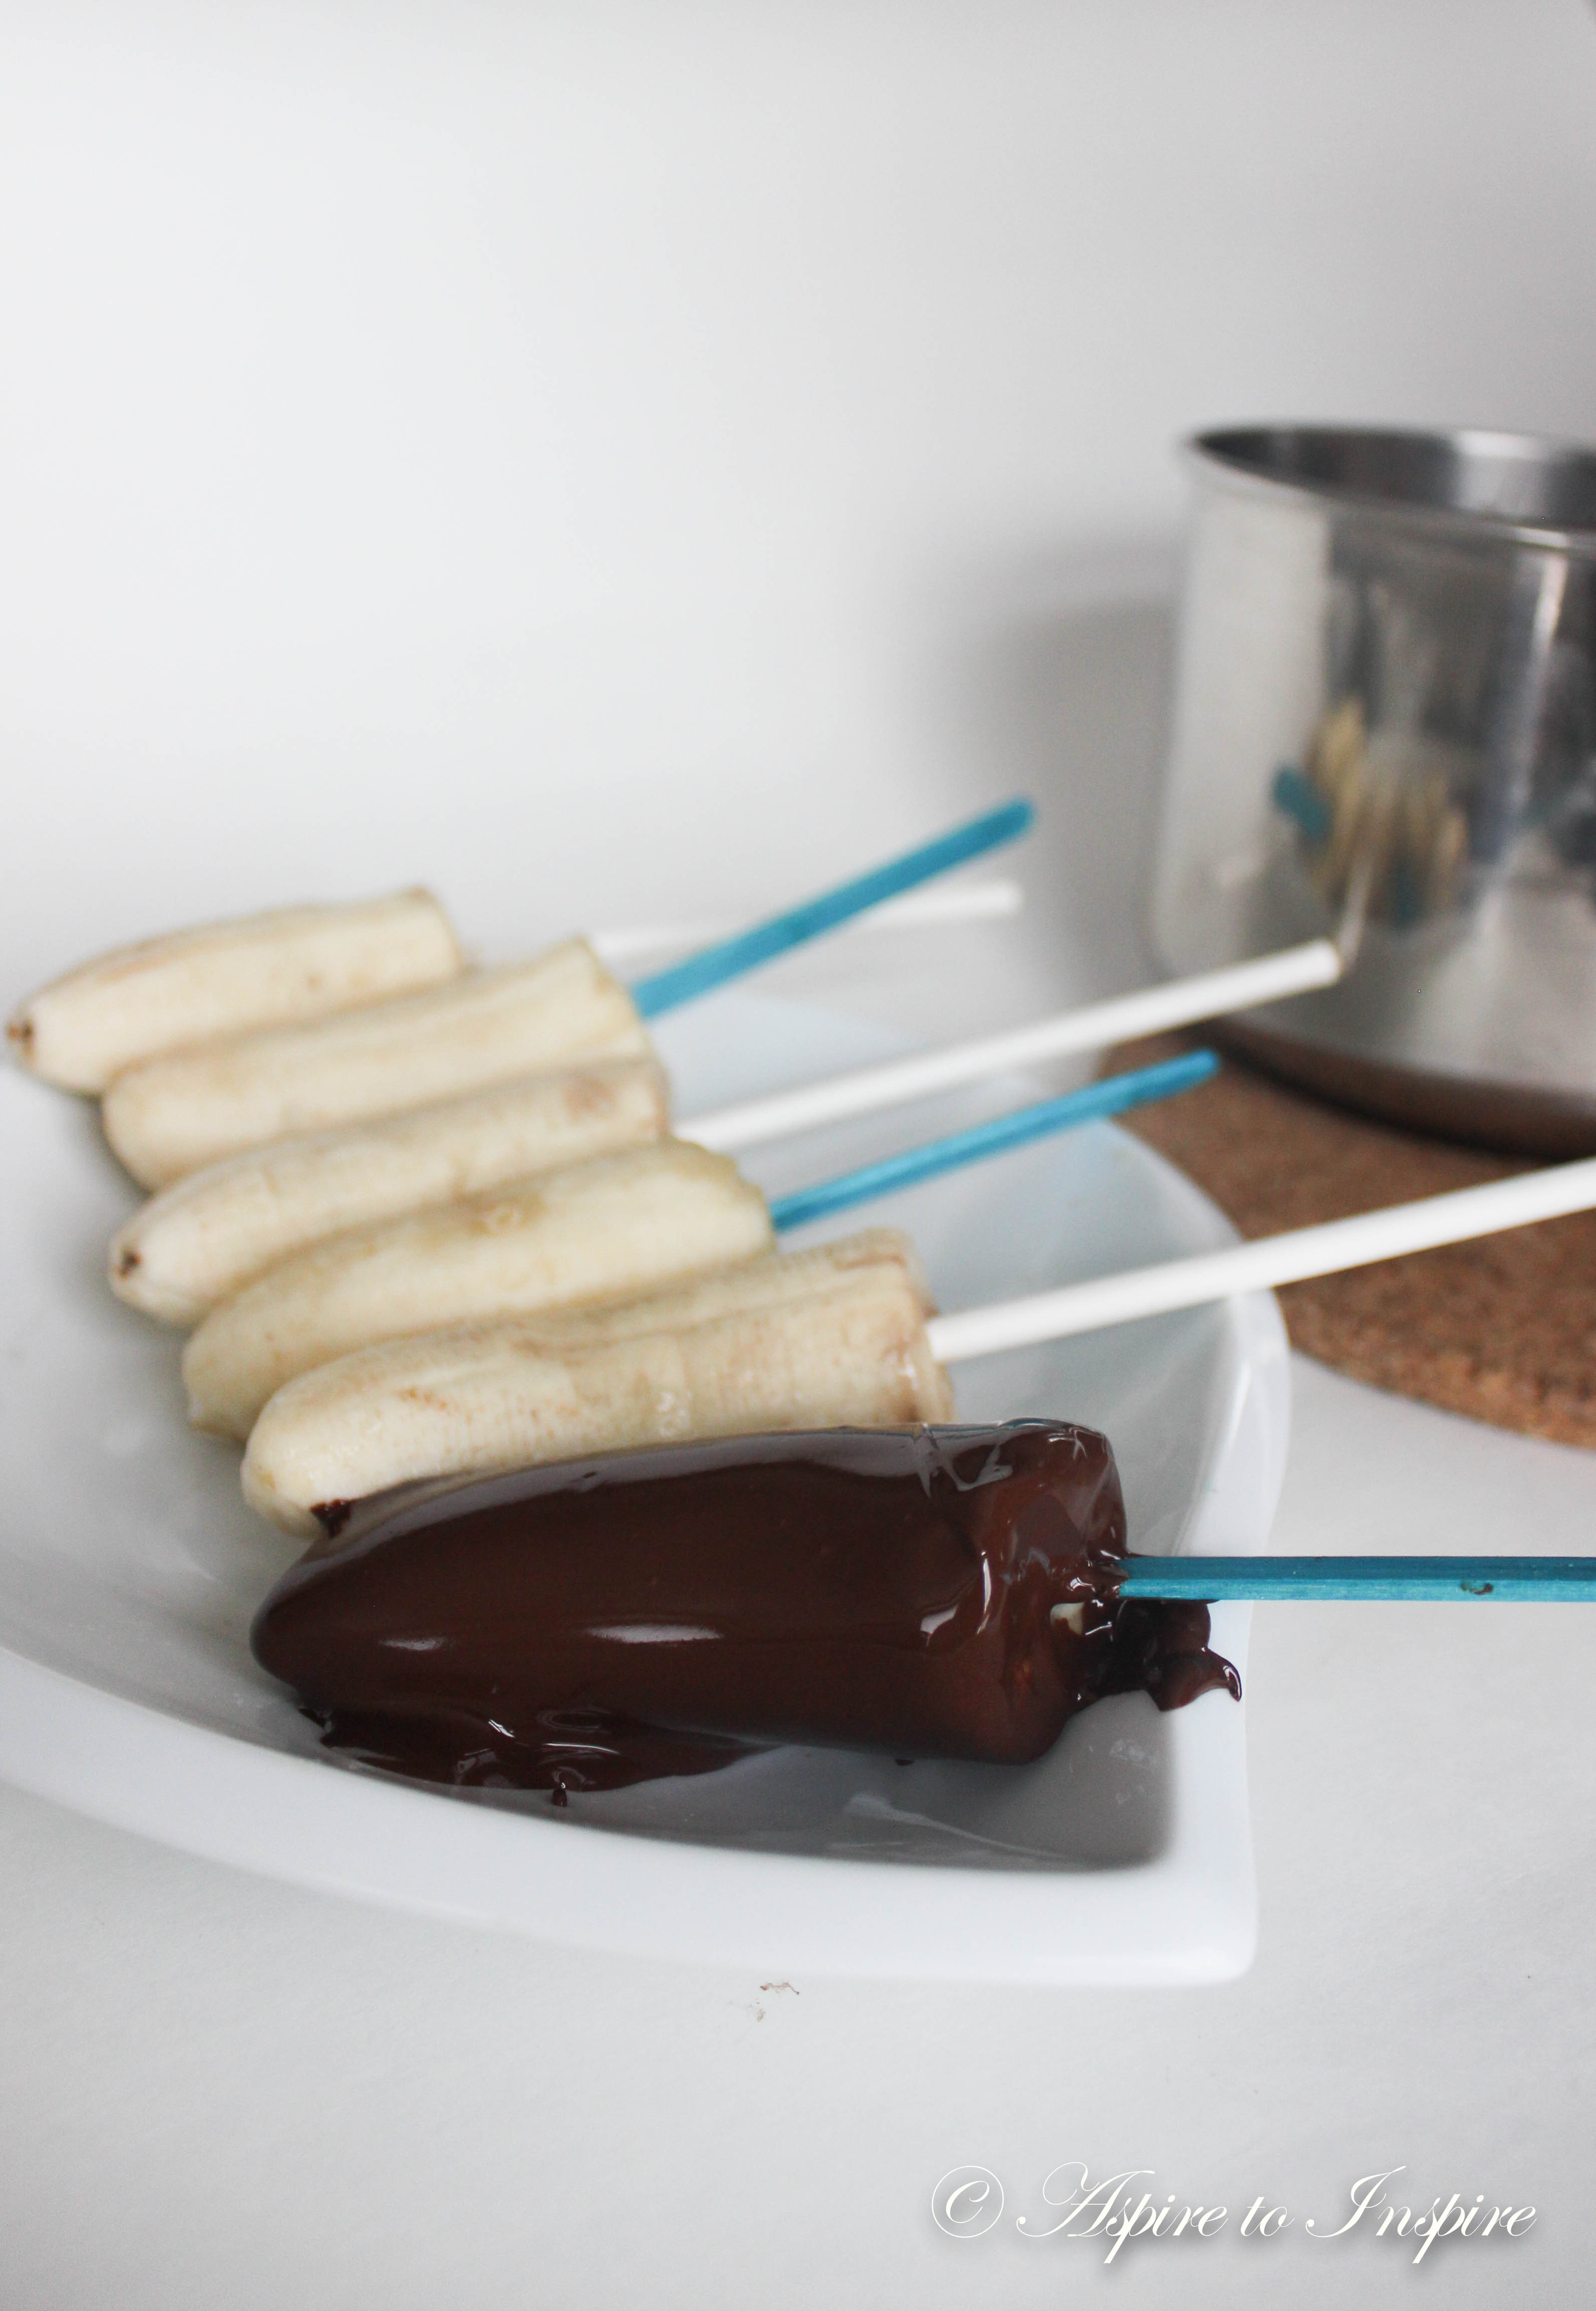
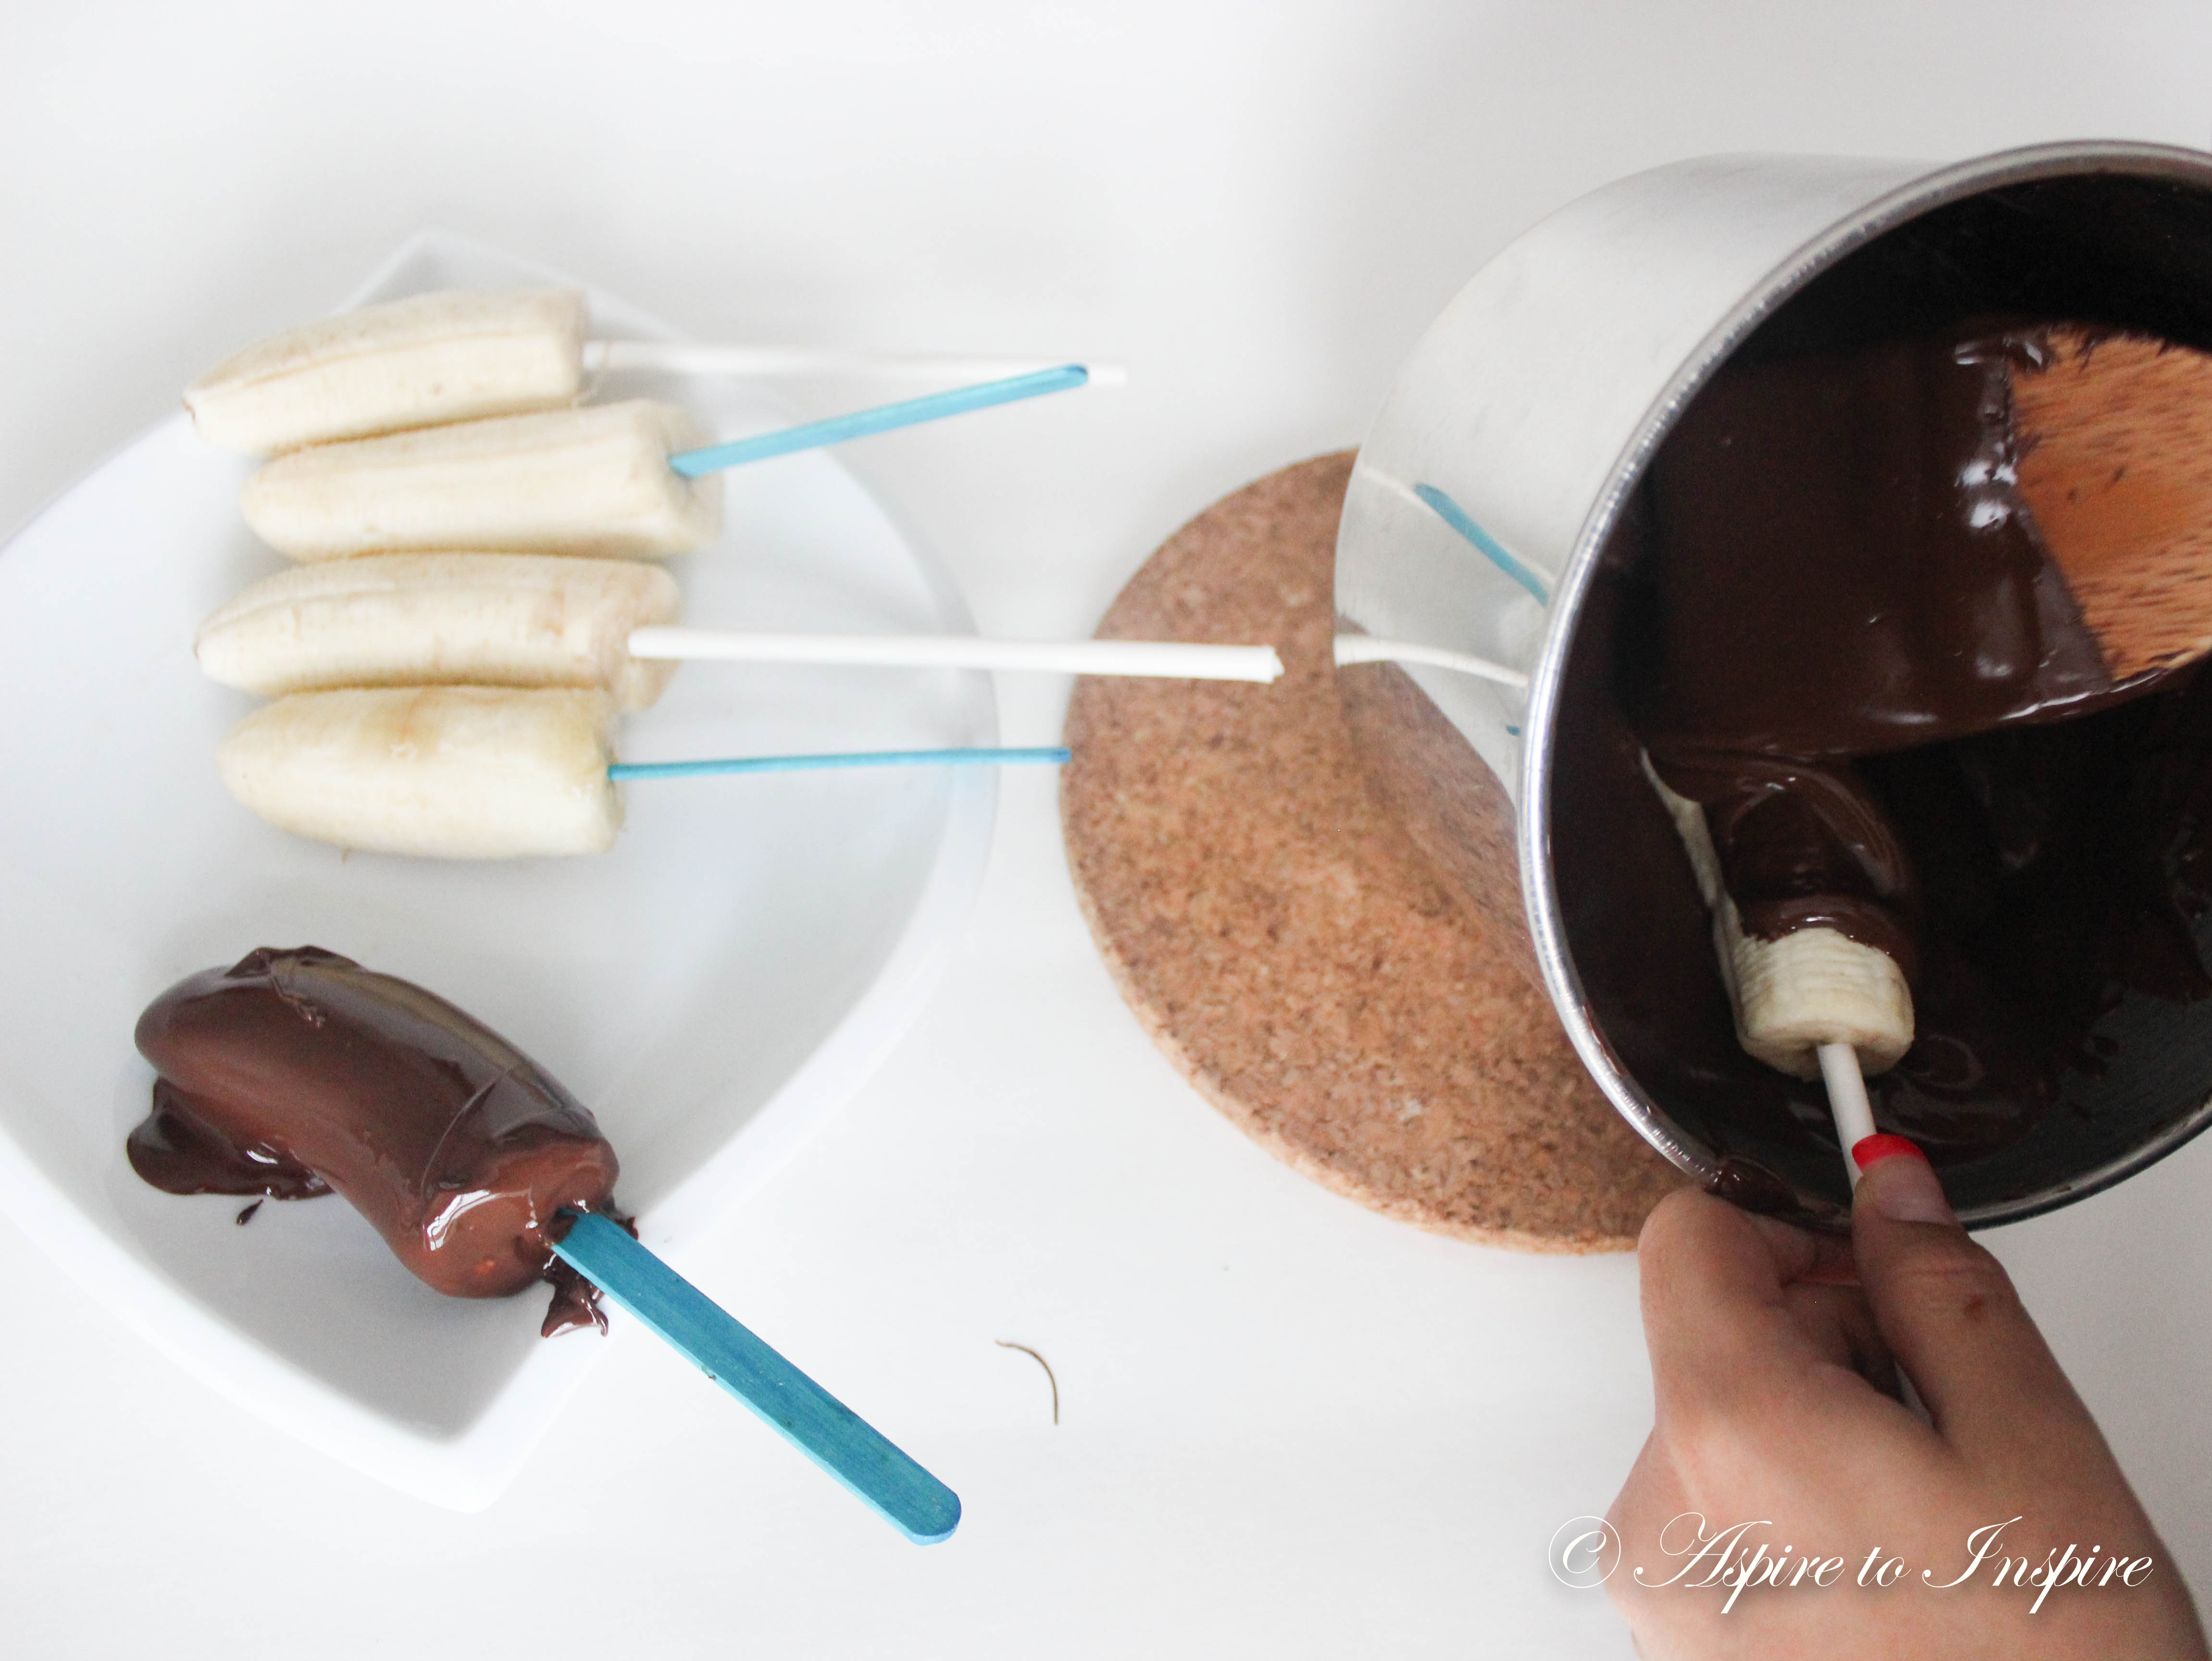
Step 6: When your chocolate is all melted it is time to DIP! Make sure when doing so you are very careful so the stick doesn’t fall out of place. Other then that knock yourself out, things MIGHT JUST GET MESSY! *fun*
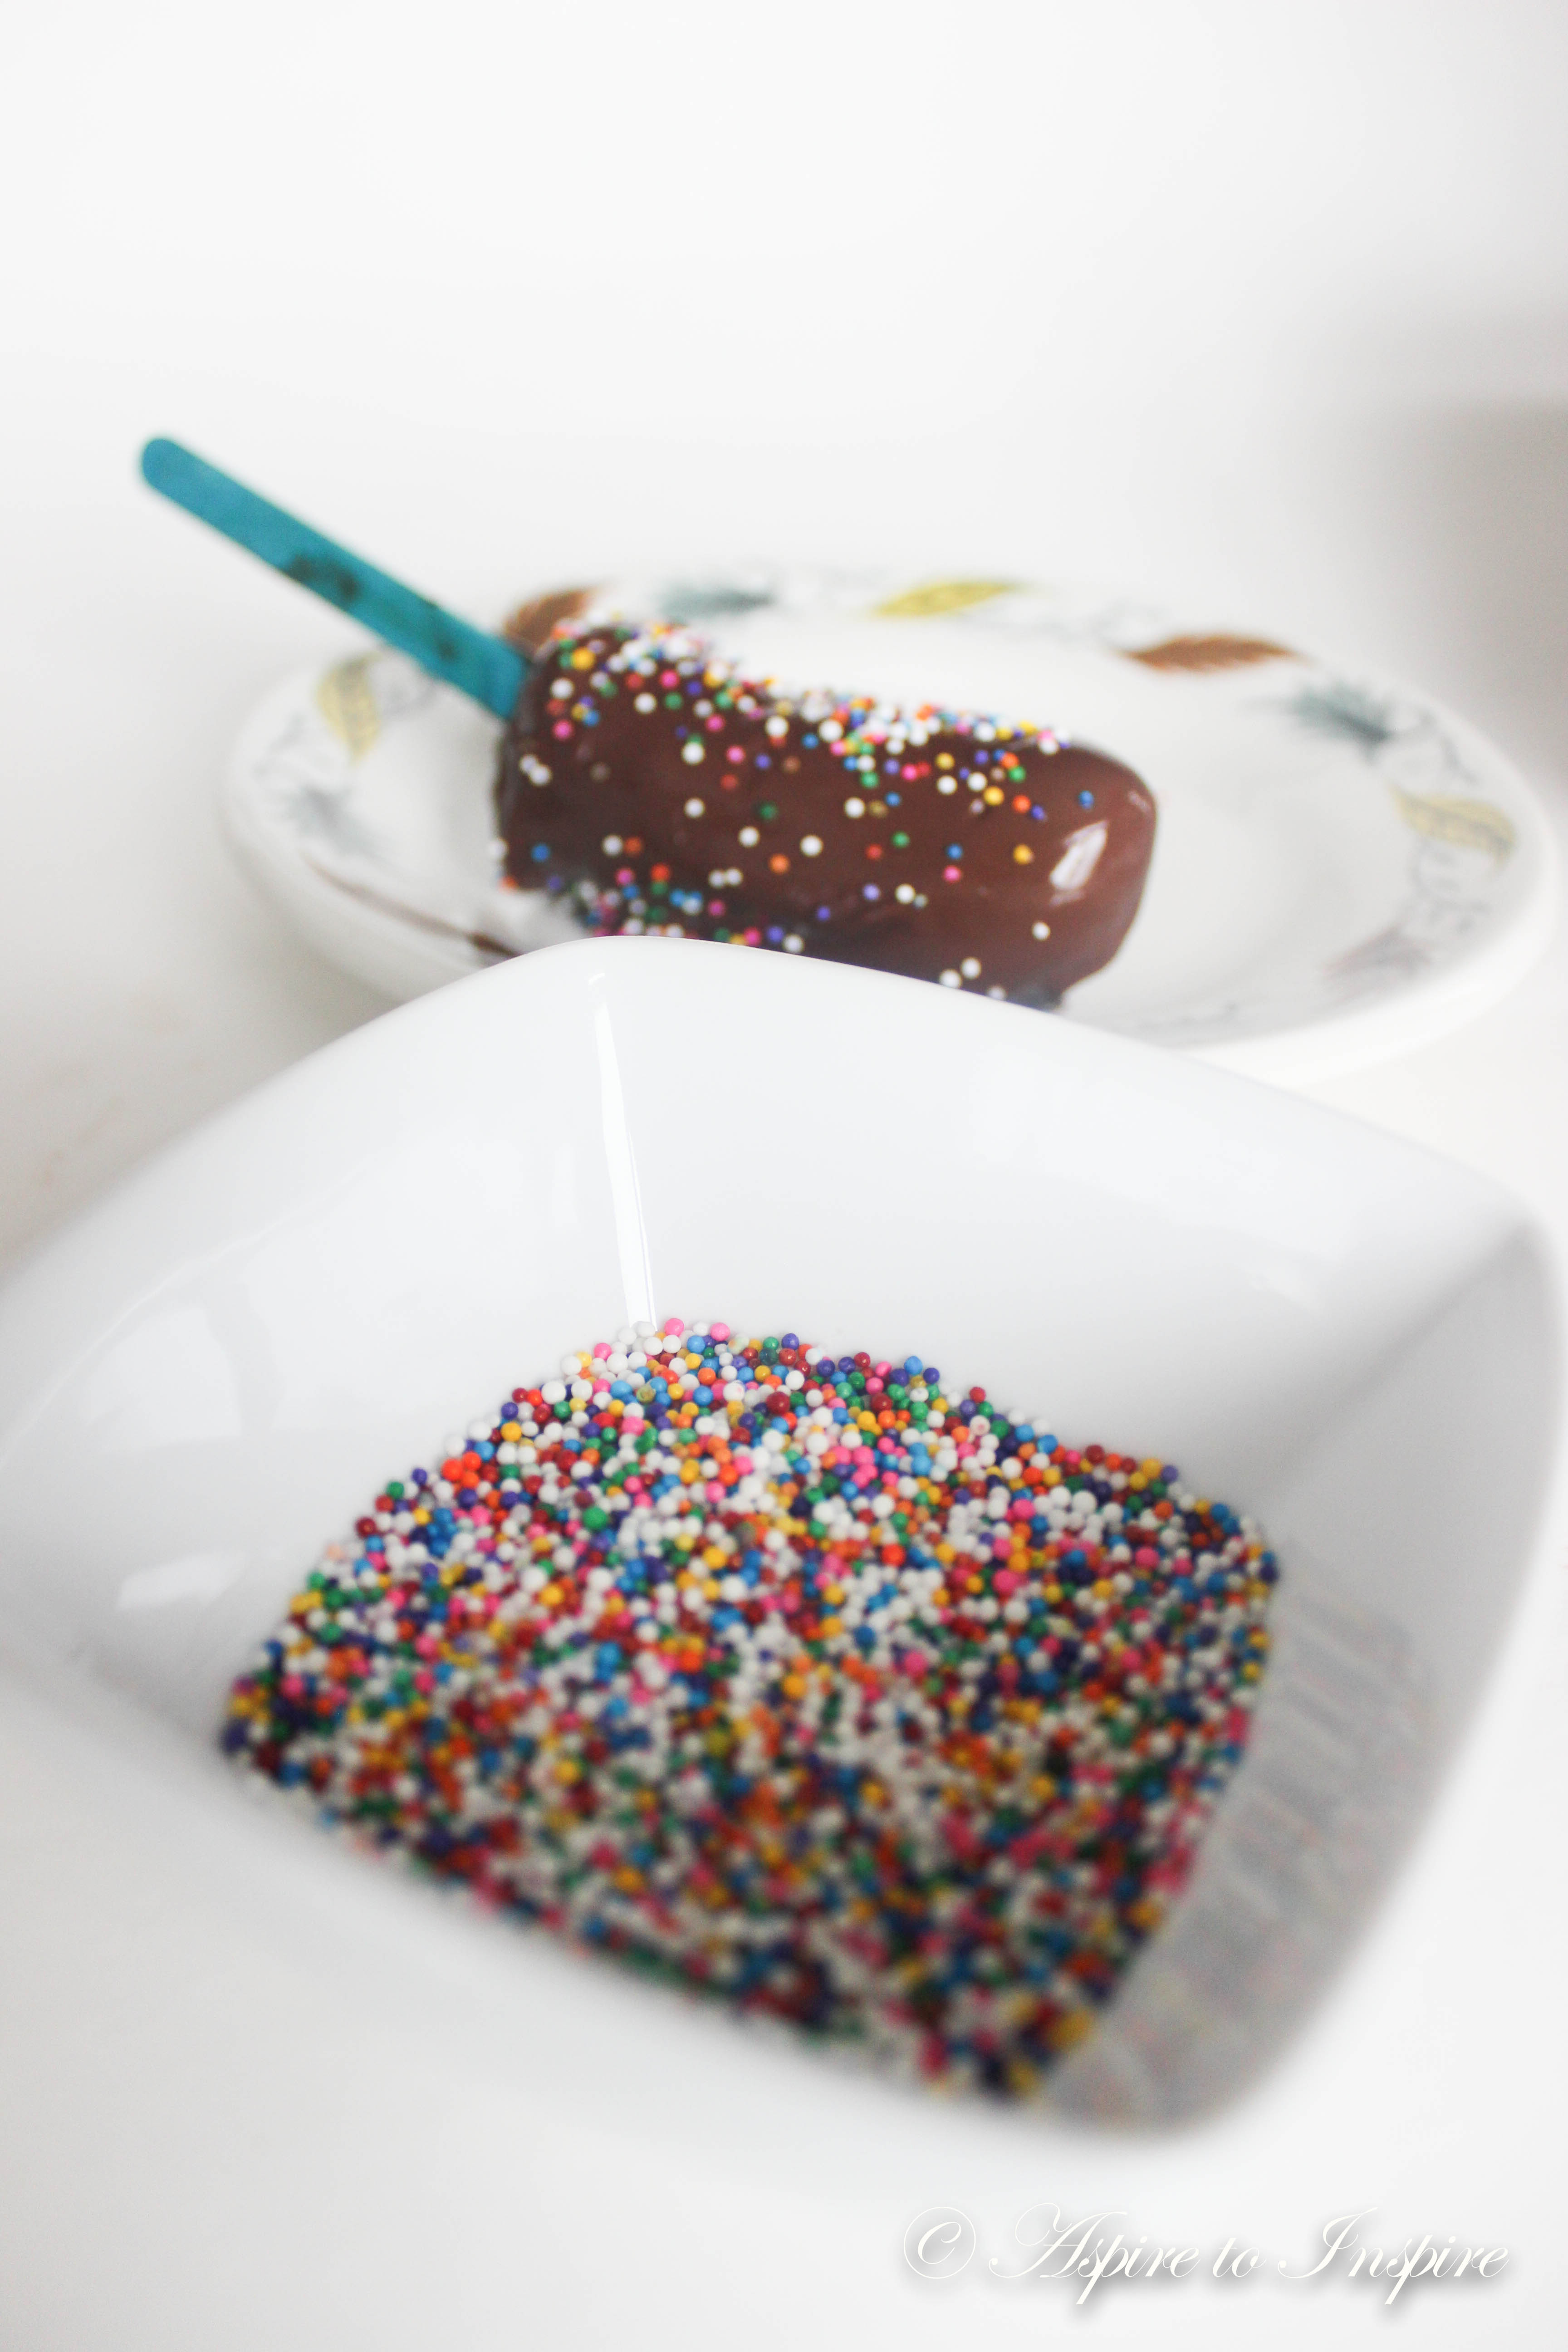
Step 7: Now for the fun part; but this however is optional. You could just leave your chocobanano as it is, or you can be a little crazy like me and add some fun and colour to it! If you do, go ahead and sprinkle it up !!
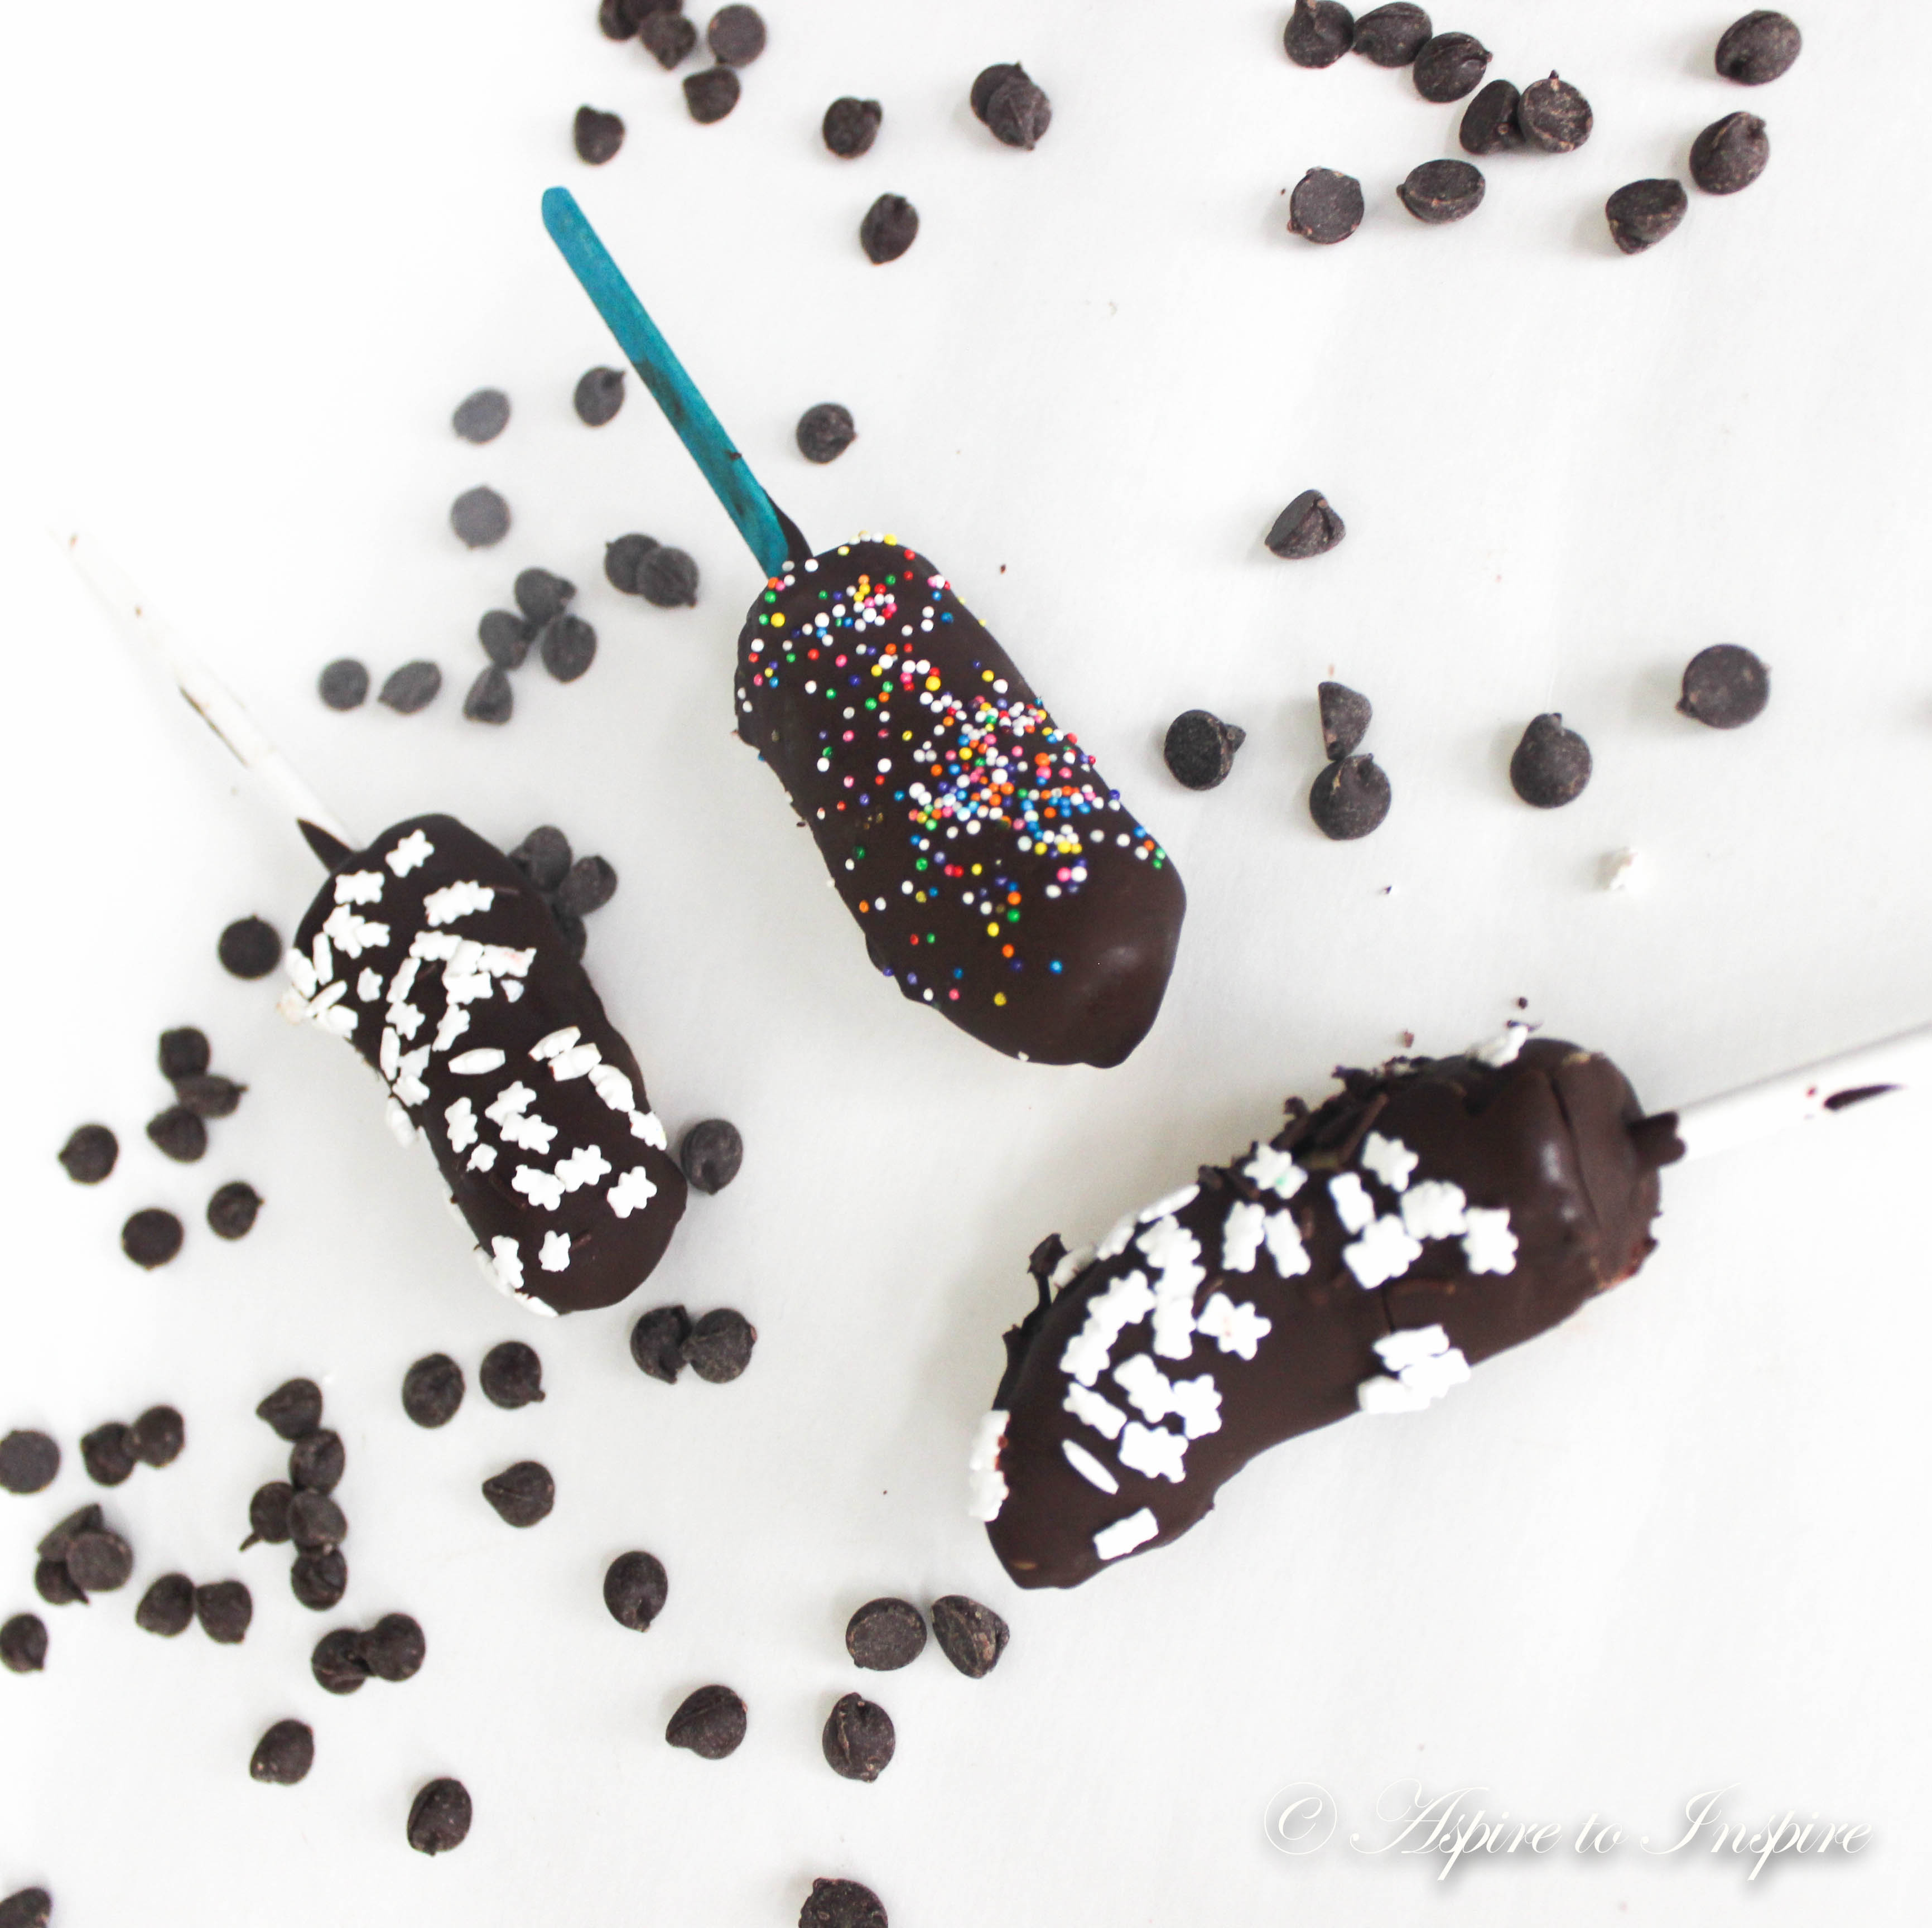
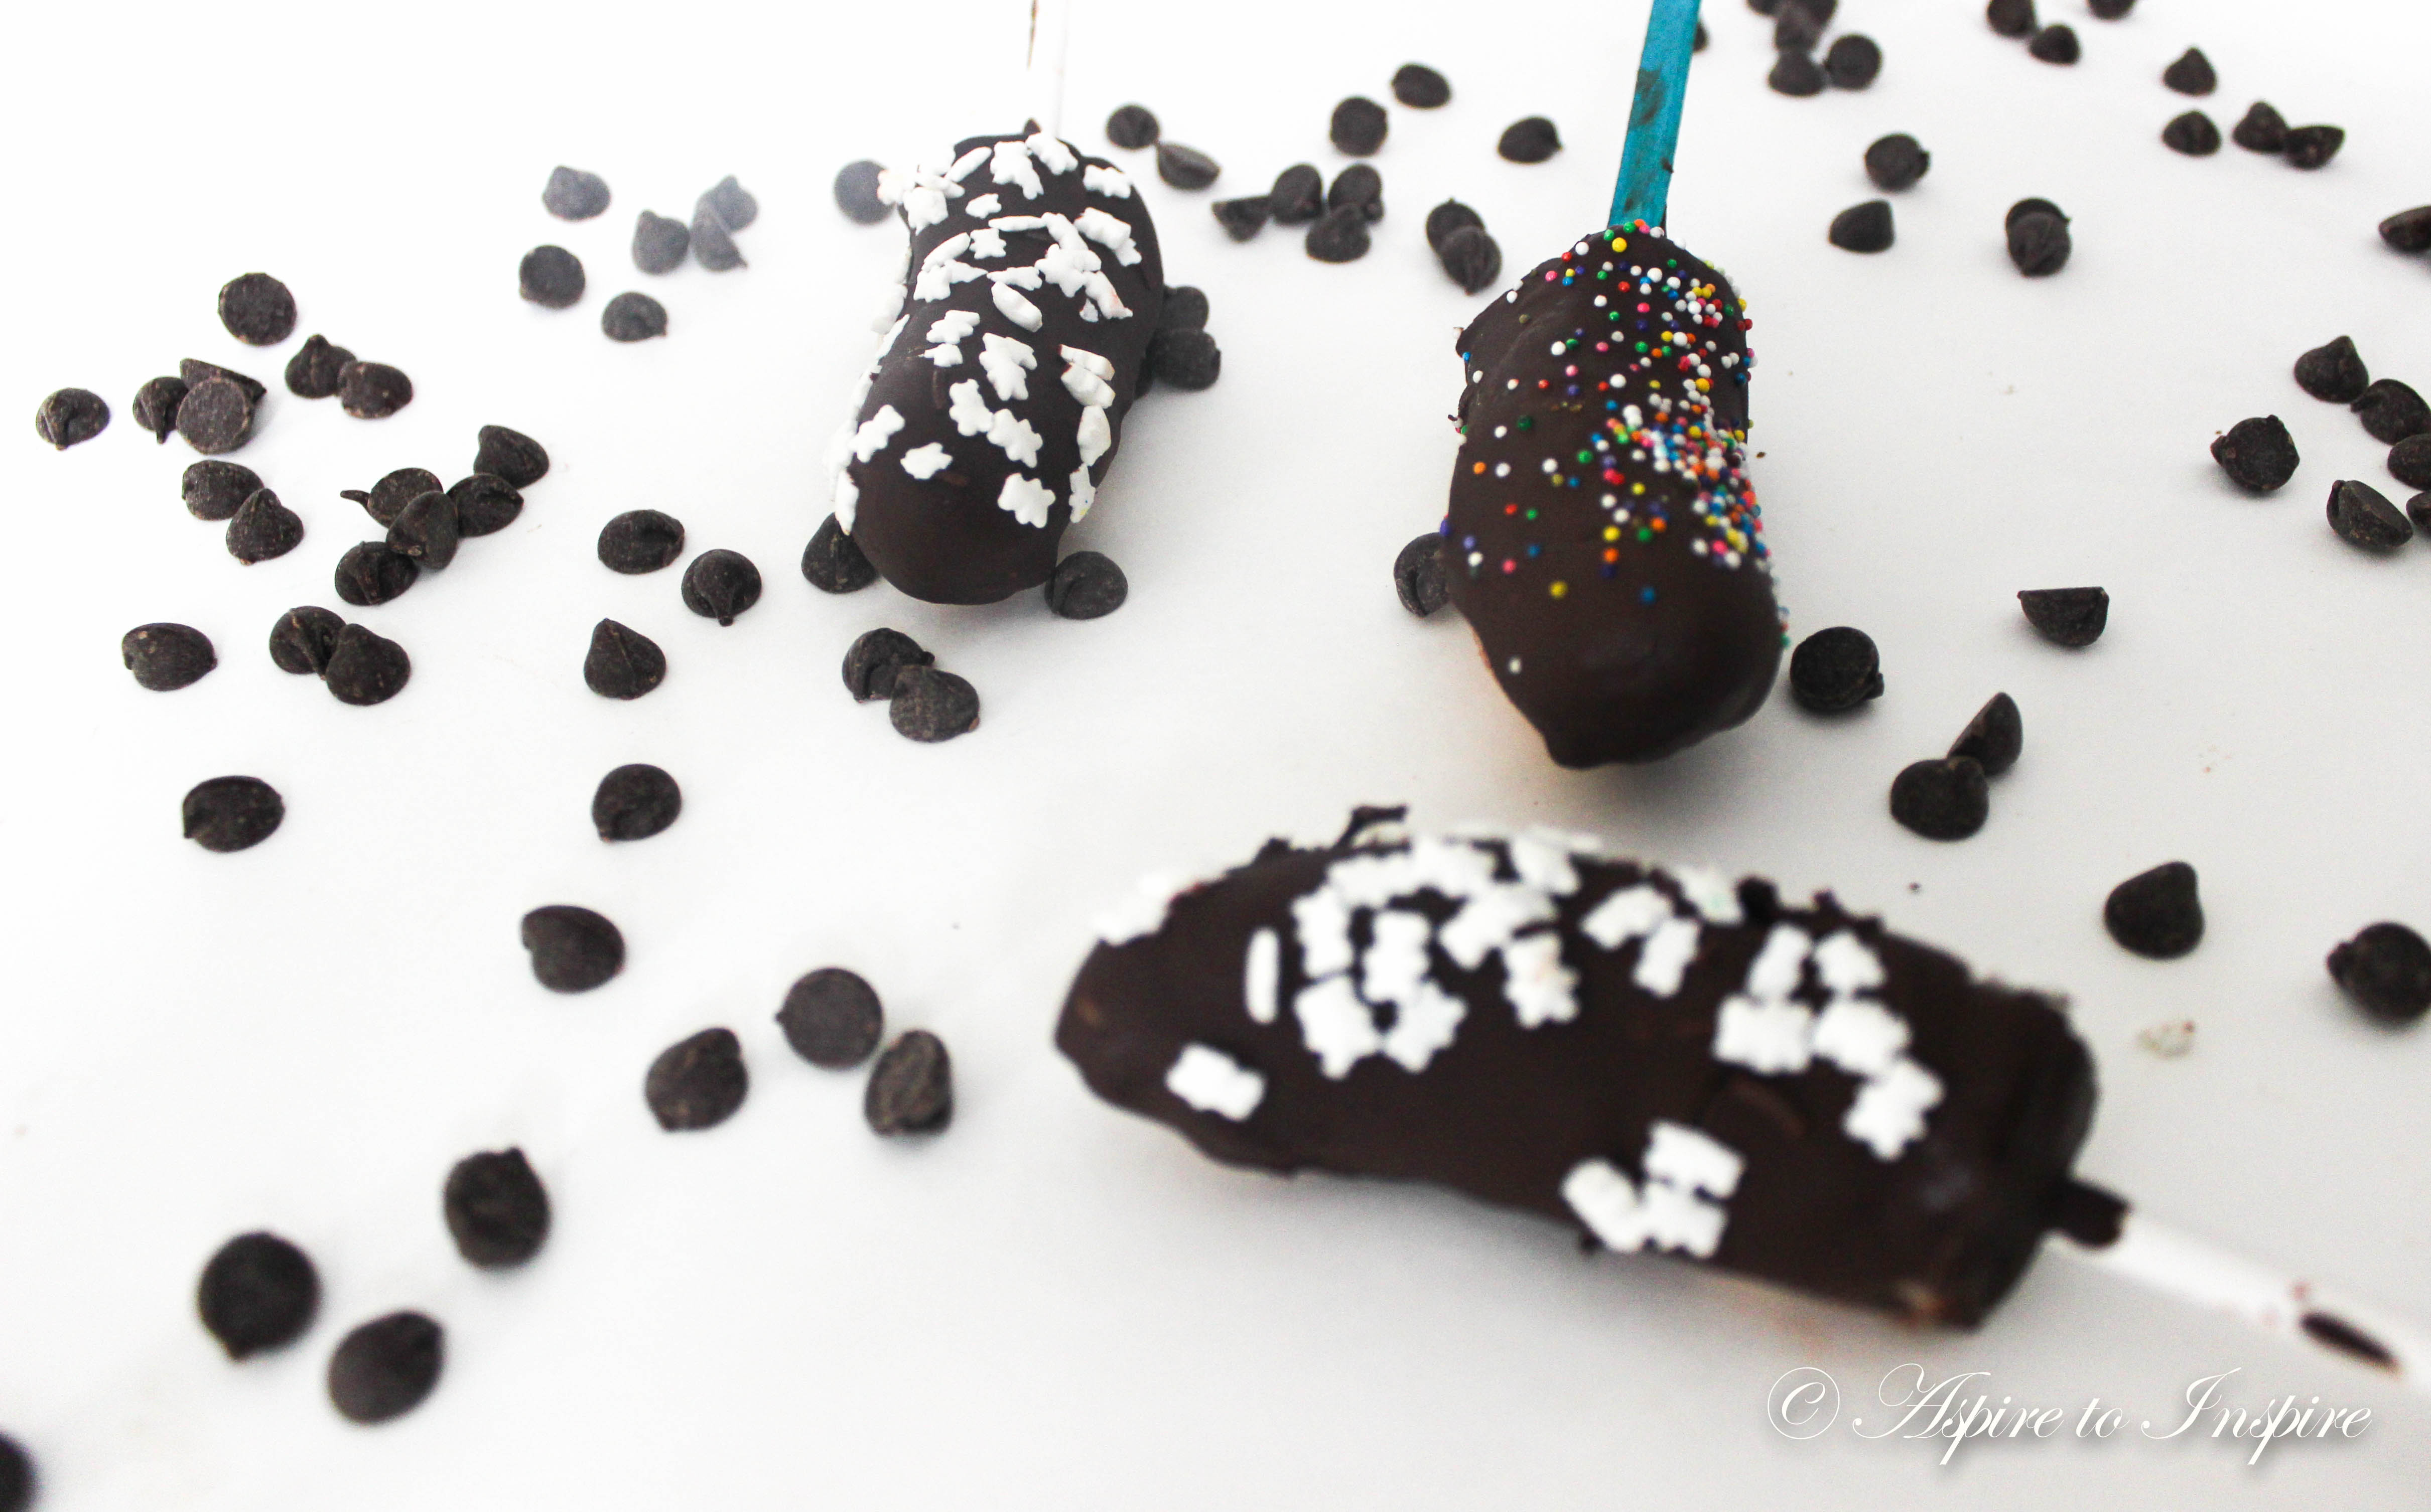
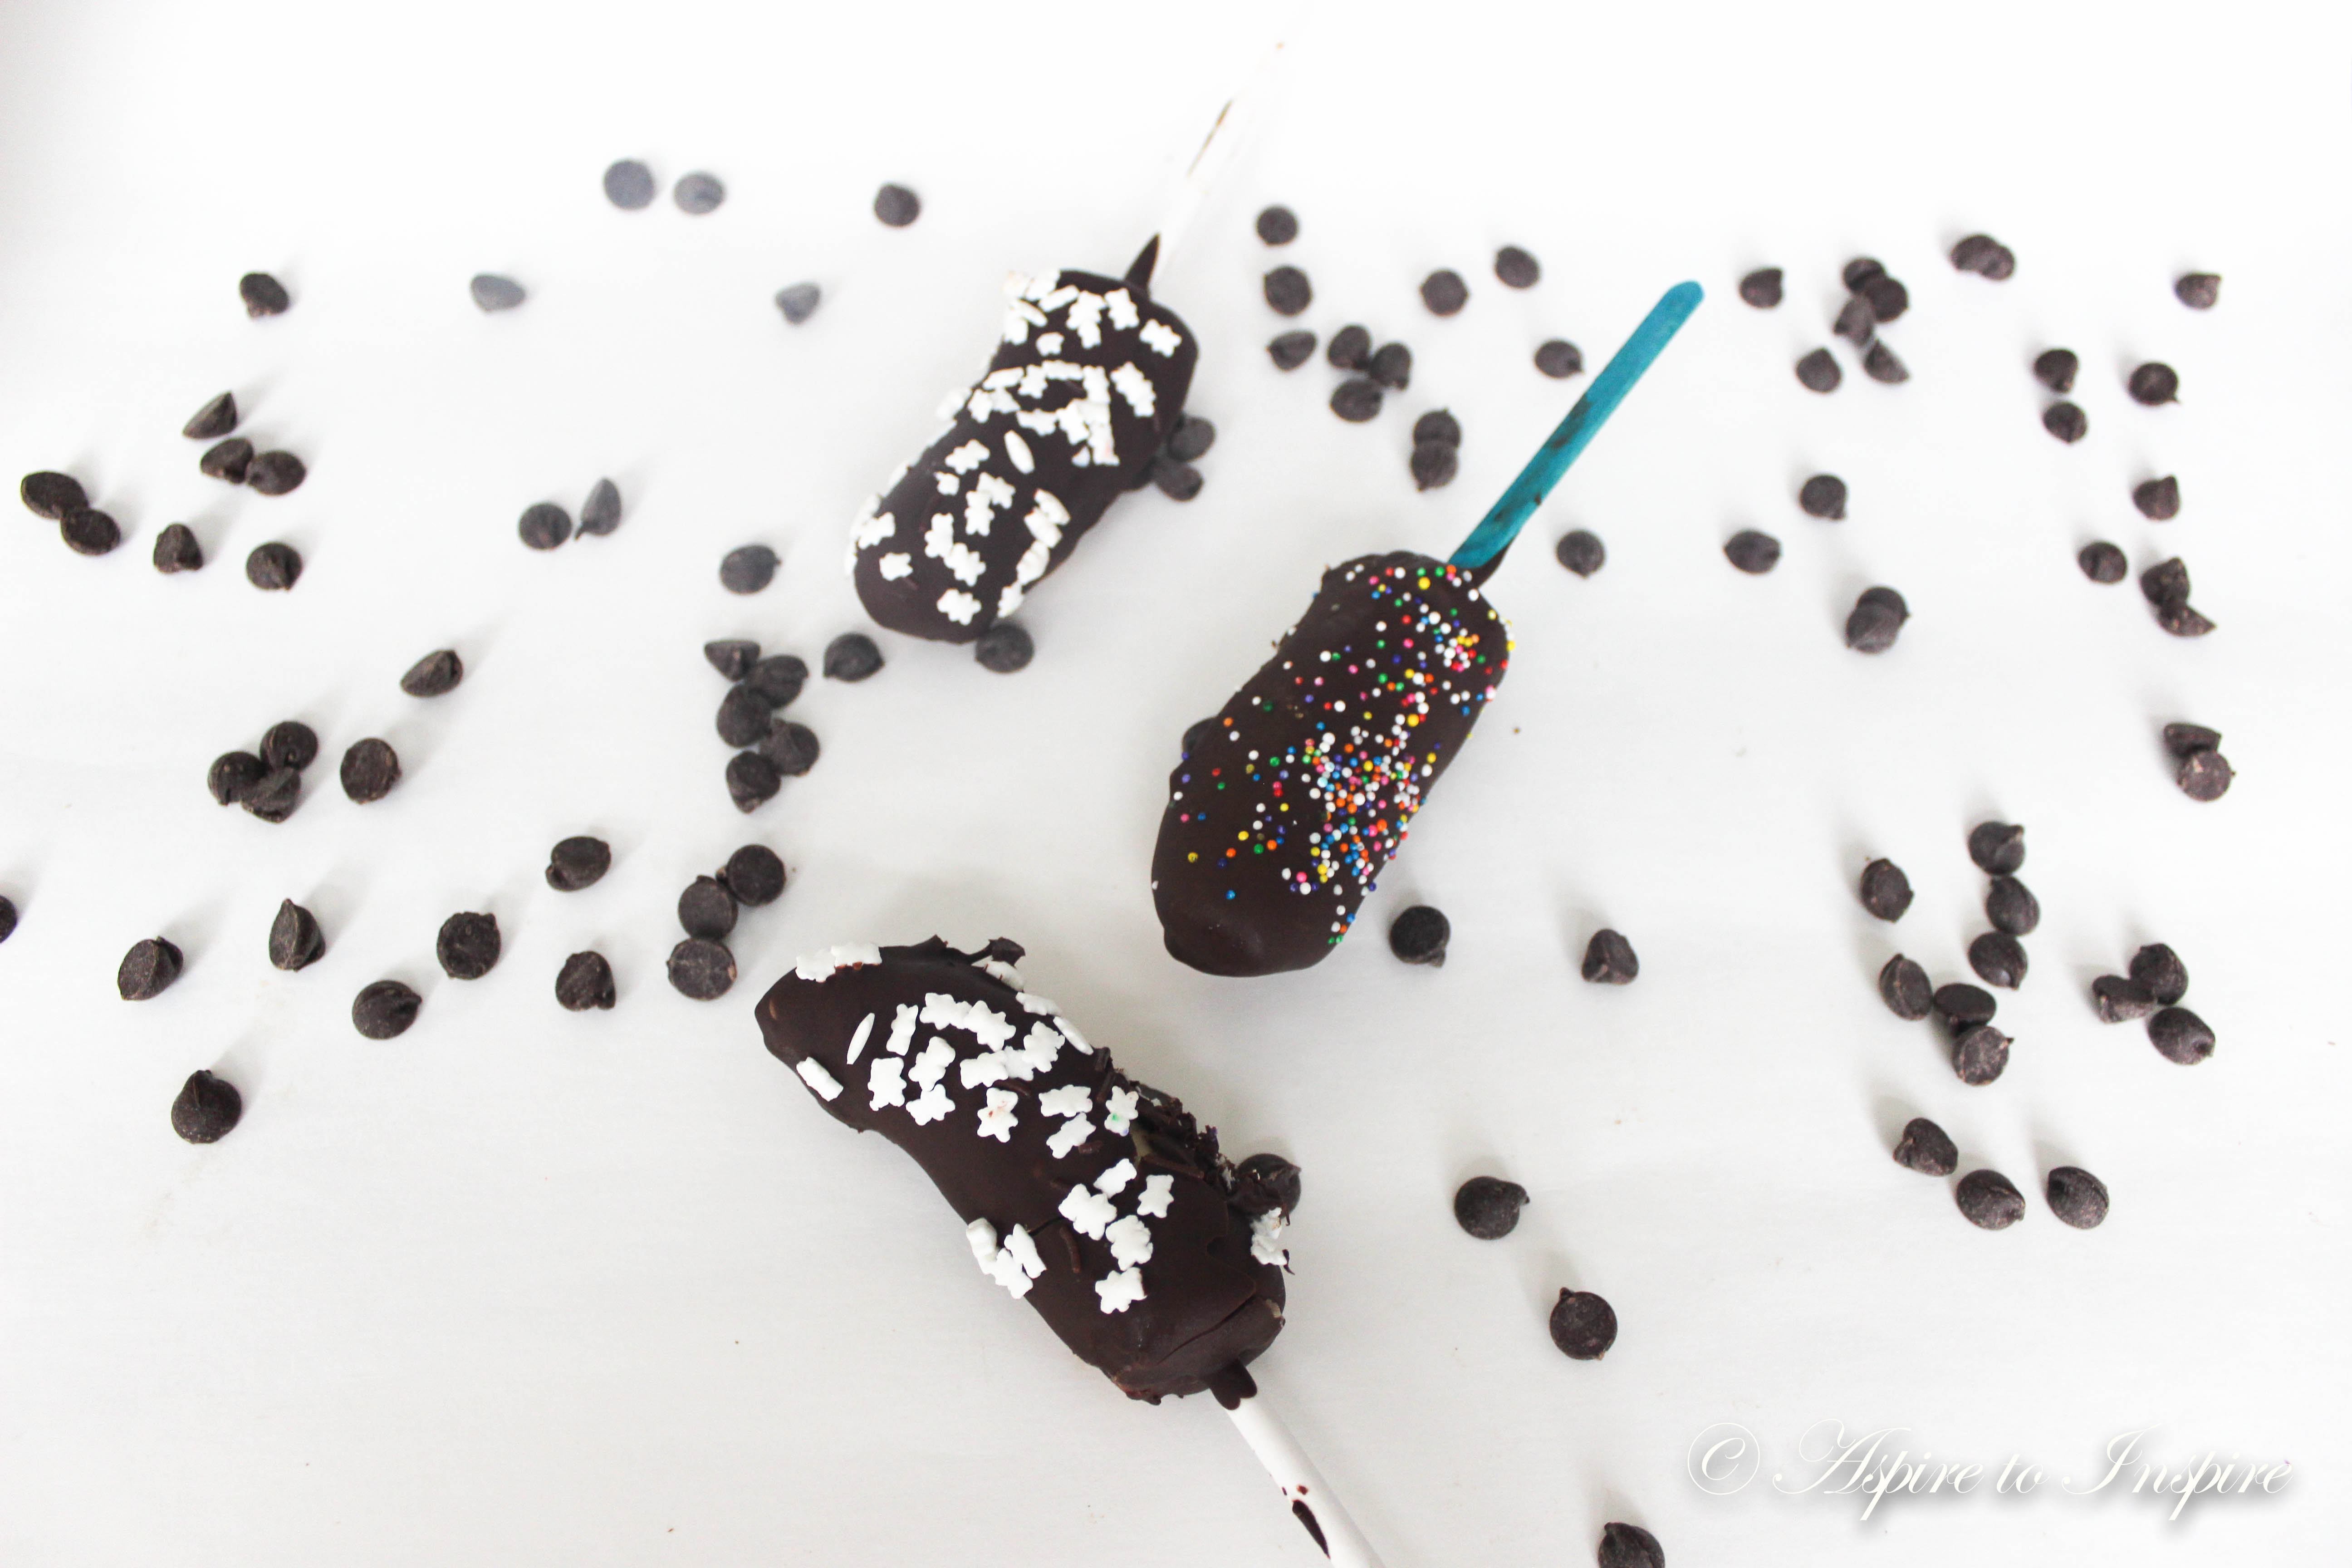
AND THERE YOU HAVE IT!
Enjoy ! <3
Thanks for reading,
Maritza, xo.
Delicious!