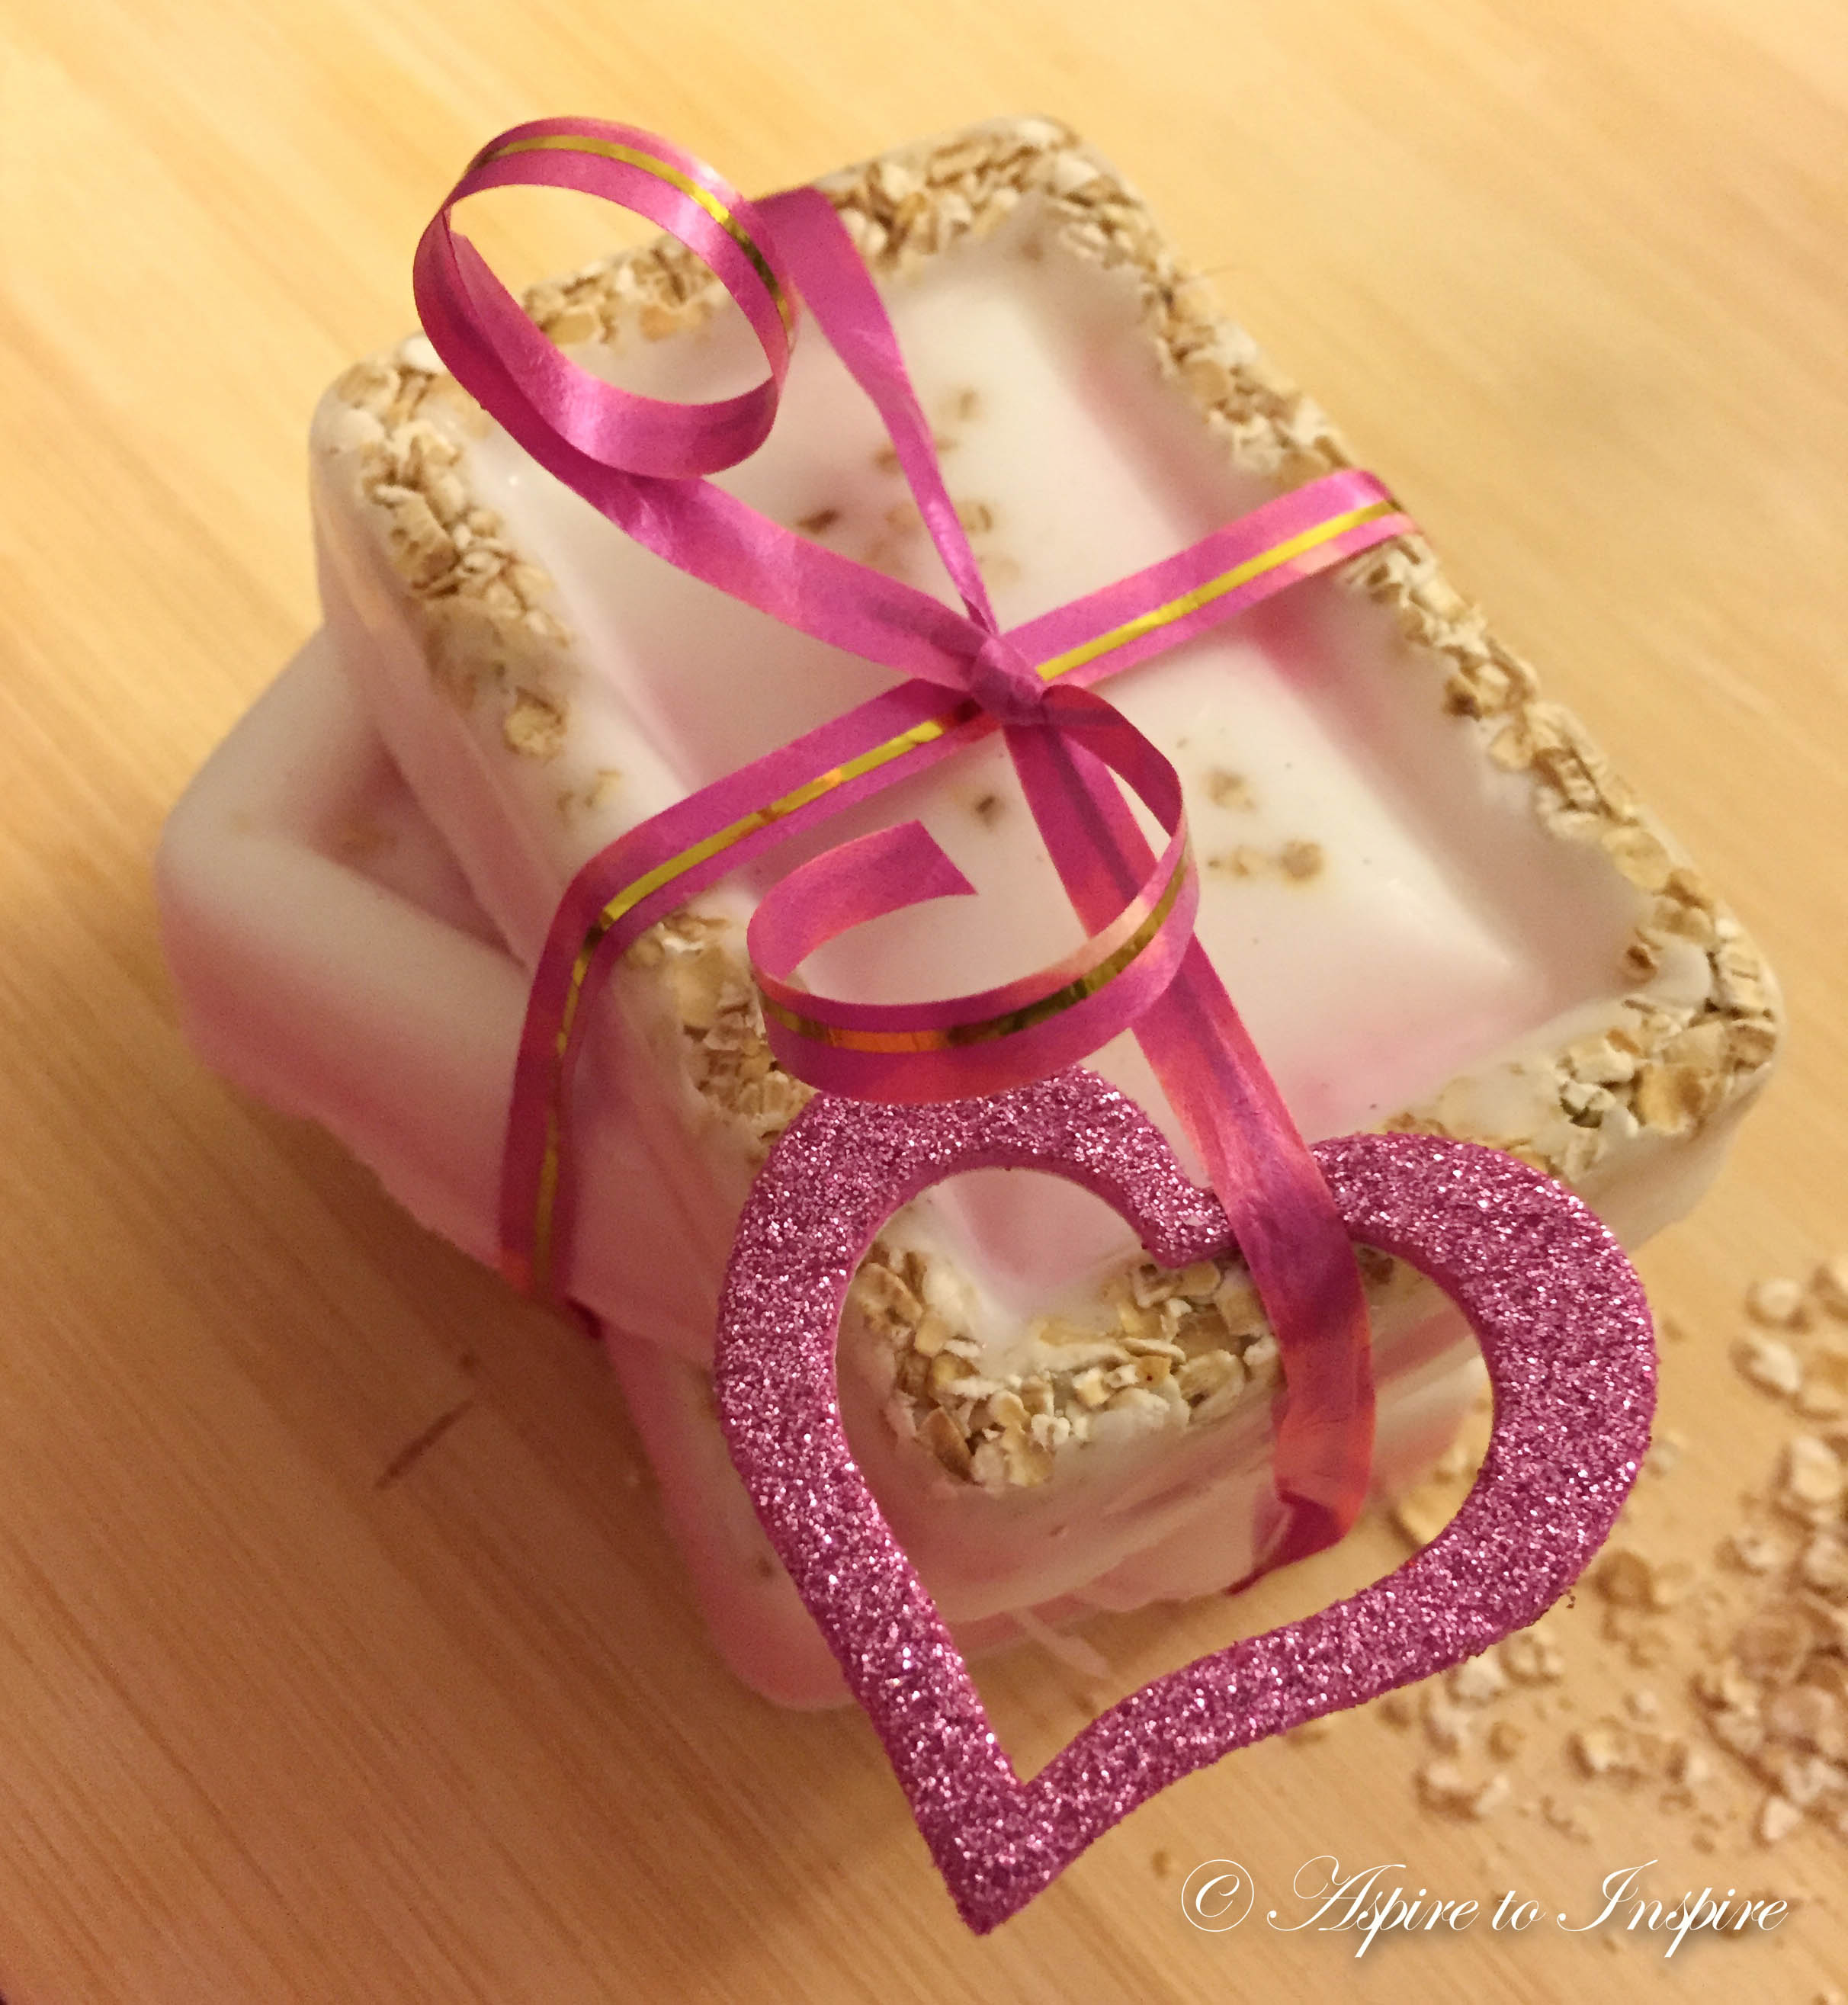
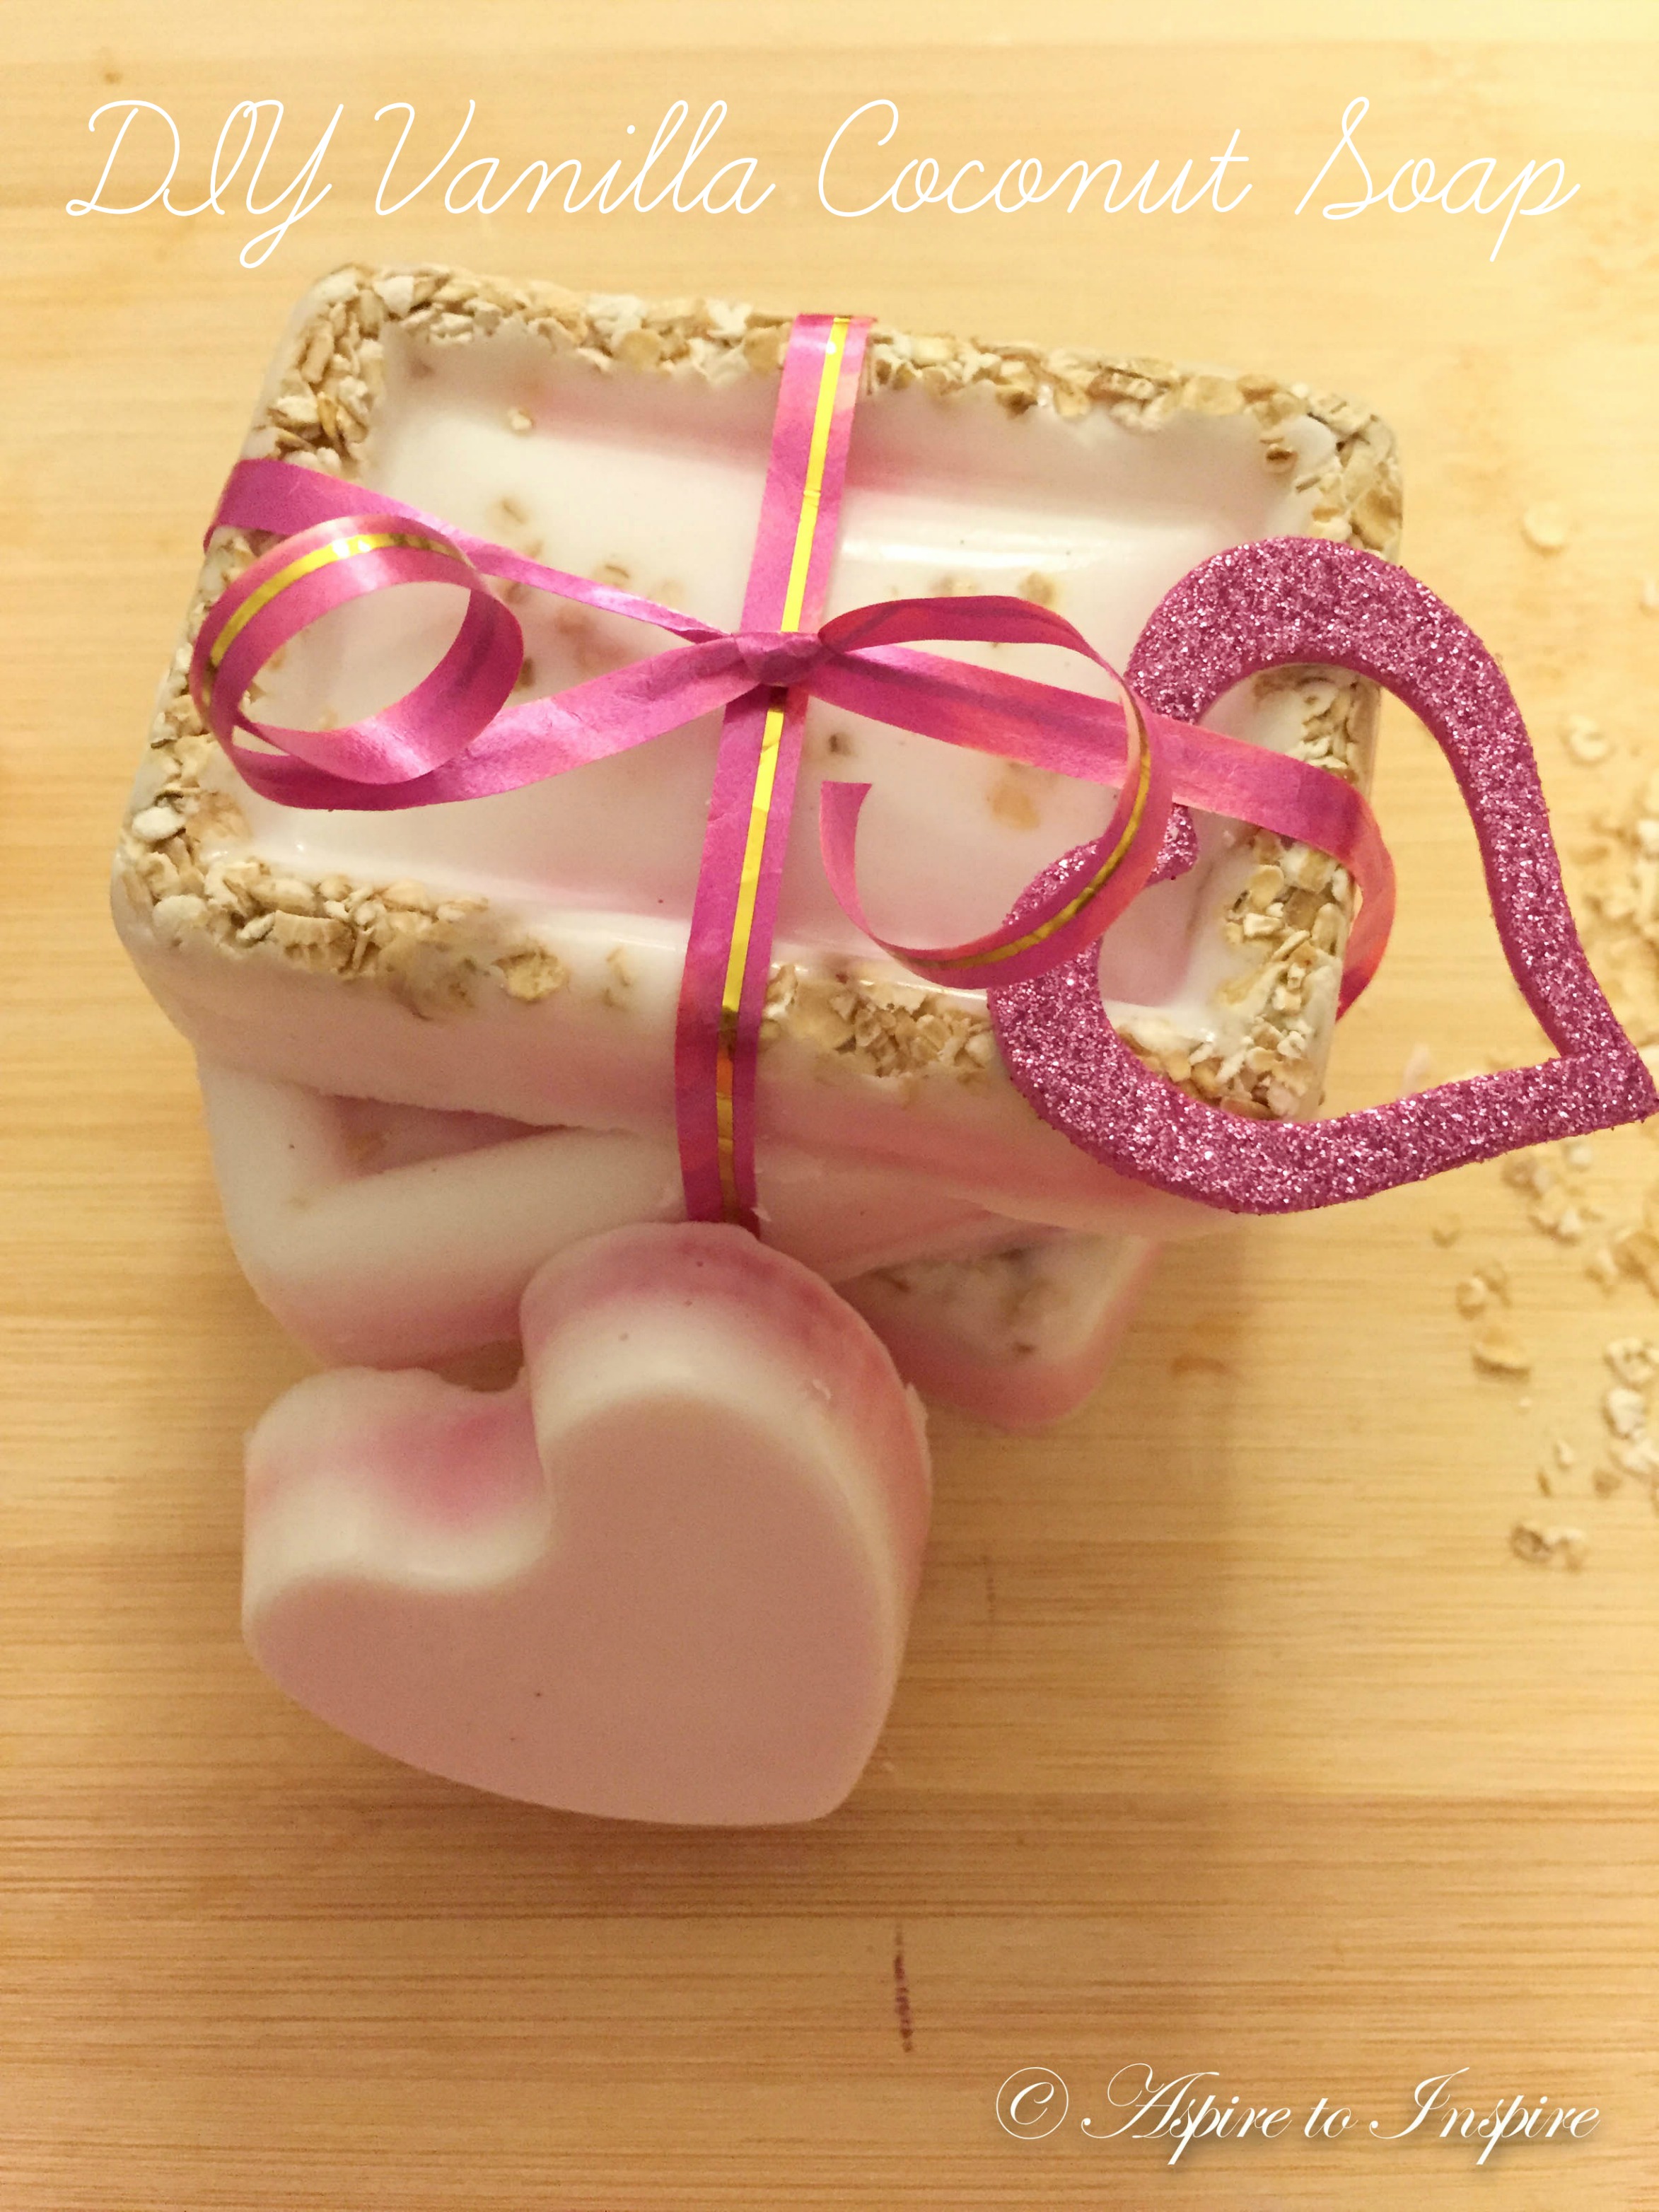
*DIY: VANILLA COCONUT SOAP*
Alright so here’s the deal, I have this huge thing for scents. My nose is very sensitive so I can smell ya, a mile away! haha just kidding, but seriously! My nose picks up everything, which is obviously a good thing because then I have a delightful time sniffing around at candle, perfume, and lotion stores. BUT lets take a moment and talk about soaps. EVER GONE TO LUSH?… I mean, I’m pretty sure this is the SECOND time I mention LUSH on here and if this isn’t a sign that I’m obsessed I DON’T KNOW WHAT IS! and if you haven’t been in that store before, DROP EVERYTHING AND GO!… Your sniffling nose will thank me later! To be fair, I’ve had many people tell me that the scents are way too strong in there and at times it could be, but if you really appreciate different types of scents, you will love it! Like me, of course!
OK, we all get it now I love it. So due to that being the case, I wanted to try something out! I’ve given a few things a try but this one was probably one of the easiest DIYs ever !
AND realizing that VALENTINES DAY is around the corner, I figured why not hit this up to give some of you a gift idea!
I think this would be a perfect gift for a sister, mom, grandma, mother in law… all the beautiful ladies in your life! OF COURSE, if you have a male figure who is into smelling nice and fresh, I’d totally recommend it too! (C’mon who doesn’t love to smell good).
Keep in mind, this could also work for a birthday idea as well.
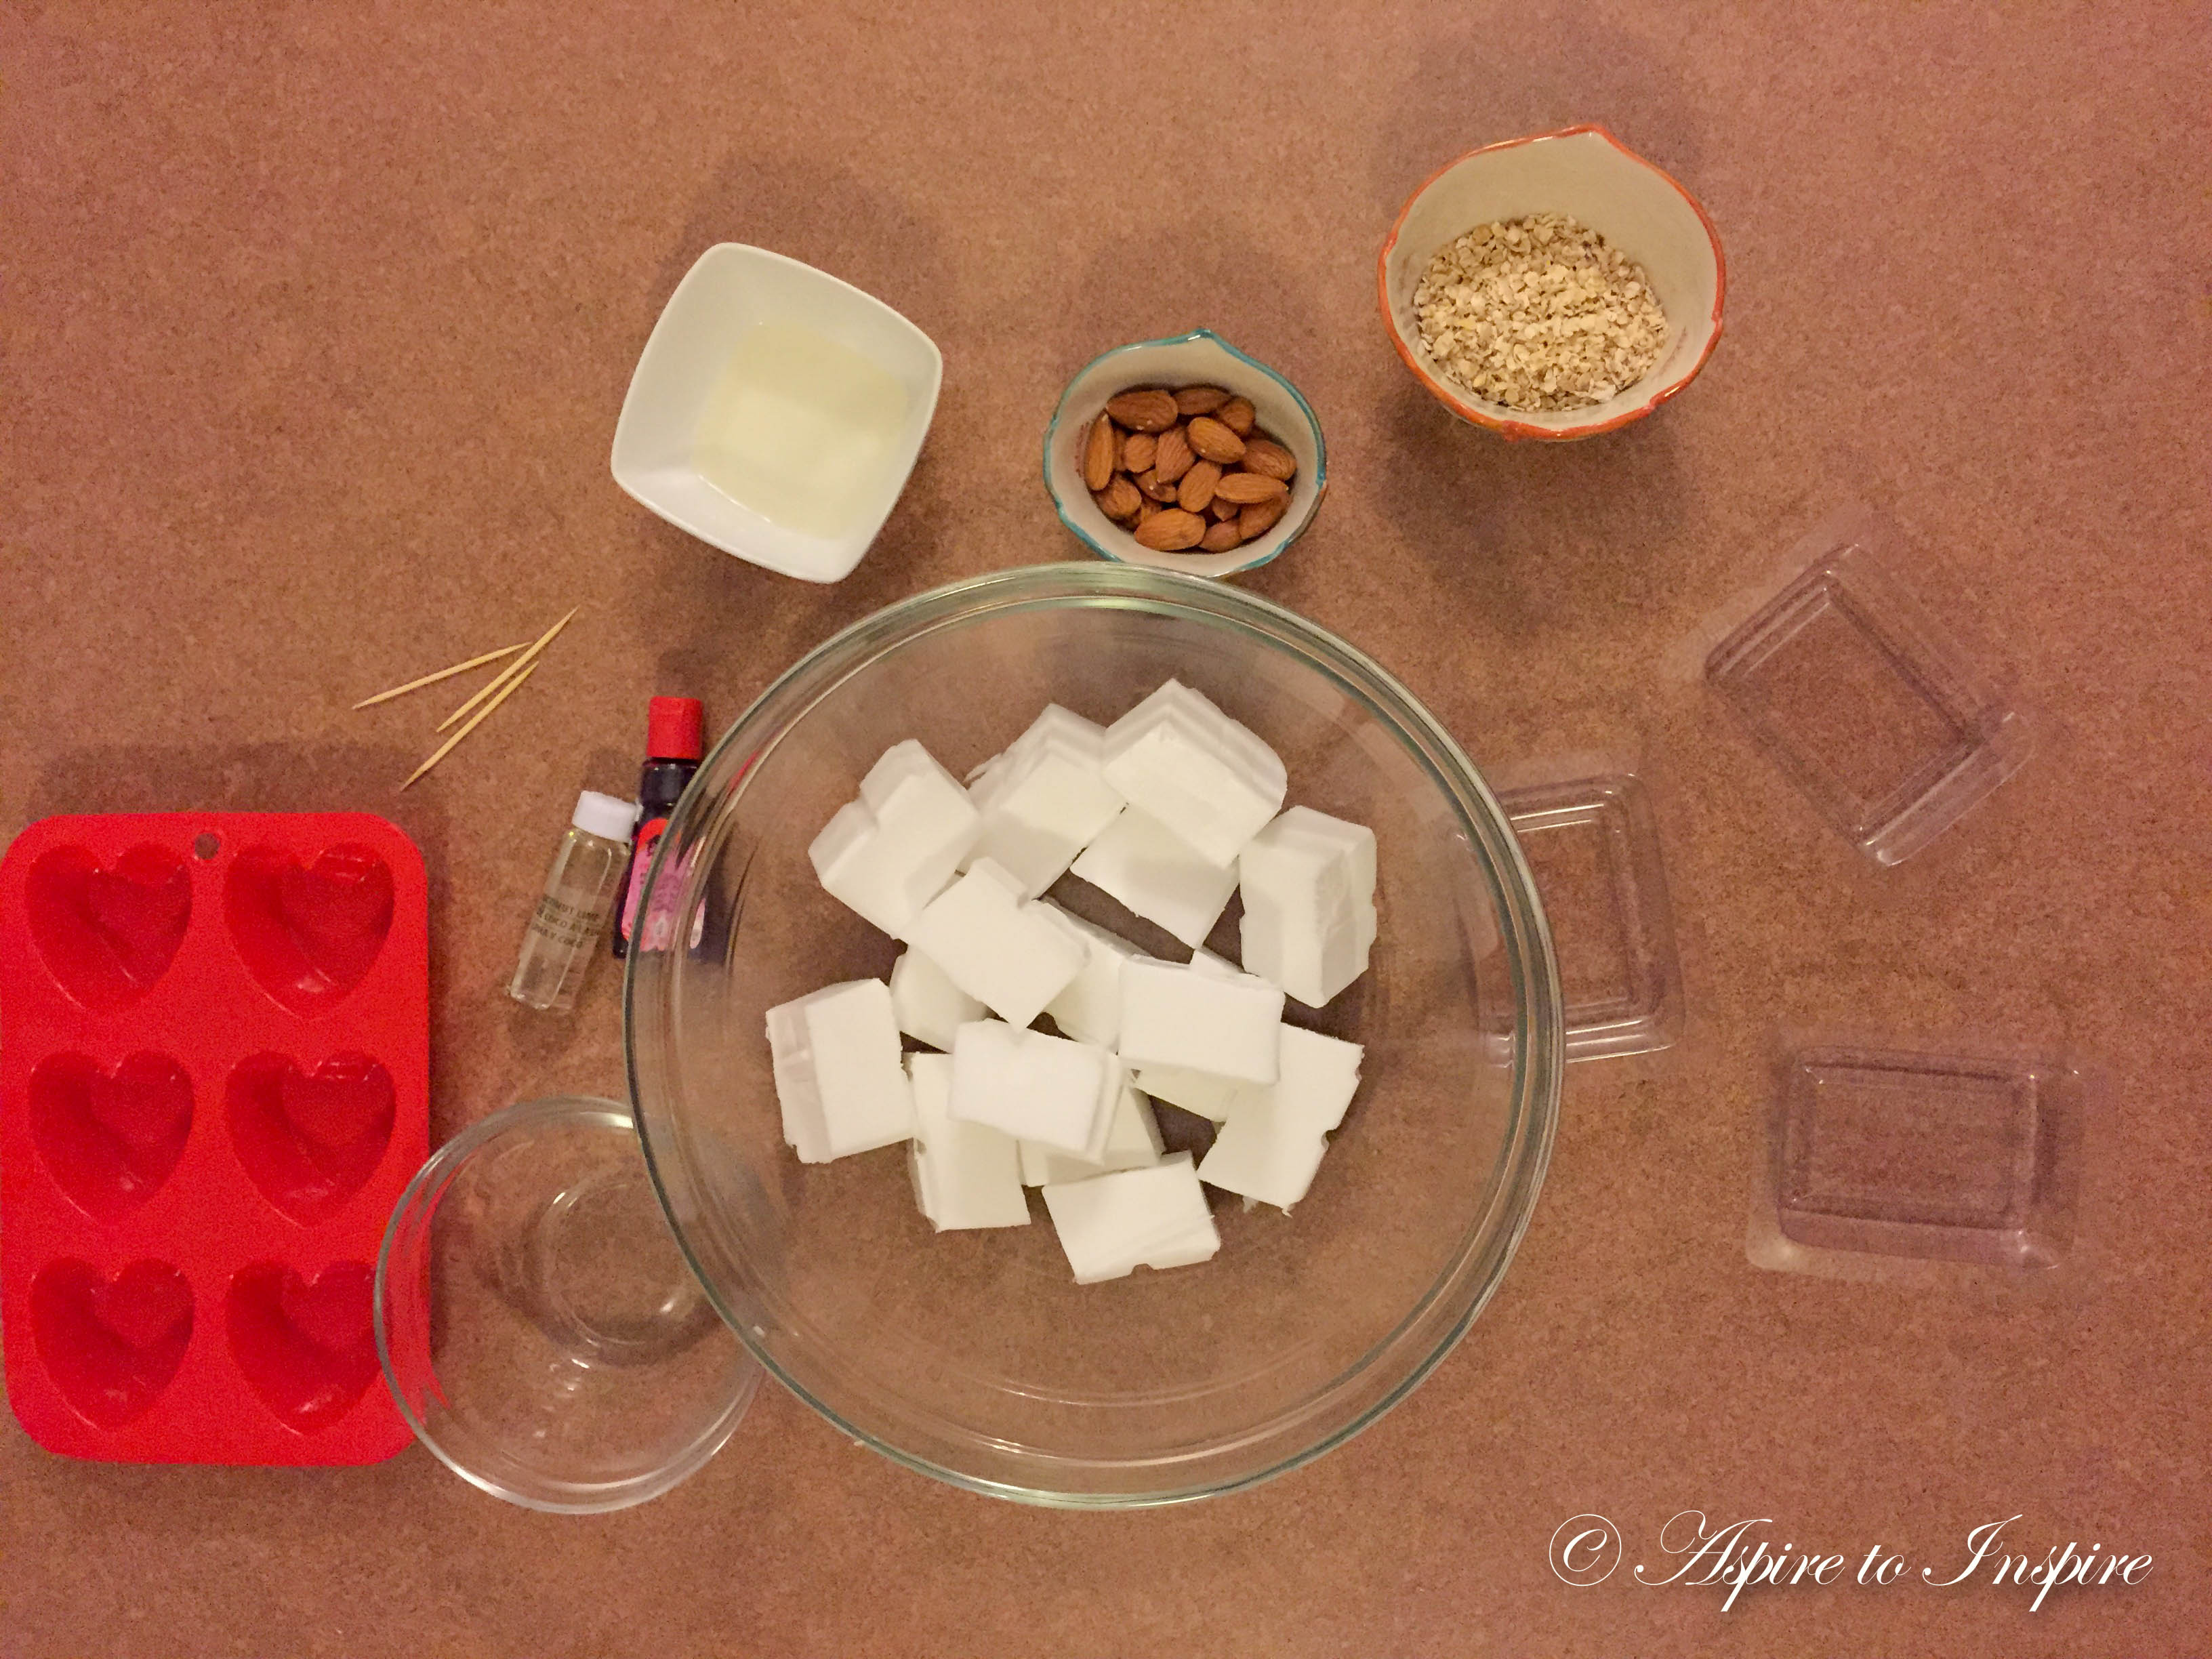
SUPPLIES NEEDED:
– Melt and Pour Soap Base [Michaels or online]
– Coconut Essential Oil- you can choose which ever scent you’d prefer
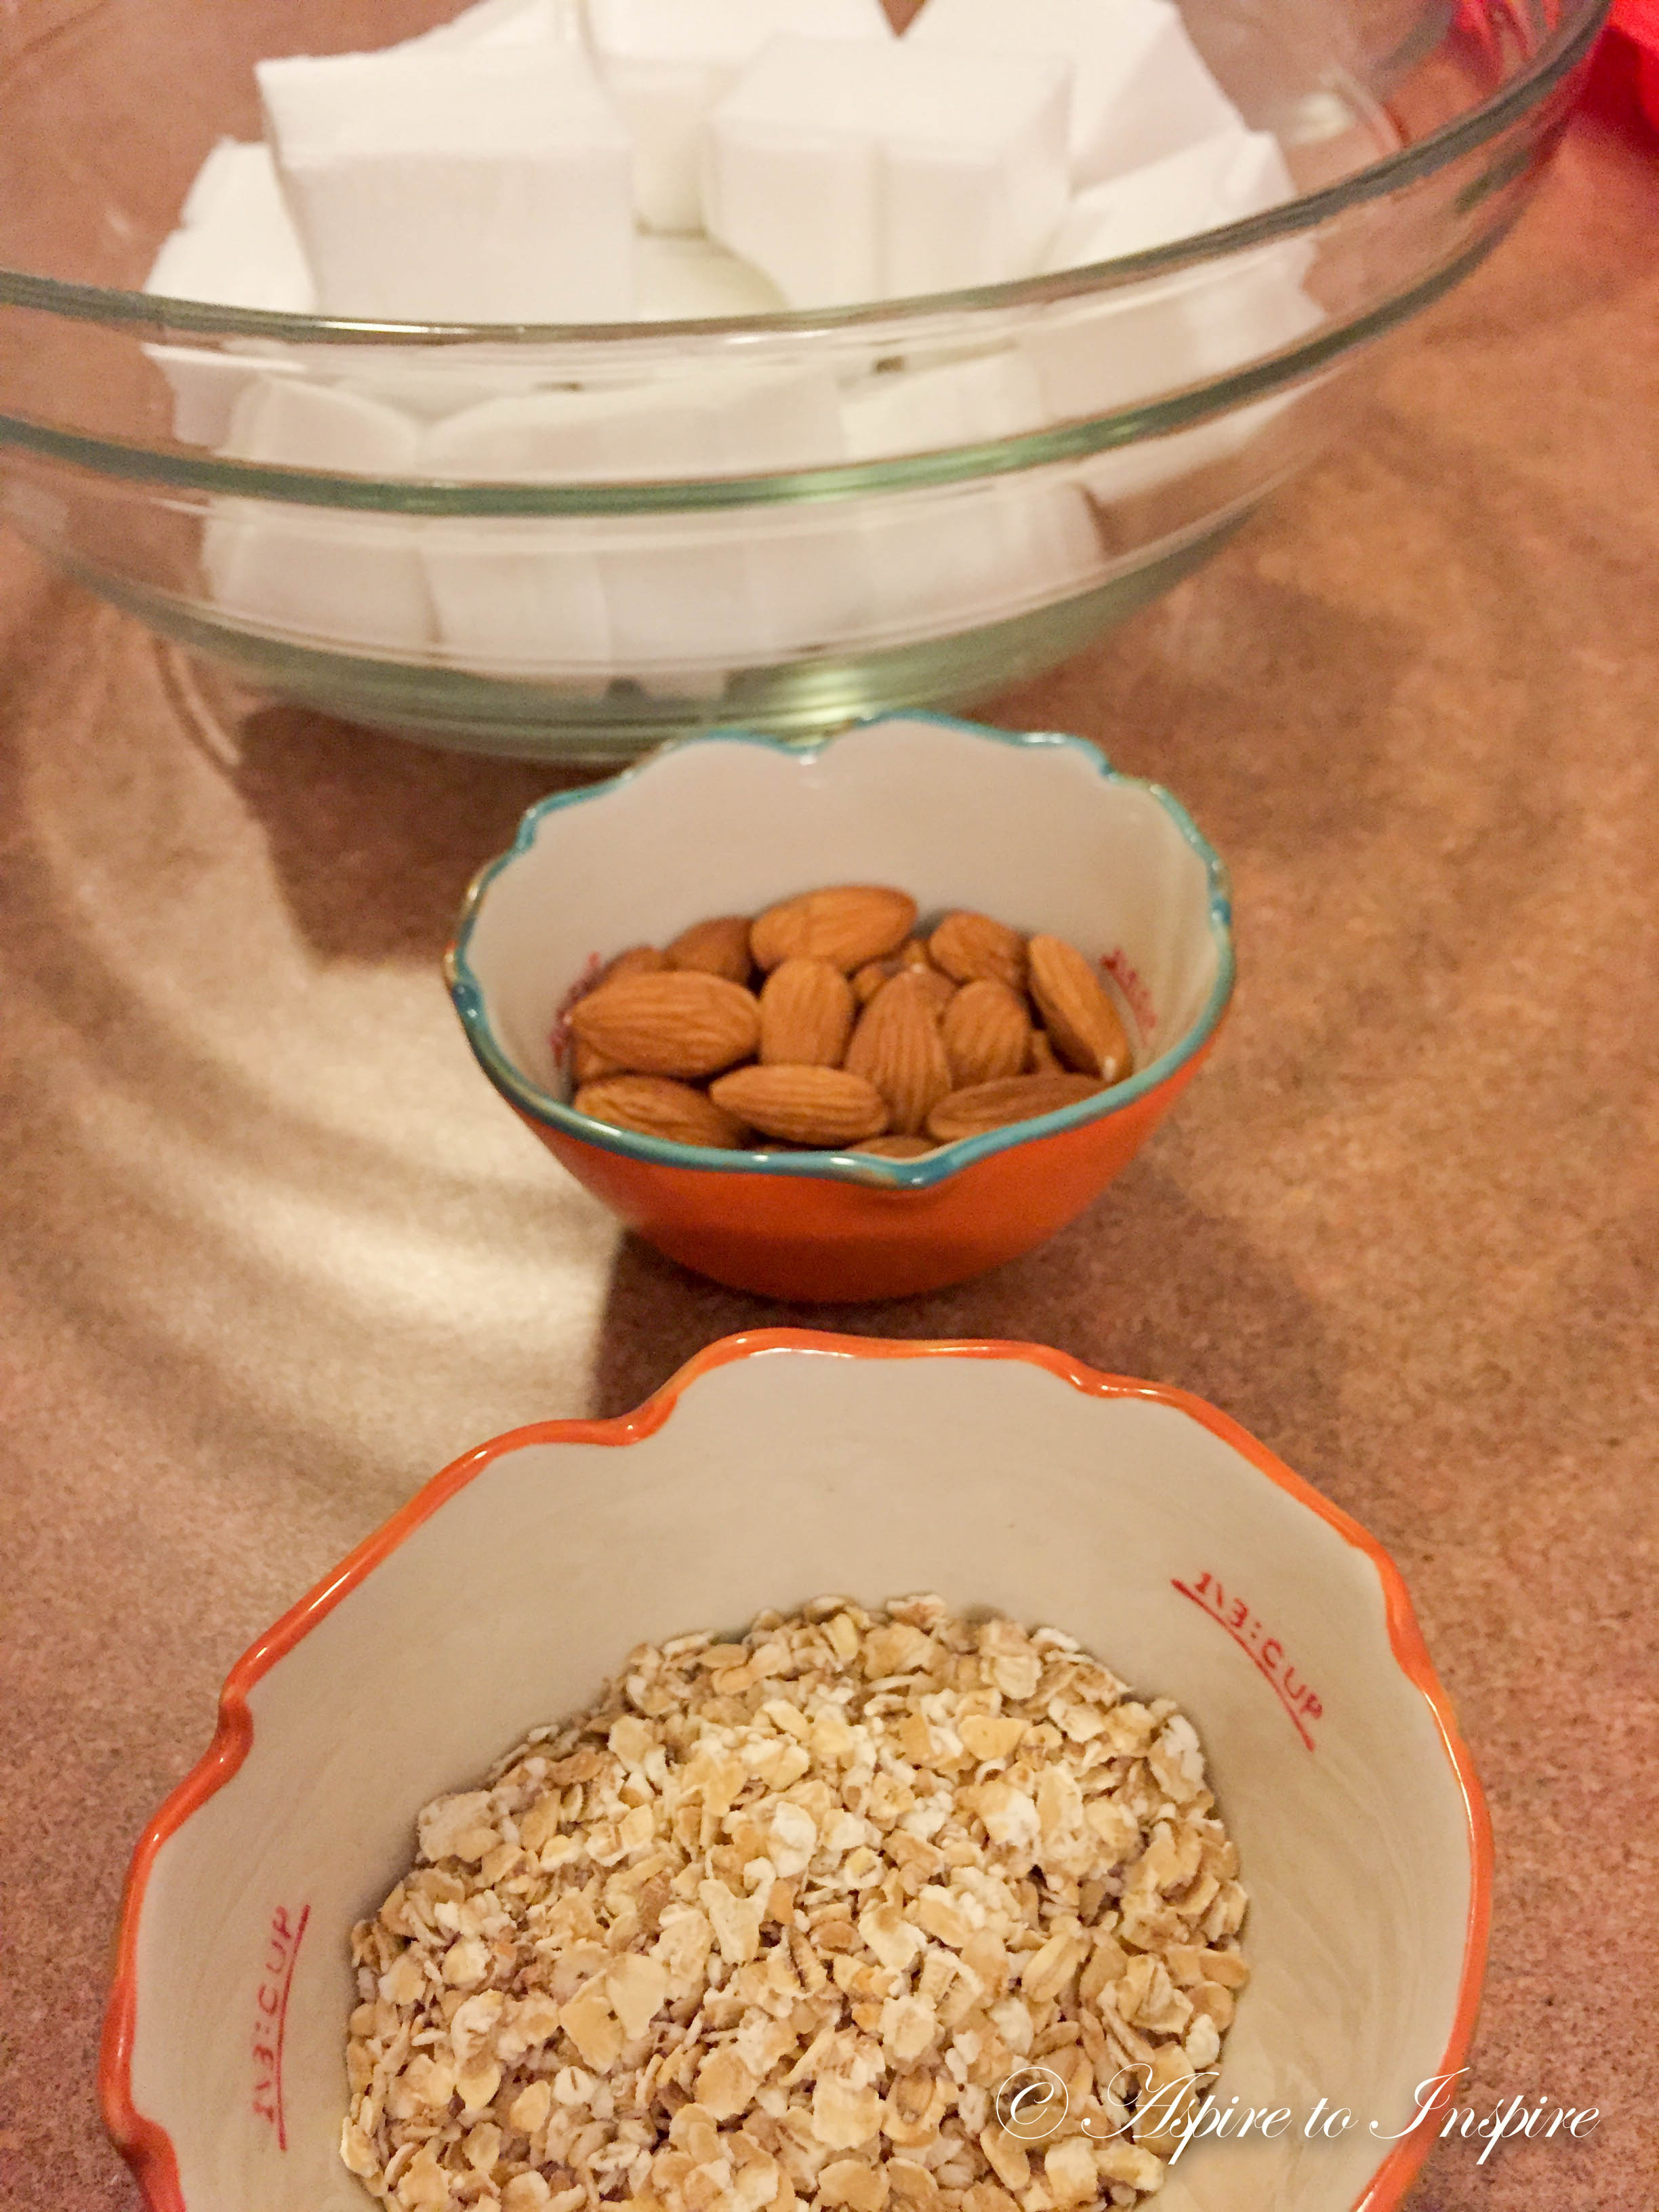
– Oats
– Soap Colors
– Vanilla Extract
– Honey- optional
– Molds- Shape is your choice
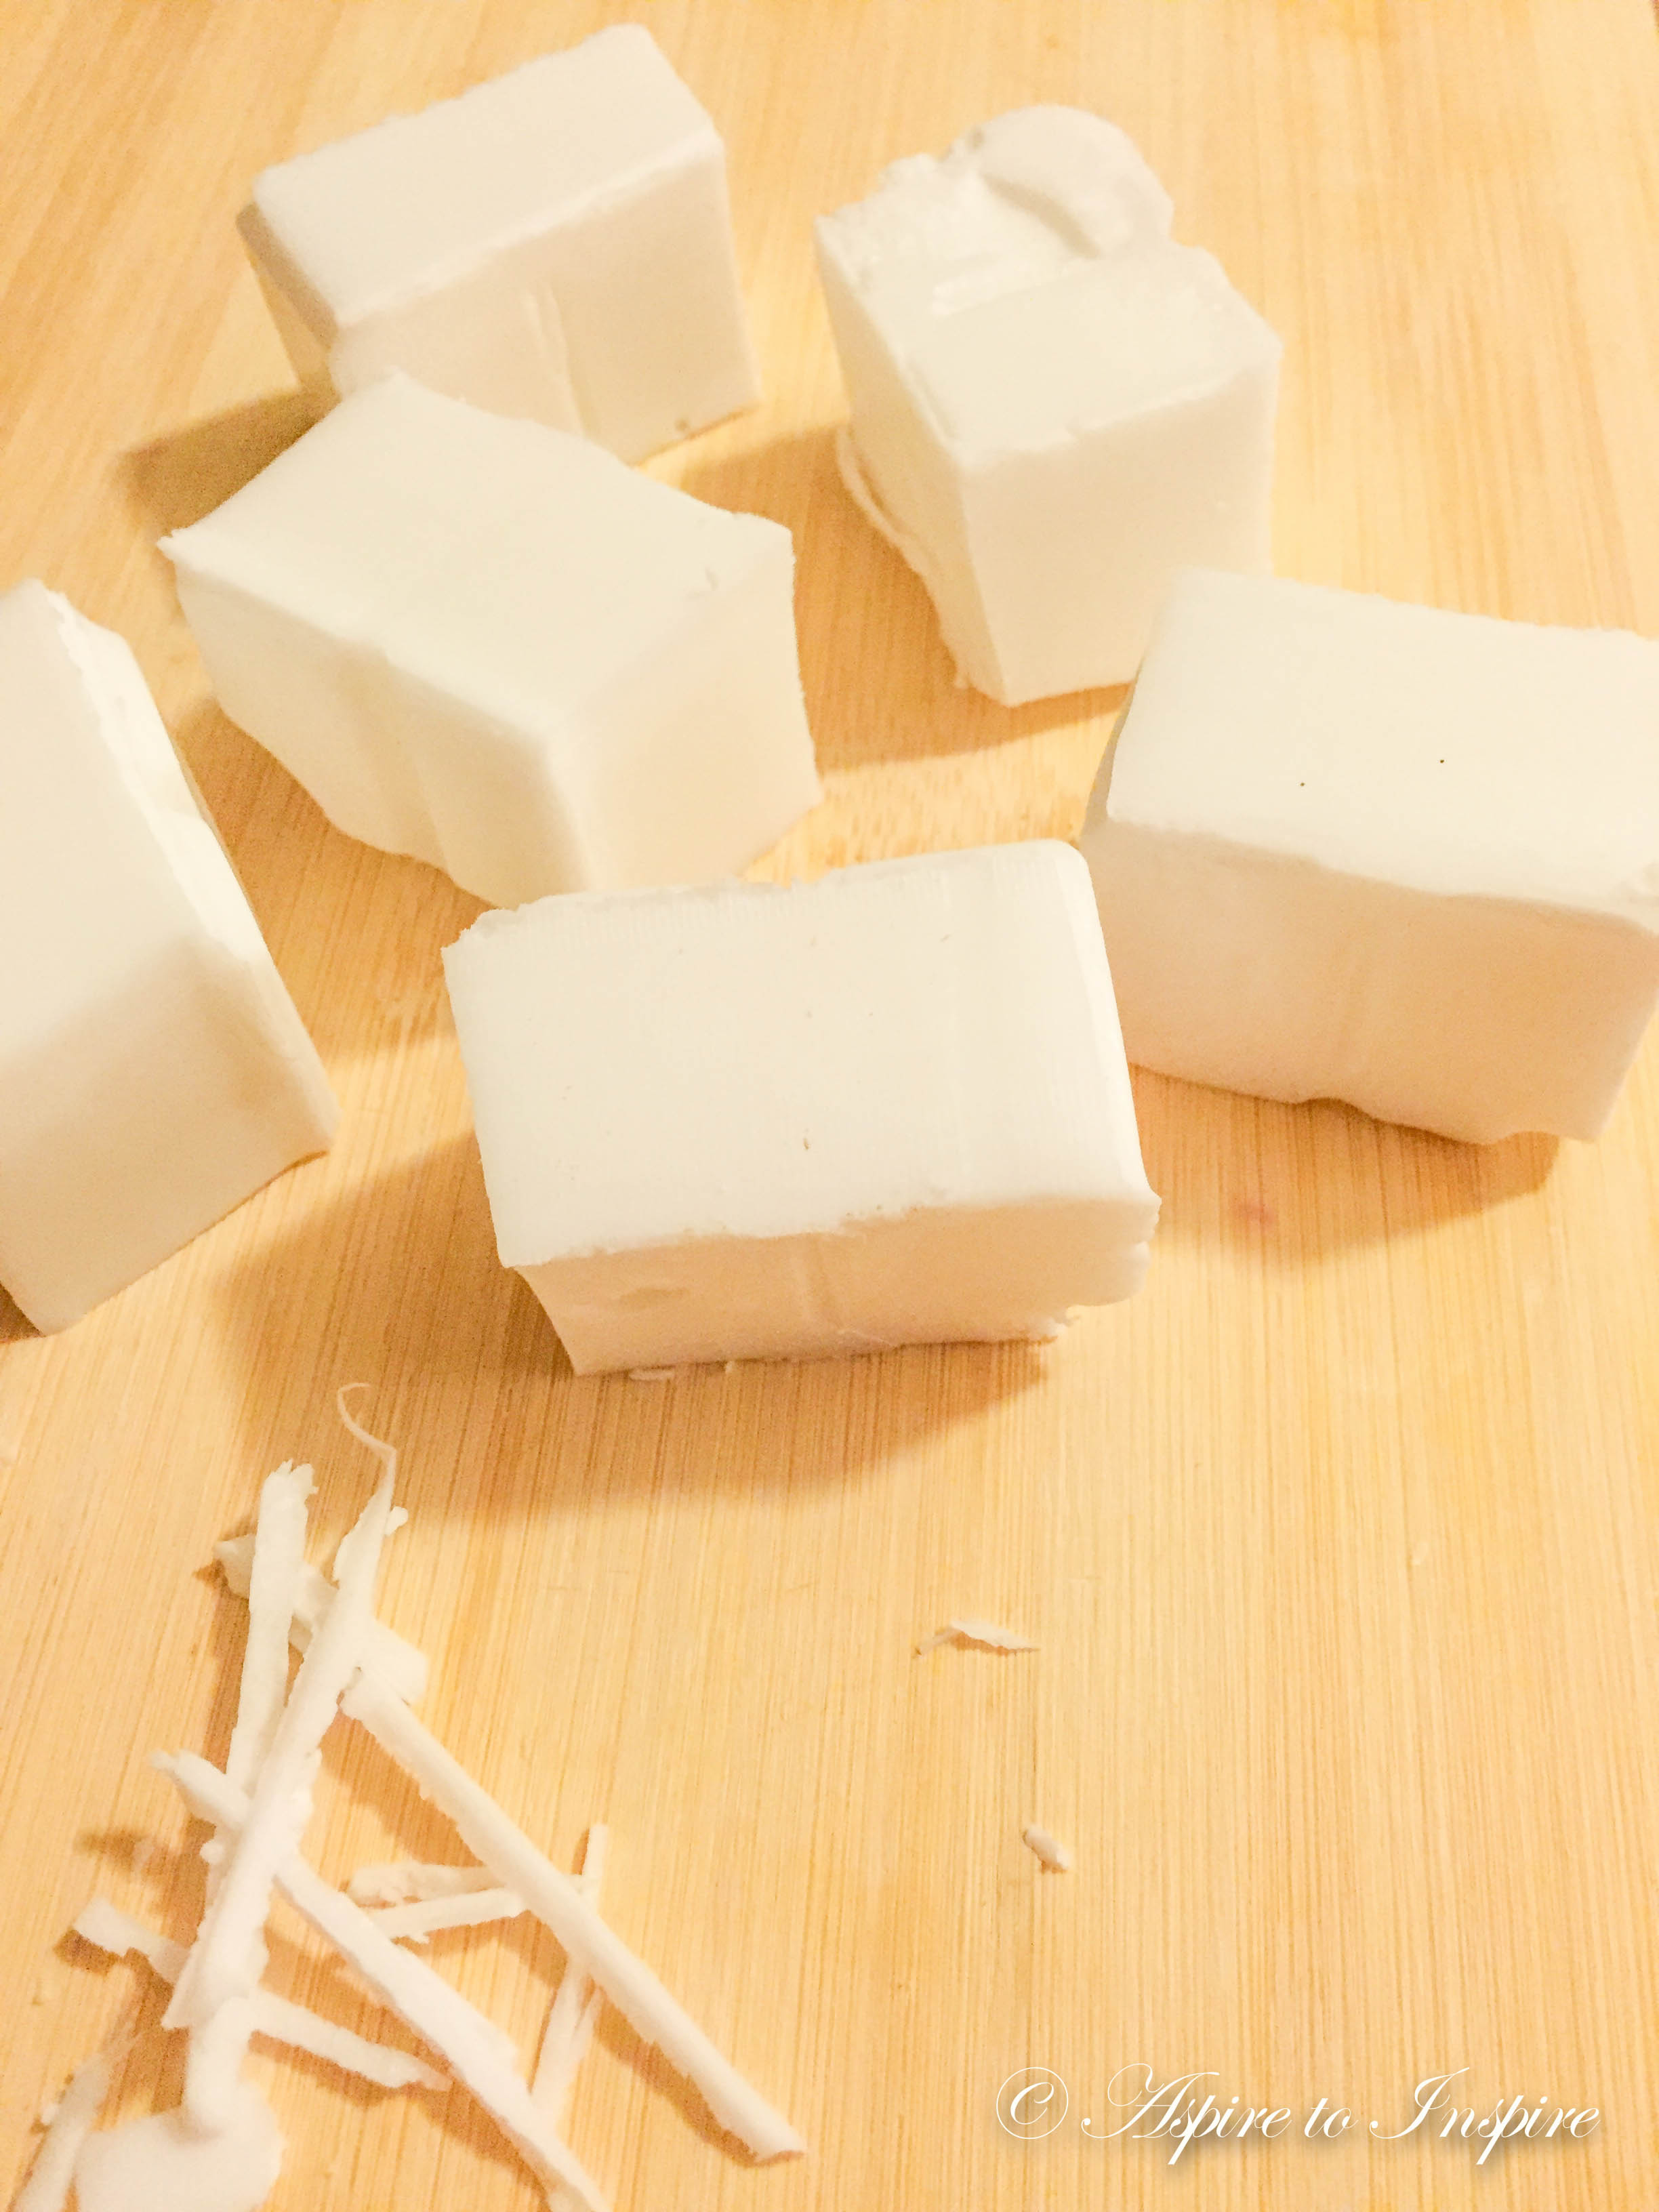
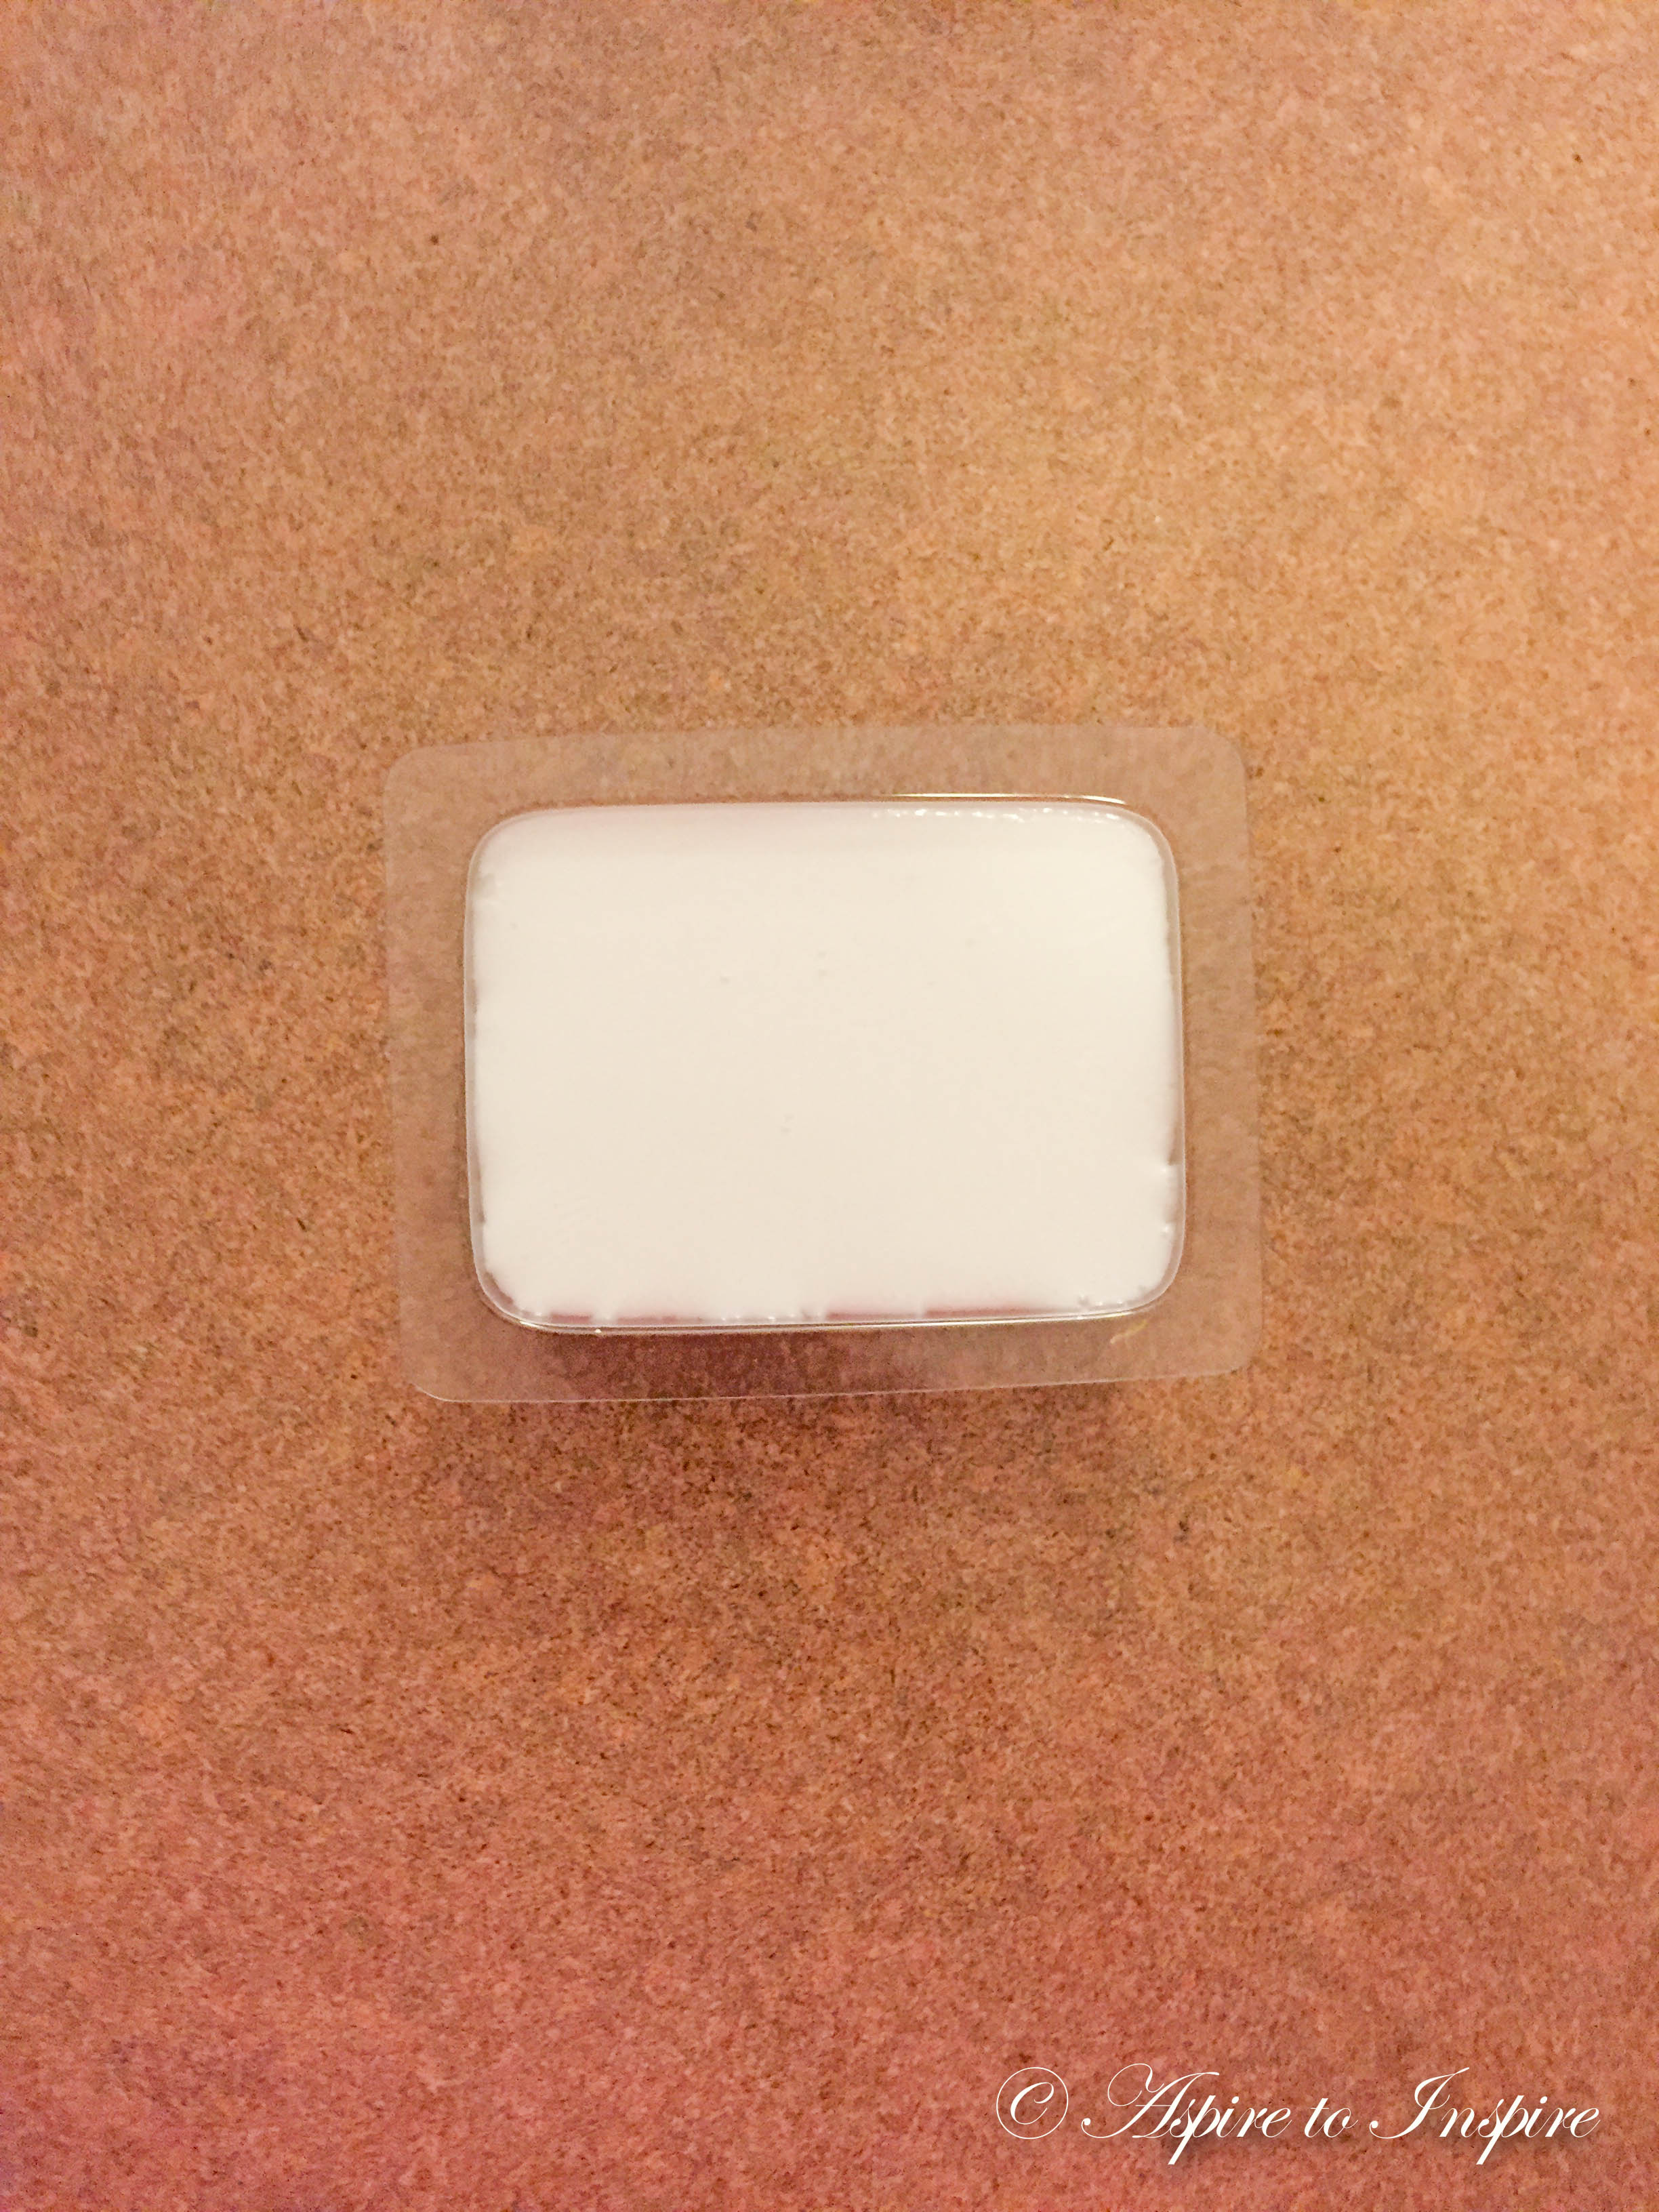
Step 1: Chop your soap base into cubes and place it in a microwavable bowl. Like shown below.
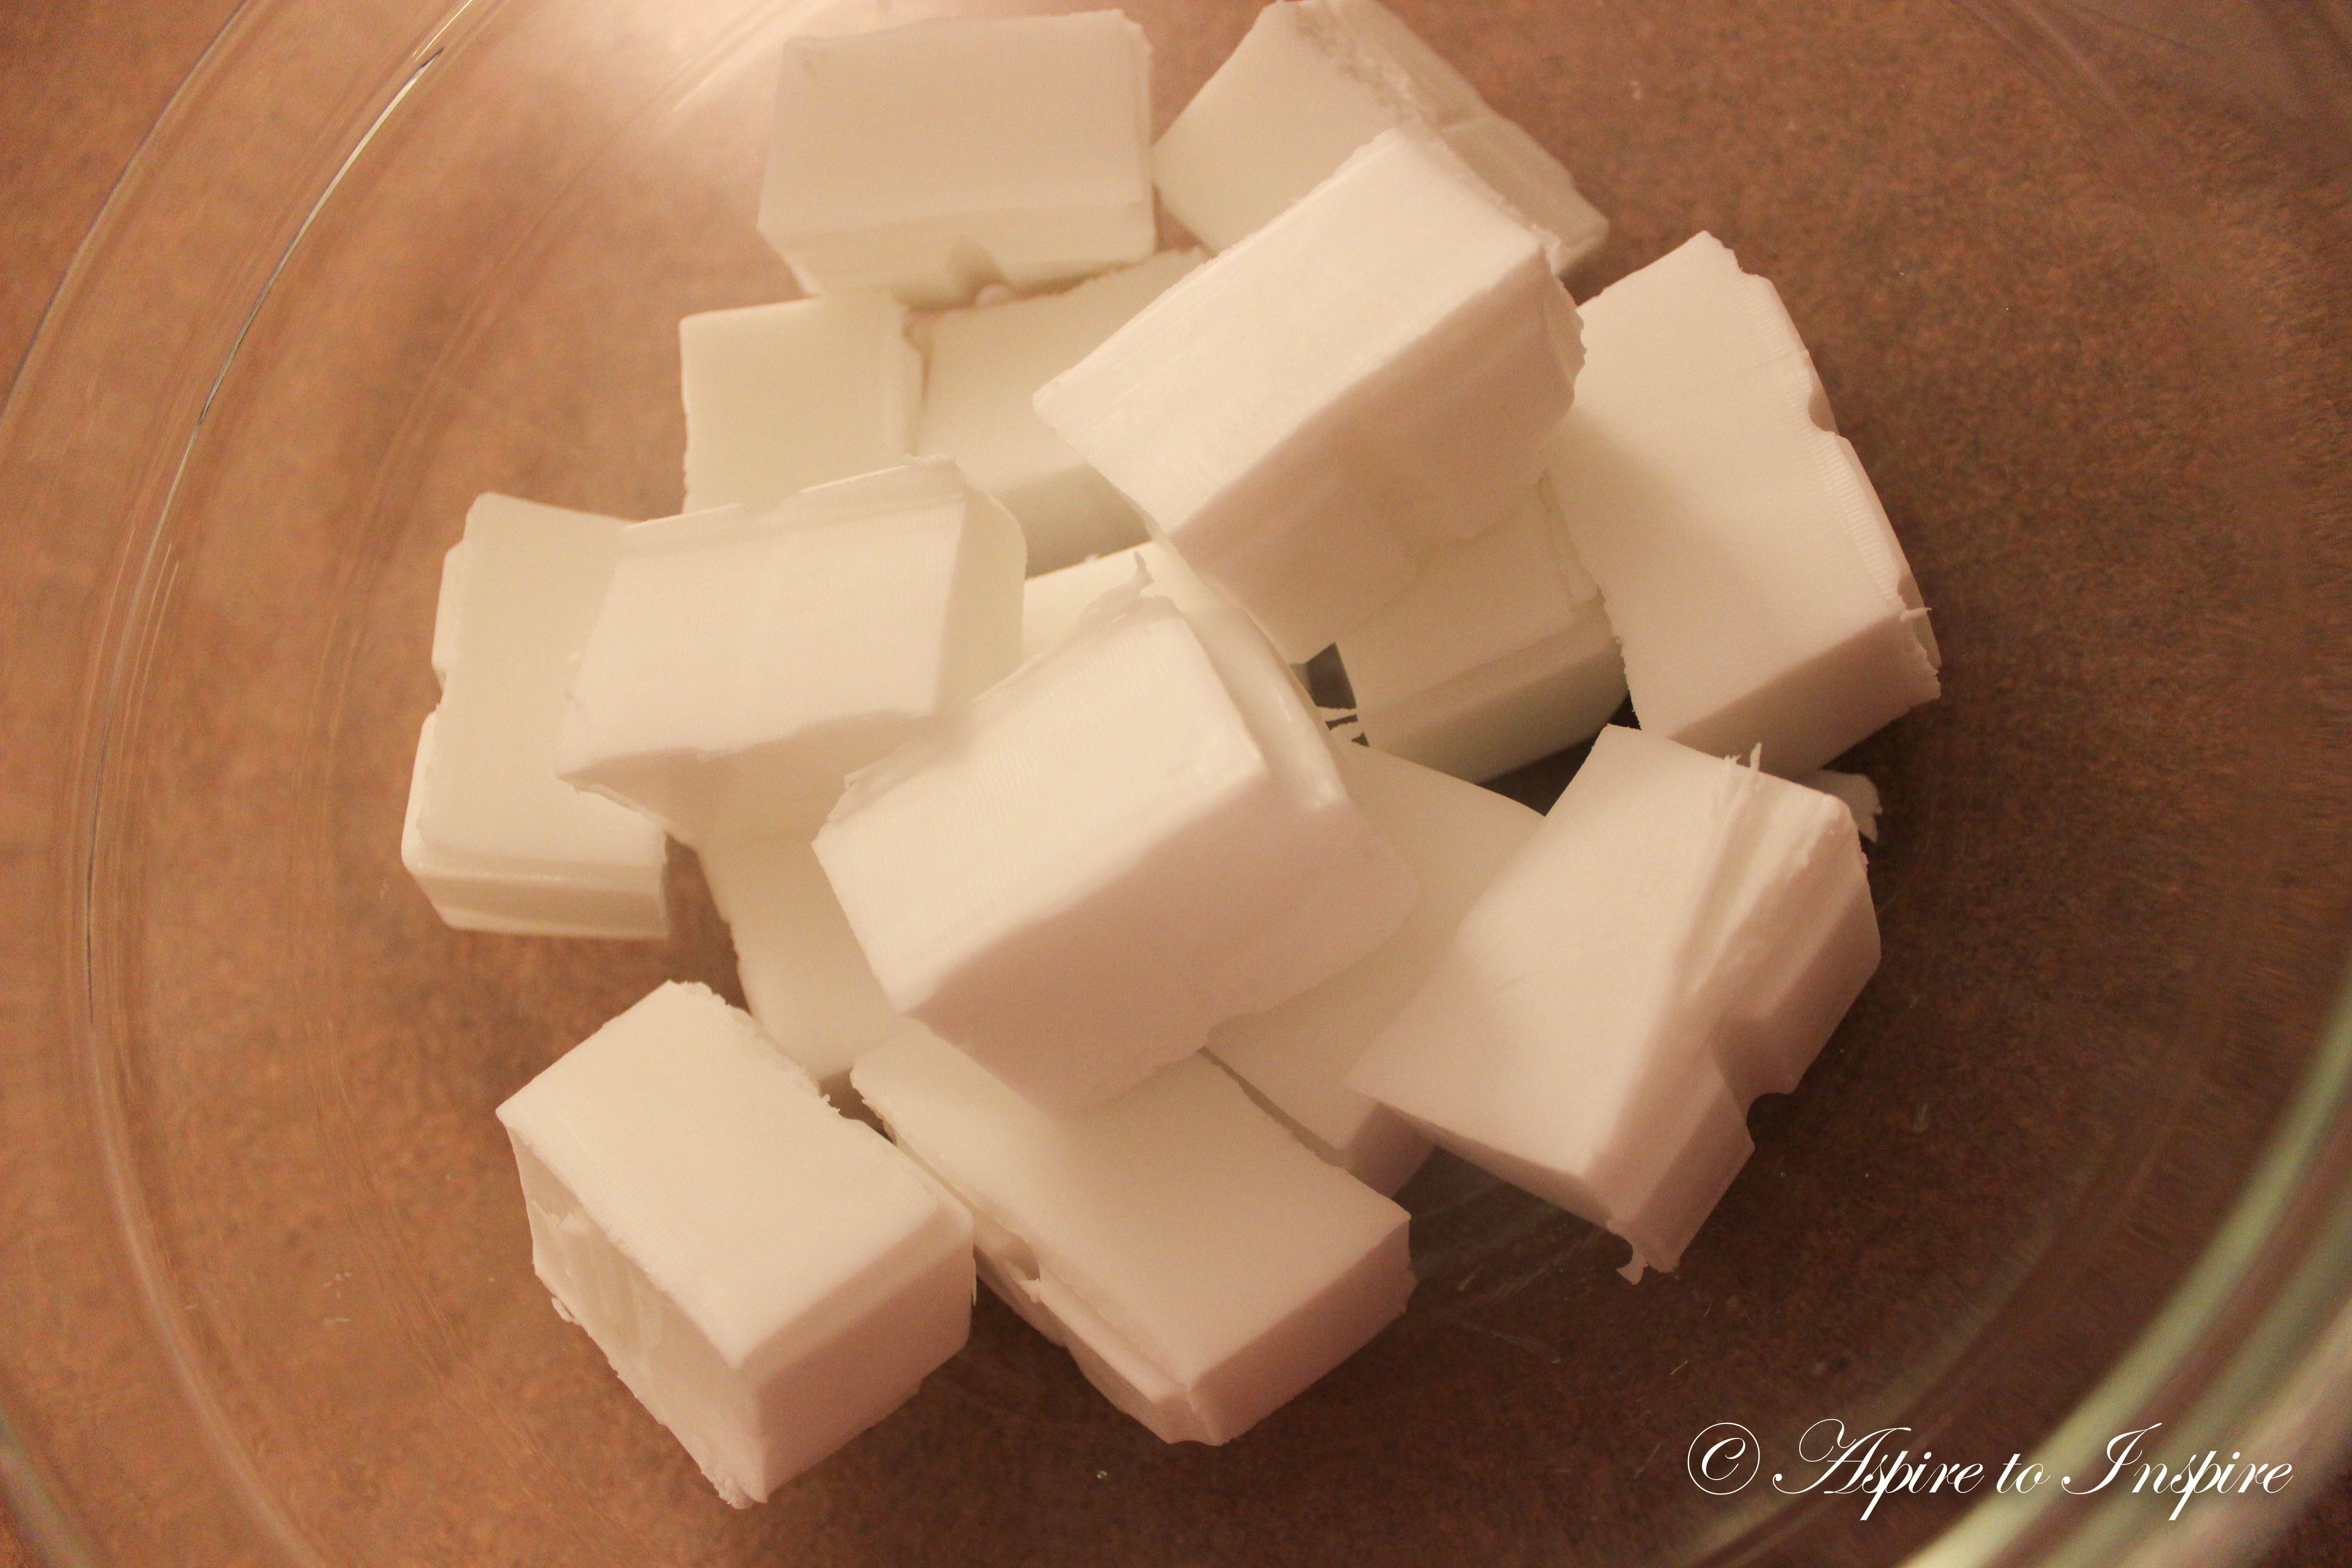
Step 2: You will then microwave the cubes, I used about 5 cubes and made two bars of soap. This you can measure as you go depending on how many you wish to make
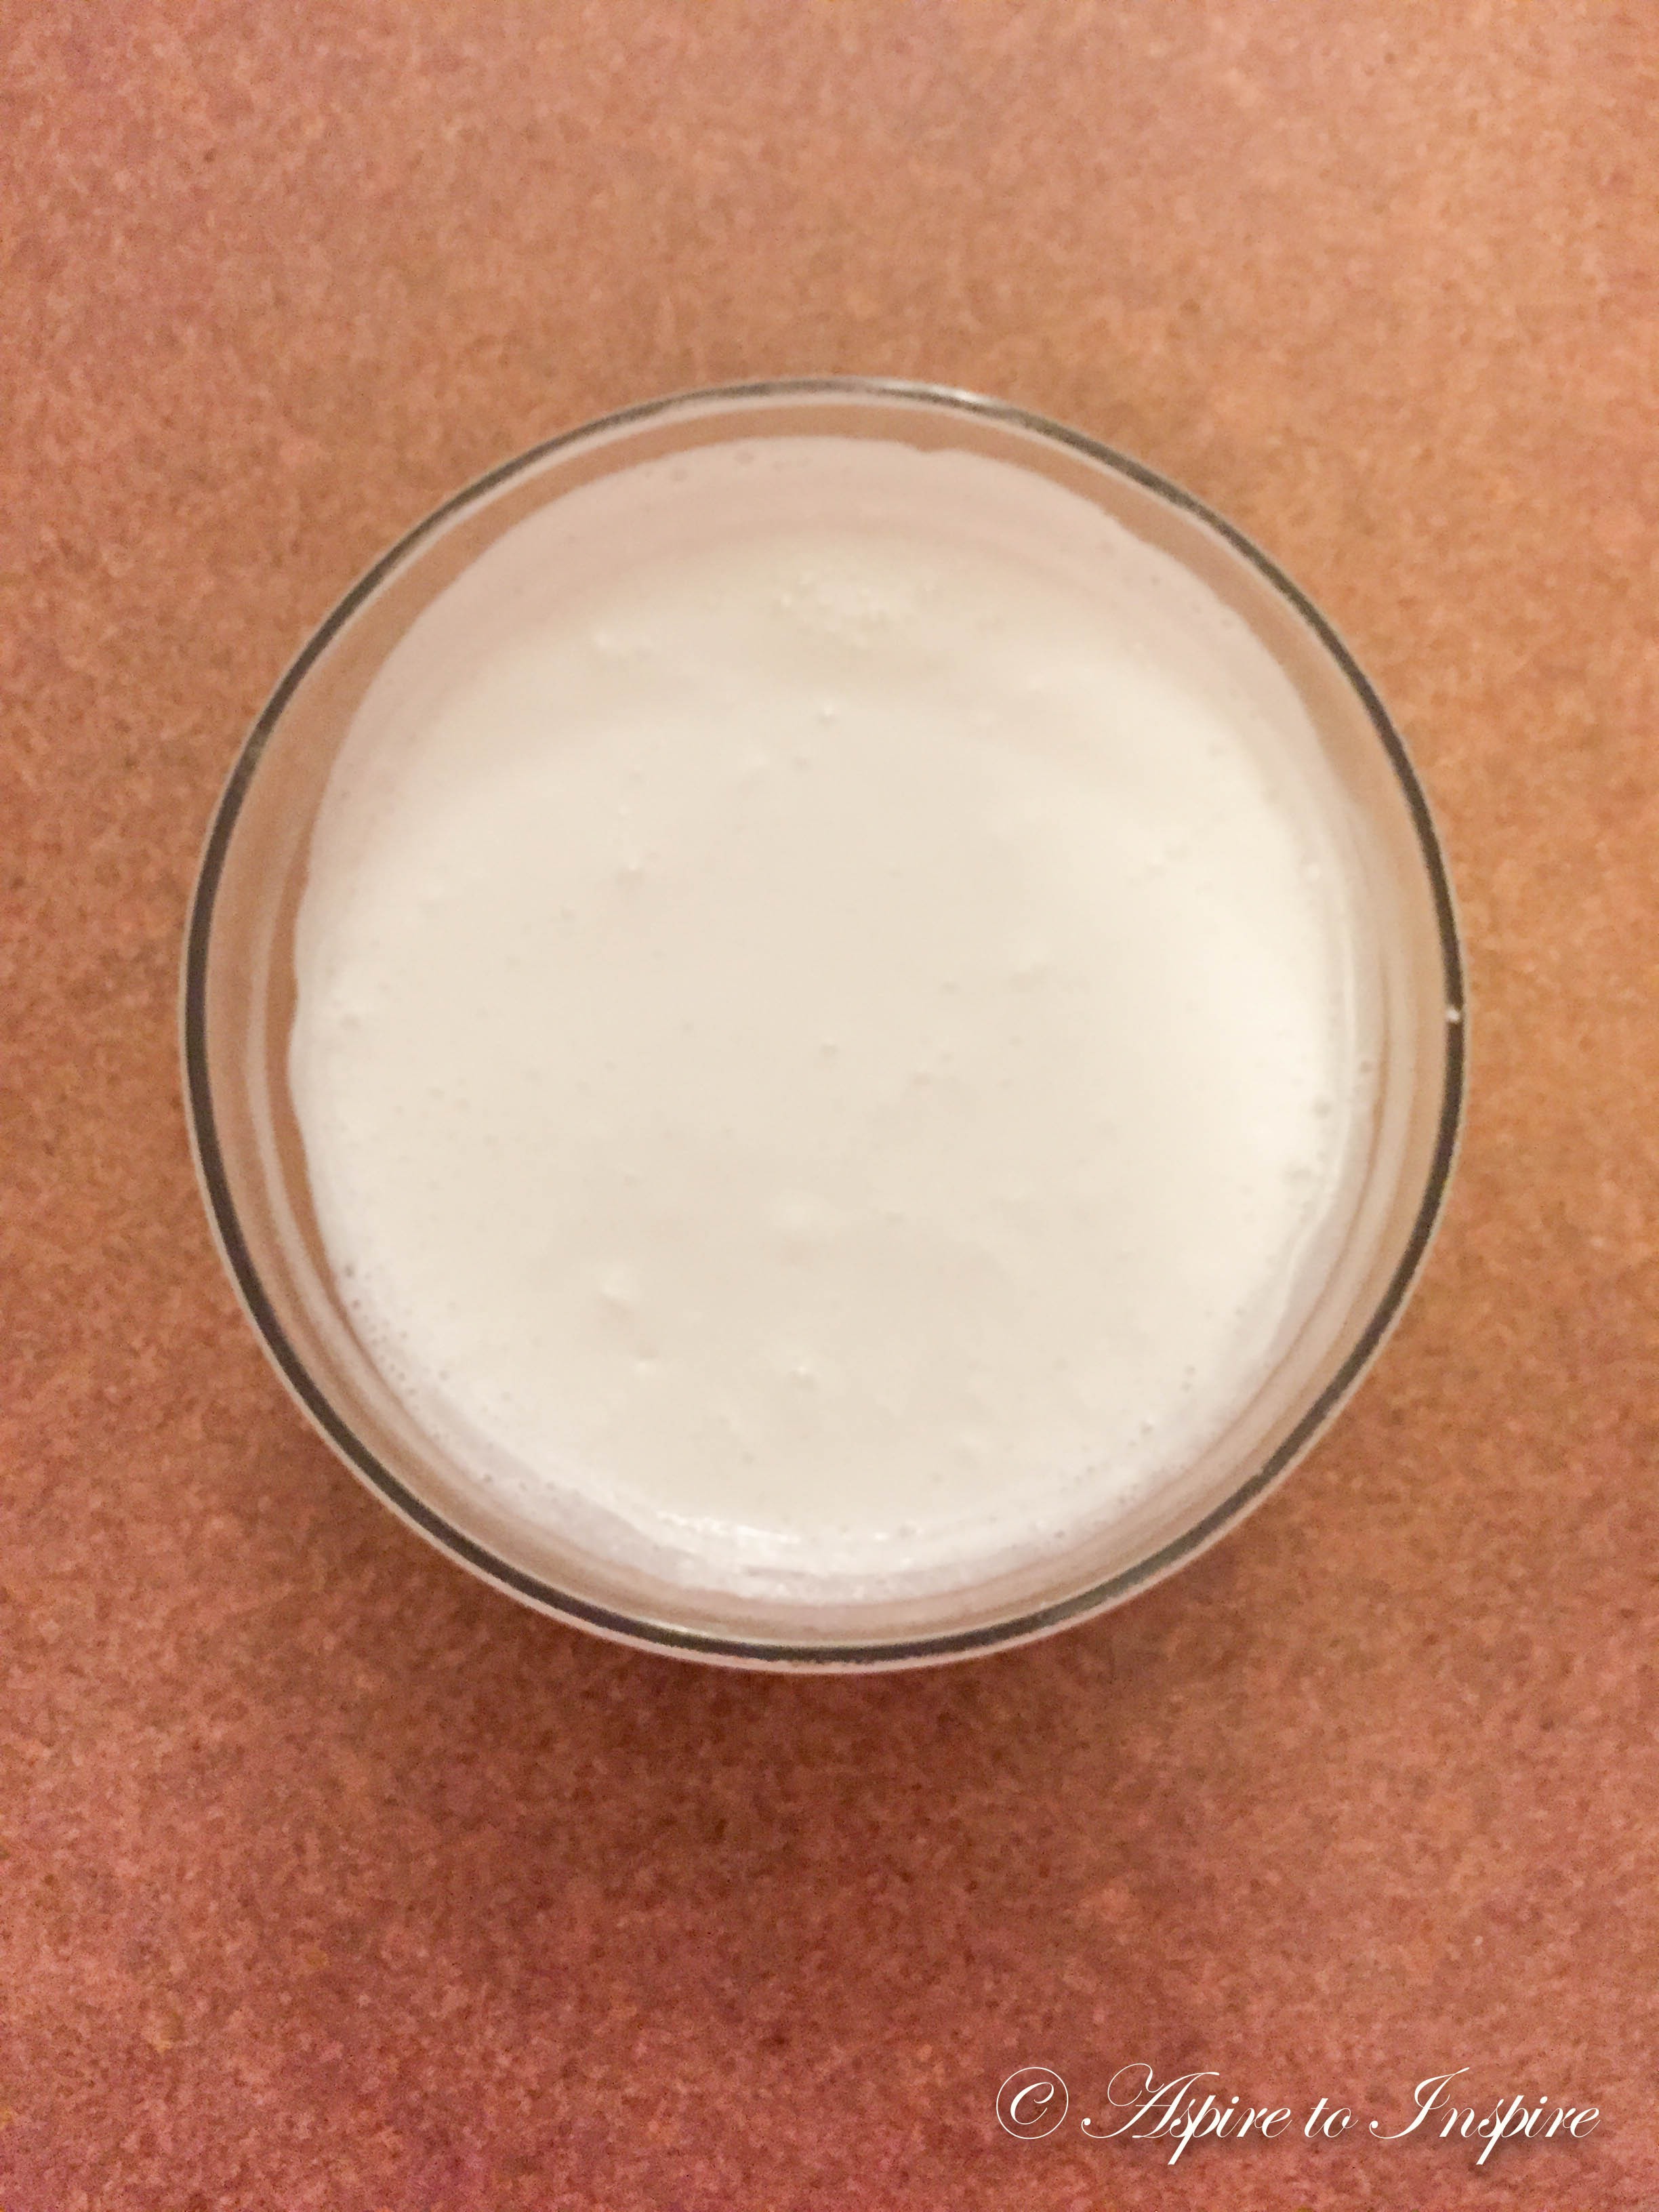
IMPORTANT: When you microwave the soap base make sure to put it in for 30sec, take out and stir. Keep repeating this until you get the desired result, which is all melted. Which should look something like the photo below! PLEASE do keep in mind, the soap base DOES set VERY… I REPEAT… VERY FAST, so you don’t have too much working time, try to have everything needed right away!
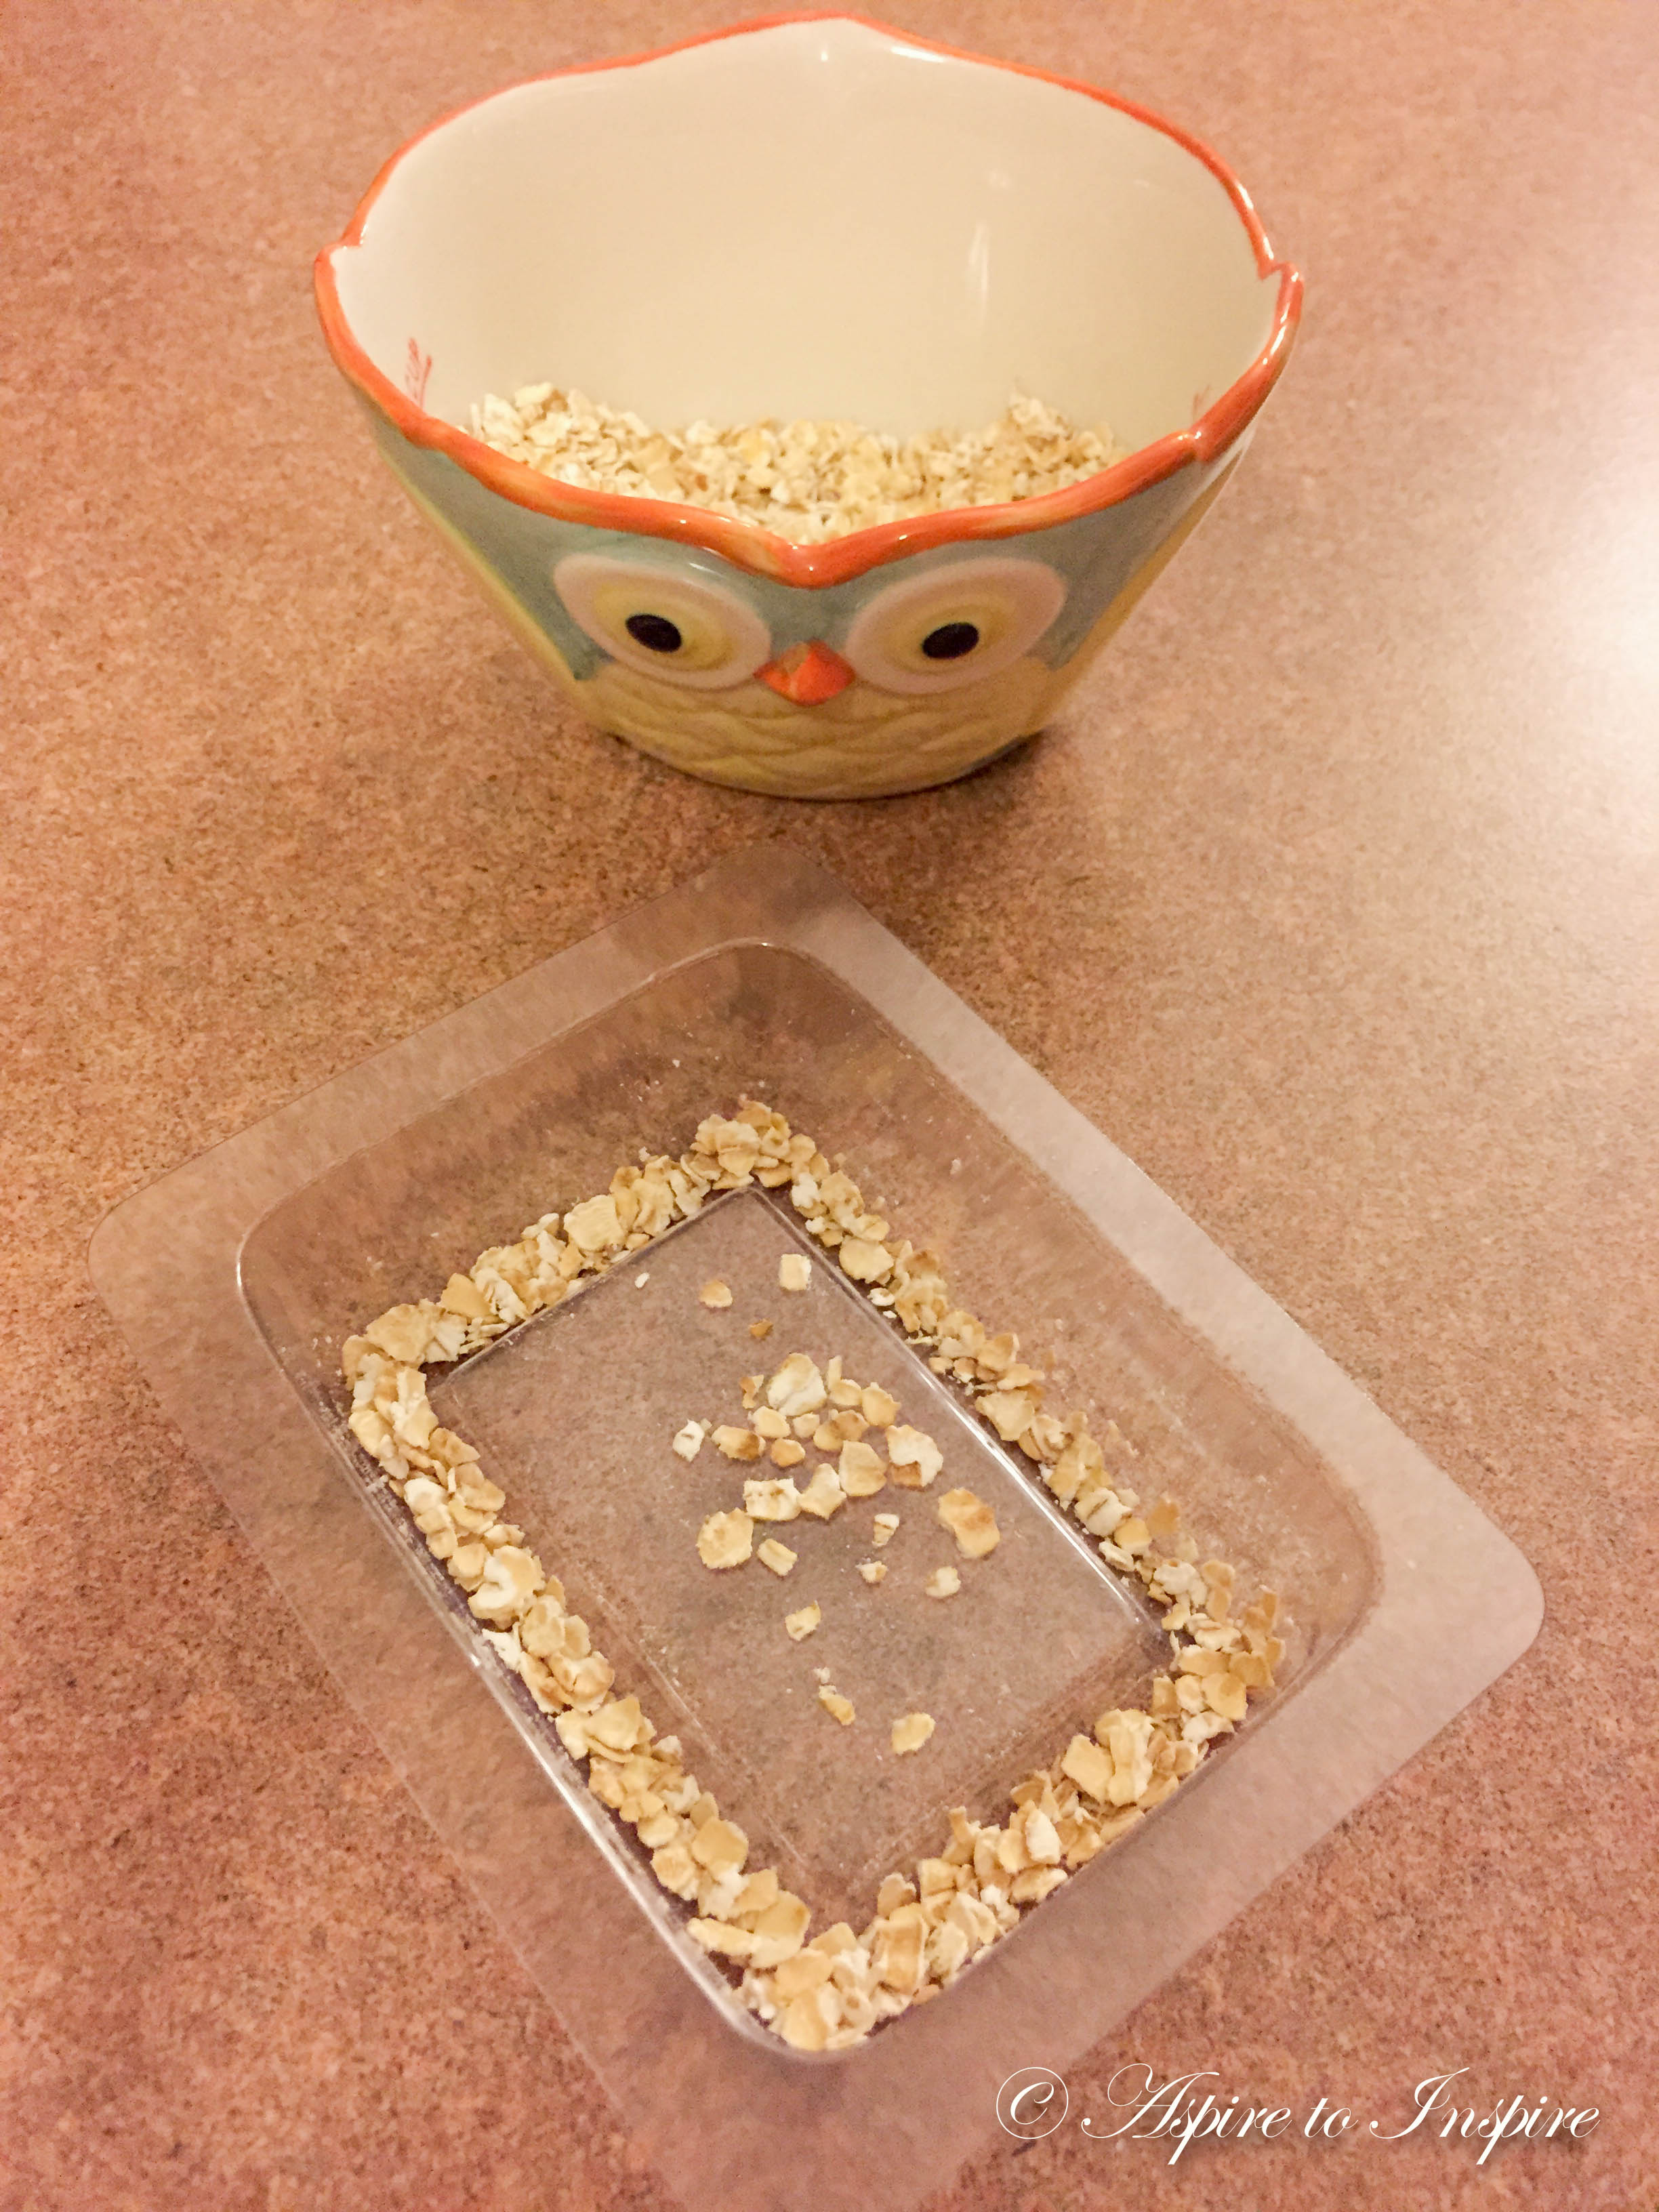
Step 3: You will quickly then place it into your mold. Considering that the soap base set quickly, I was unable to photograph the mixing part to it, but should be simple to grasp. As soon as you pour the soap base into the mold, you will pour all your ingredients in and mix it fast- in this case; vanilla extract, coconut essential oil, oats and a bit of honey, lastly once I got that all in, I add a few drops of color and continued mixing!
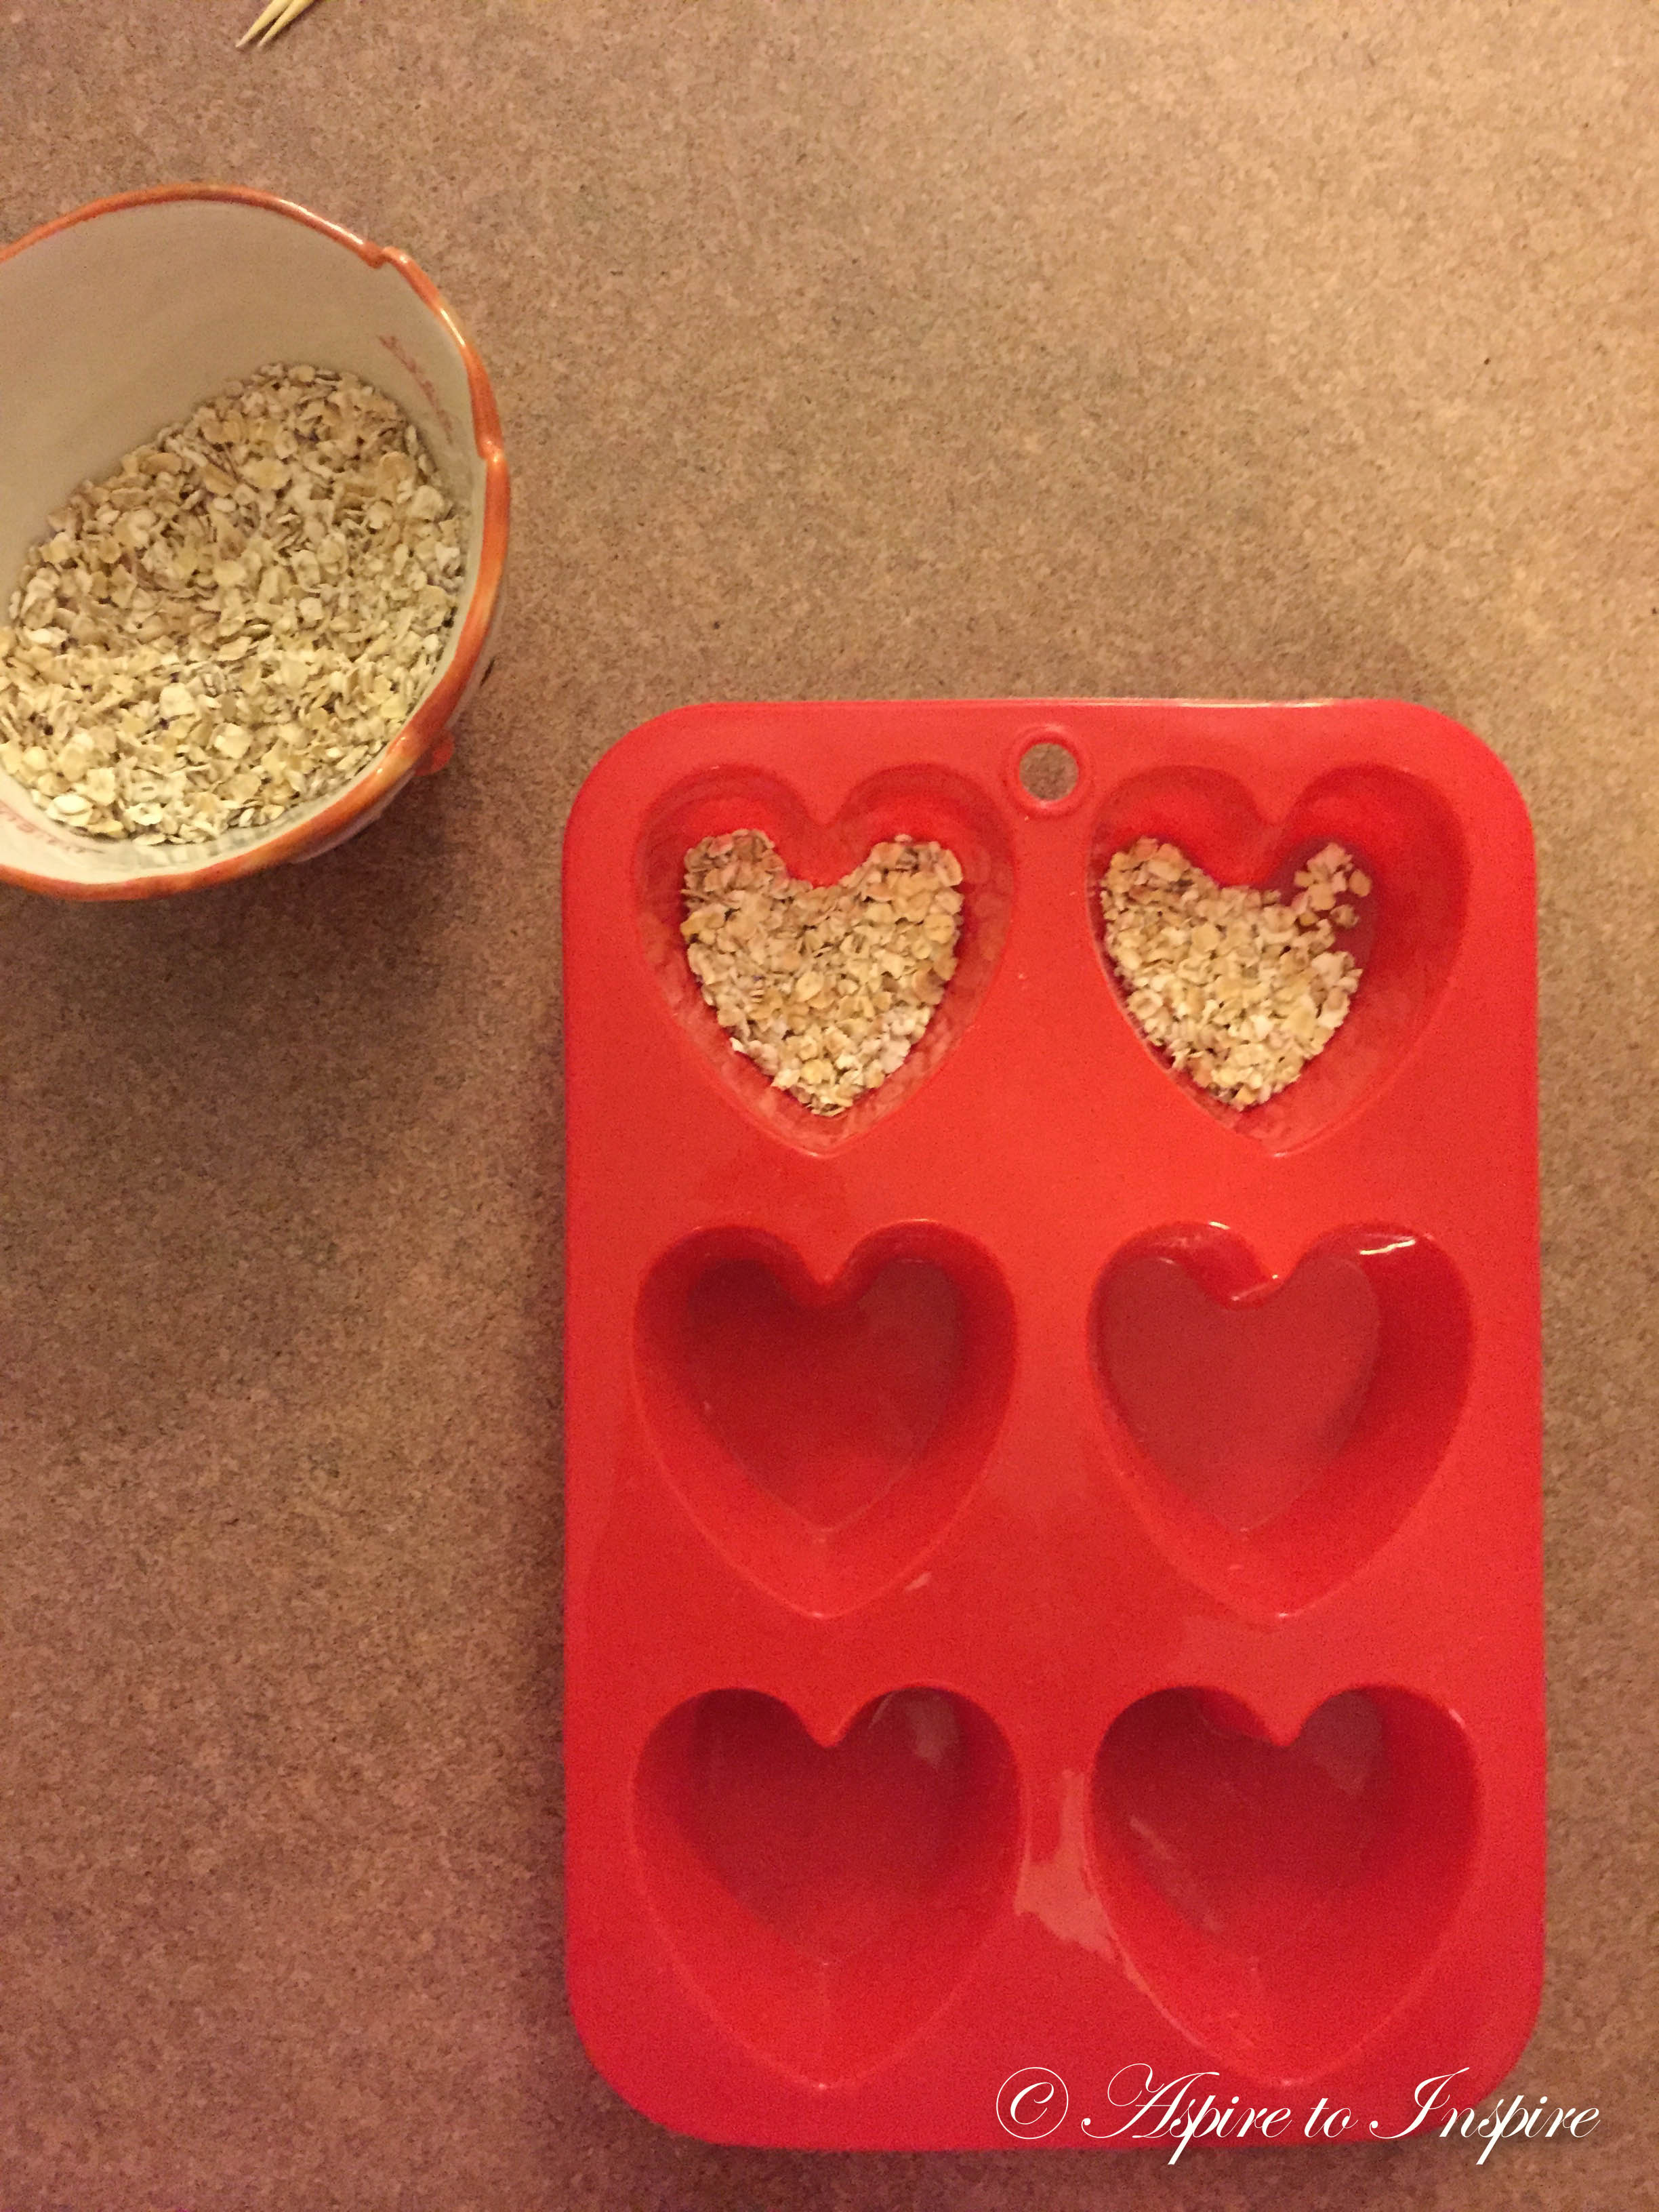
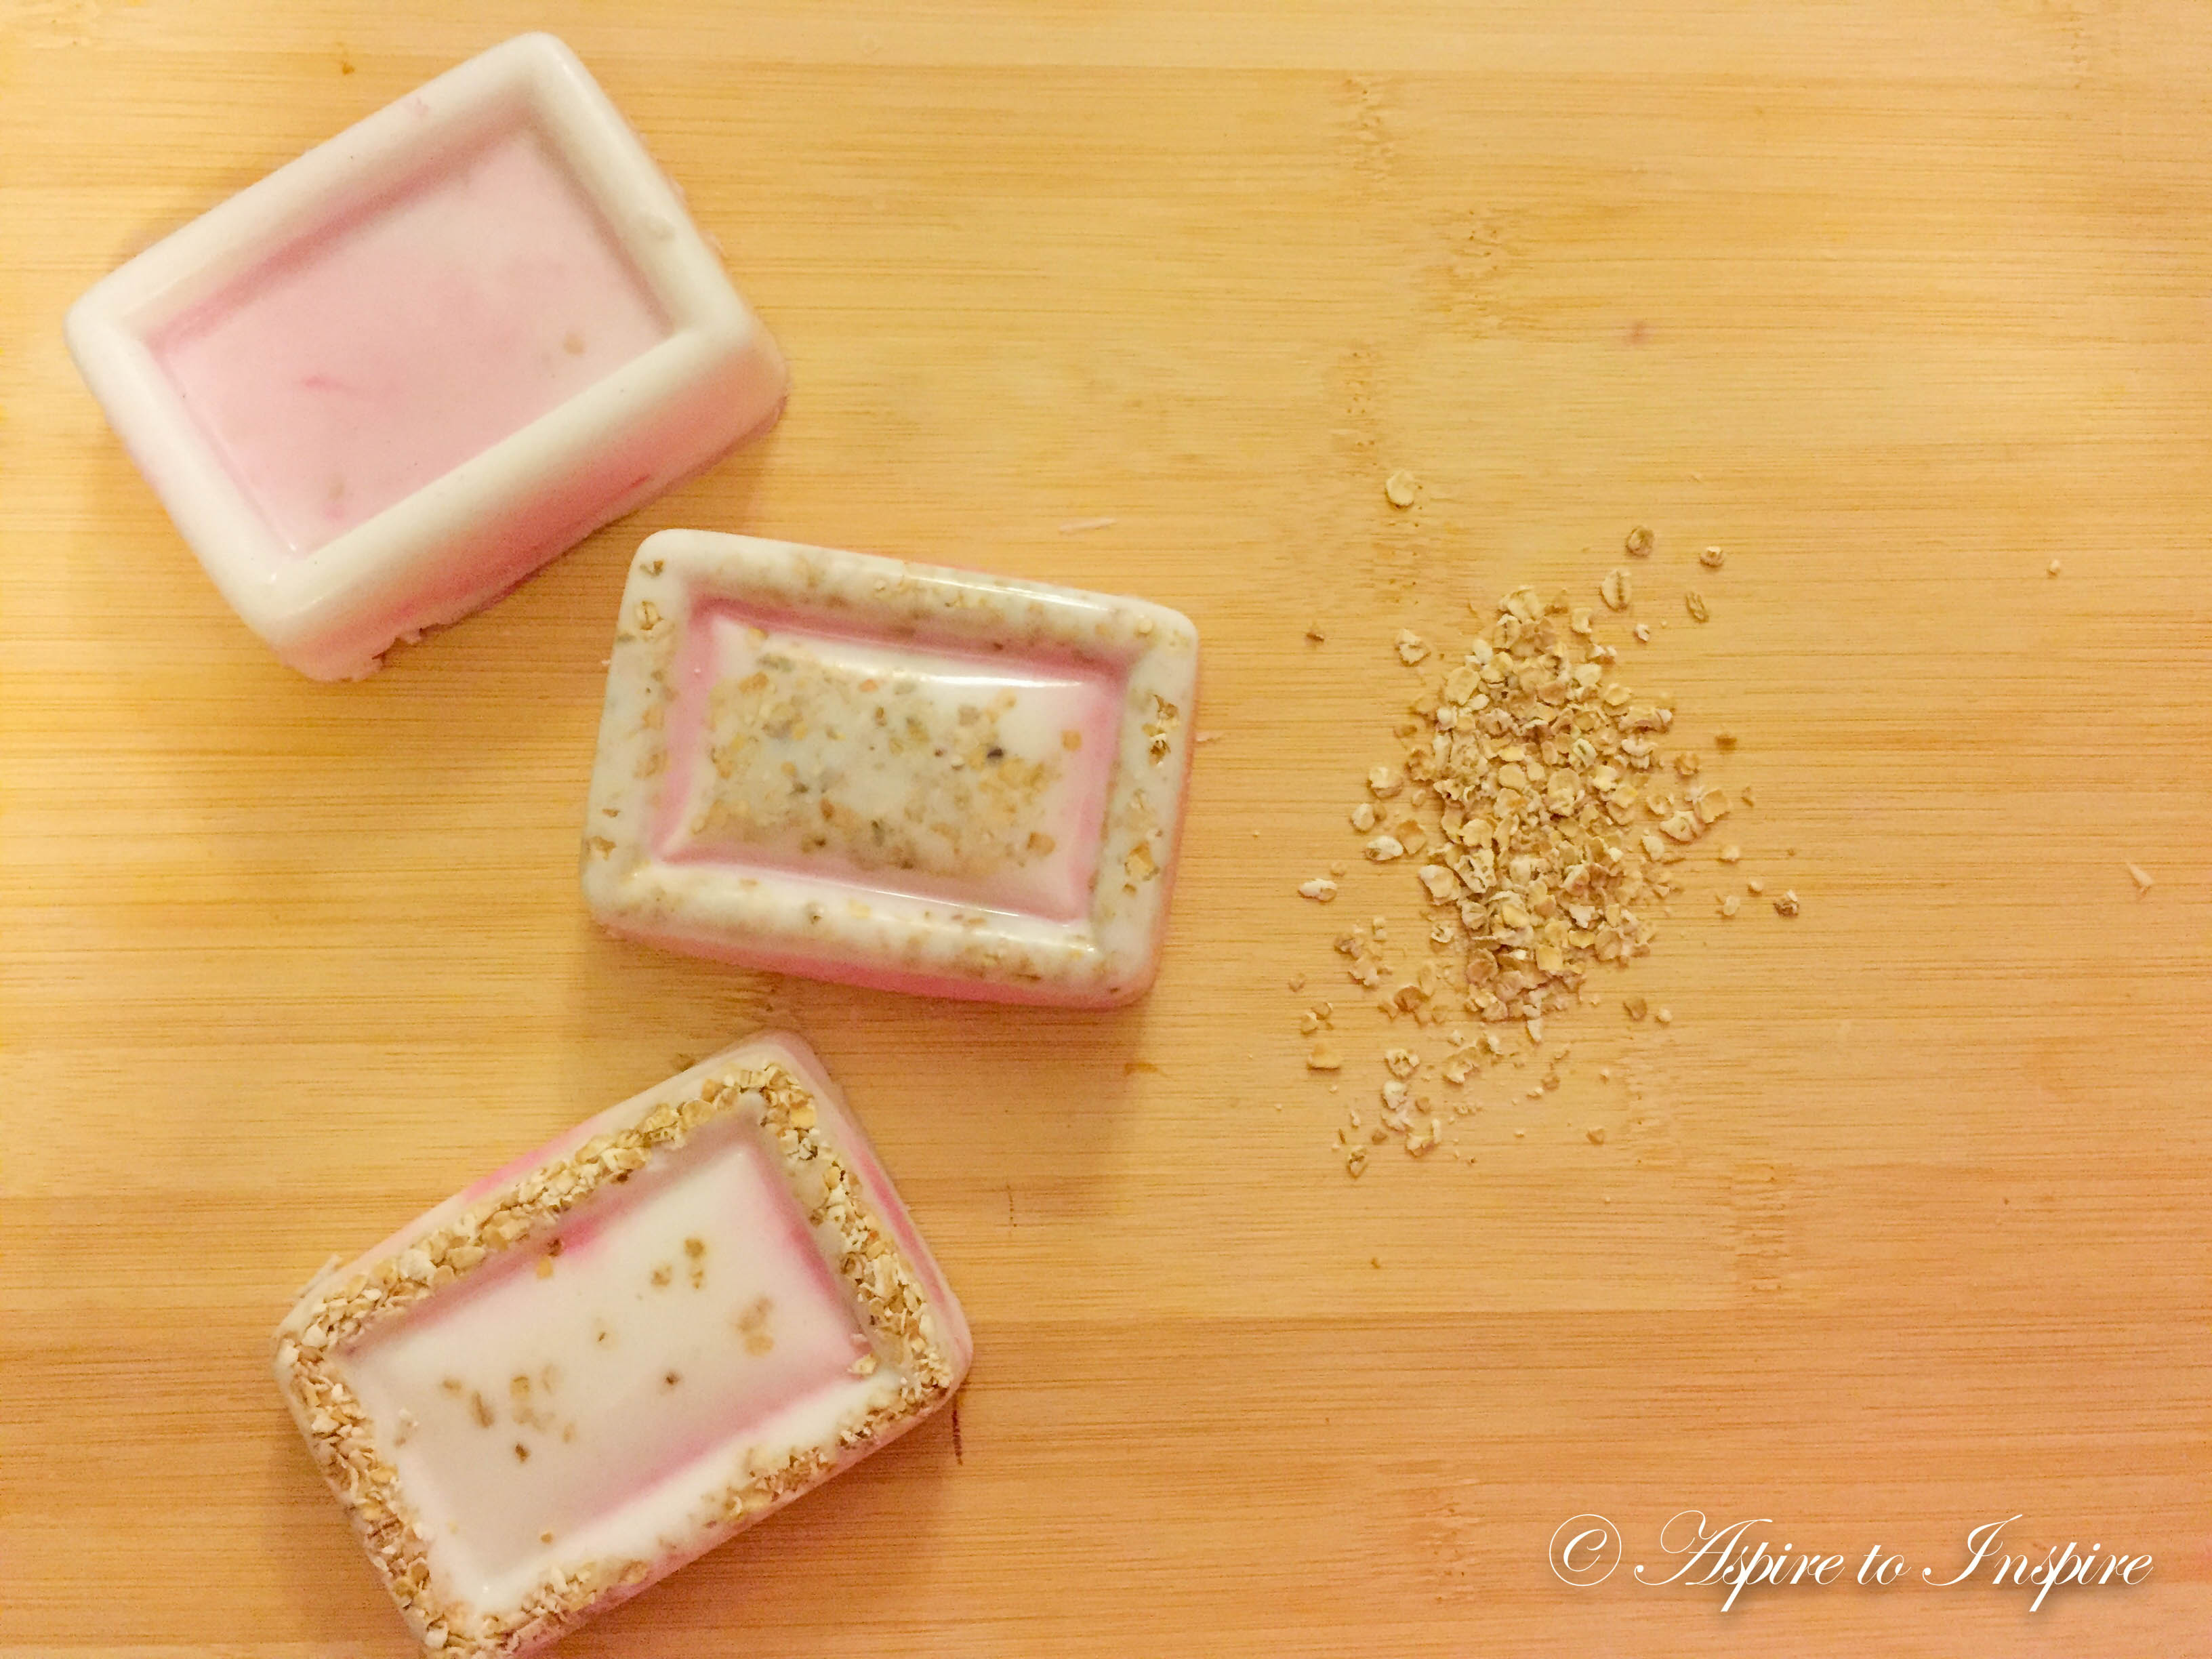
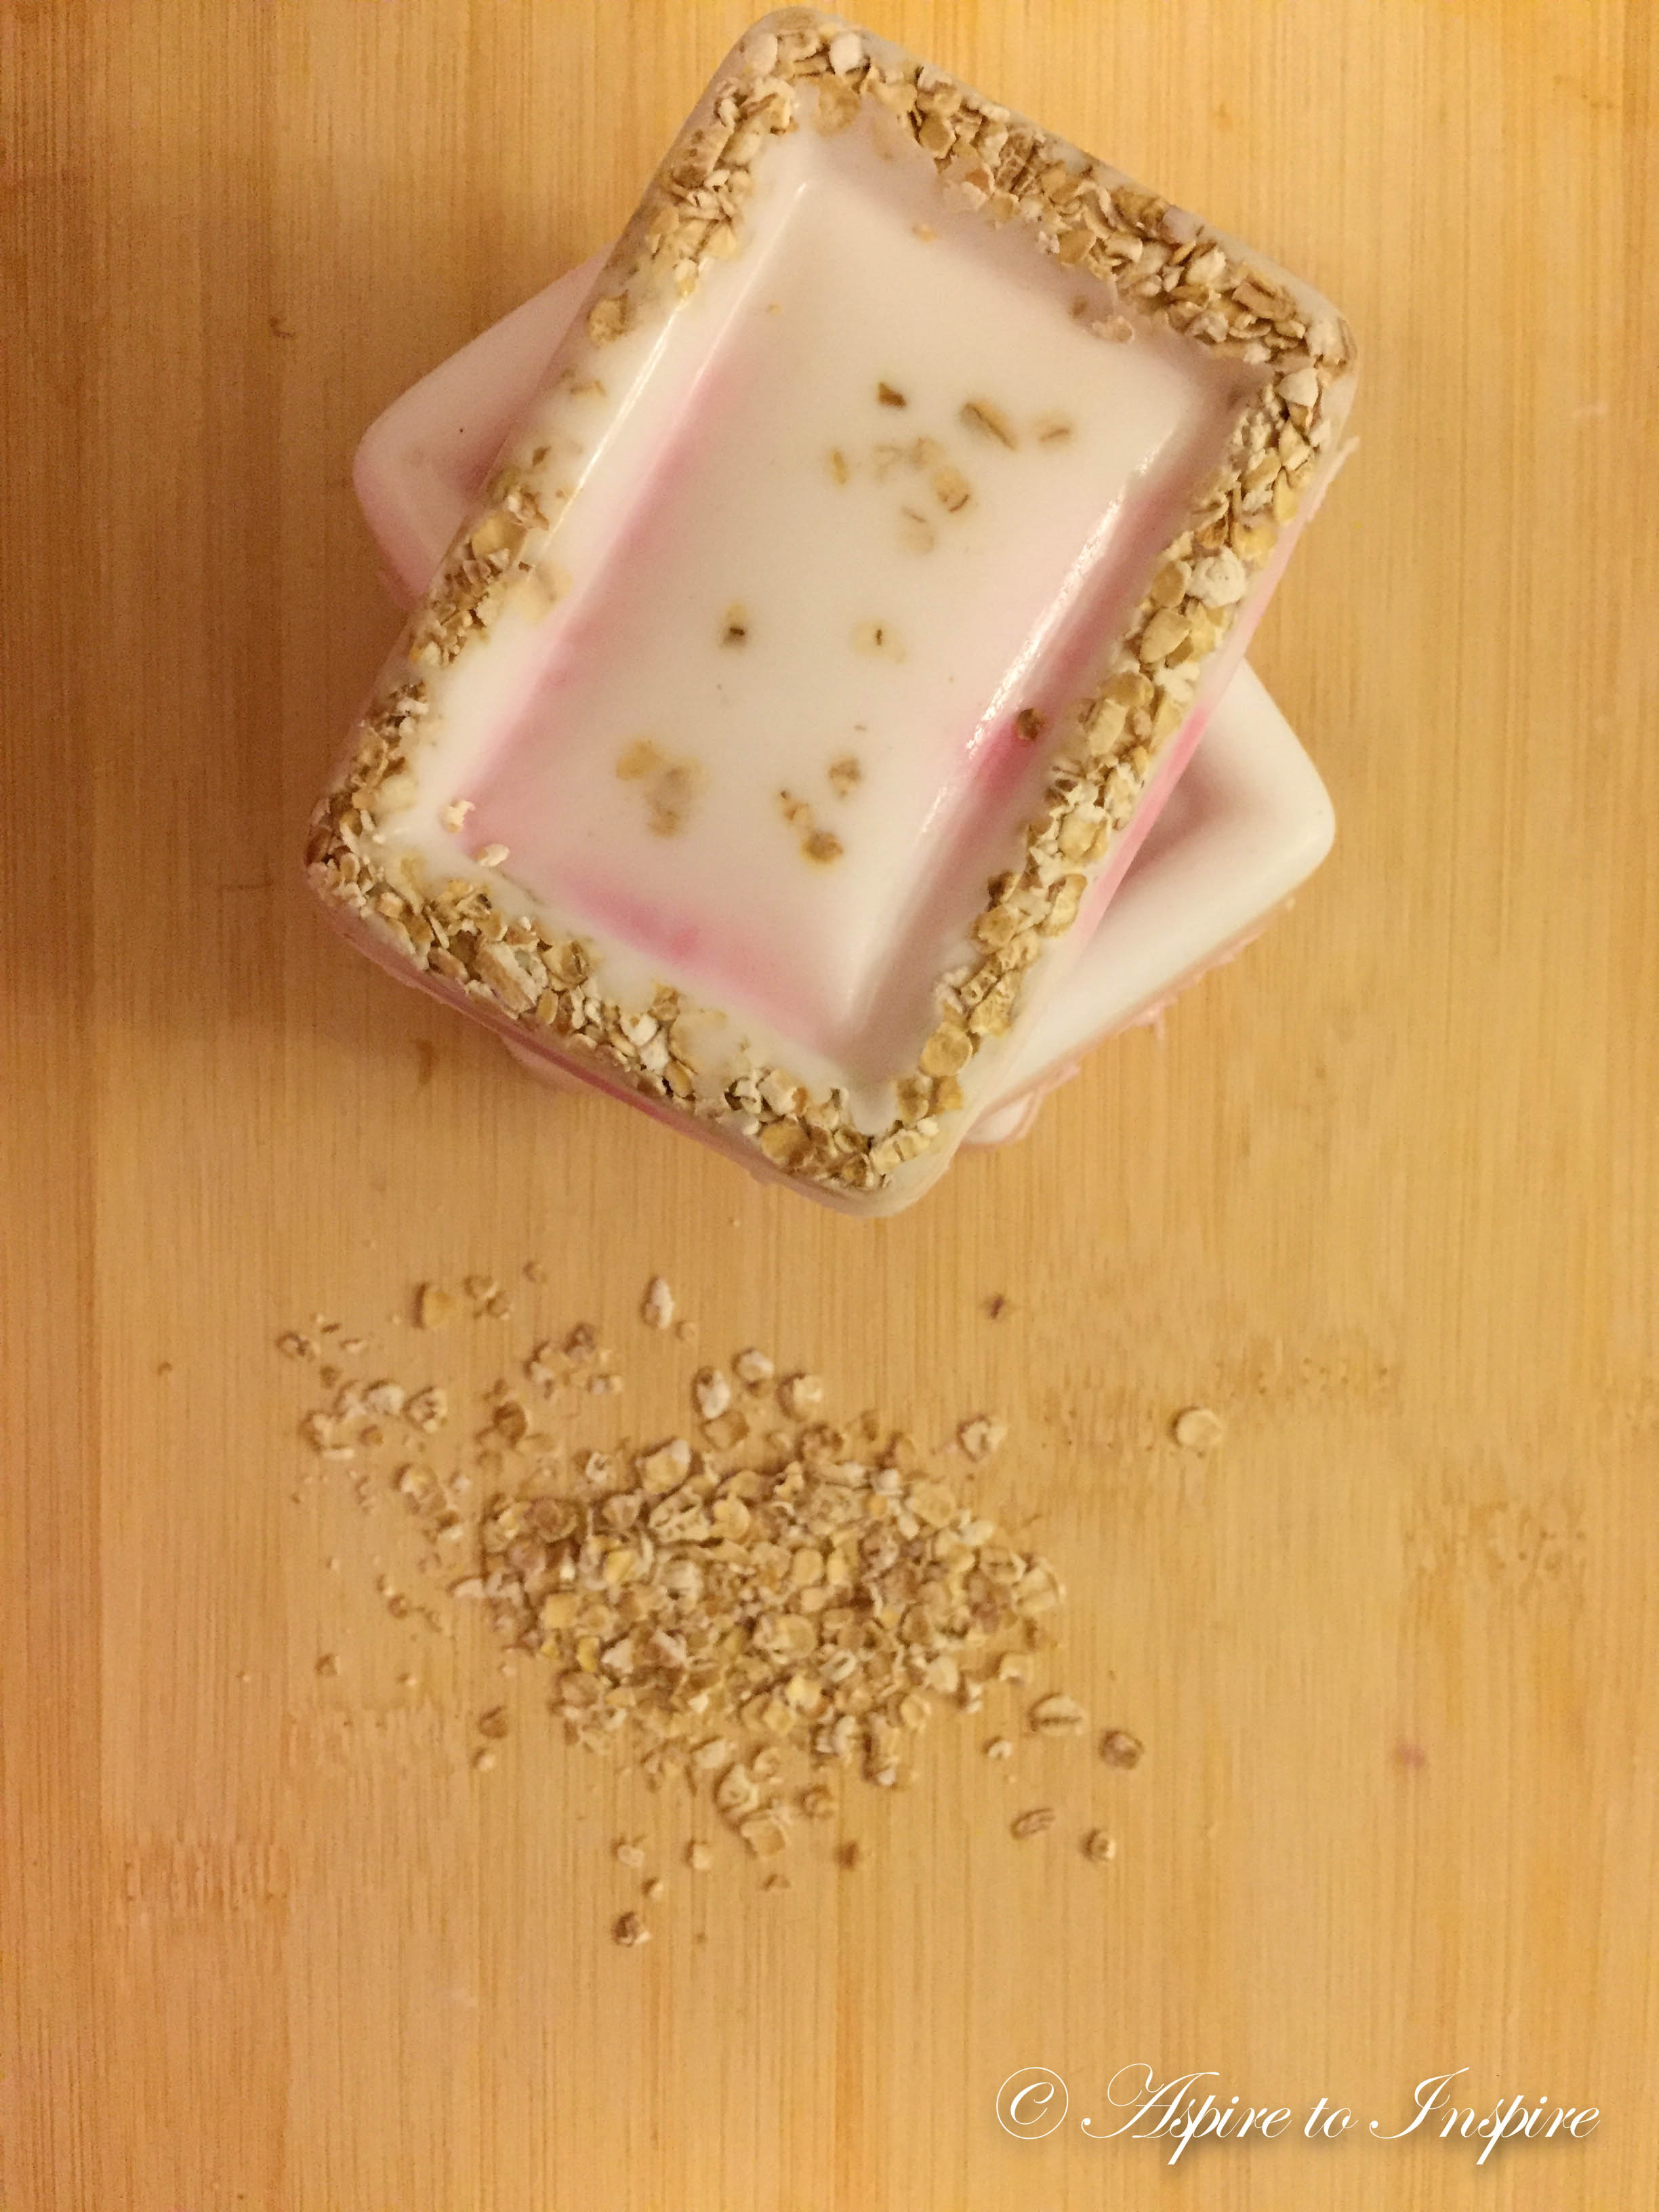
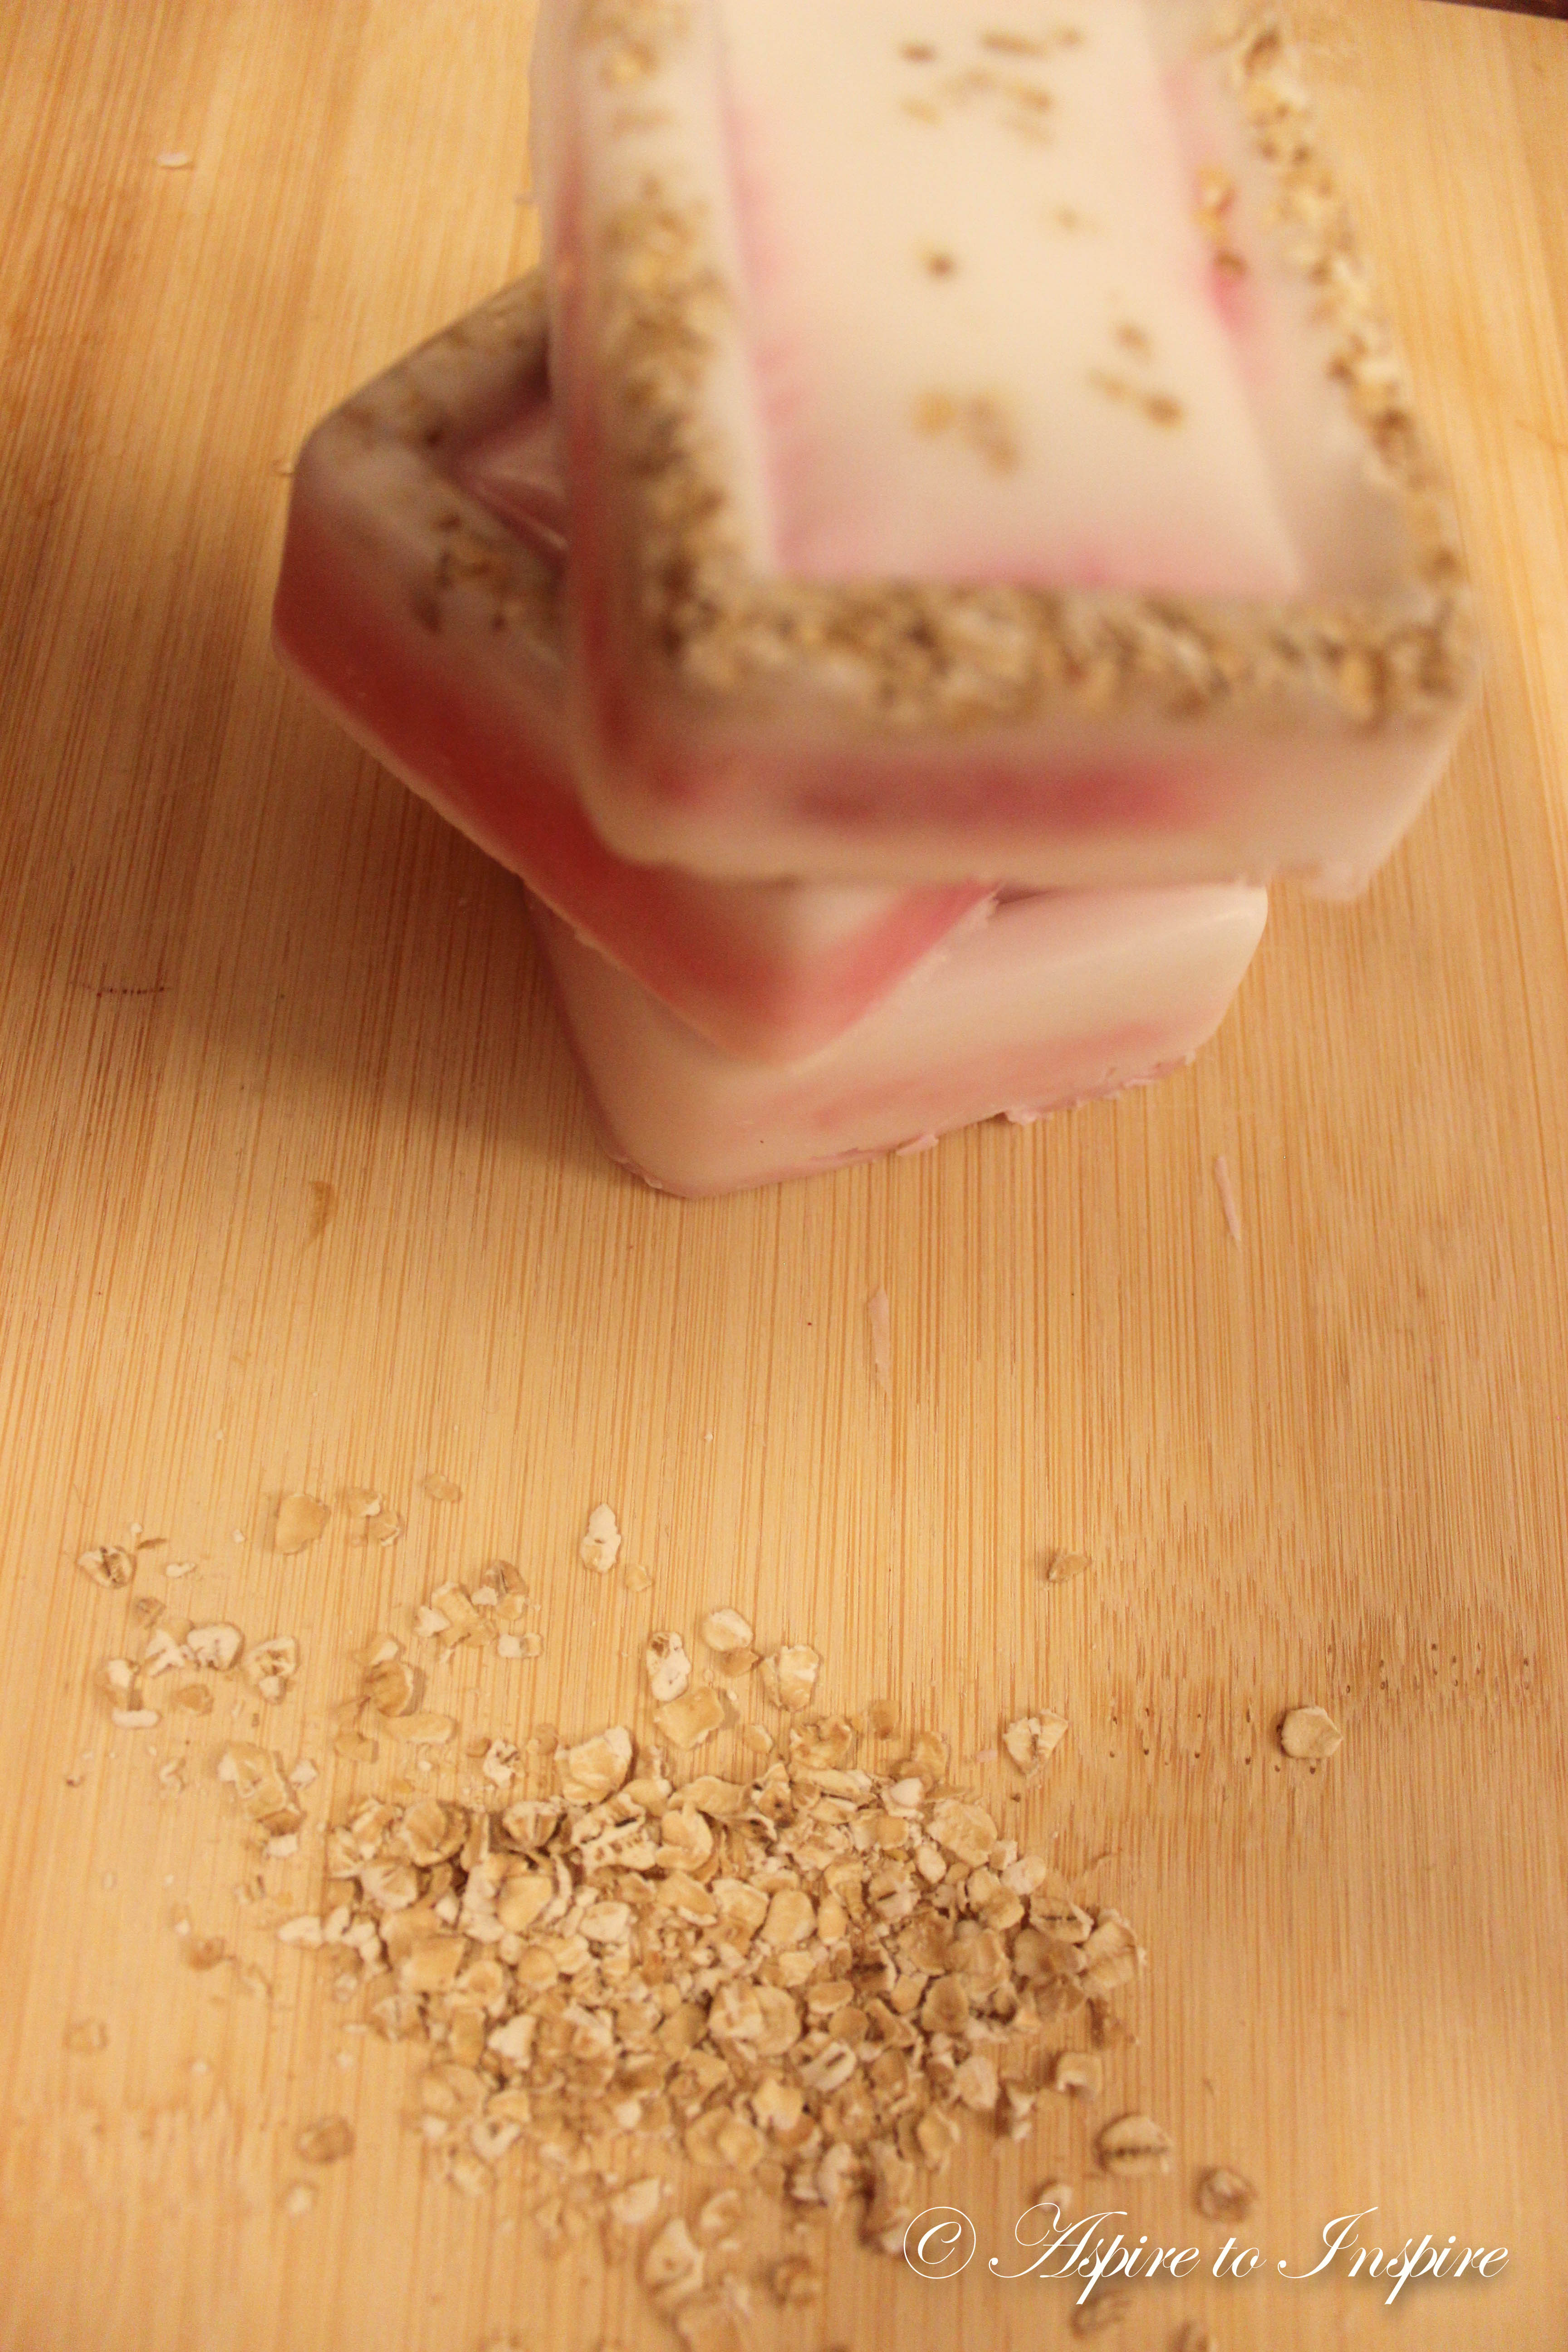
I did play around with different aspects of how the end product would come out, so for some I decided to mix in the oats, and for others I put it right at the bottom before the soap base to give it a different effect
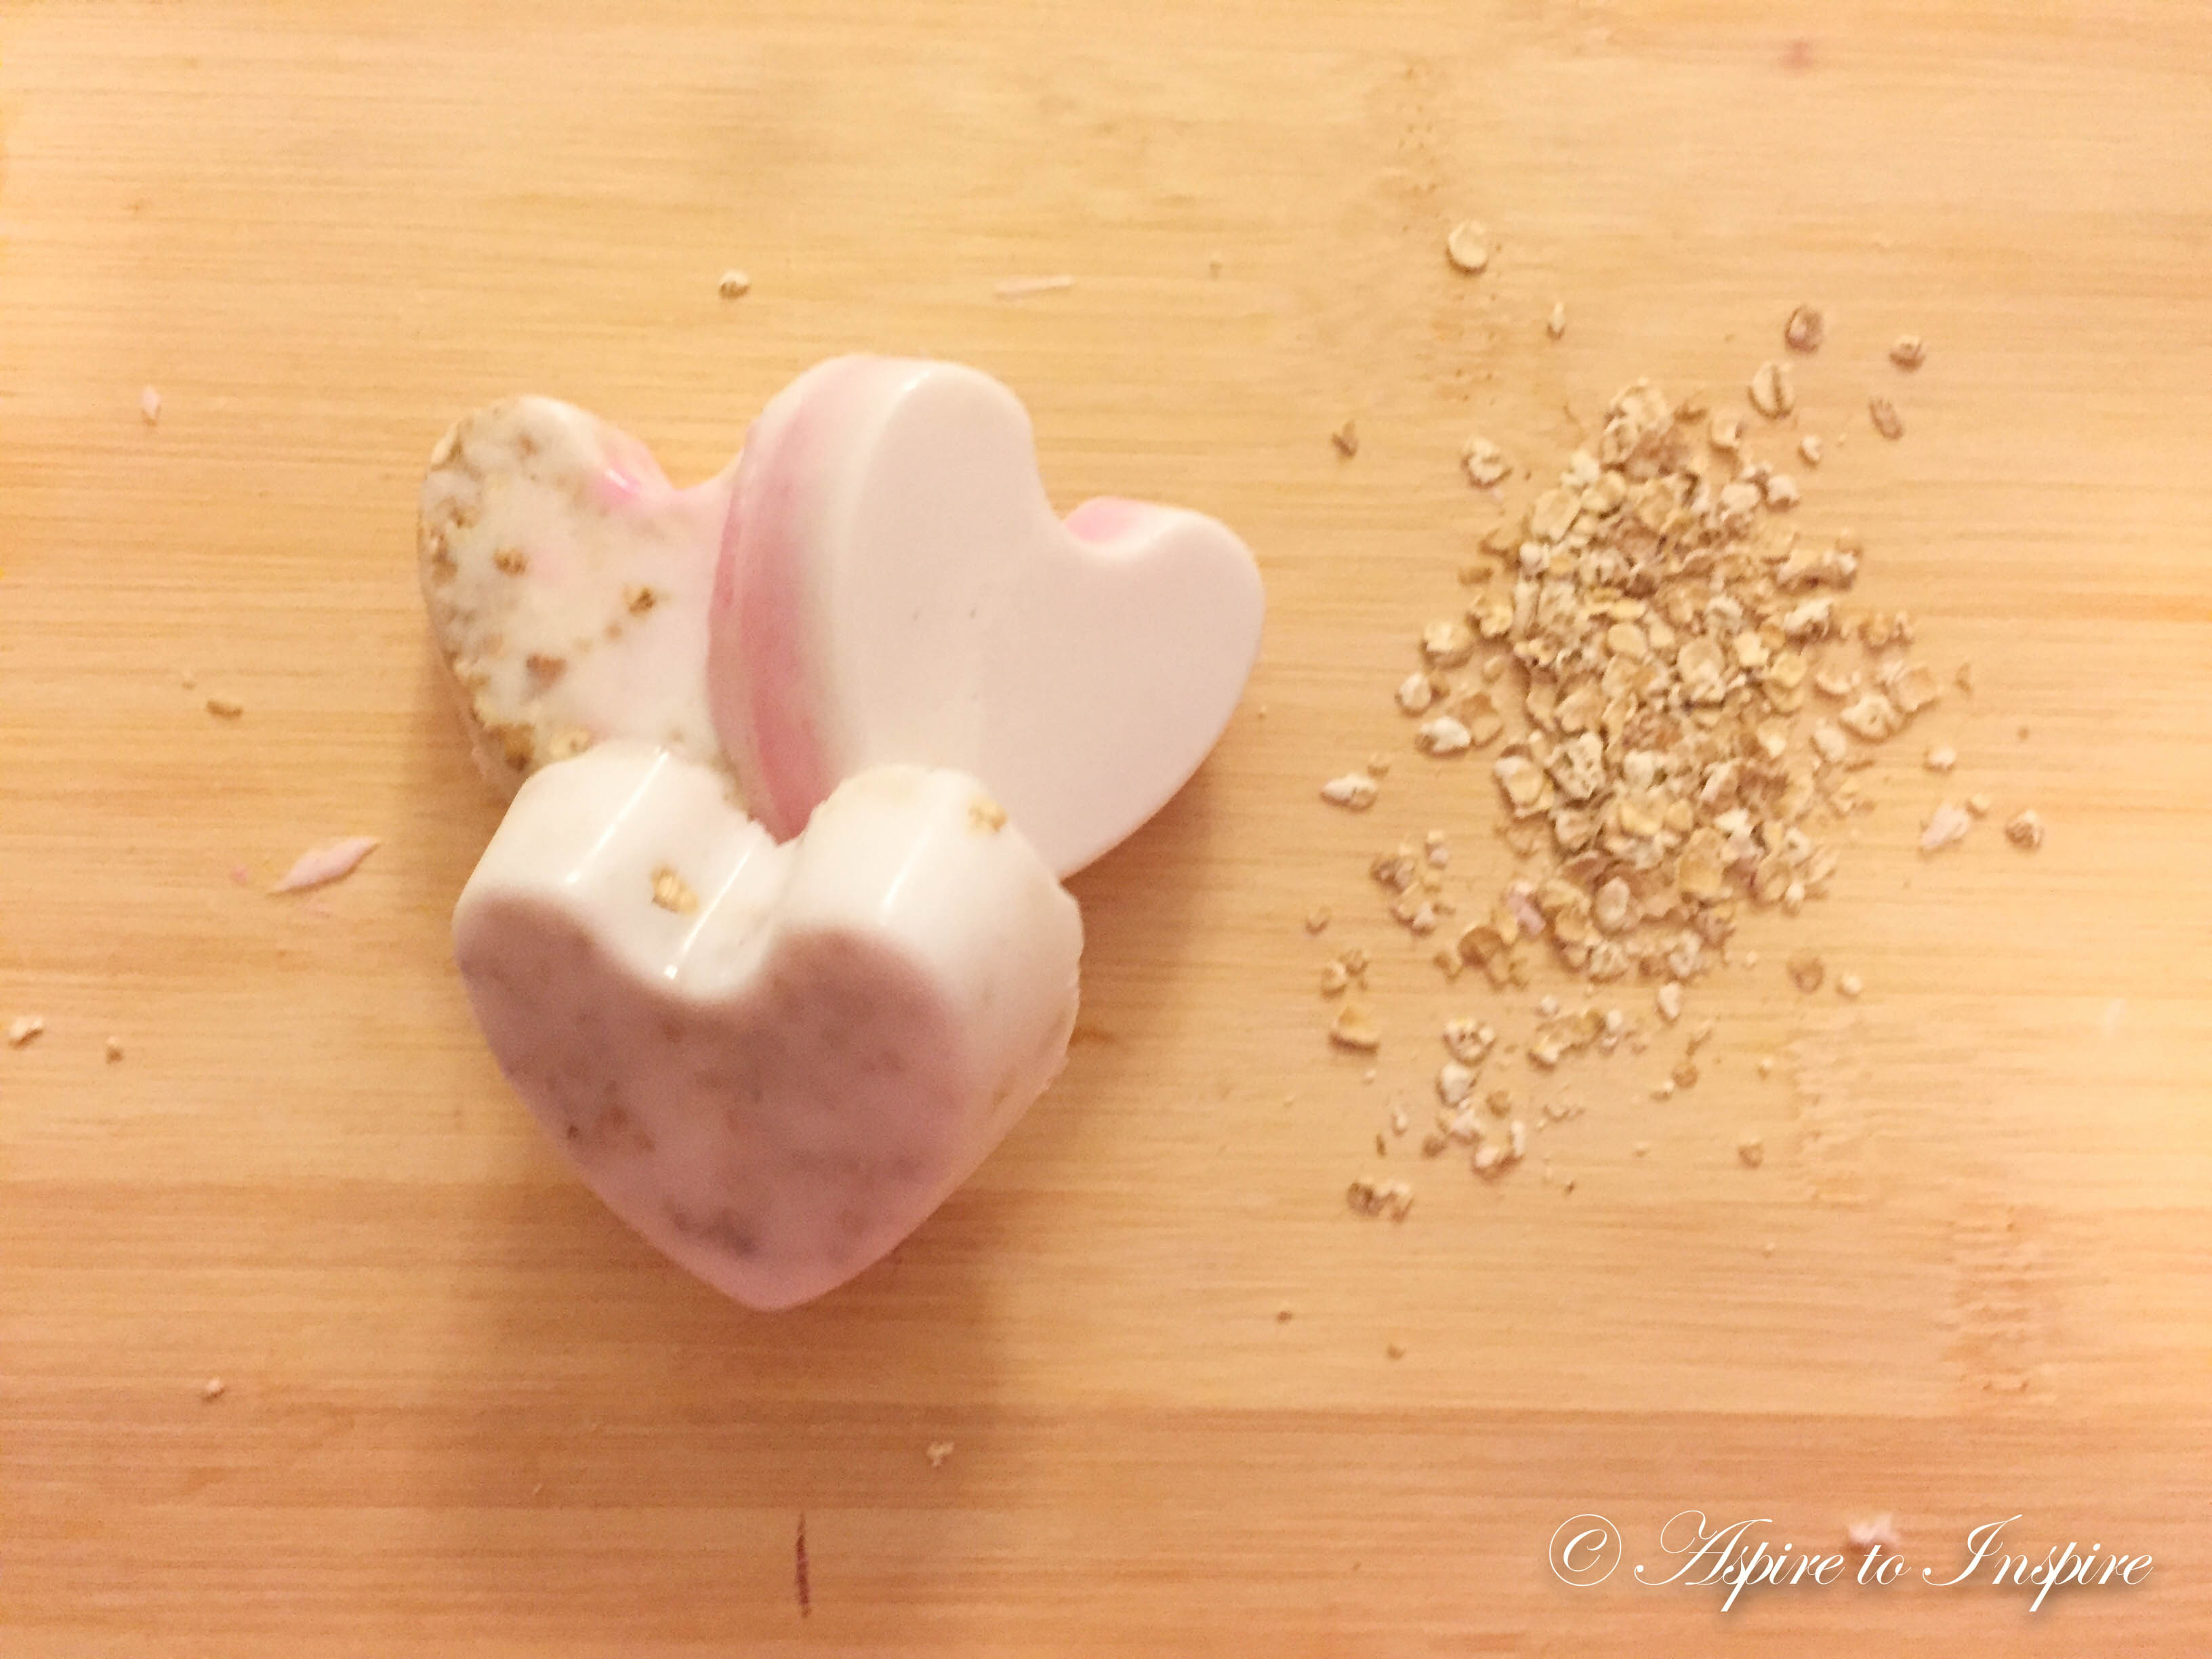
Since I not only had regular soap molds, I decided to take out my heart molds as well, since Valentines day is all heartsy stuff, and made some of those as well.
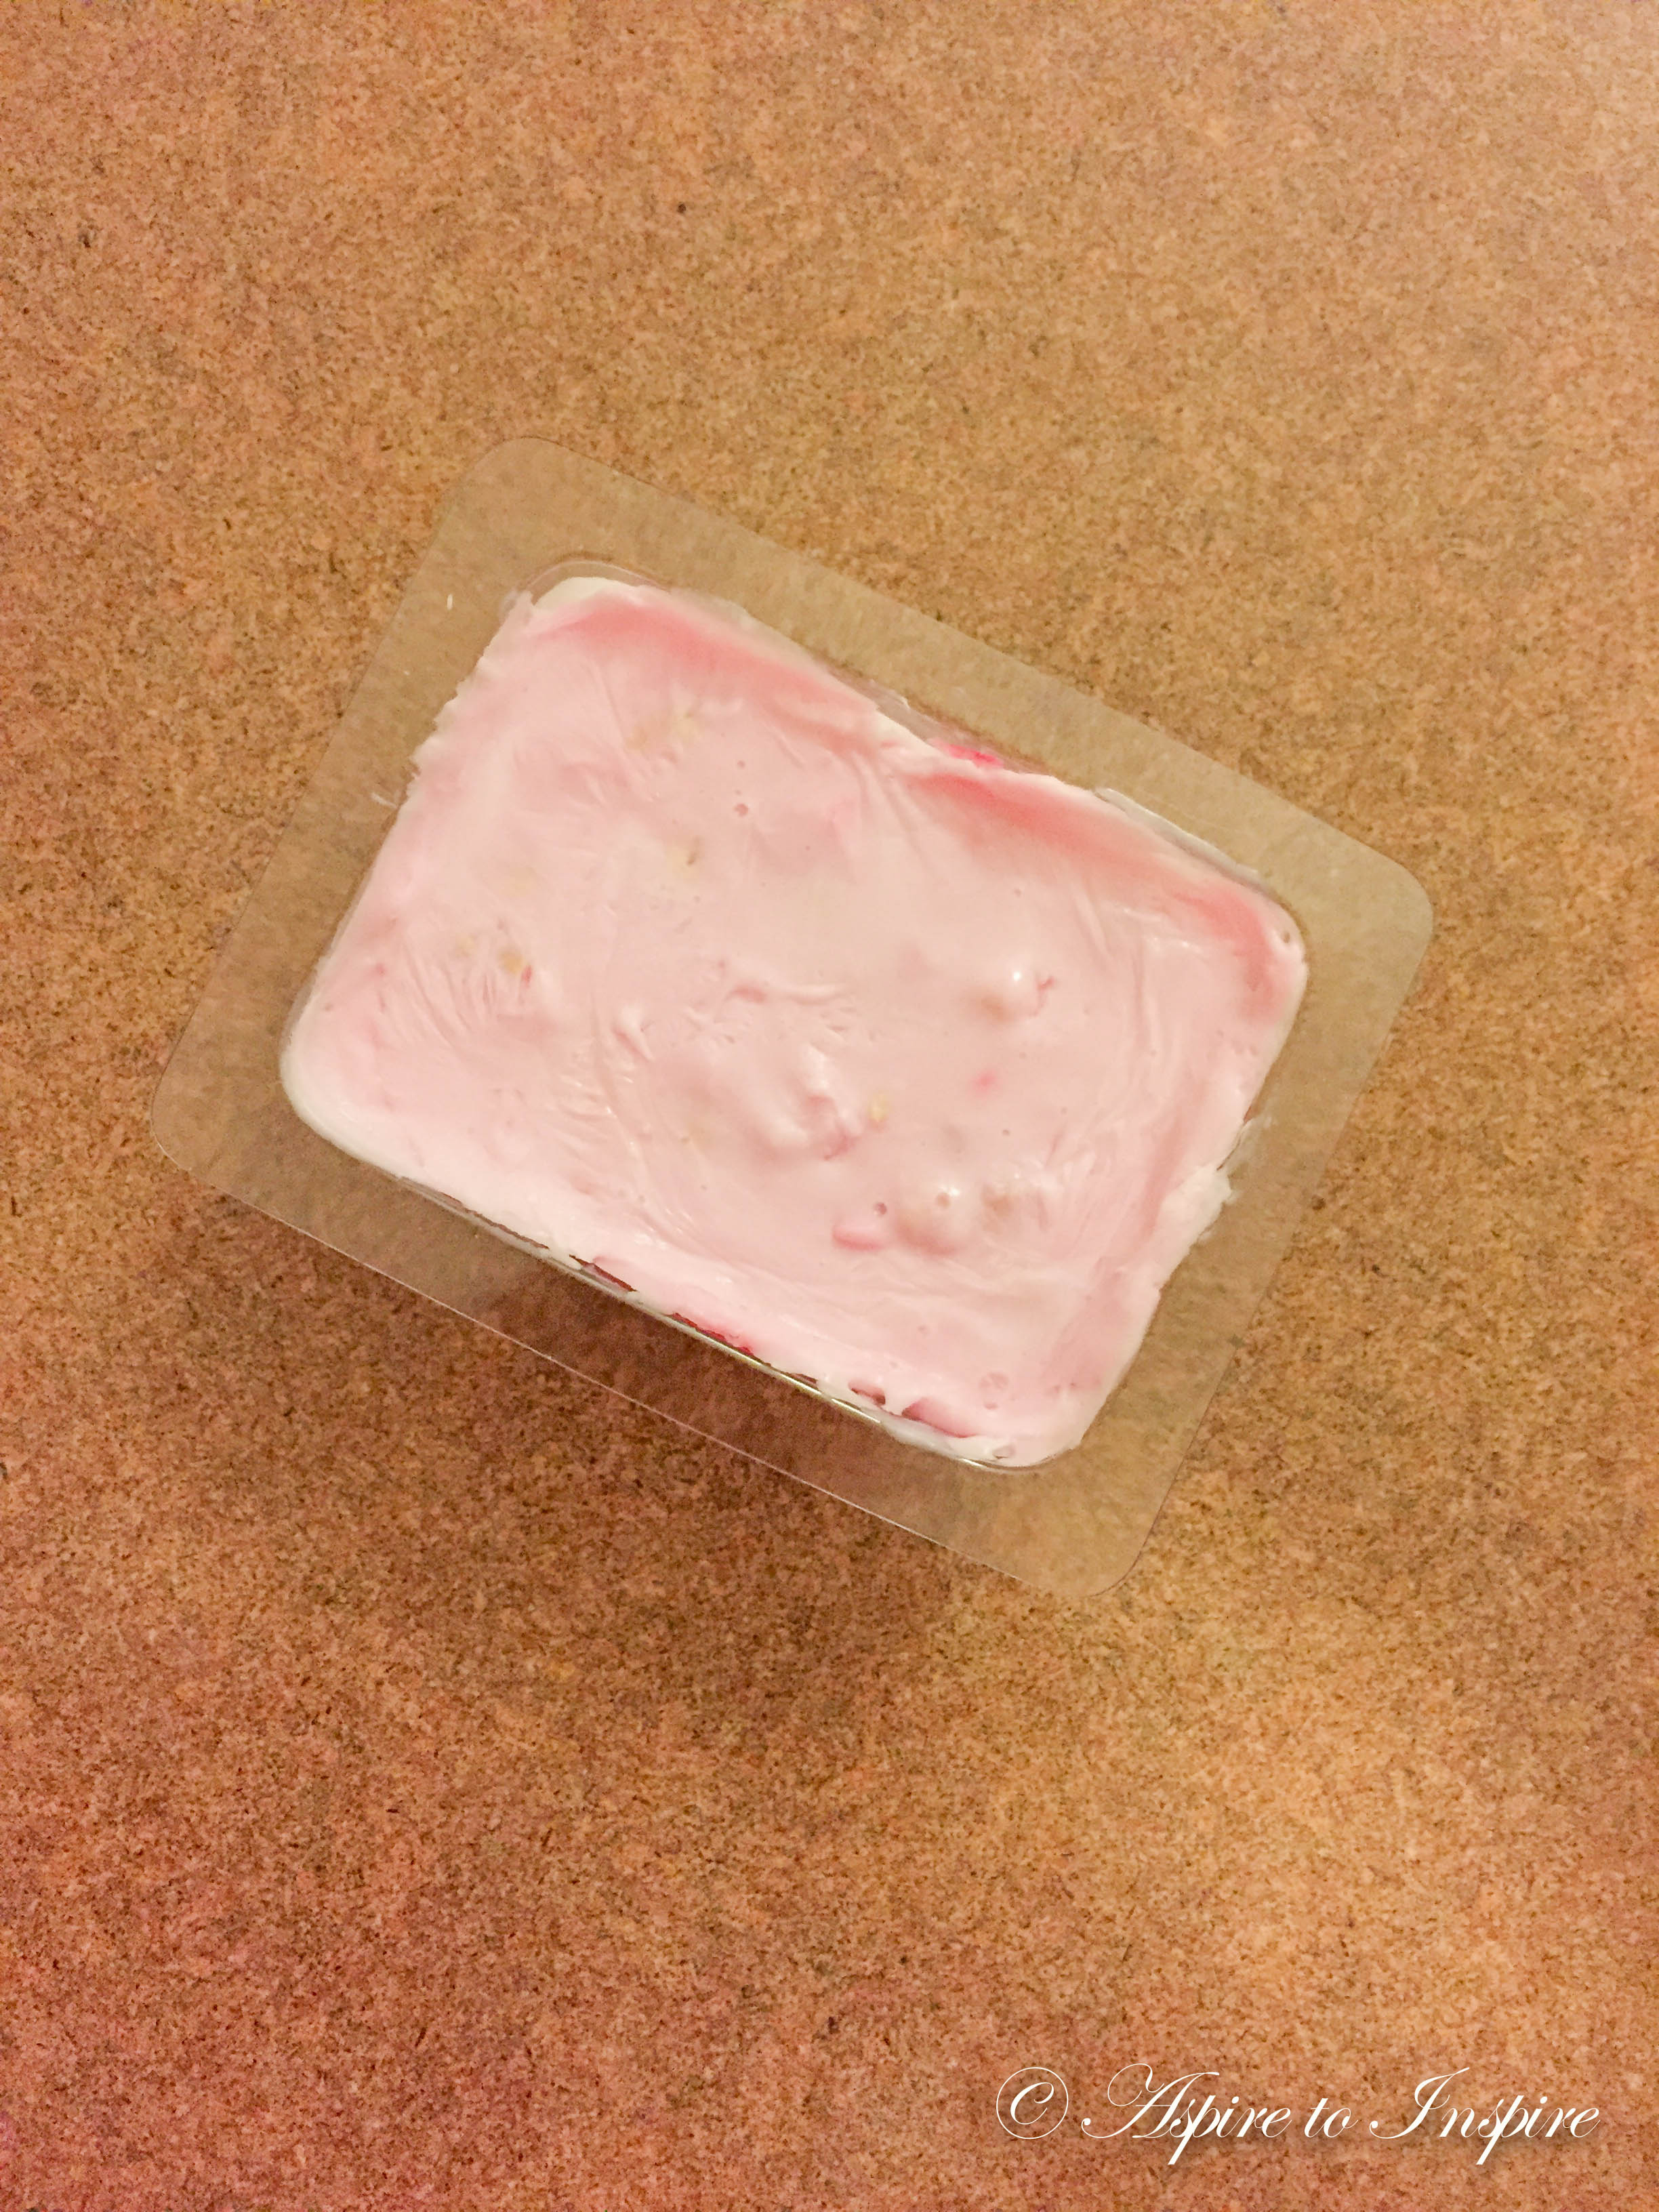
Once you got that all in, you’ll notice it set within no time. You want to let it cool down, either in the fridge or on the side for about 20-40mins.
Don’t be afraid to get messy! BECAUSE it will sure happen!- Oh the joys of crafts!
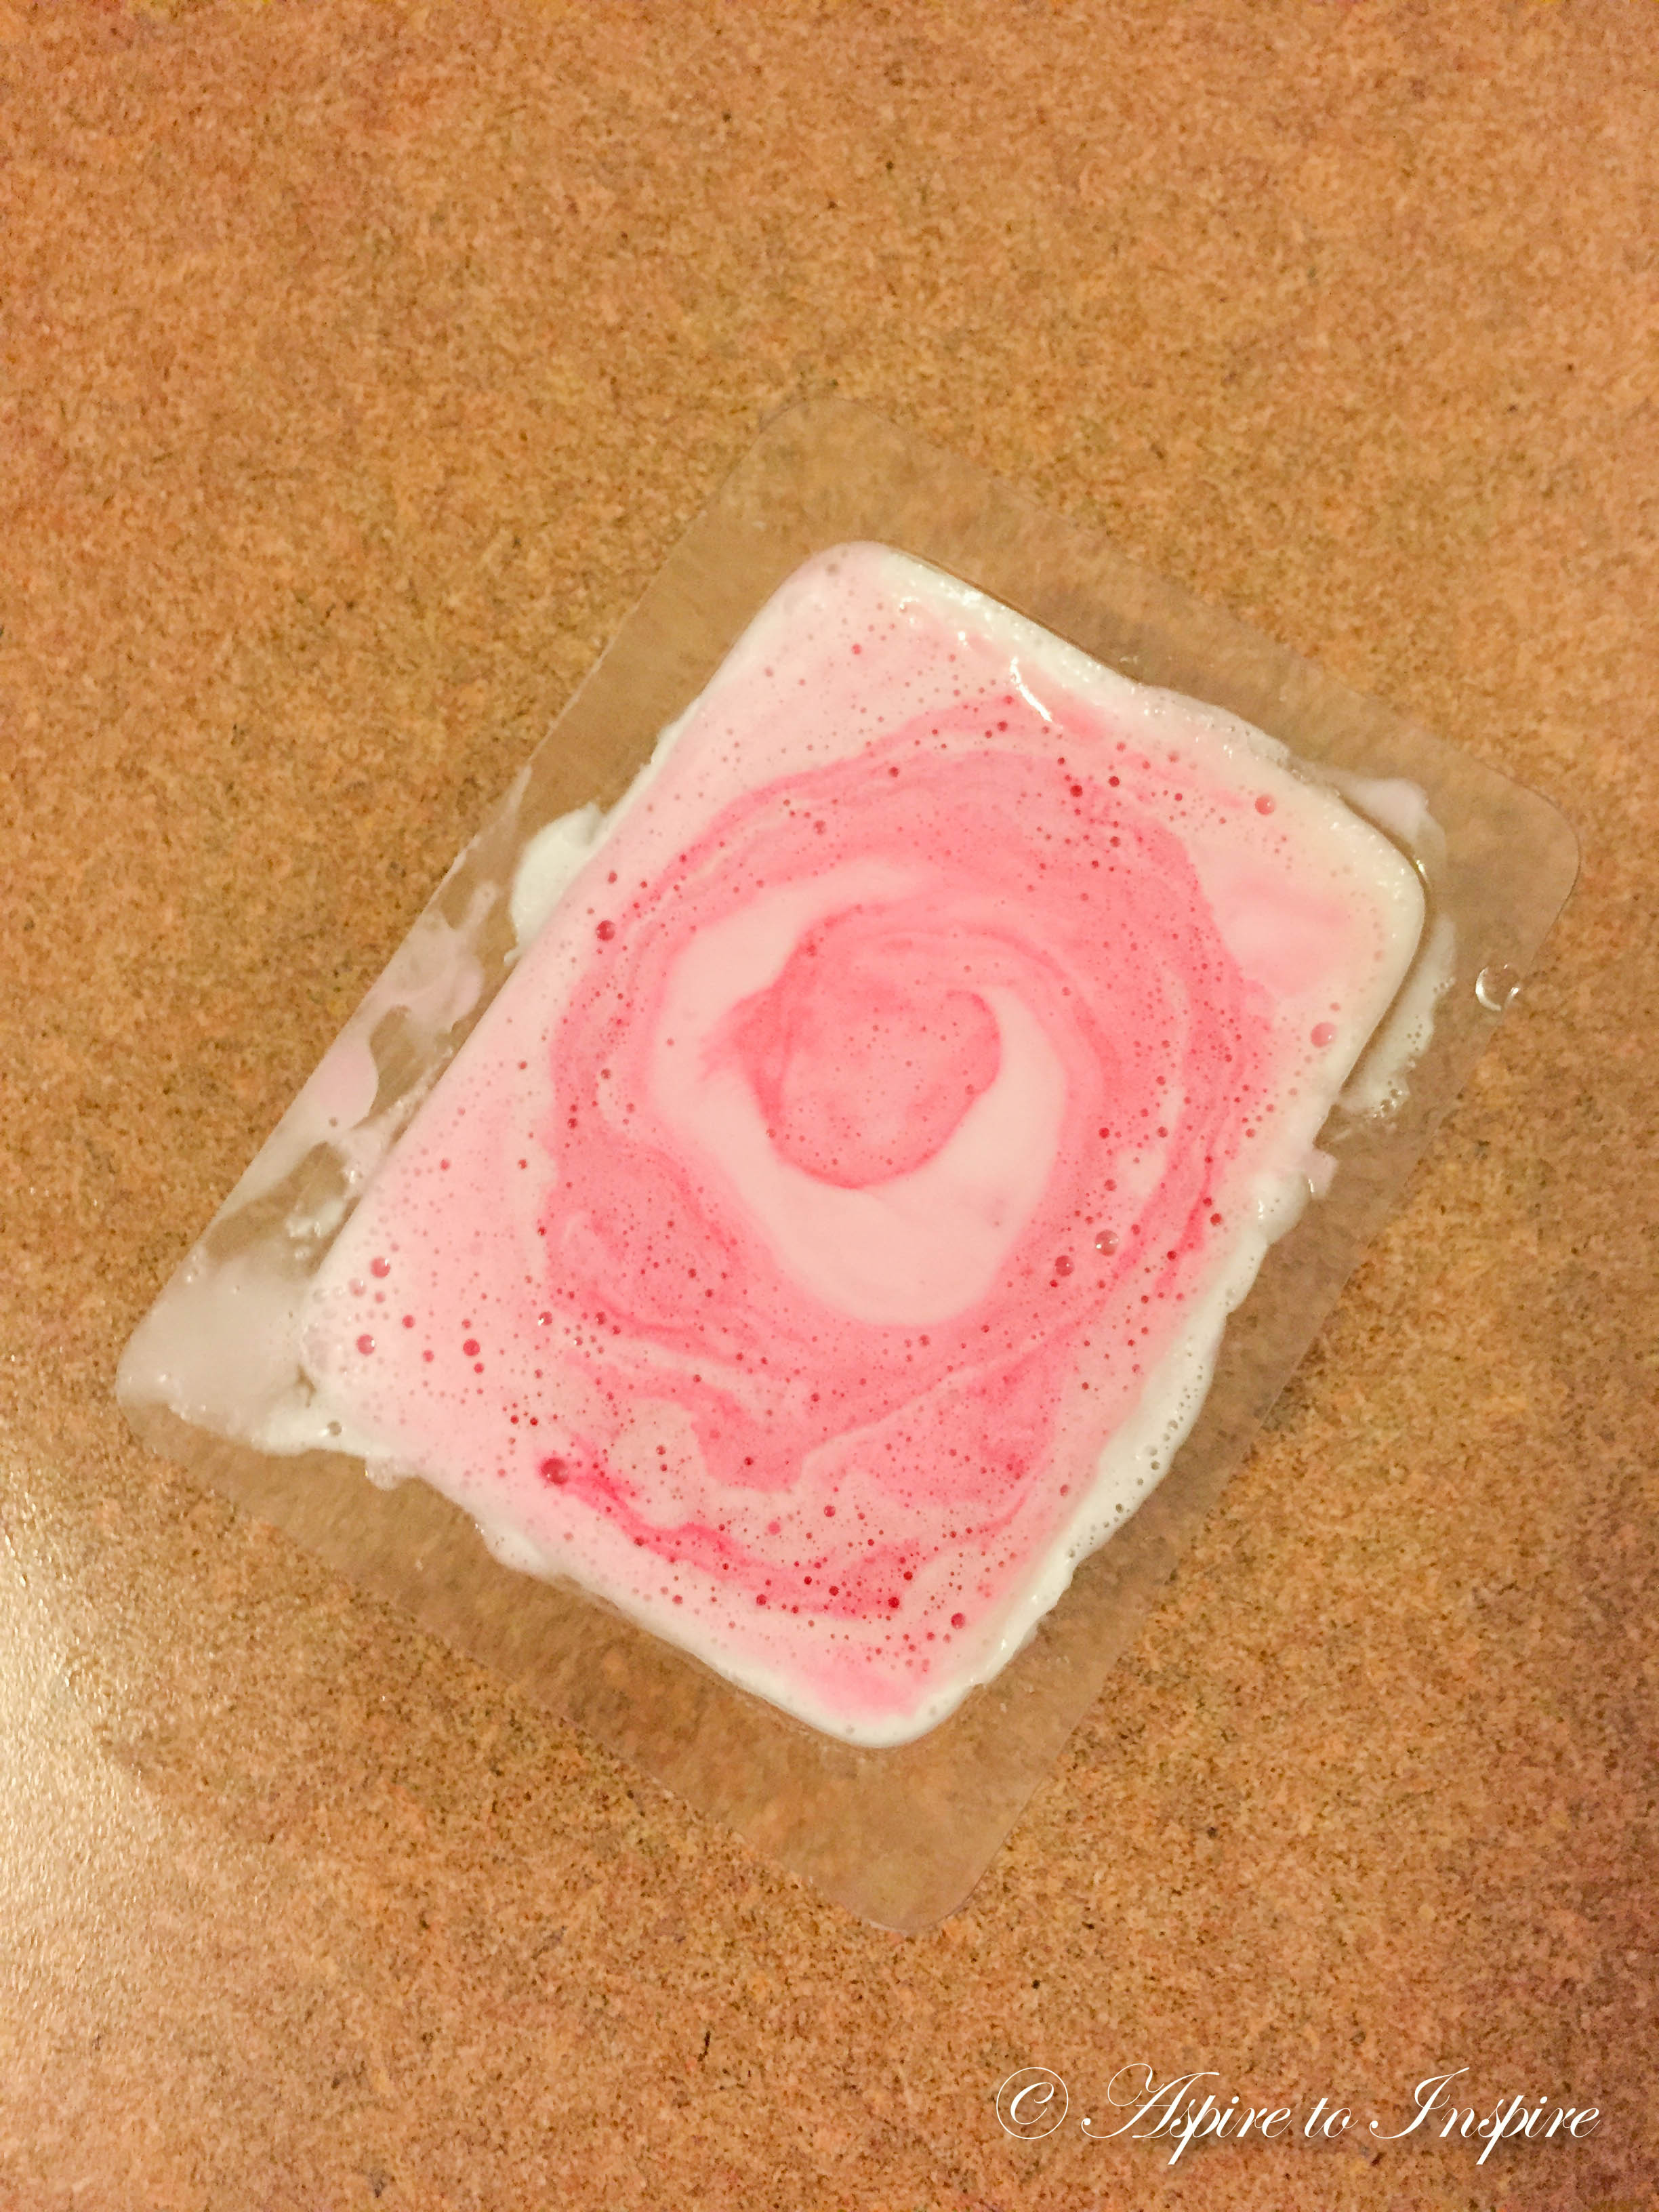
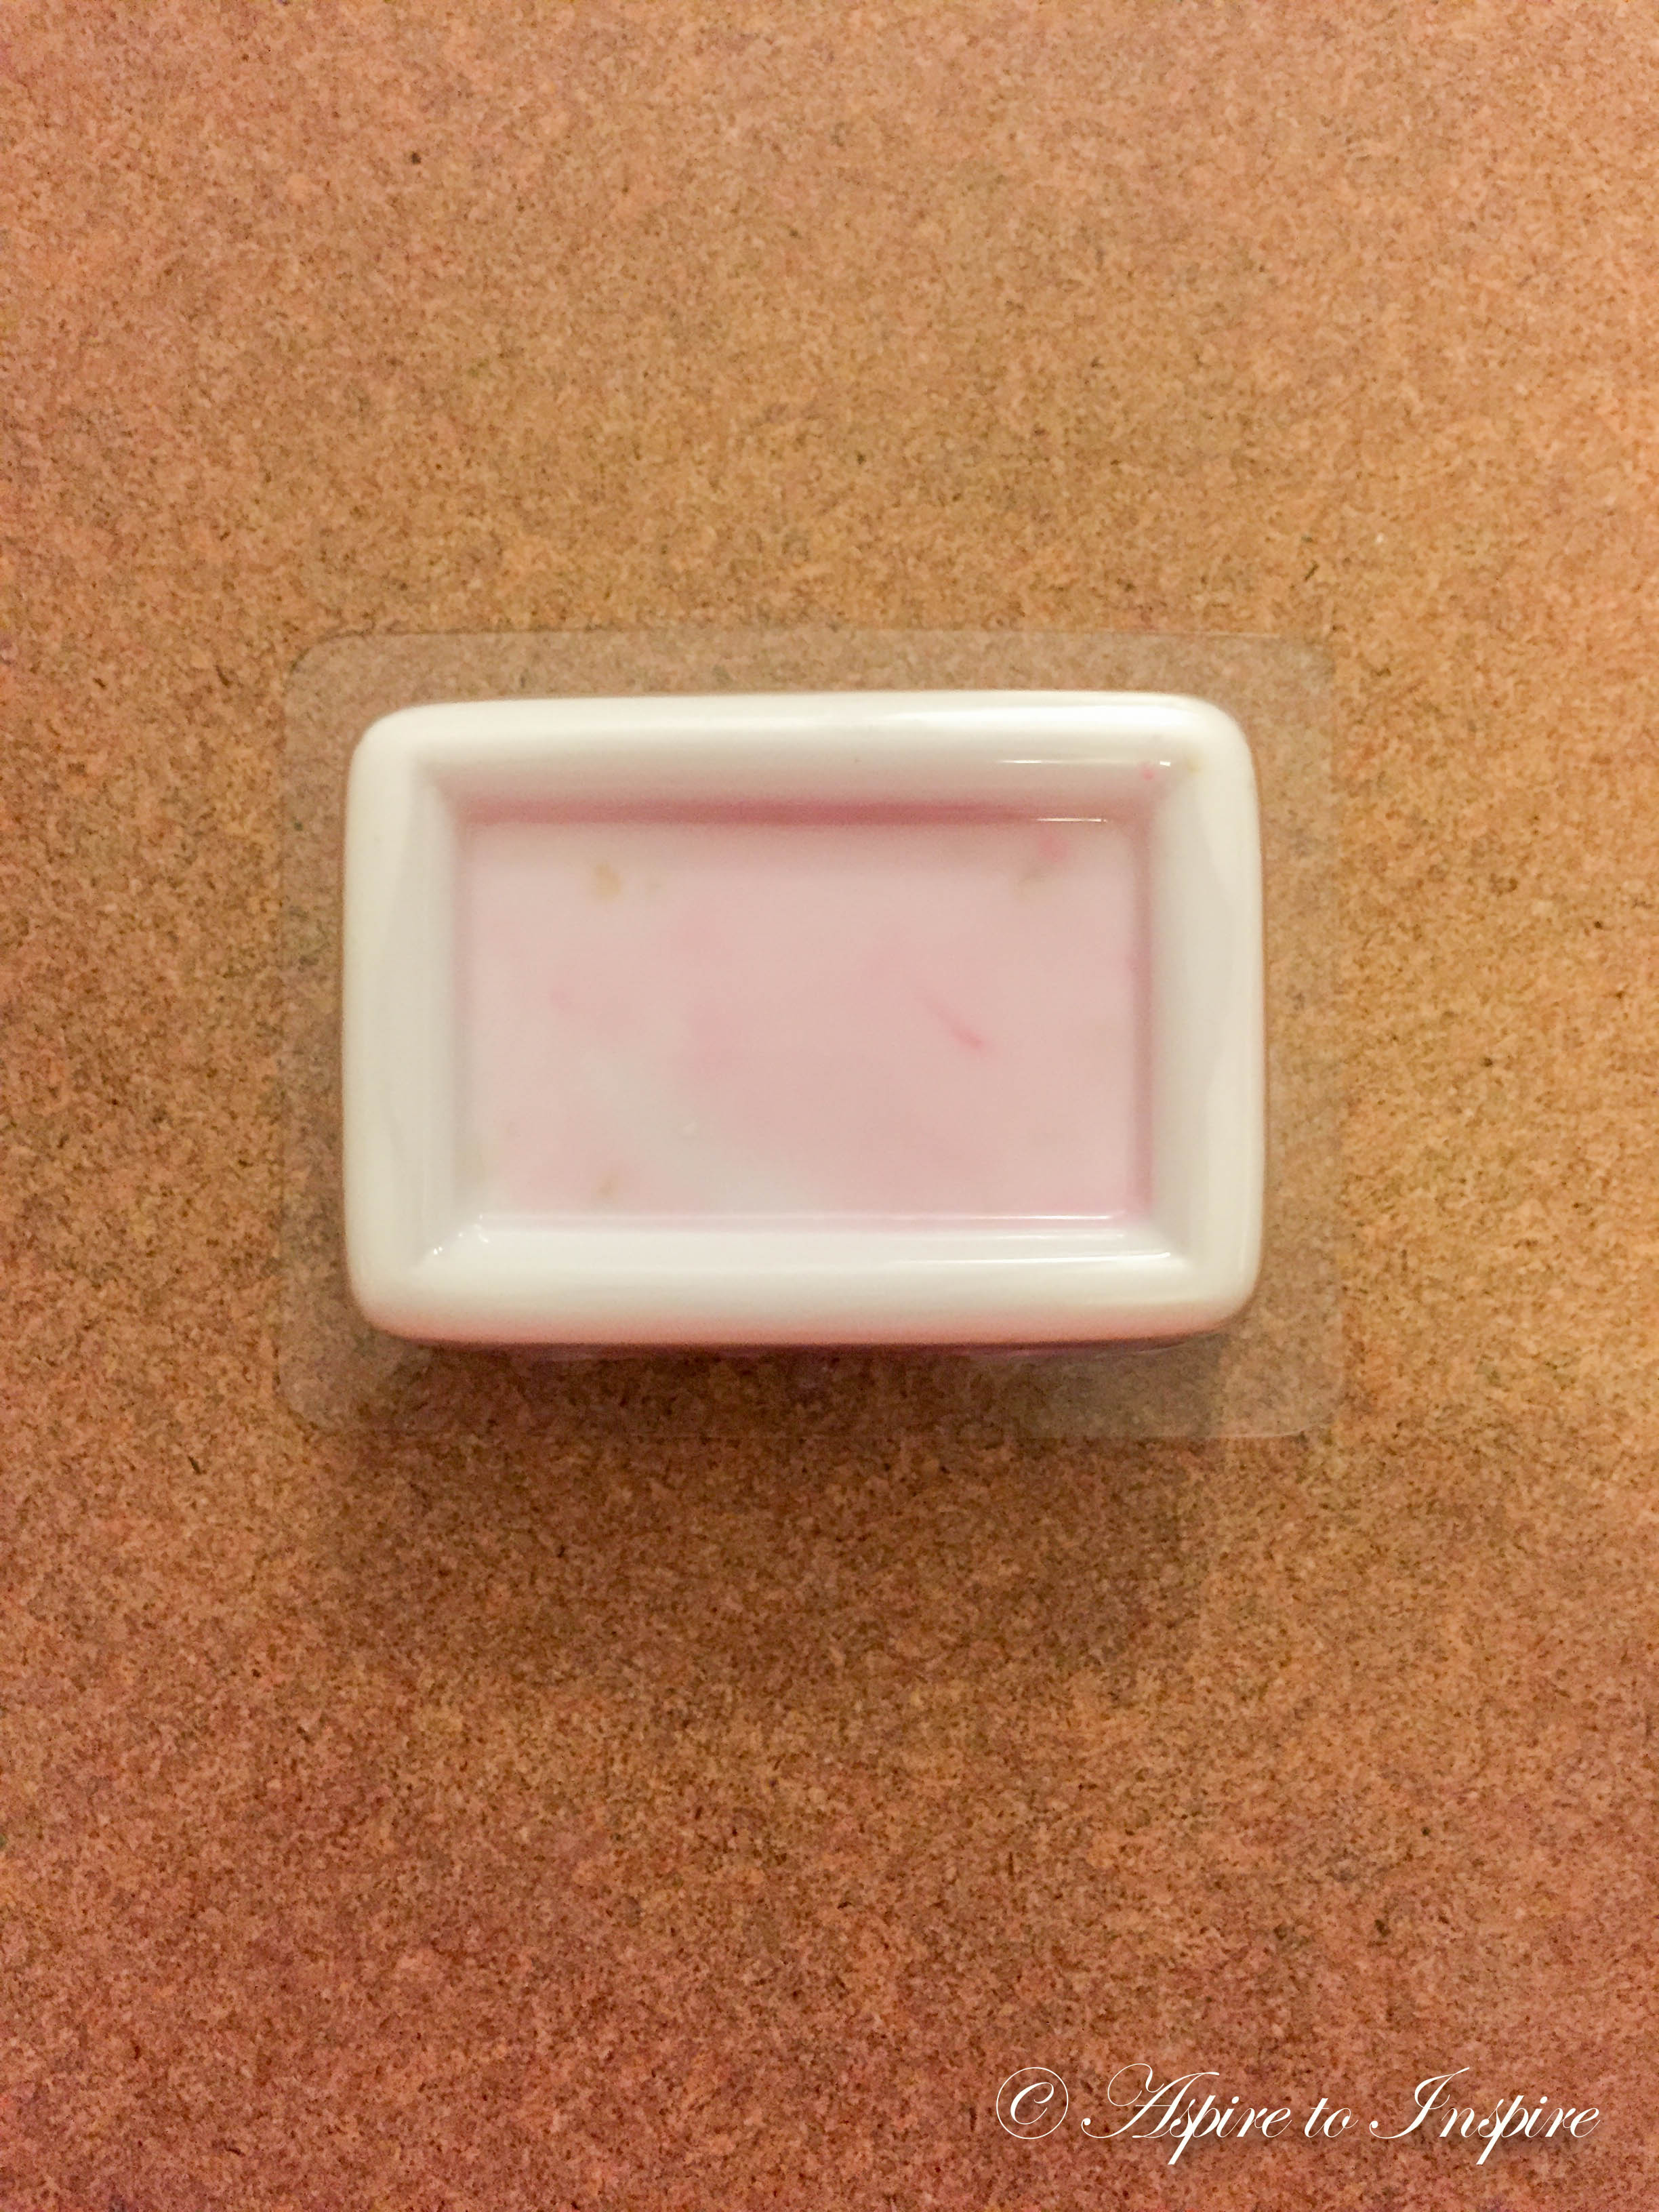
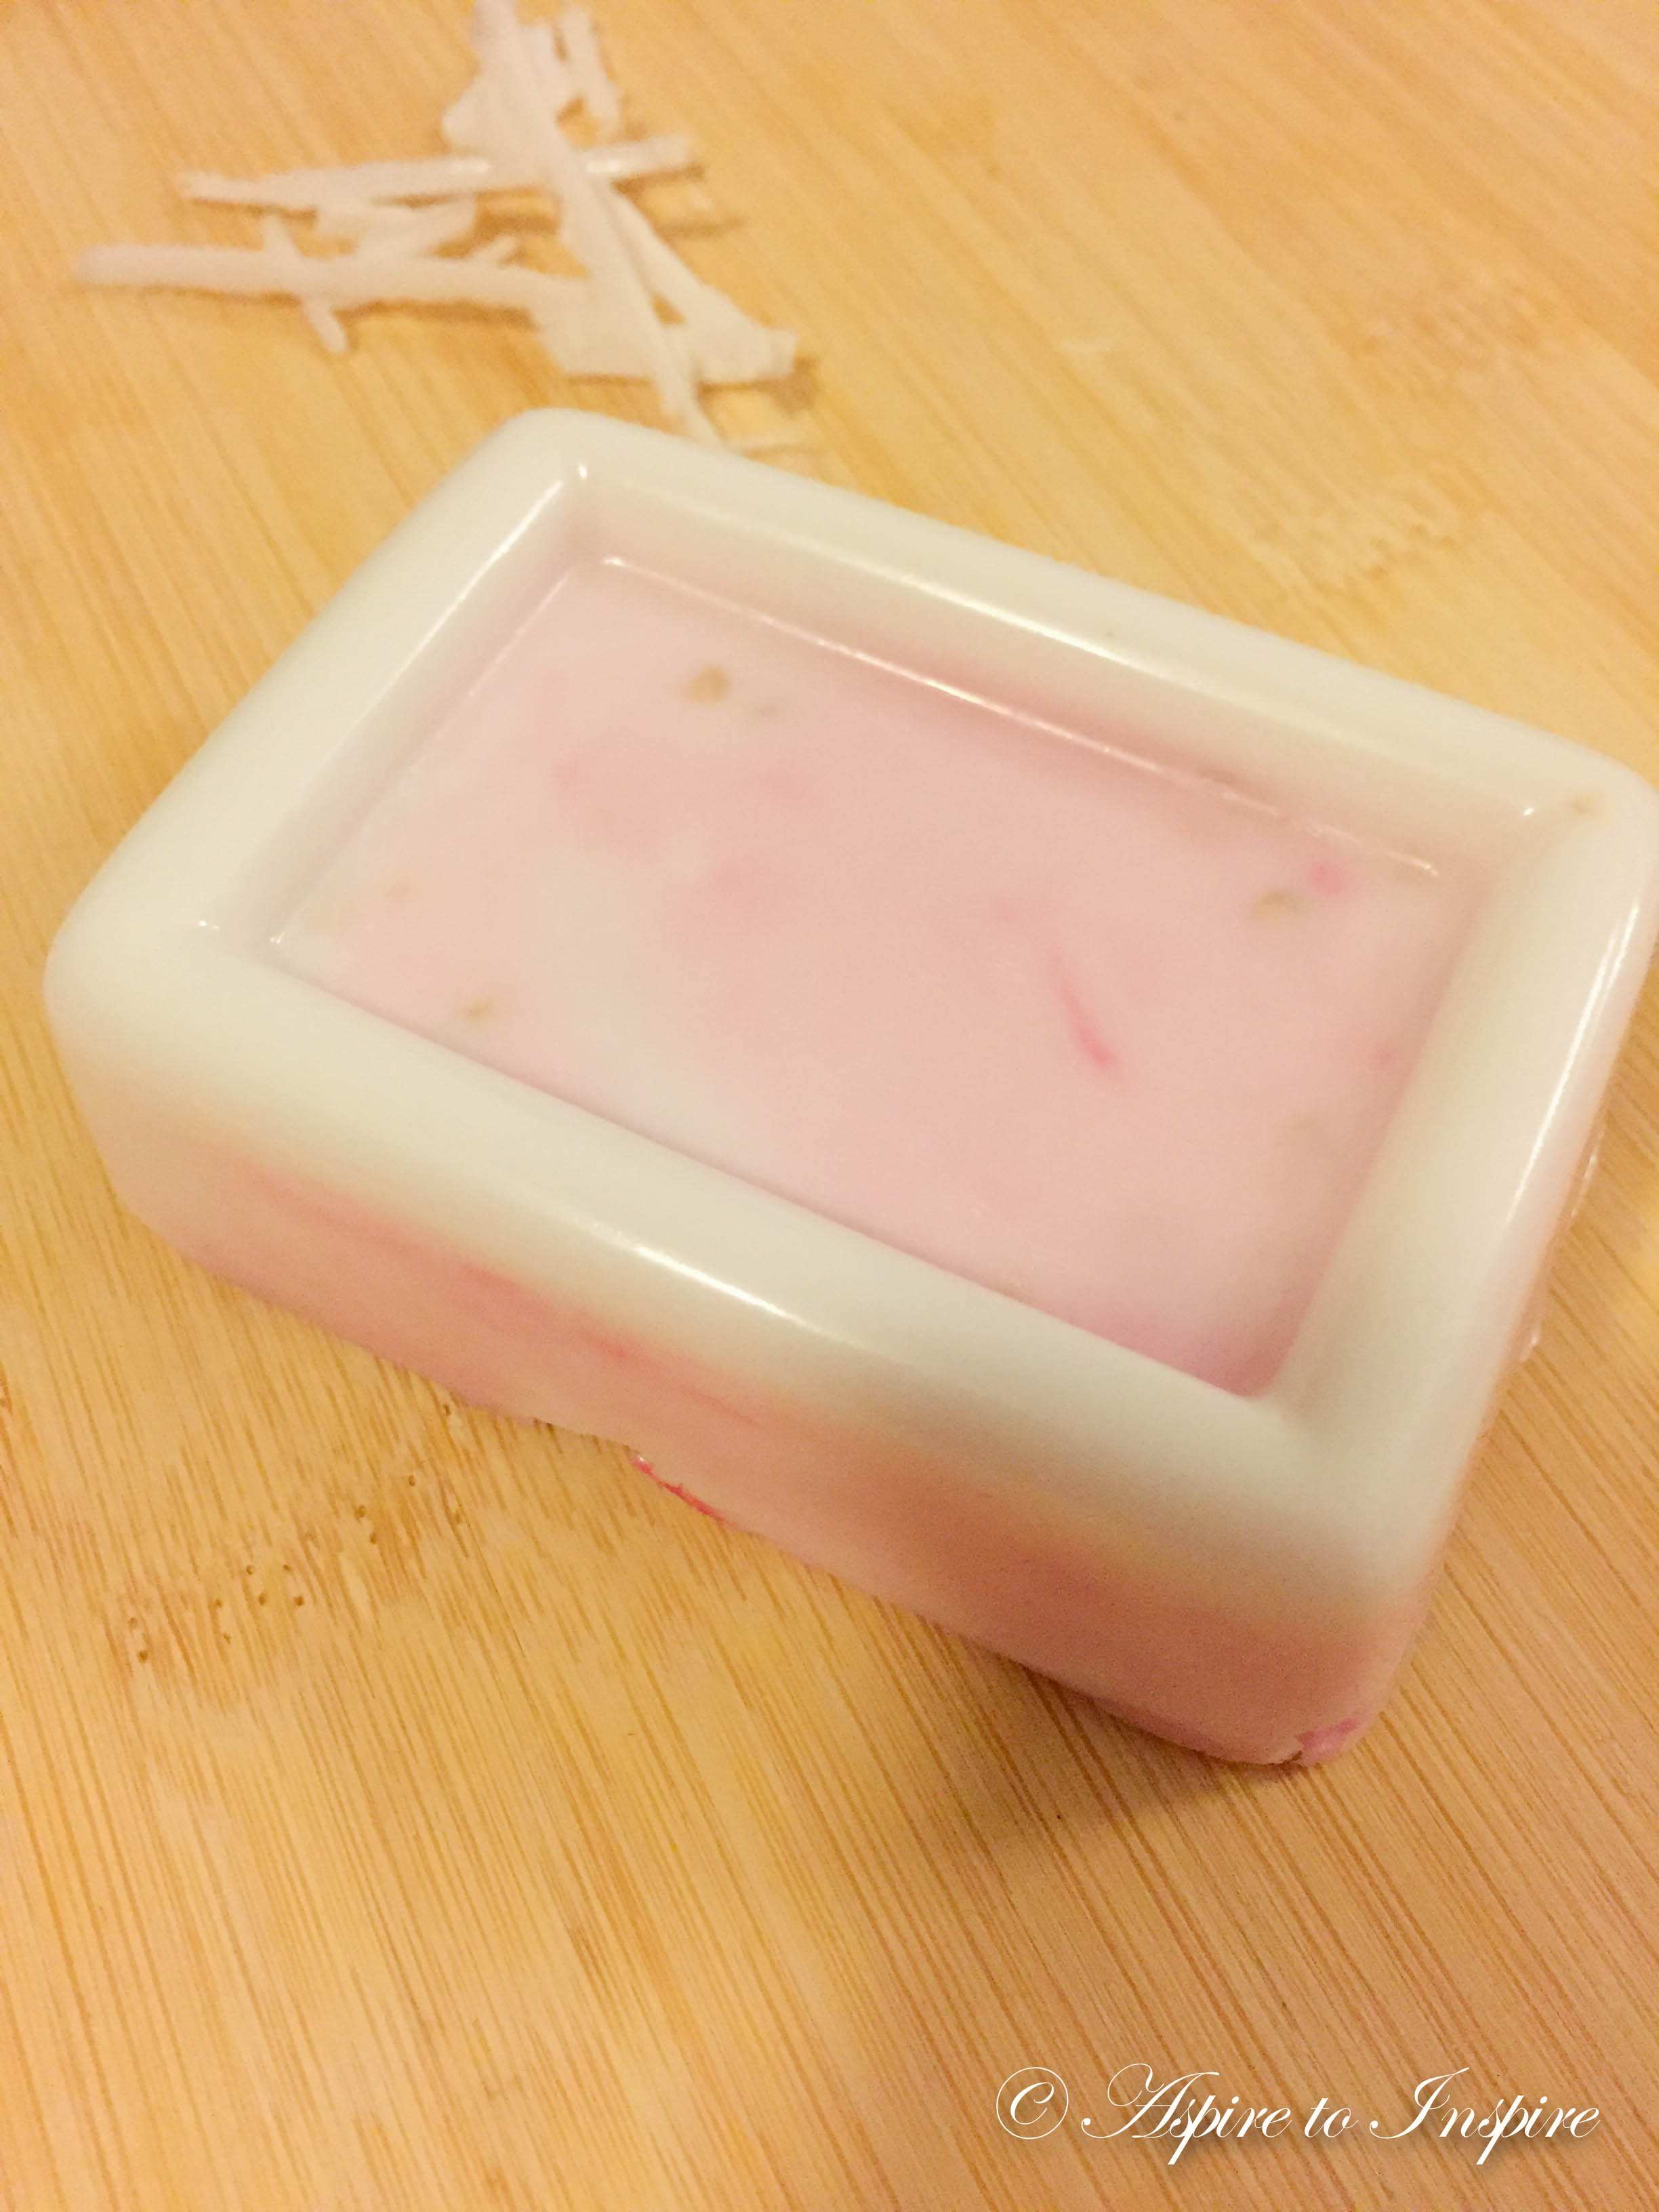
ALRIGHT, once it’s all cool down, you’ll carefully start to take out your soap from the mold!
And it should look something like this…
And there you have it, you can be as creative as you would like! Try out different effects!
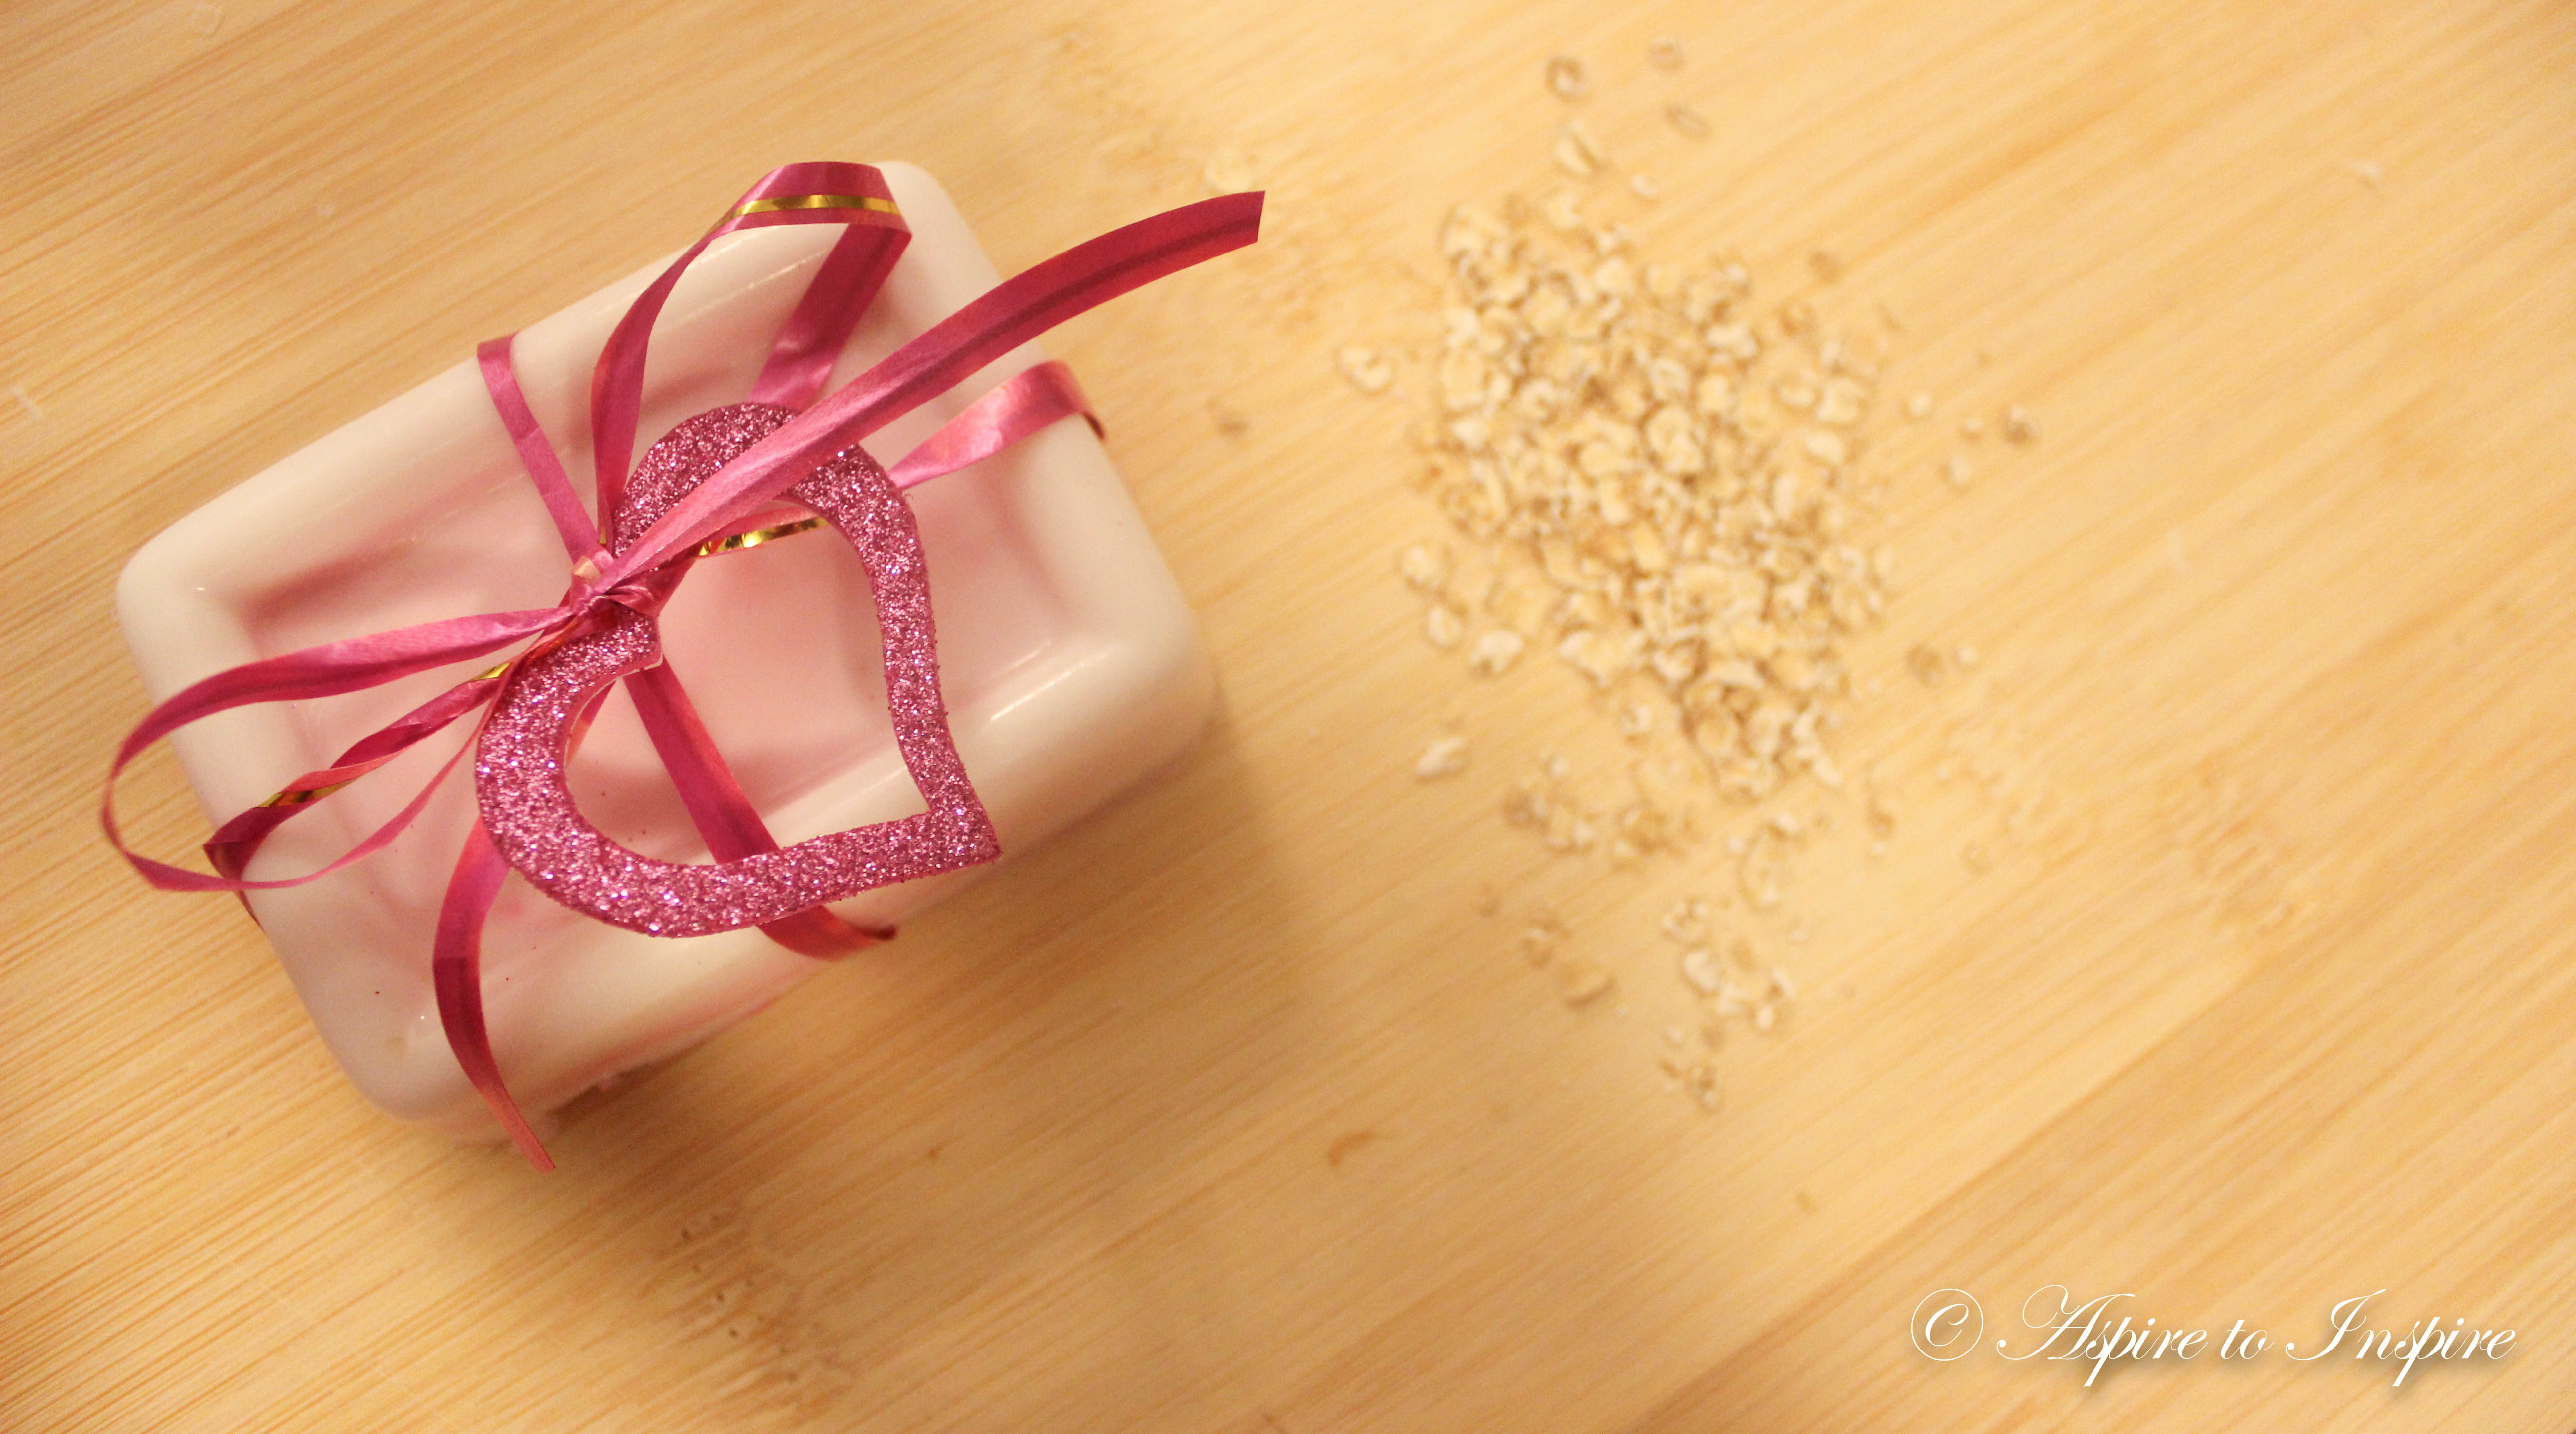
Yay! Once you’ve got them all out and are ready to go! Don’t forget to make them look pretty for that special person!
Hope you enjoyed it.
Thanks for reading,
Maritza, xo.
