DIY: MAKE UP BRUSH HOLDER/ROOM DECOR
Ever wonder what you can do with your candles after you’ve burnt them out? WELL, if your someone like me who buys way too many candles then I think this should be a pretty good idea, because you’re getting your moneys worth TWICE! You could make this as a room decor or even as a gift for someone, it would be perfect! Heres how!…

Supplies needed:
-Candle
-Butter Knife
-Paint brush(es)
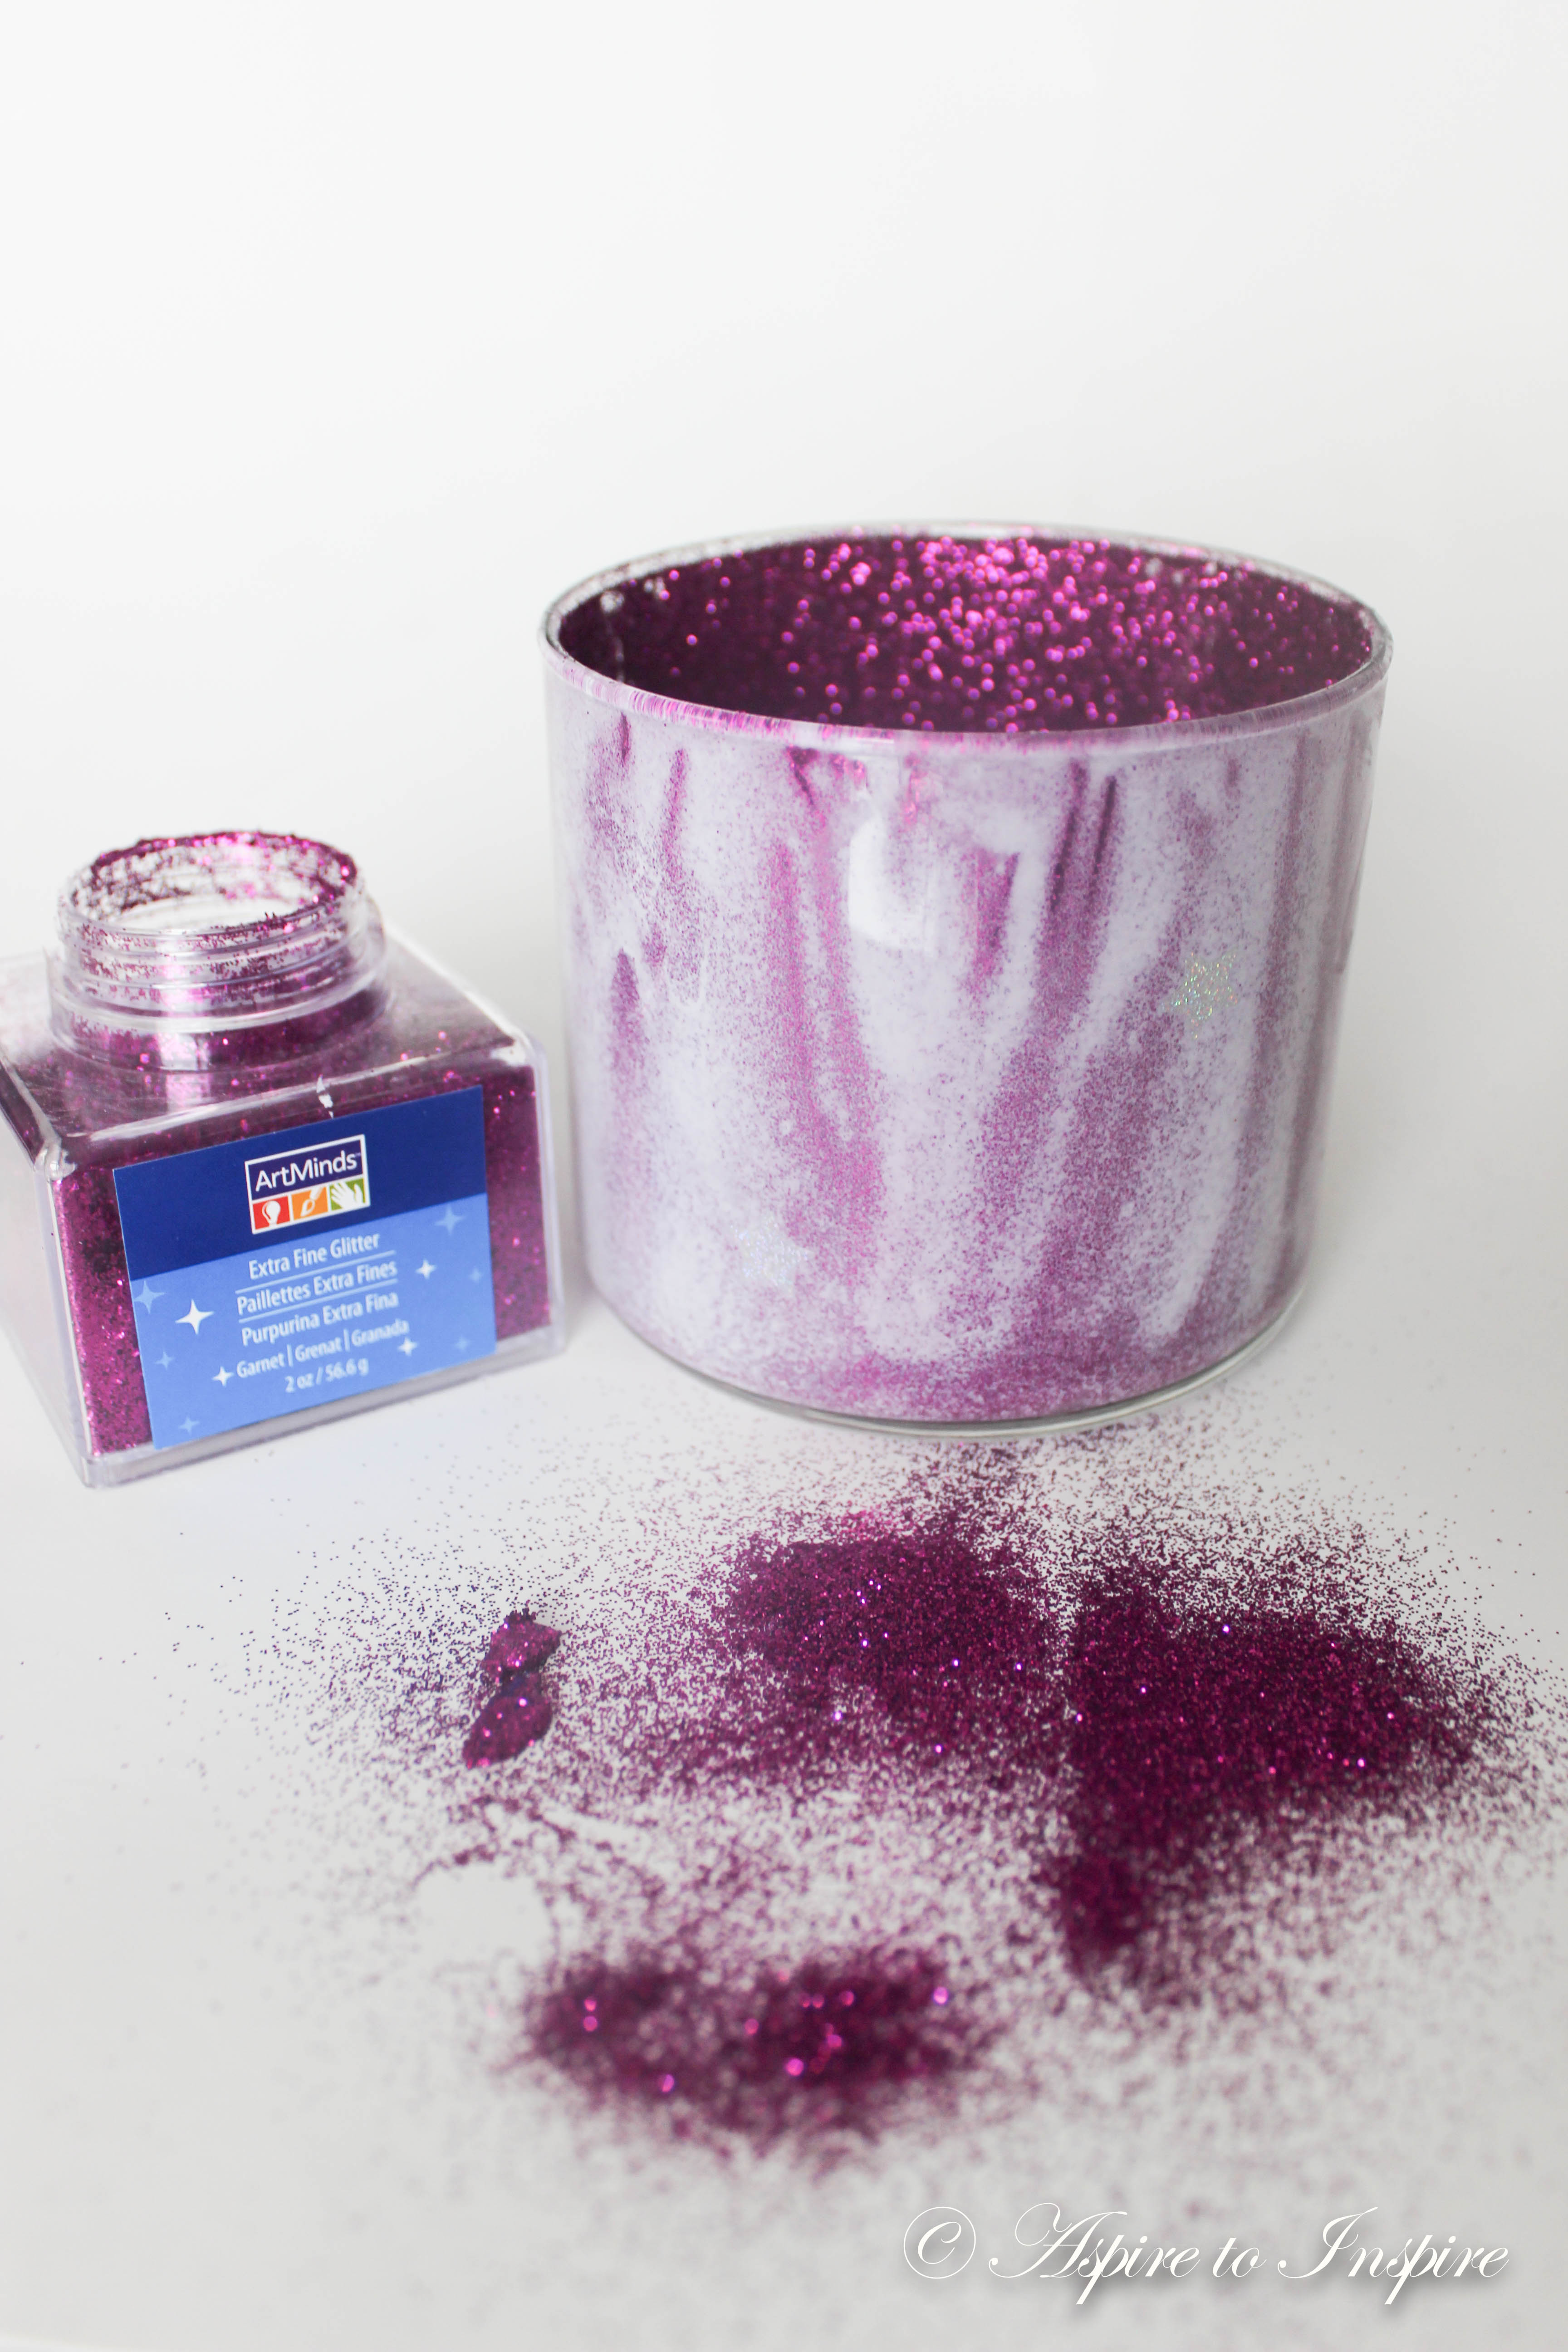
-Glitter
-Mod Podge
-Alcohol + cotton swab
-Vase filler beads
Optional:
-Stickers
***********************************************************************
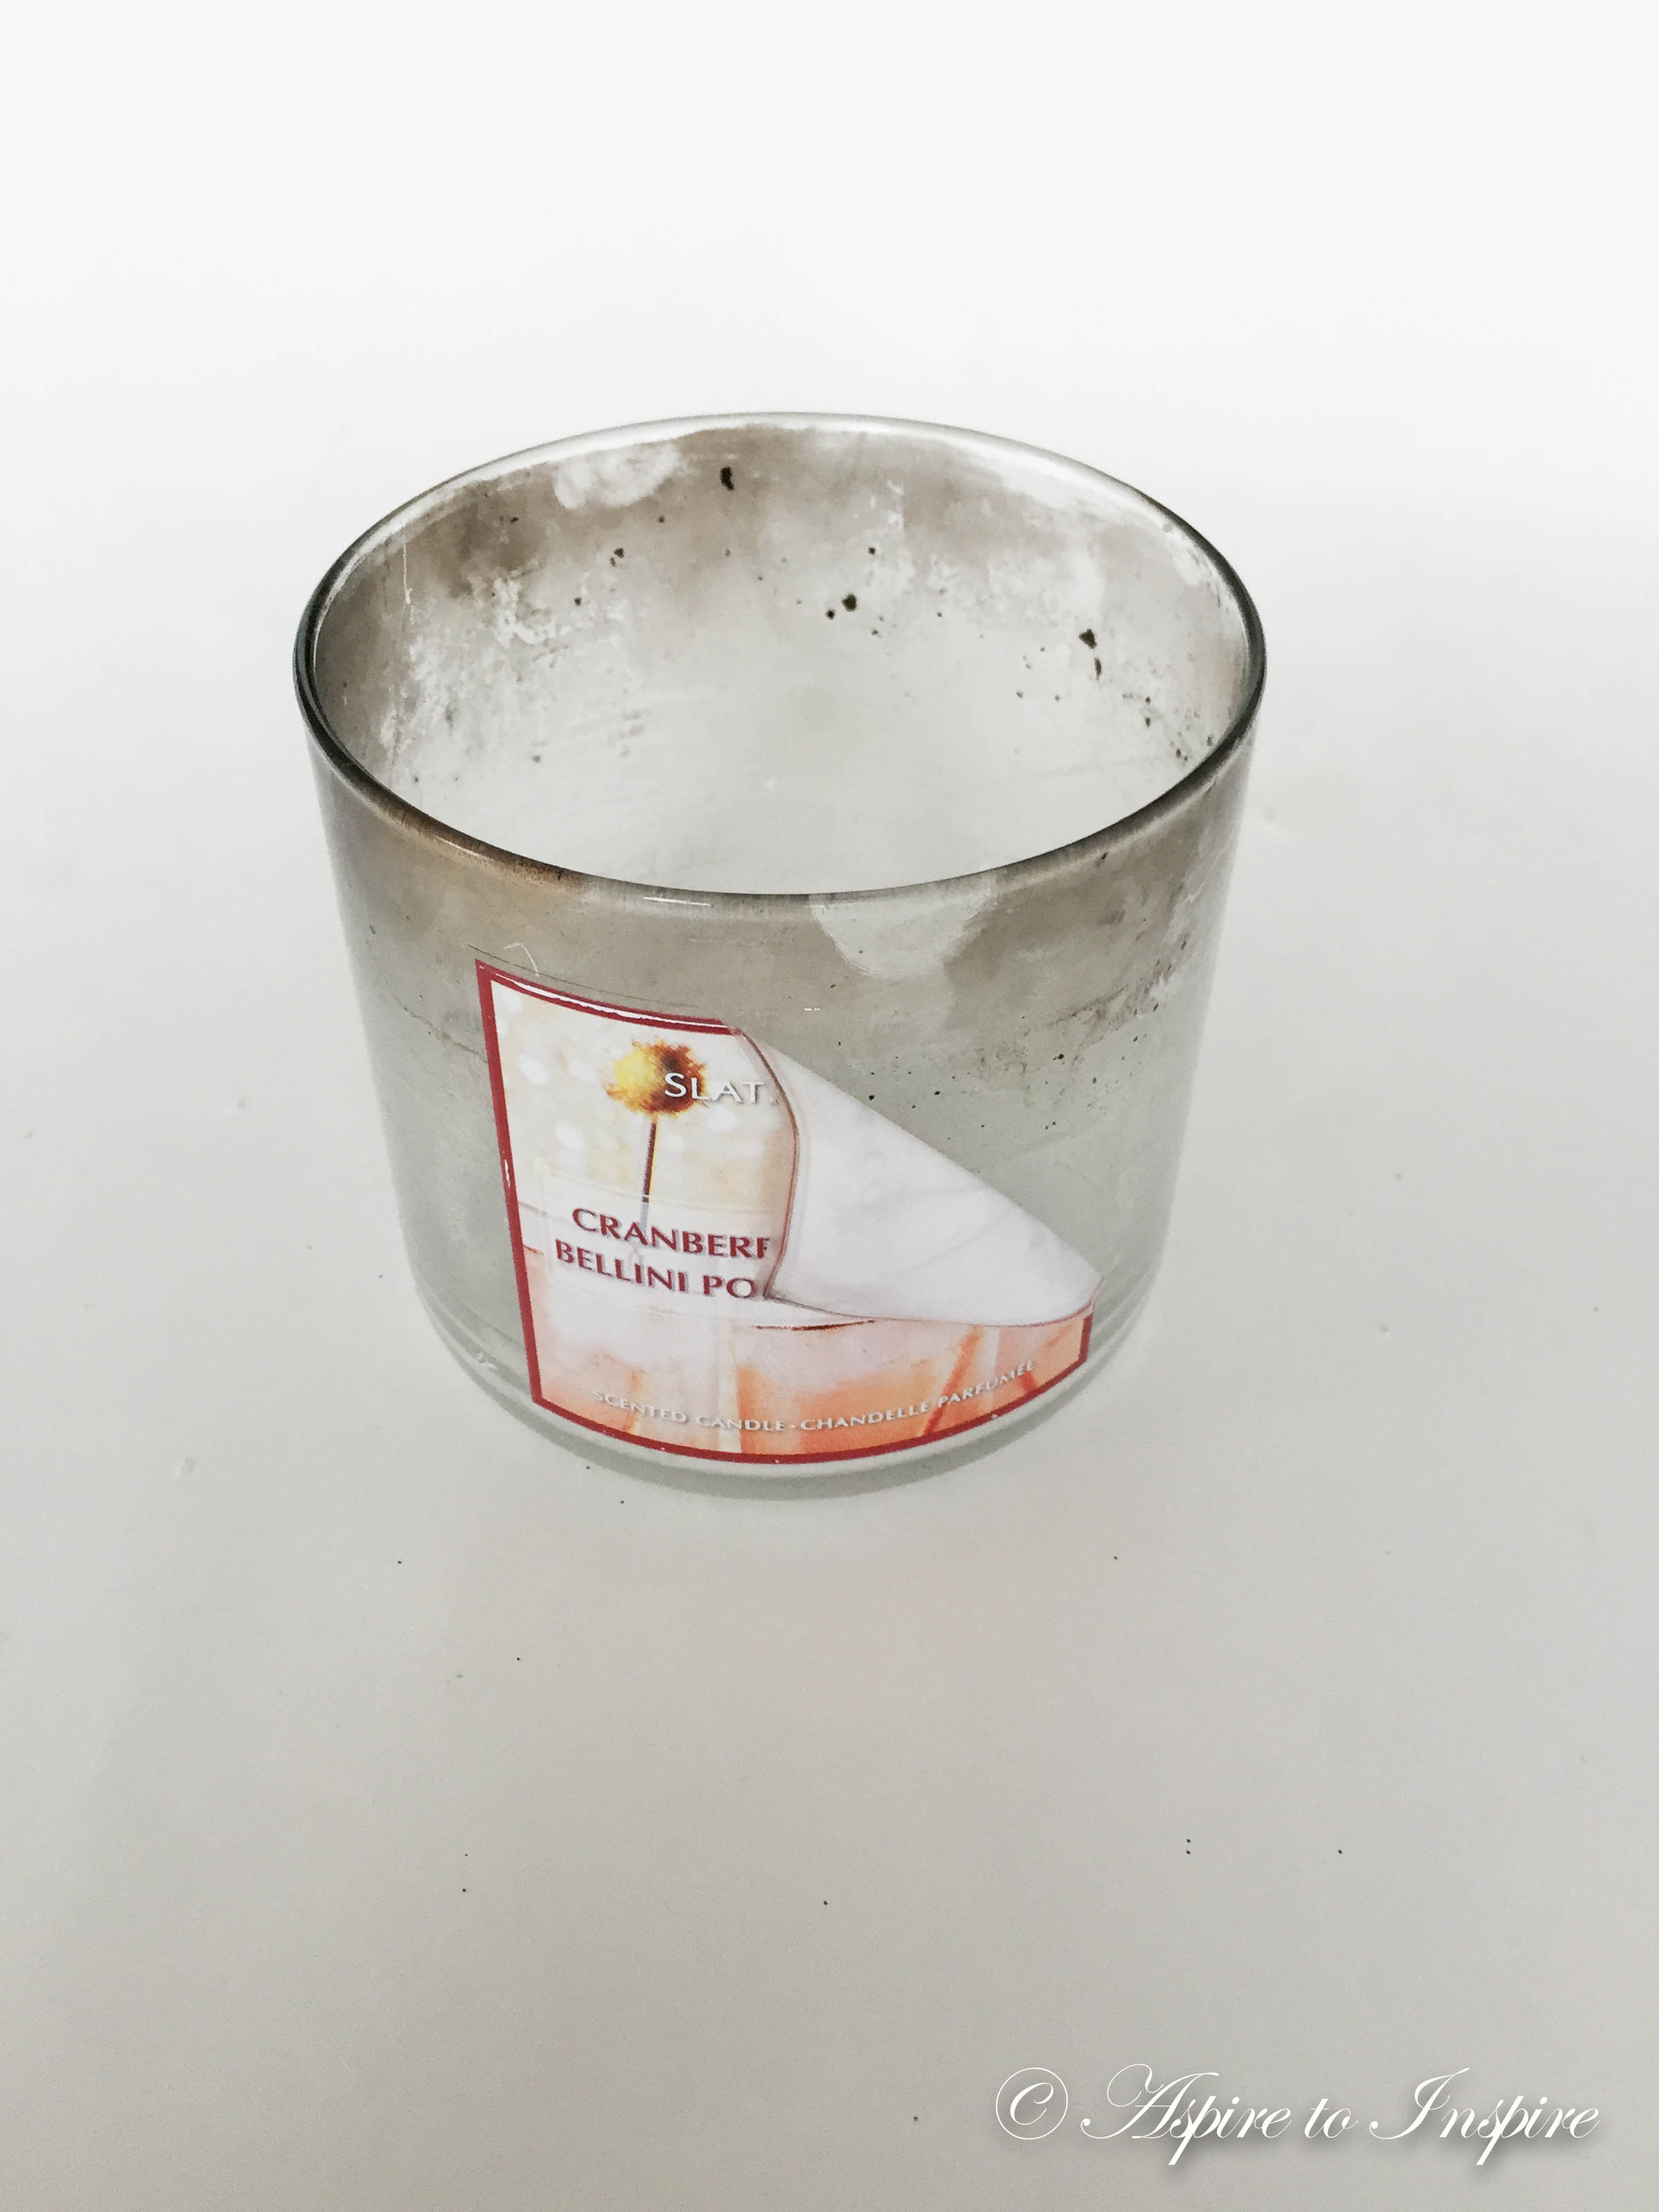
So in the picture above I had already cleaned out my candle jar, but below I will show you how to clean it first!
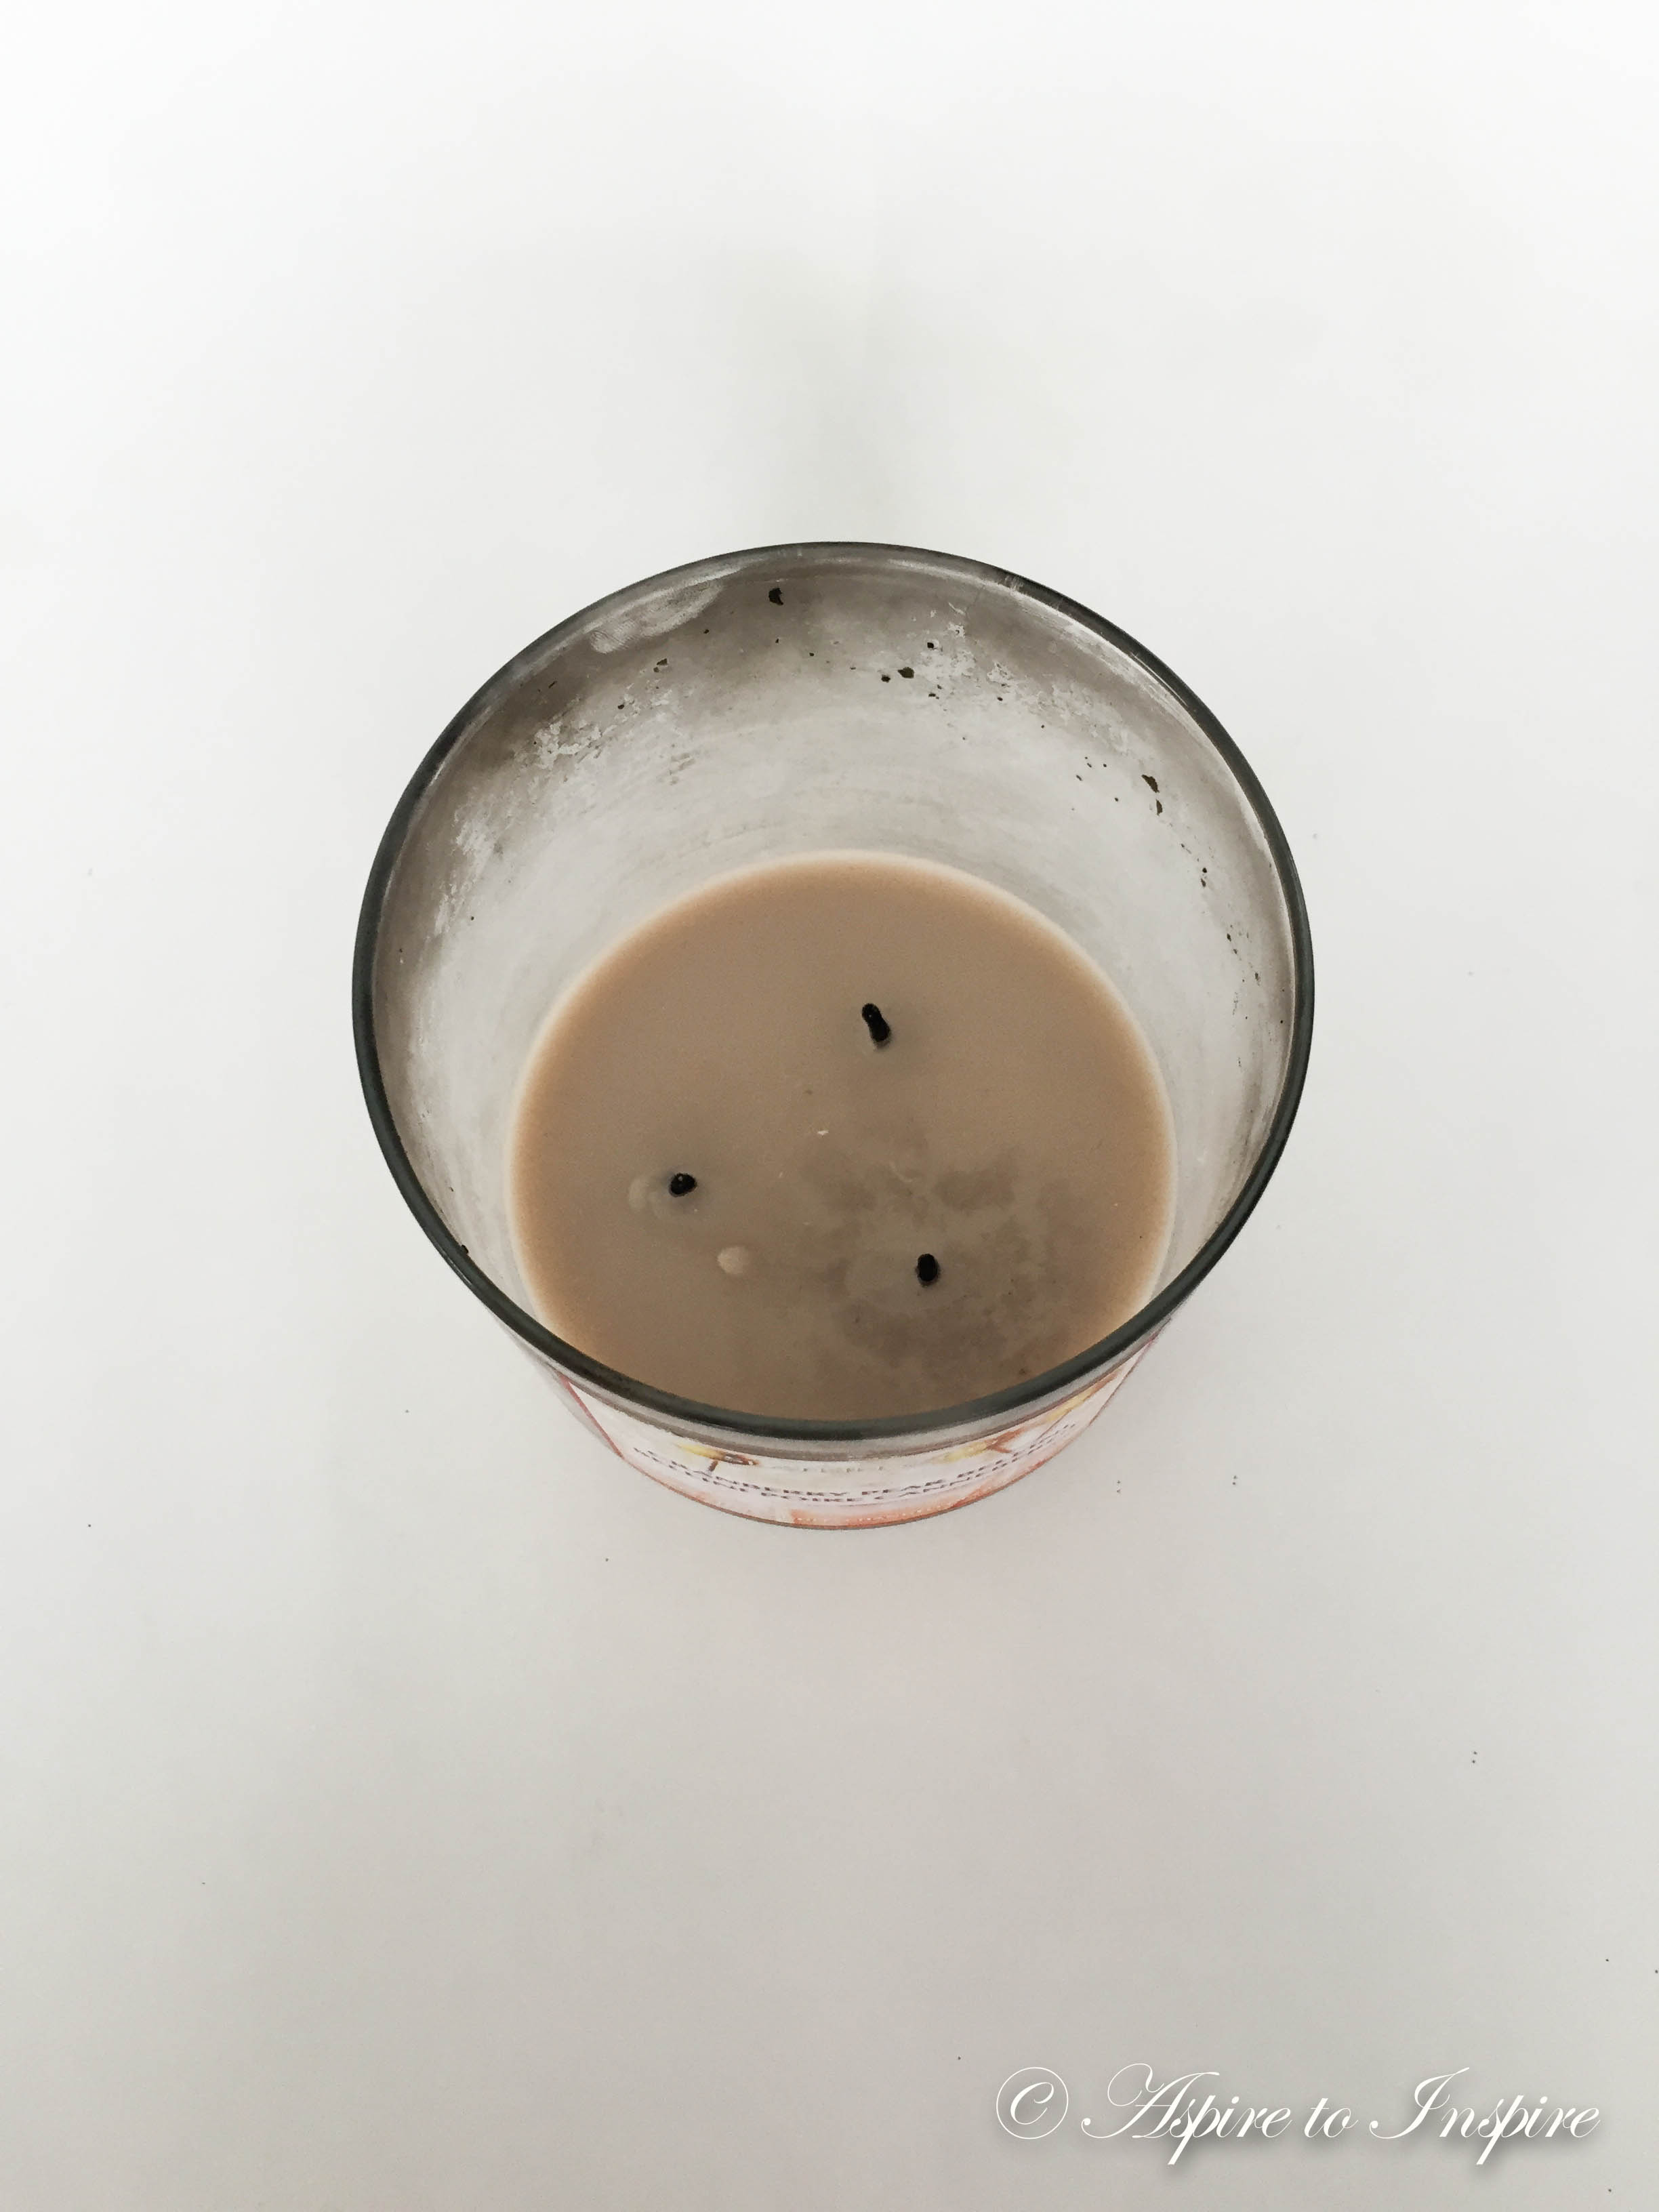
NOTE*- BEFORE YOU START THIS PROCESS, I WOULD RECOMMEND TO EITHER PUT YOUR CANDLE IN THE FREEZER OVER NIGHT OR AT LEAST FOR A COUPLE HOURS BEFORE CLEANING OUT- IT WILL MAKE THIS STEP MUCH EASIER!
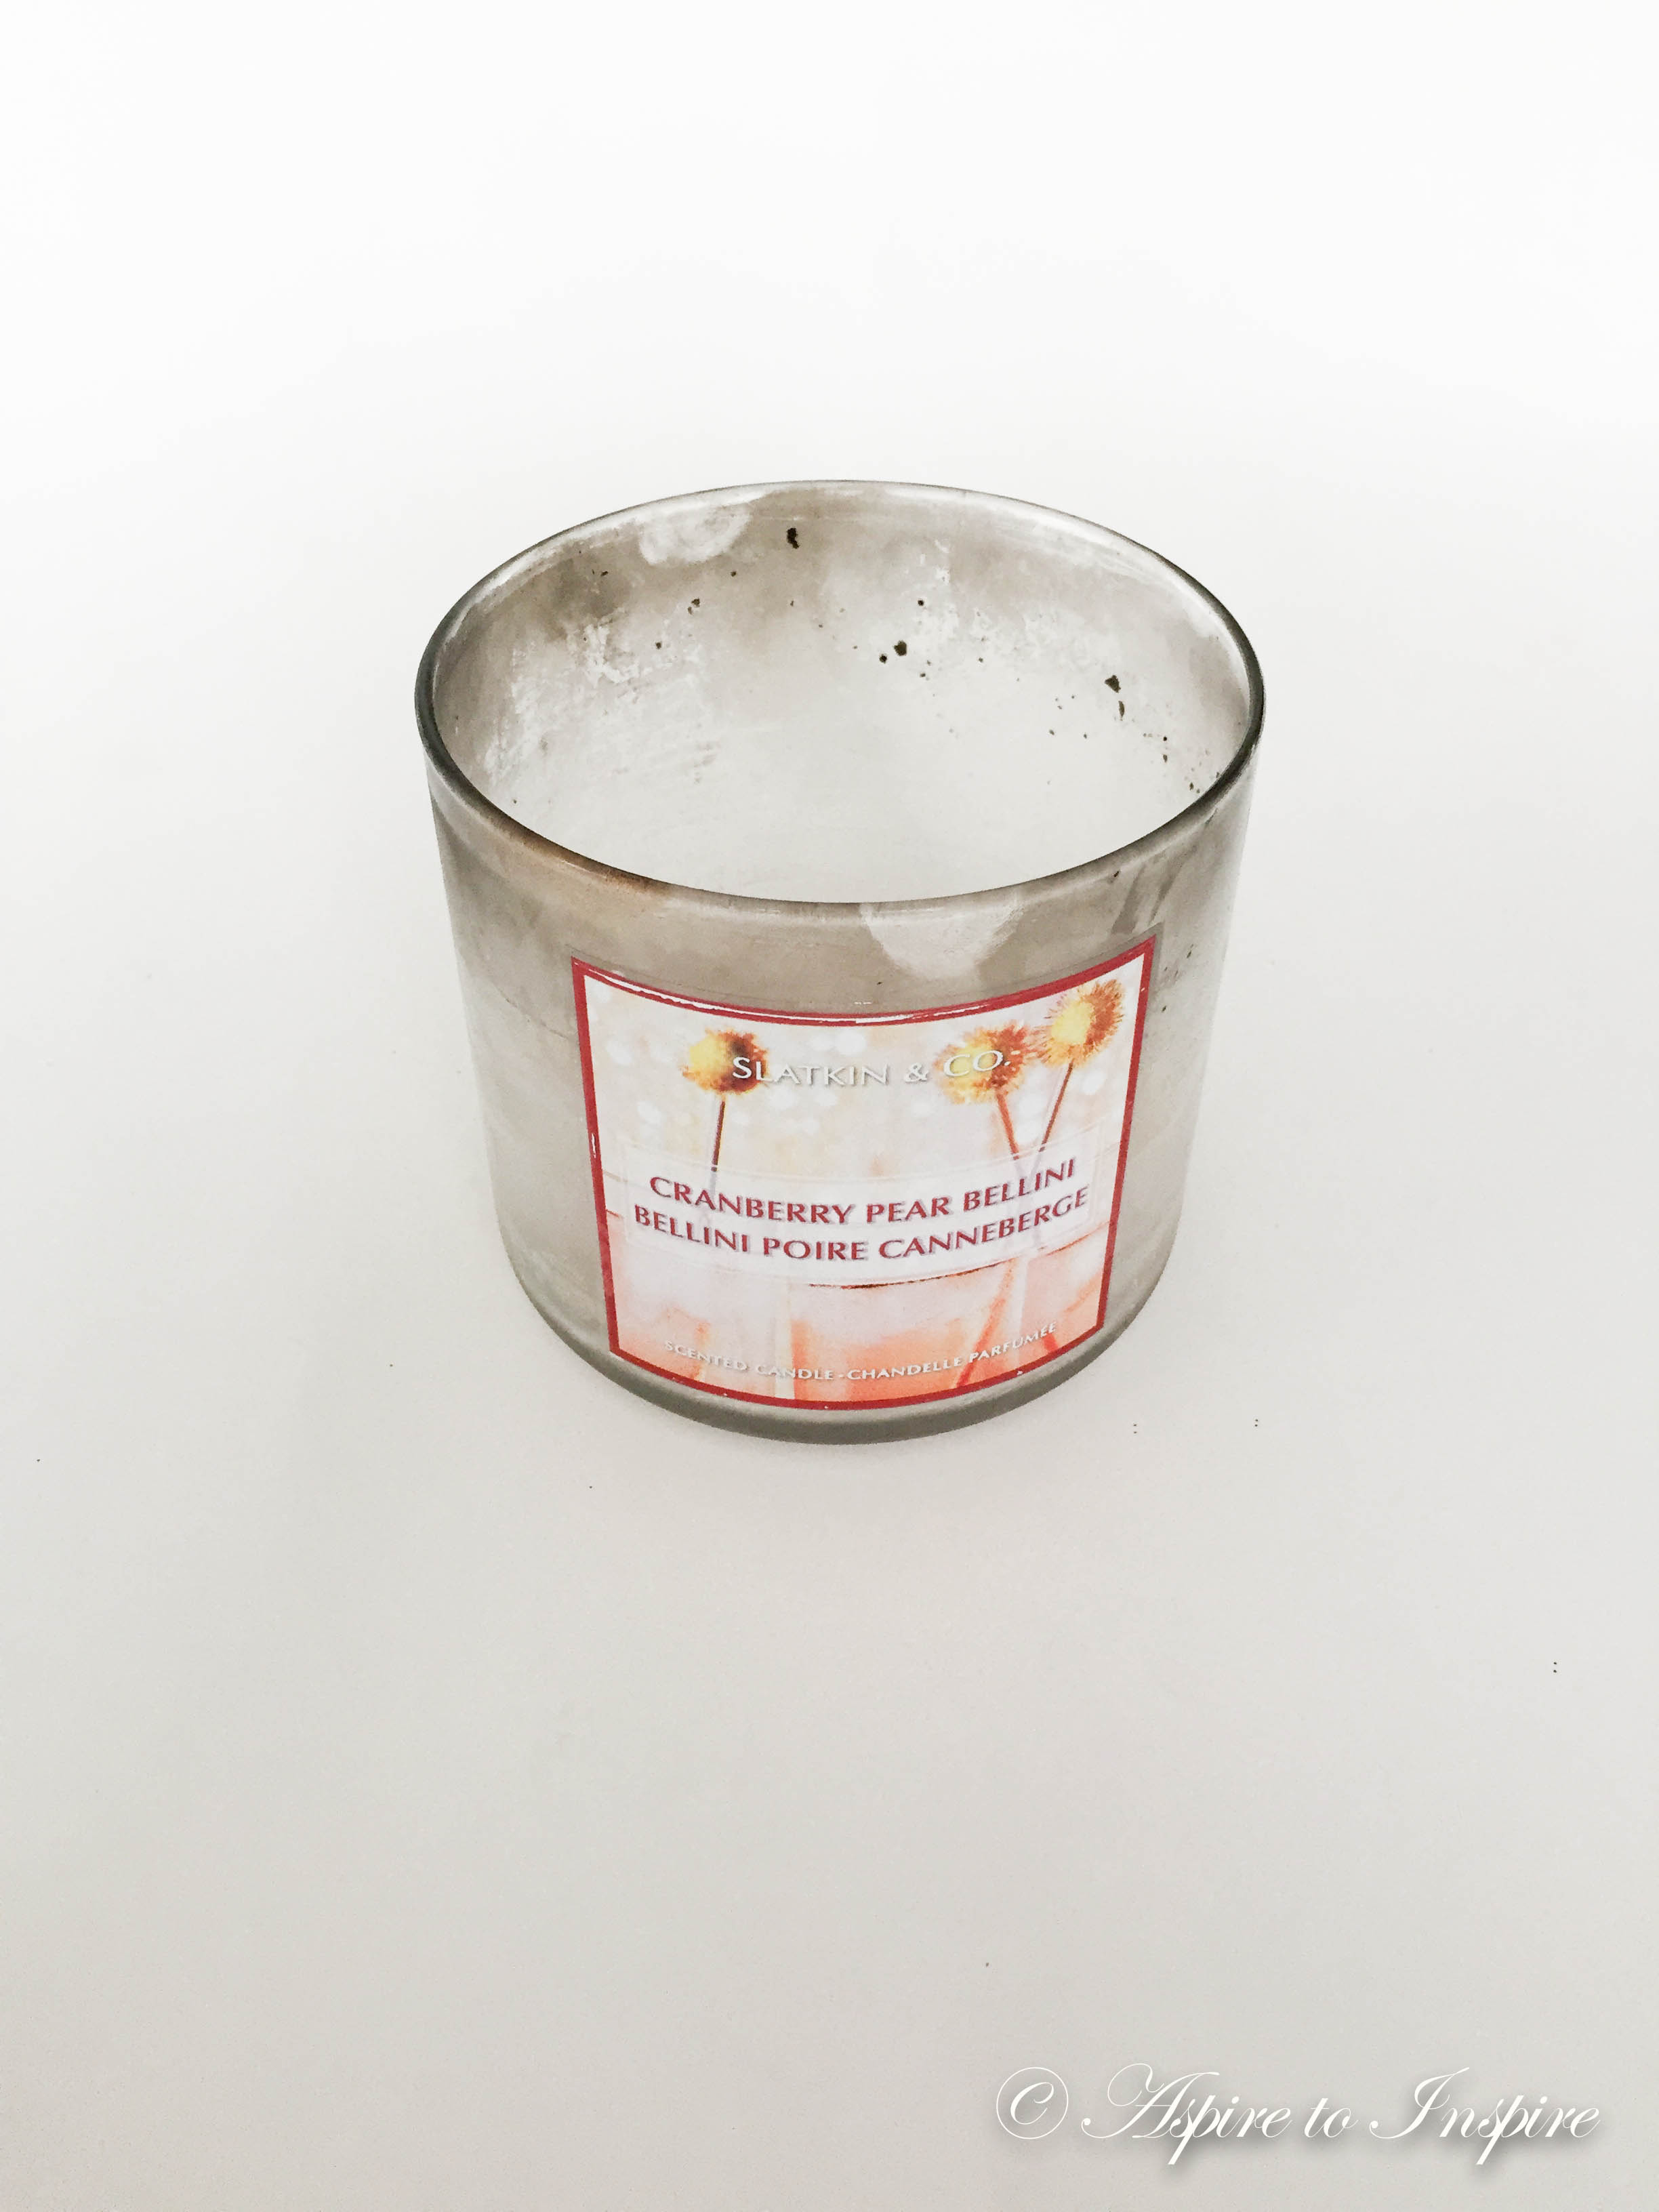
So this is how your frozen beat up candle should look like! haha! P.s if you’re looking for an amazing scent def try out: “Cranberry Pear Bellini” .
Step 1: First you want to take your butter knife and stick it right in the middle off the candle! It should crack the wax in a few pieces then take the pieces out.

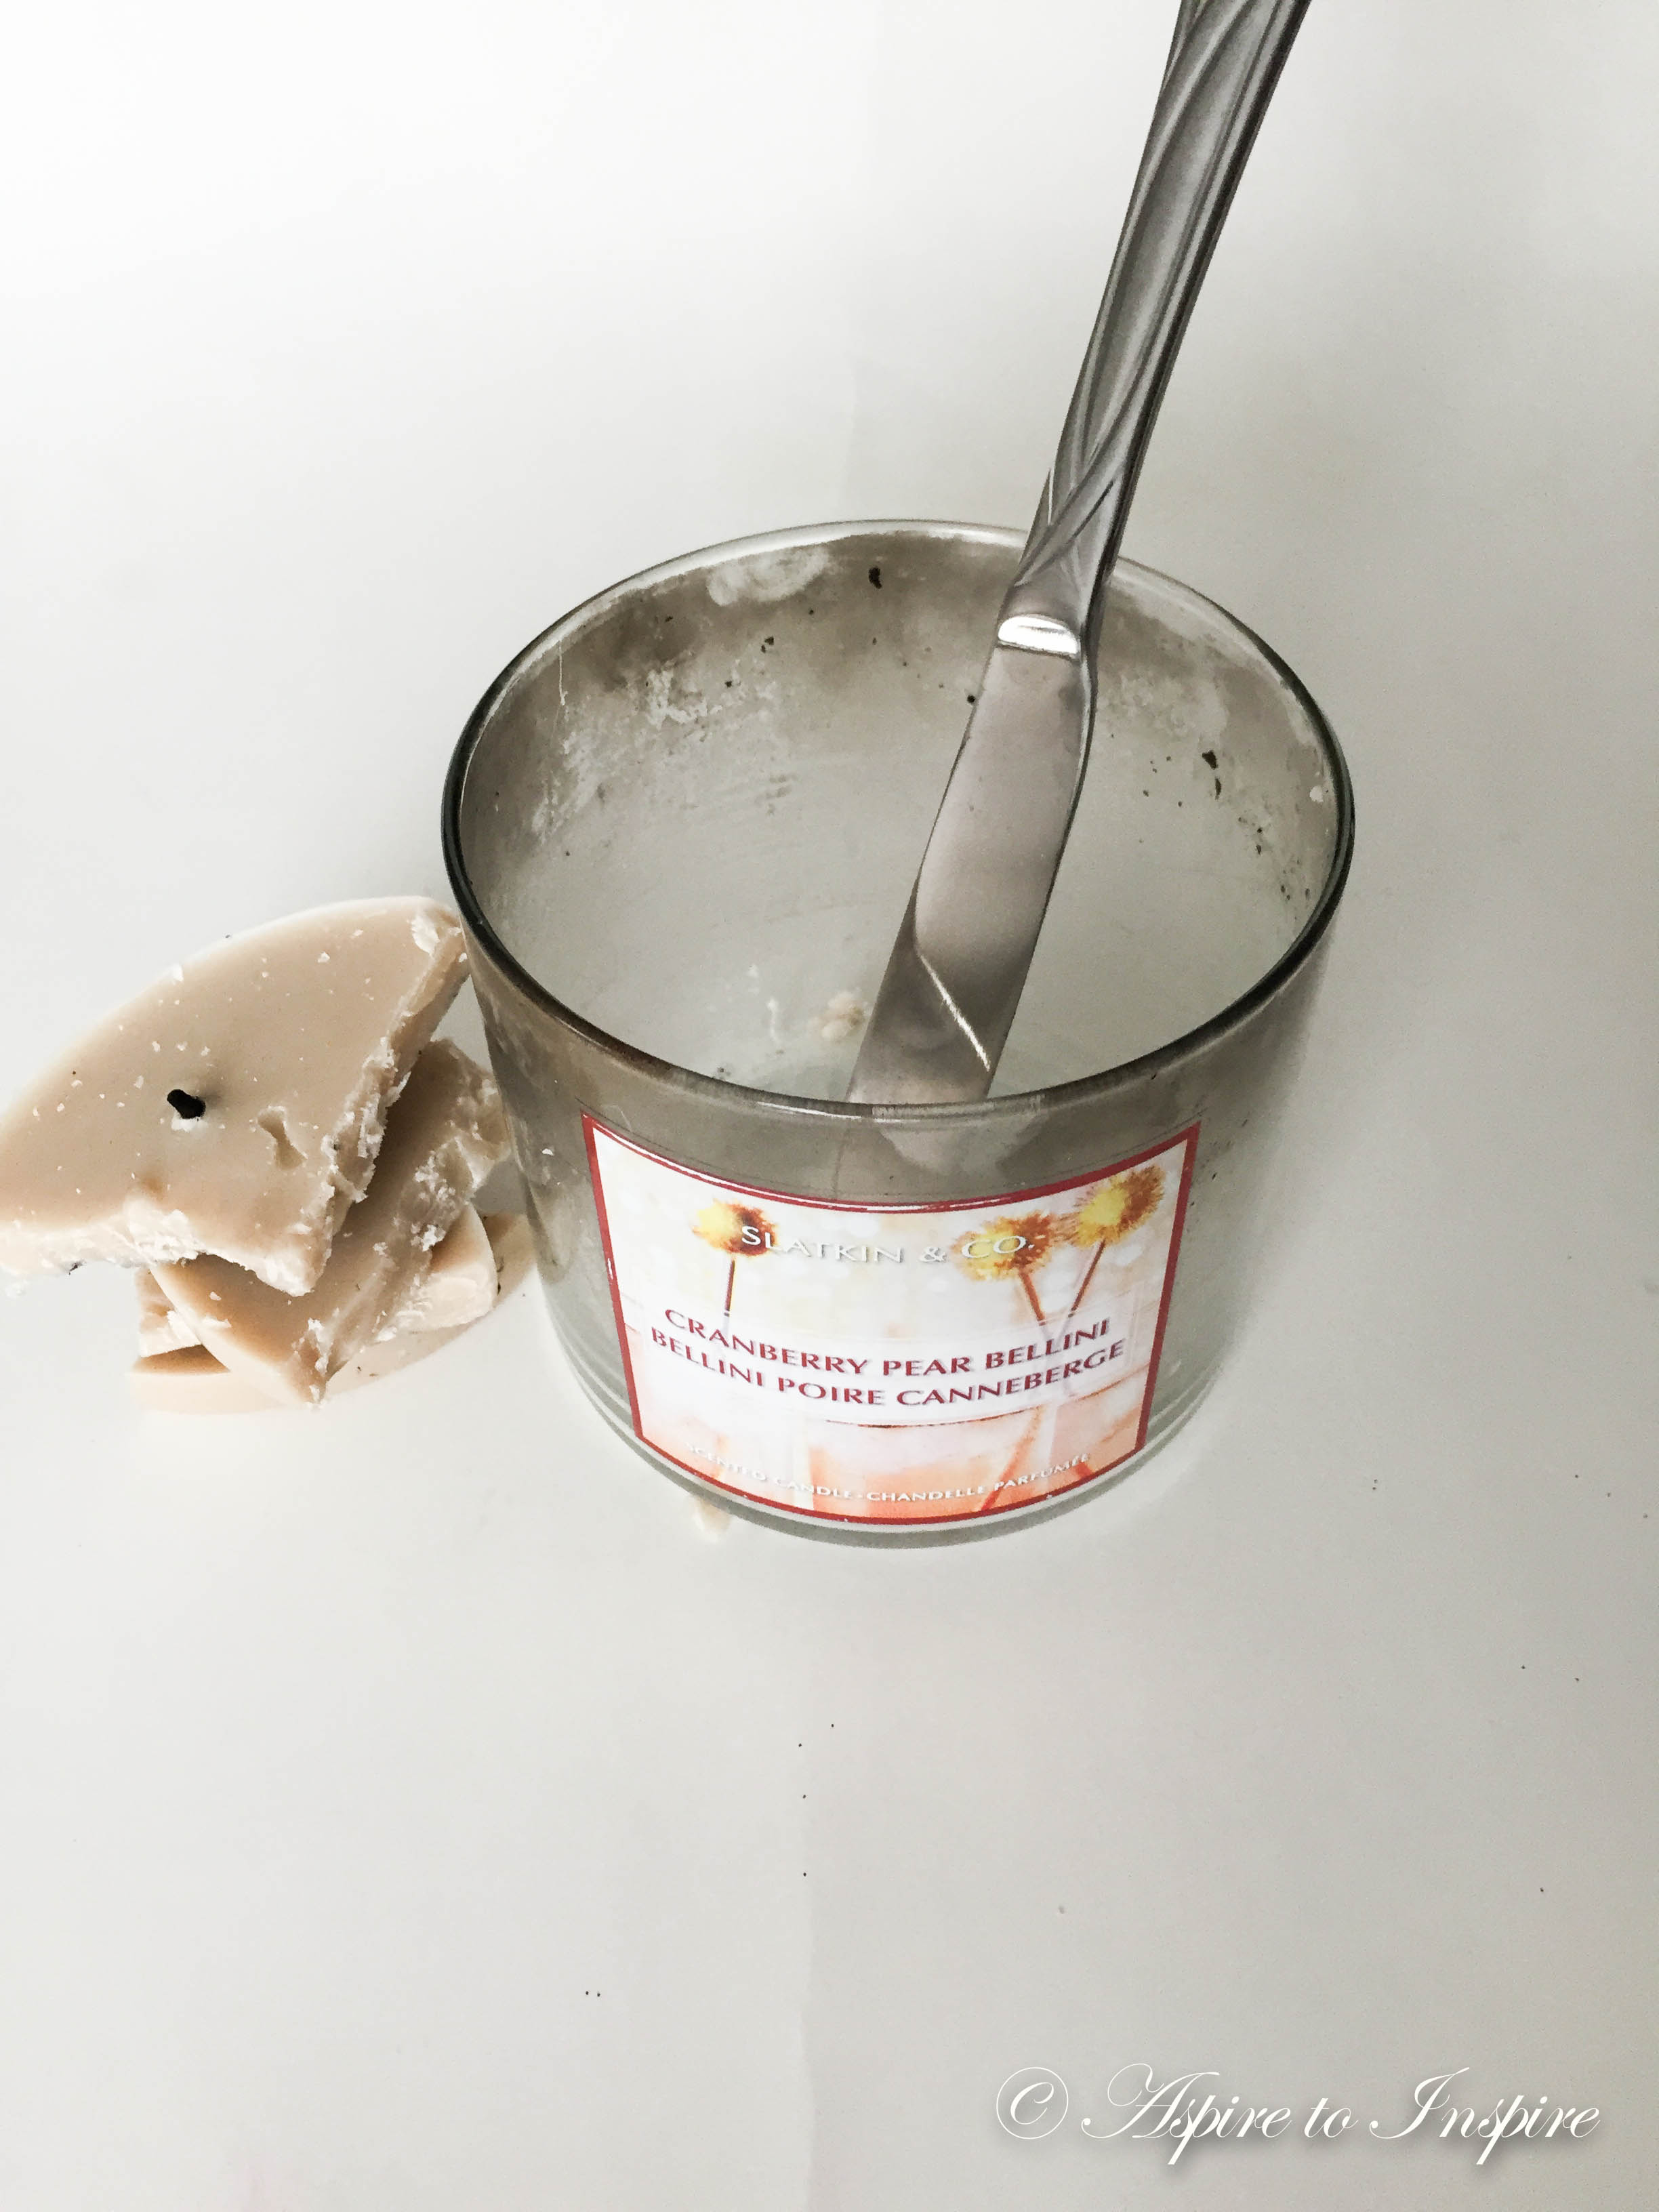
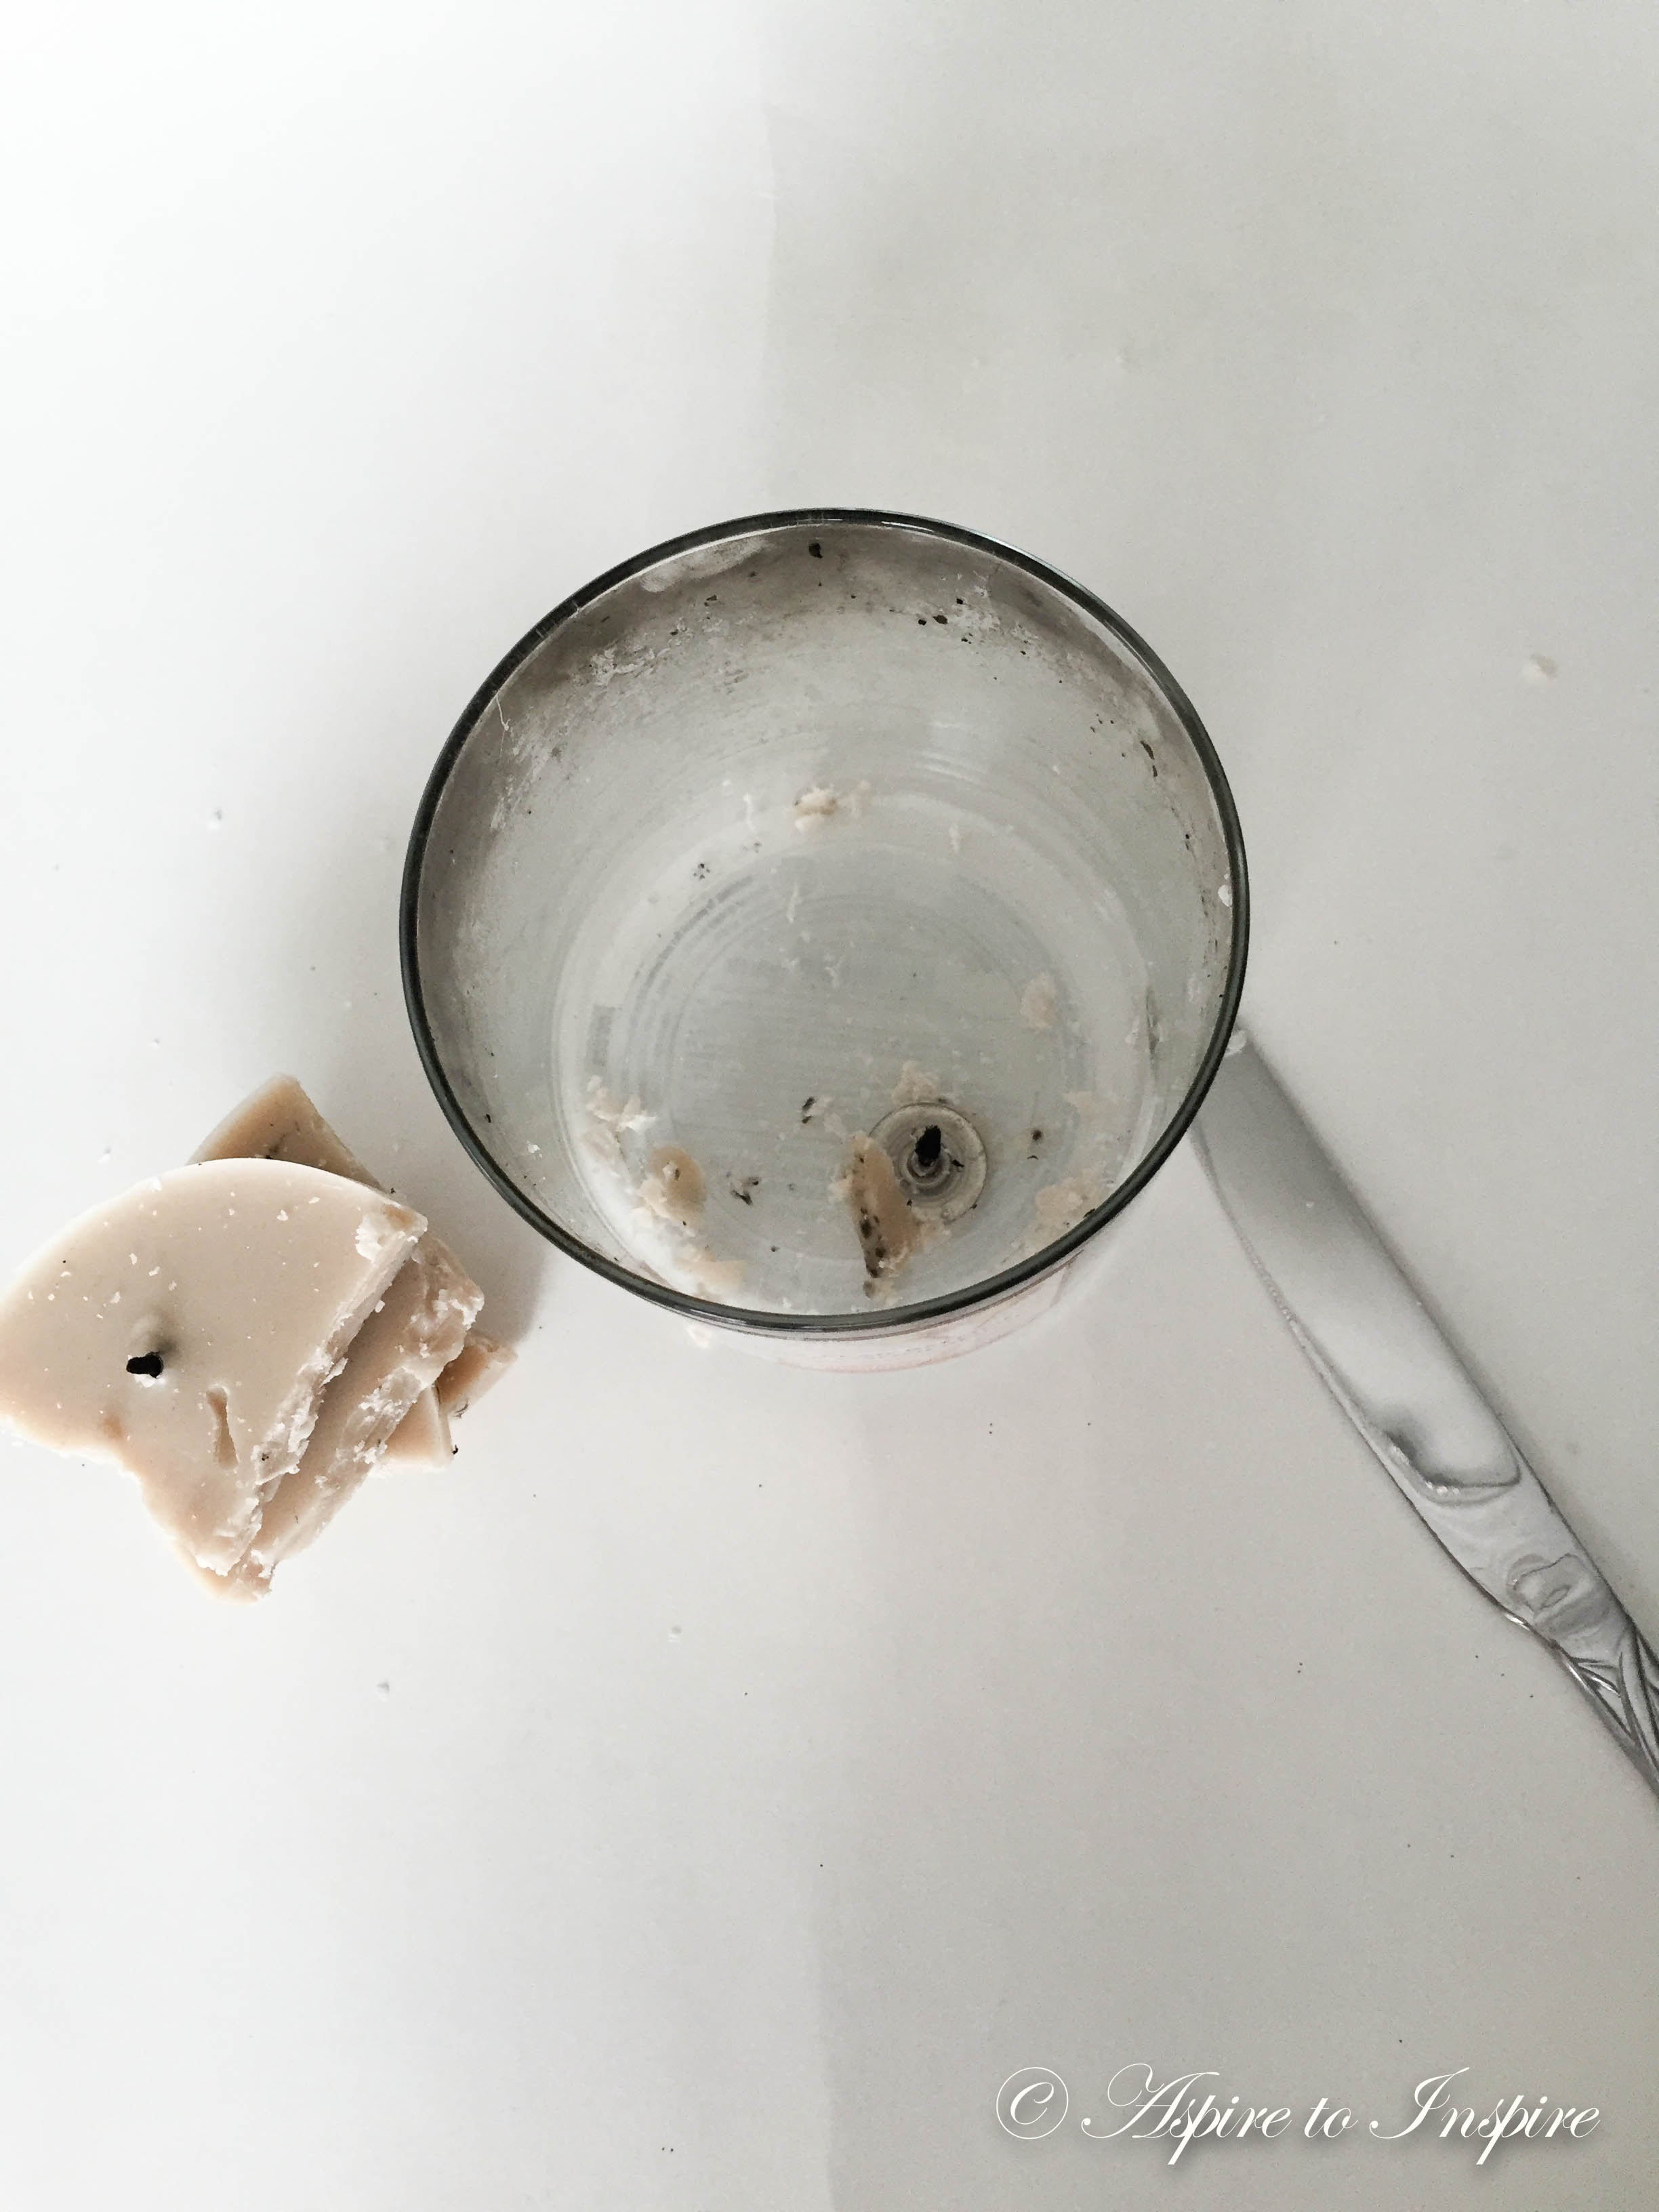
Step 2: The next step I didn’t actually show in pictures, however, it’s fairly easy. Now that you have the wax out, you need to remove the candle wicks. As you can see in my picture, two of them came off when I removed the wax making my life easier!!- BUT the chances of that happening are slim! So I had one wick left to remove. To remove the wick, you want to boil some water [ in a kettle, as I did]. Once that’s all boiled, pour some water into the candle jar and let it sit for 1 min, grab your butter knife and scrape the wick off, it should be easy to remove.
Step 3: All that’s left, is to remove the labels- [front and bottom]. This should be pretty easy to come off. Once all that is off, take a cotton swab and alcohol to clean any other excess of glue around the jar.
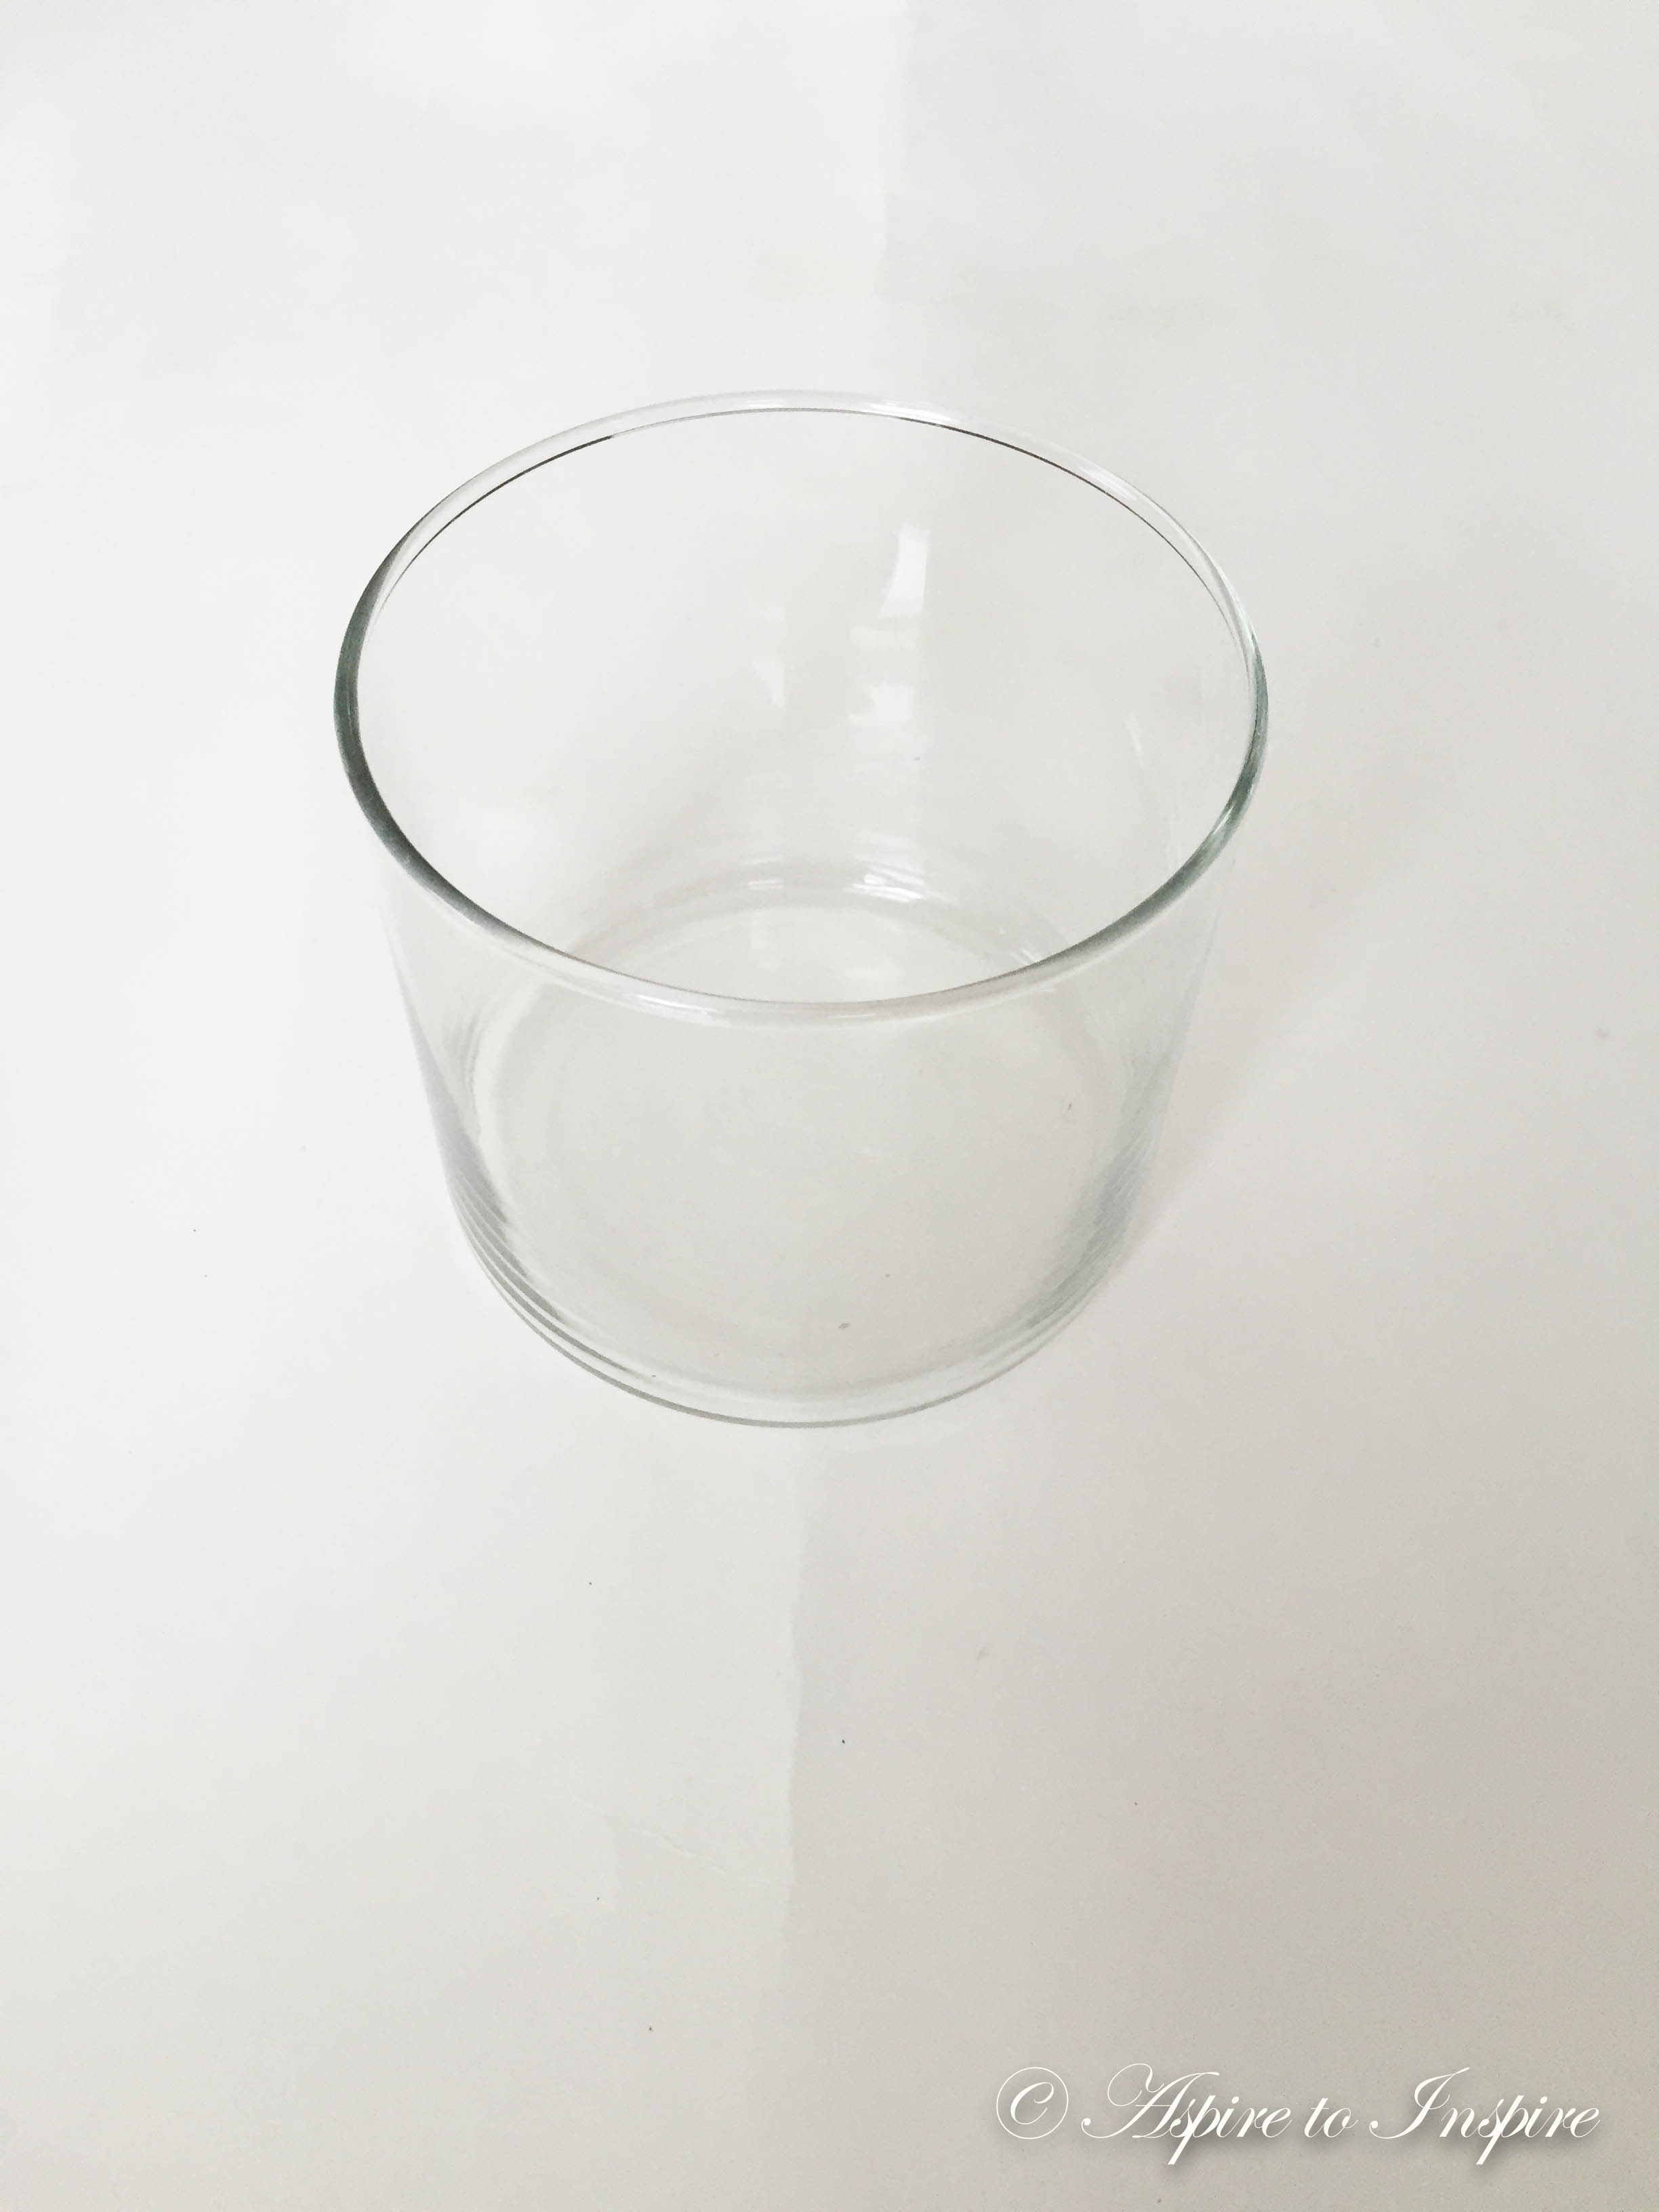
ALL DONE, now you have yourself a nice clean shiny jar.
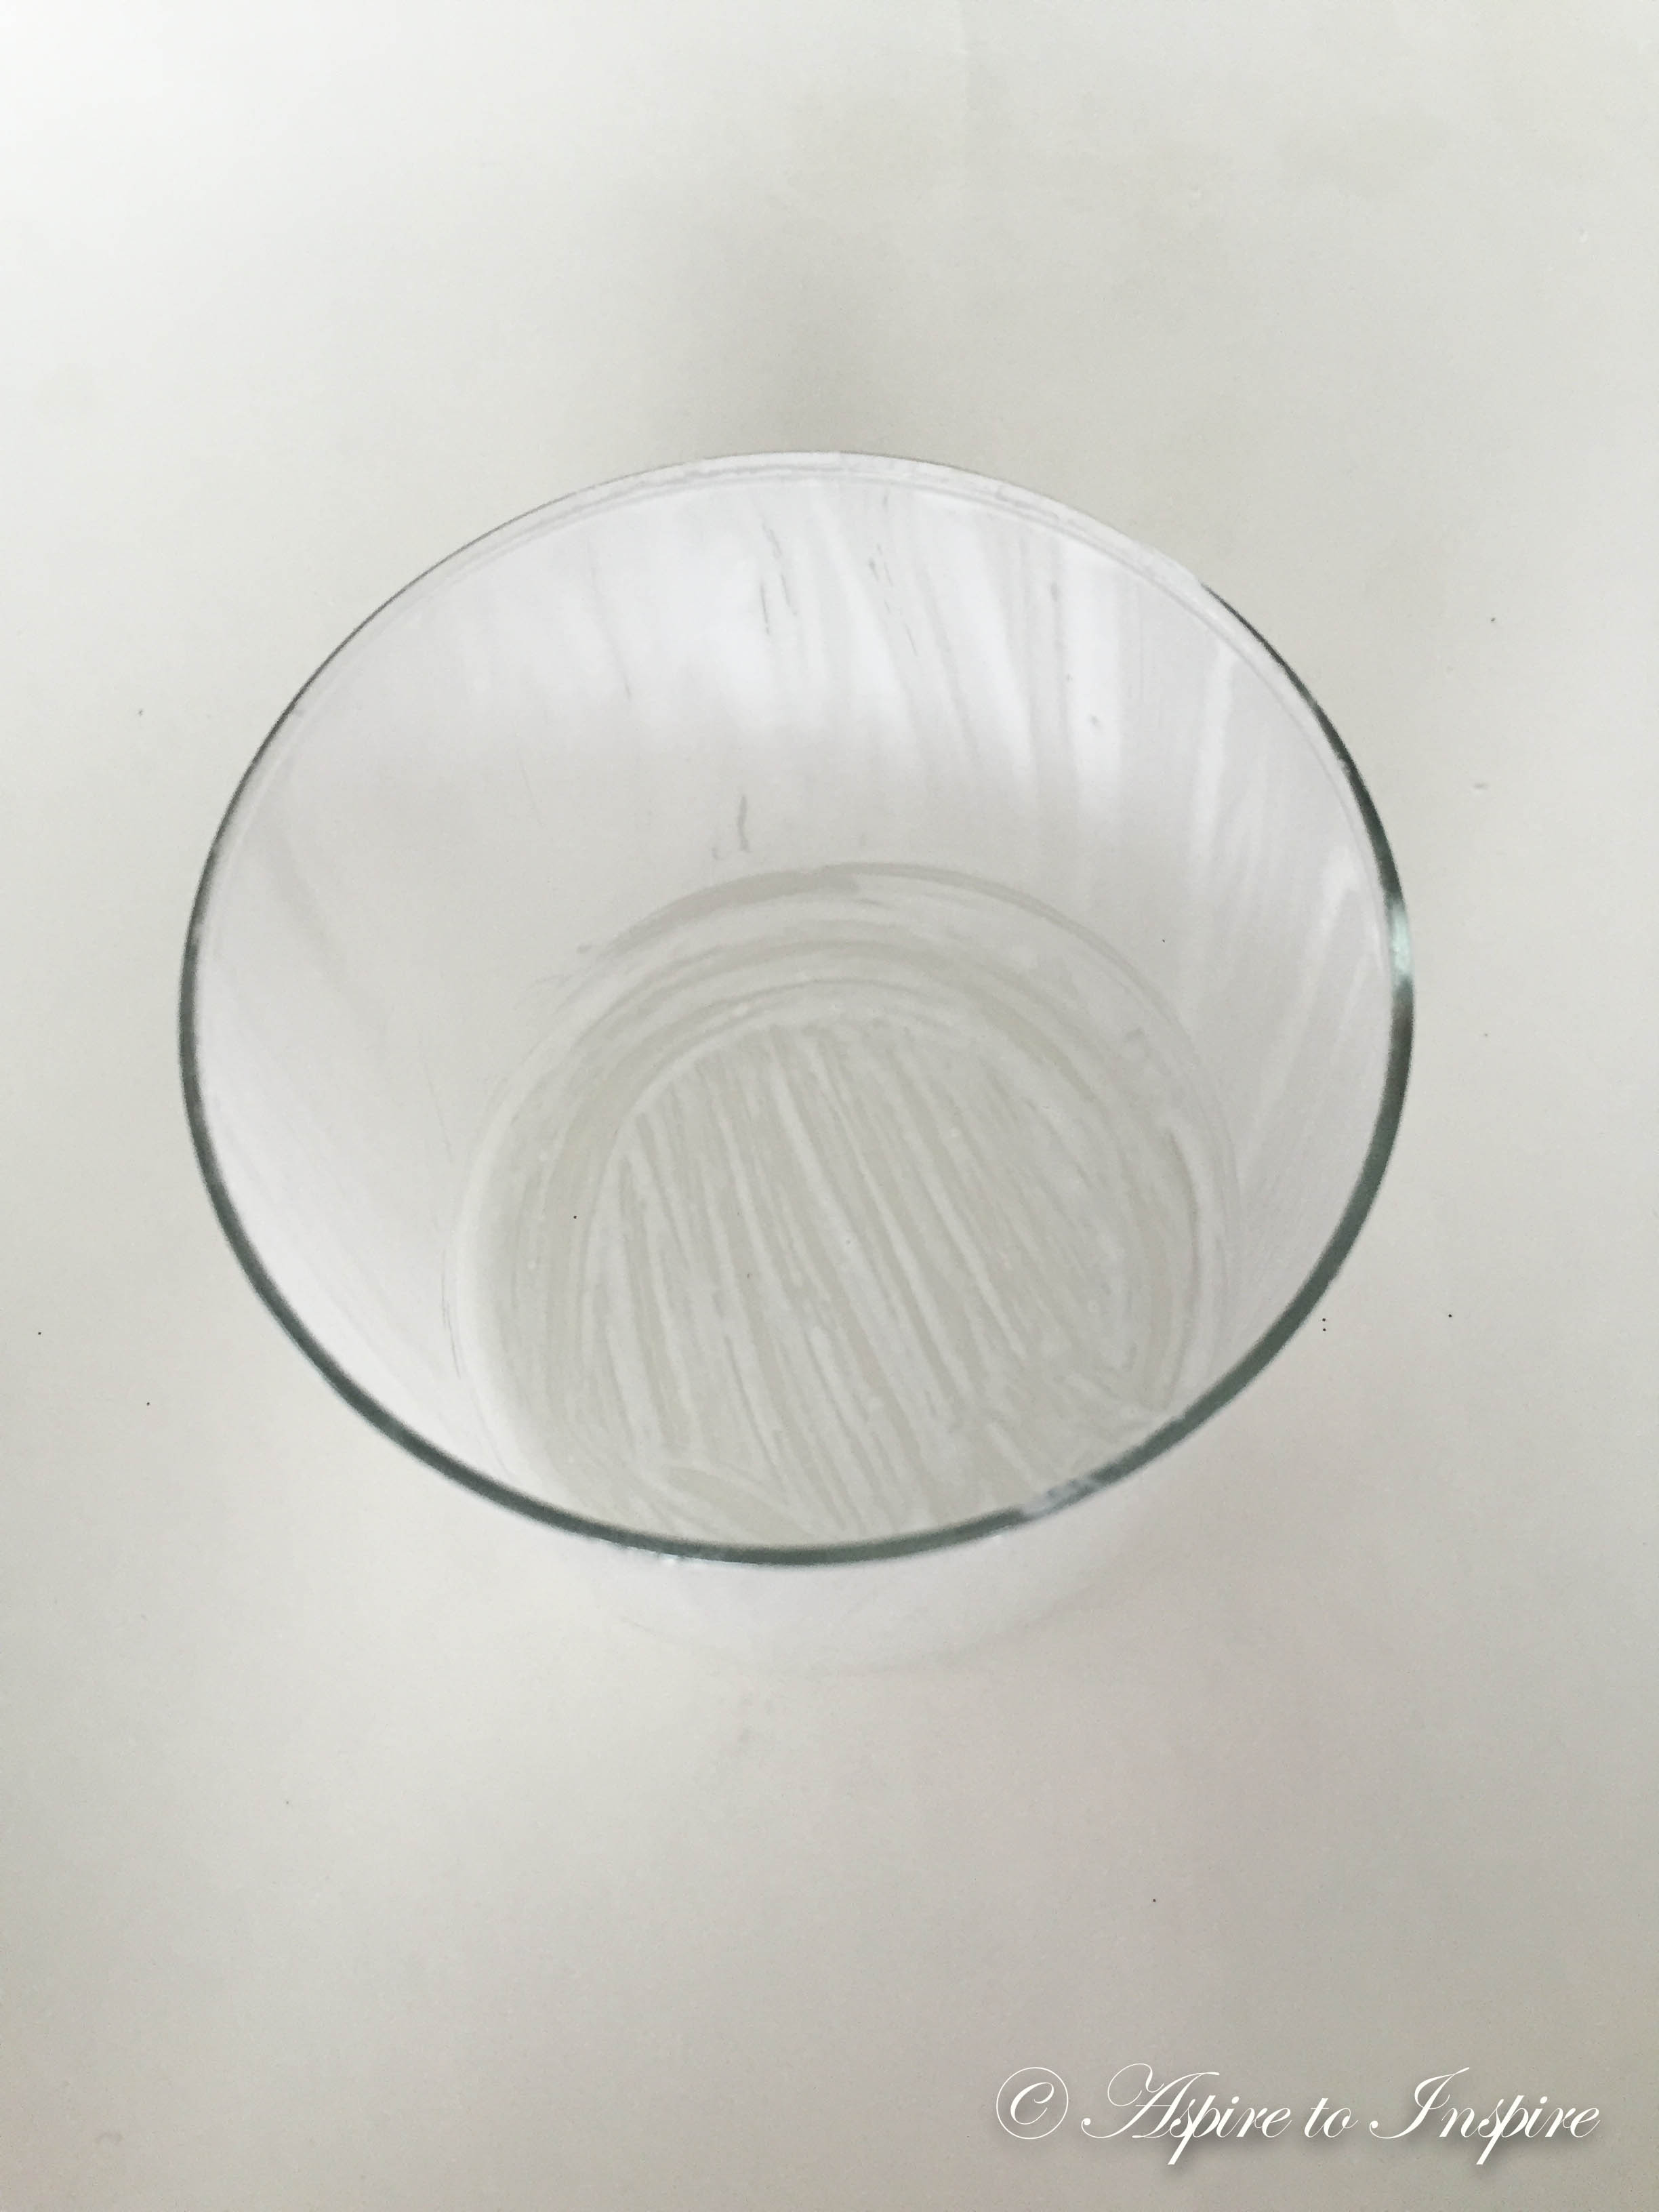
Step 4: Now the creative part begins!- With your mod podge and paint brush you will start applying a thin layer of mod podge onto the inside of the jar until its all completely covered- should look something like the photo above.
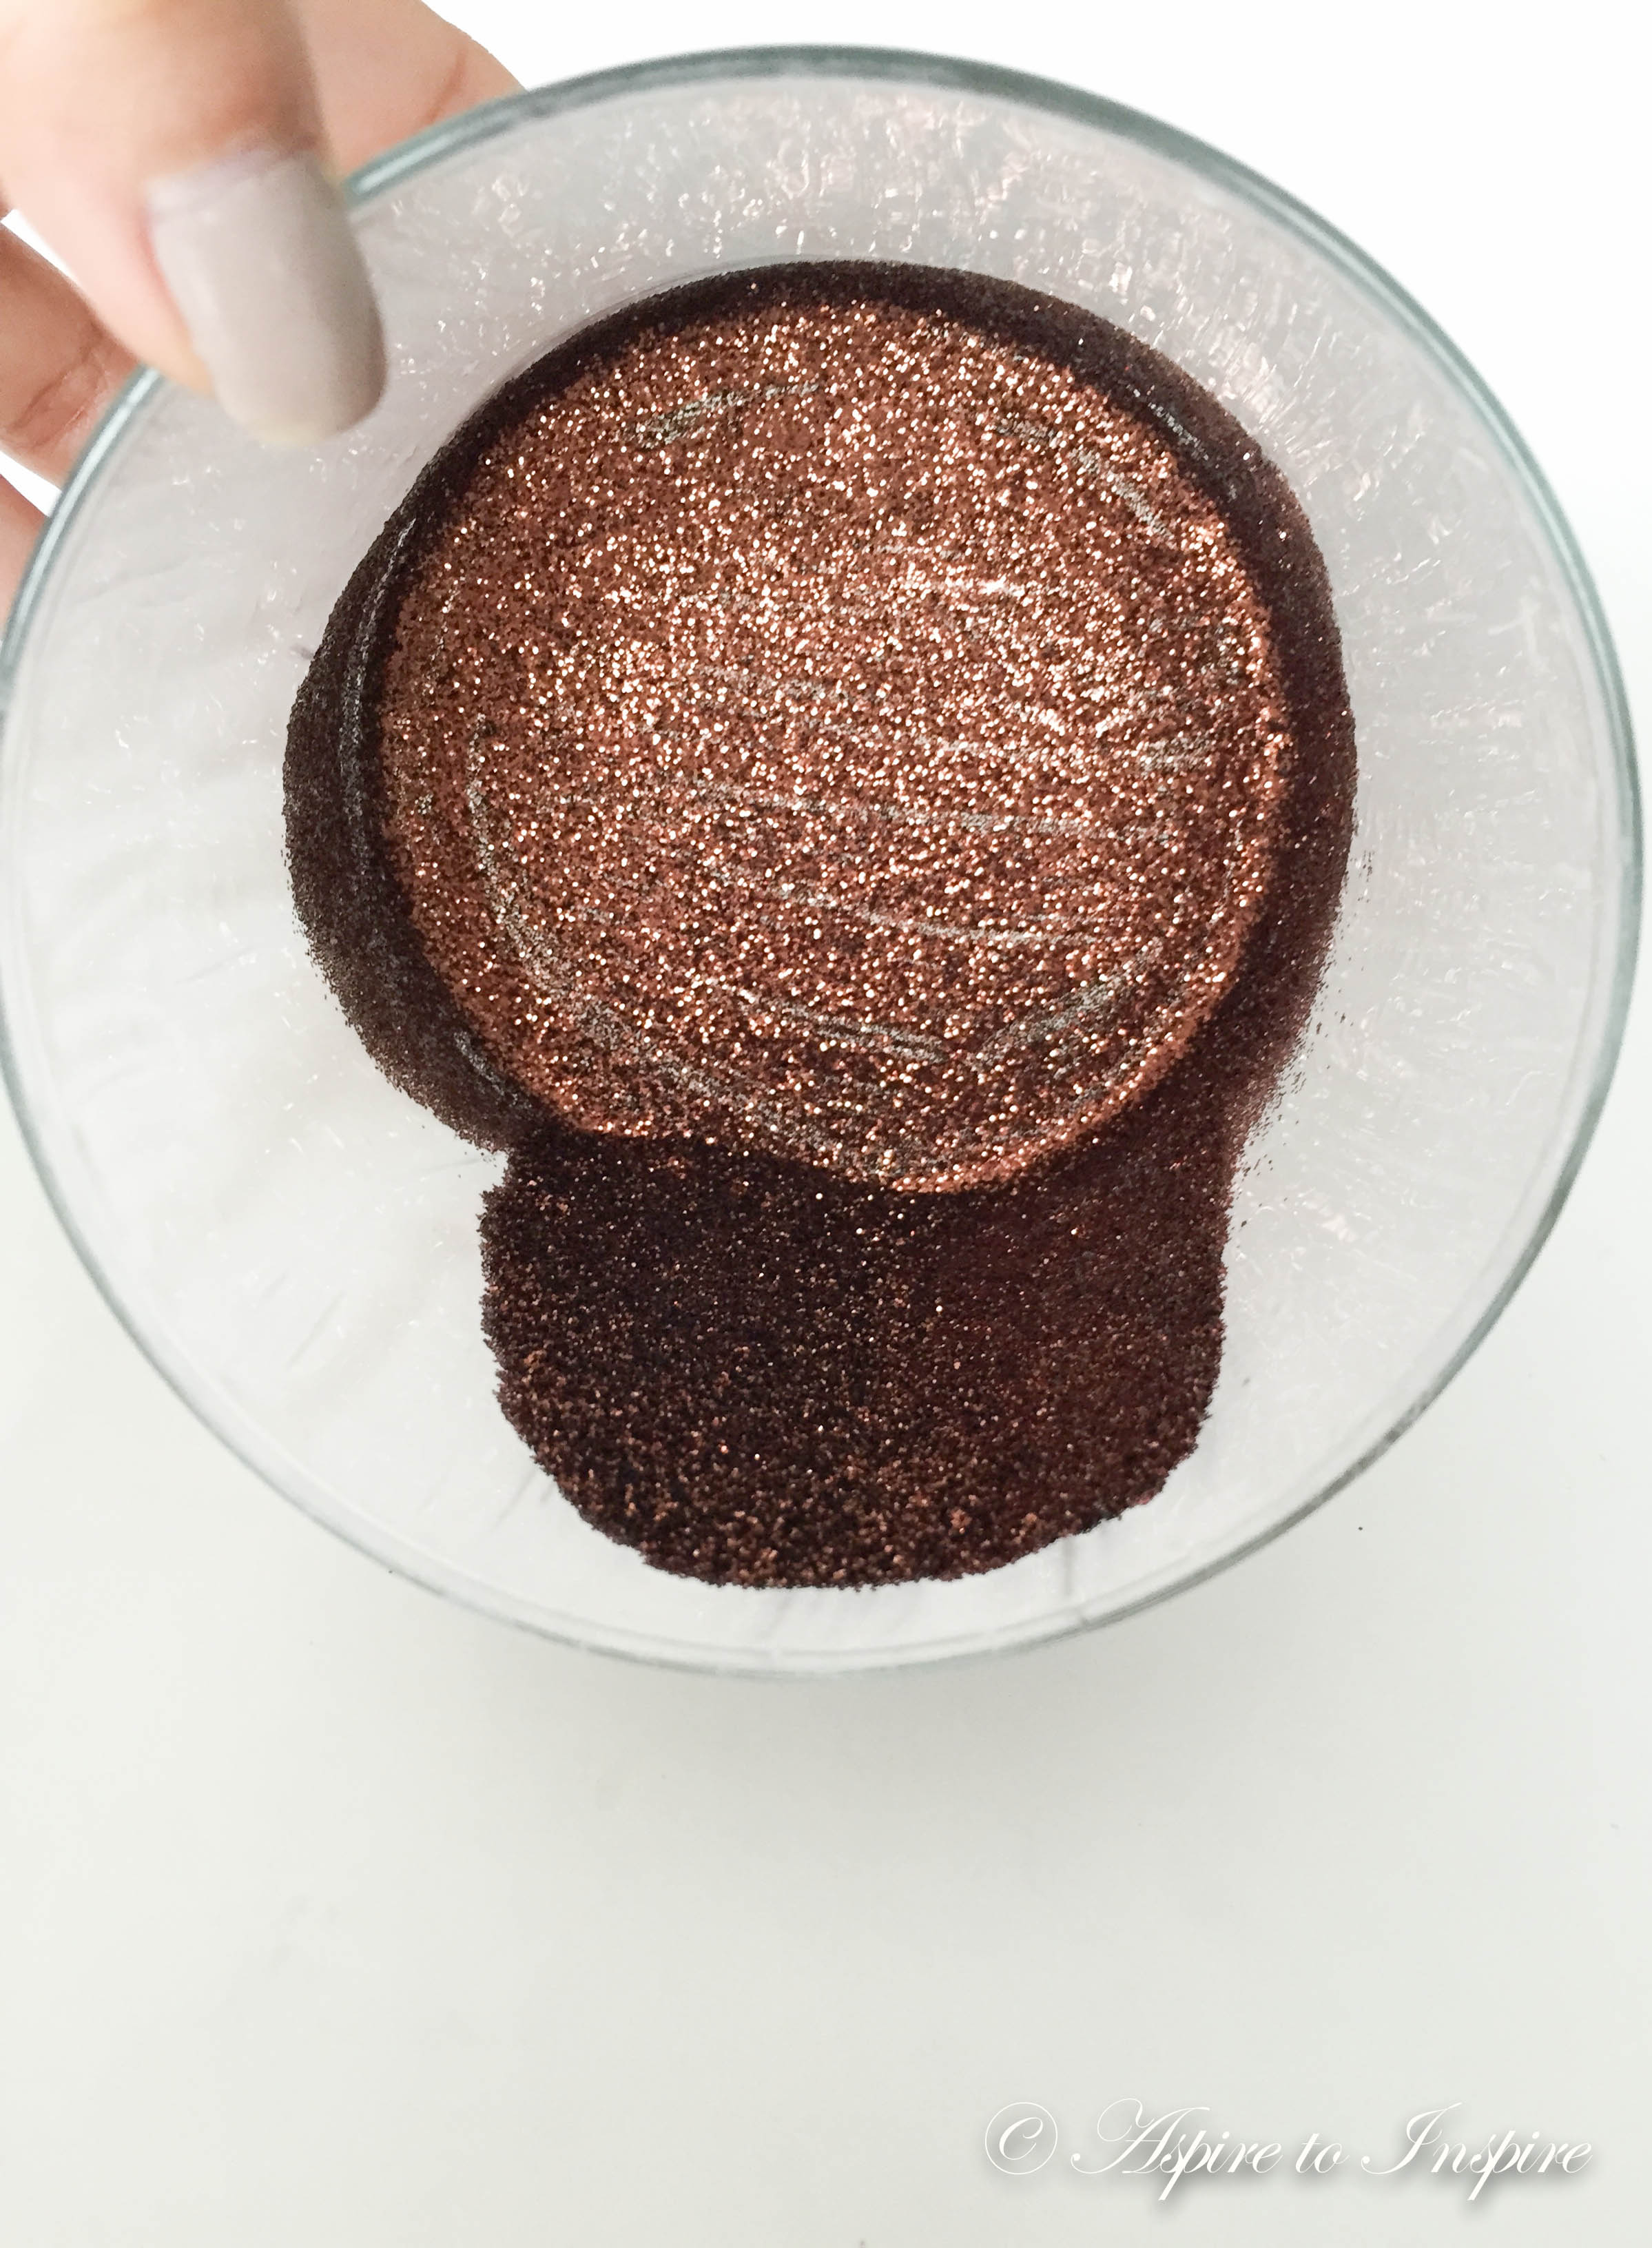
Step 5: Once you’ve applied the mod podge, you will then add the GLITTER! – Pour a significant amount of glitter into the jar and turn the jar so it spreads around on the inside, keep turning until all surfaces are covered in glitter.

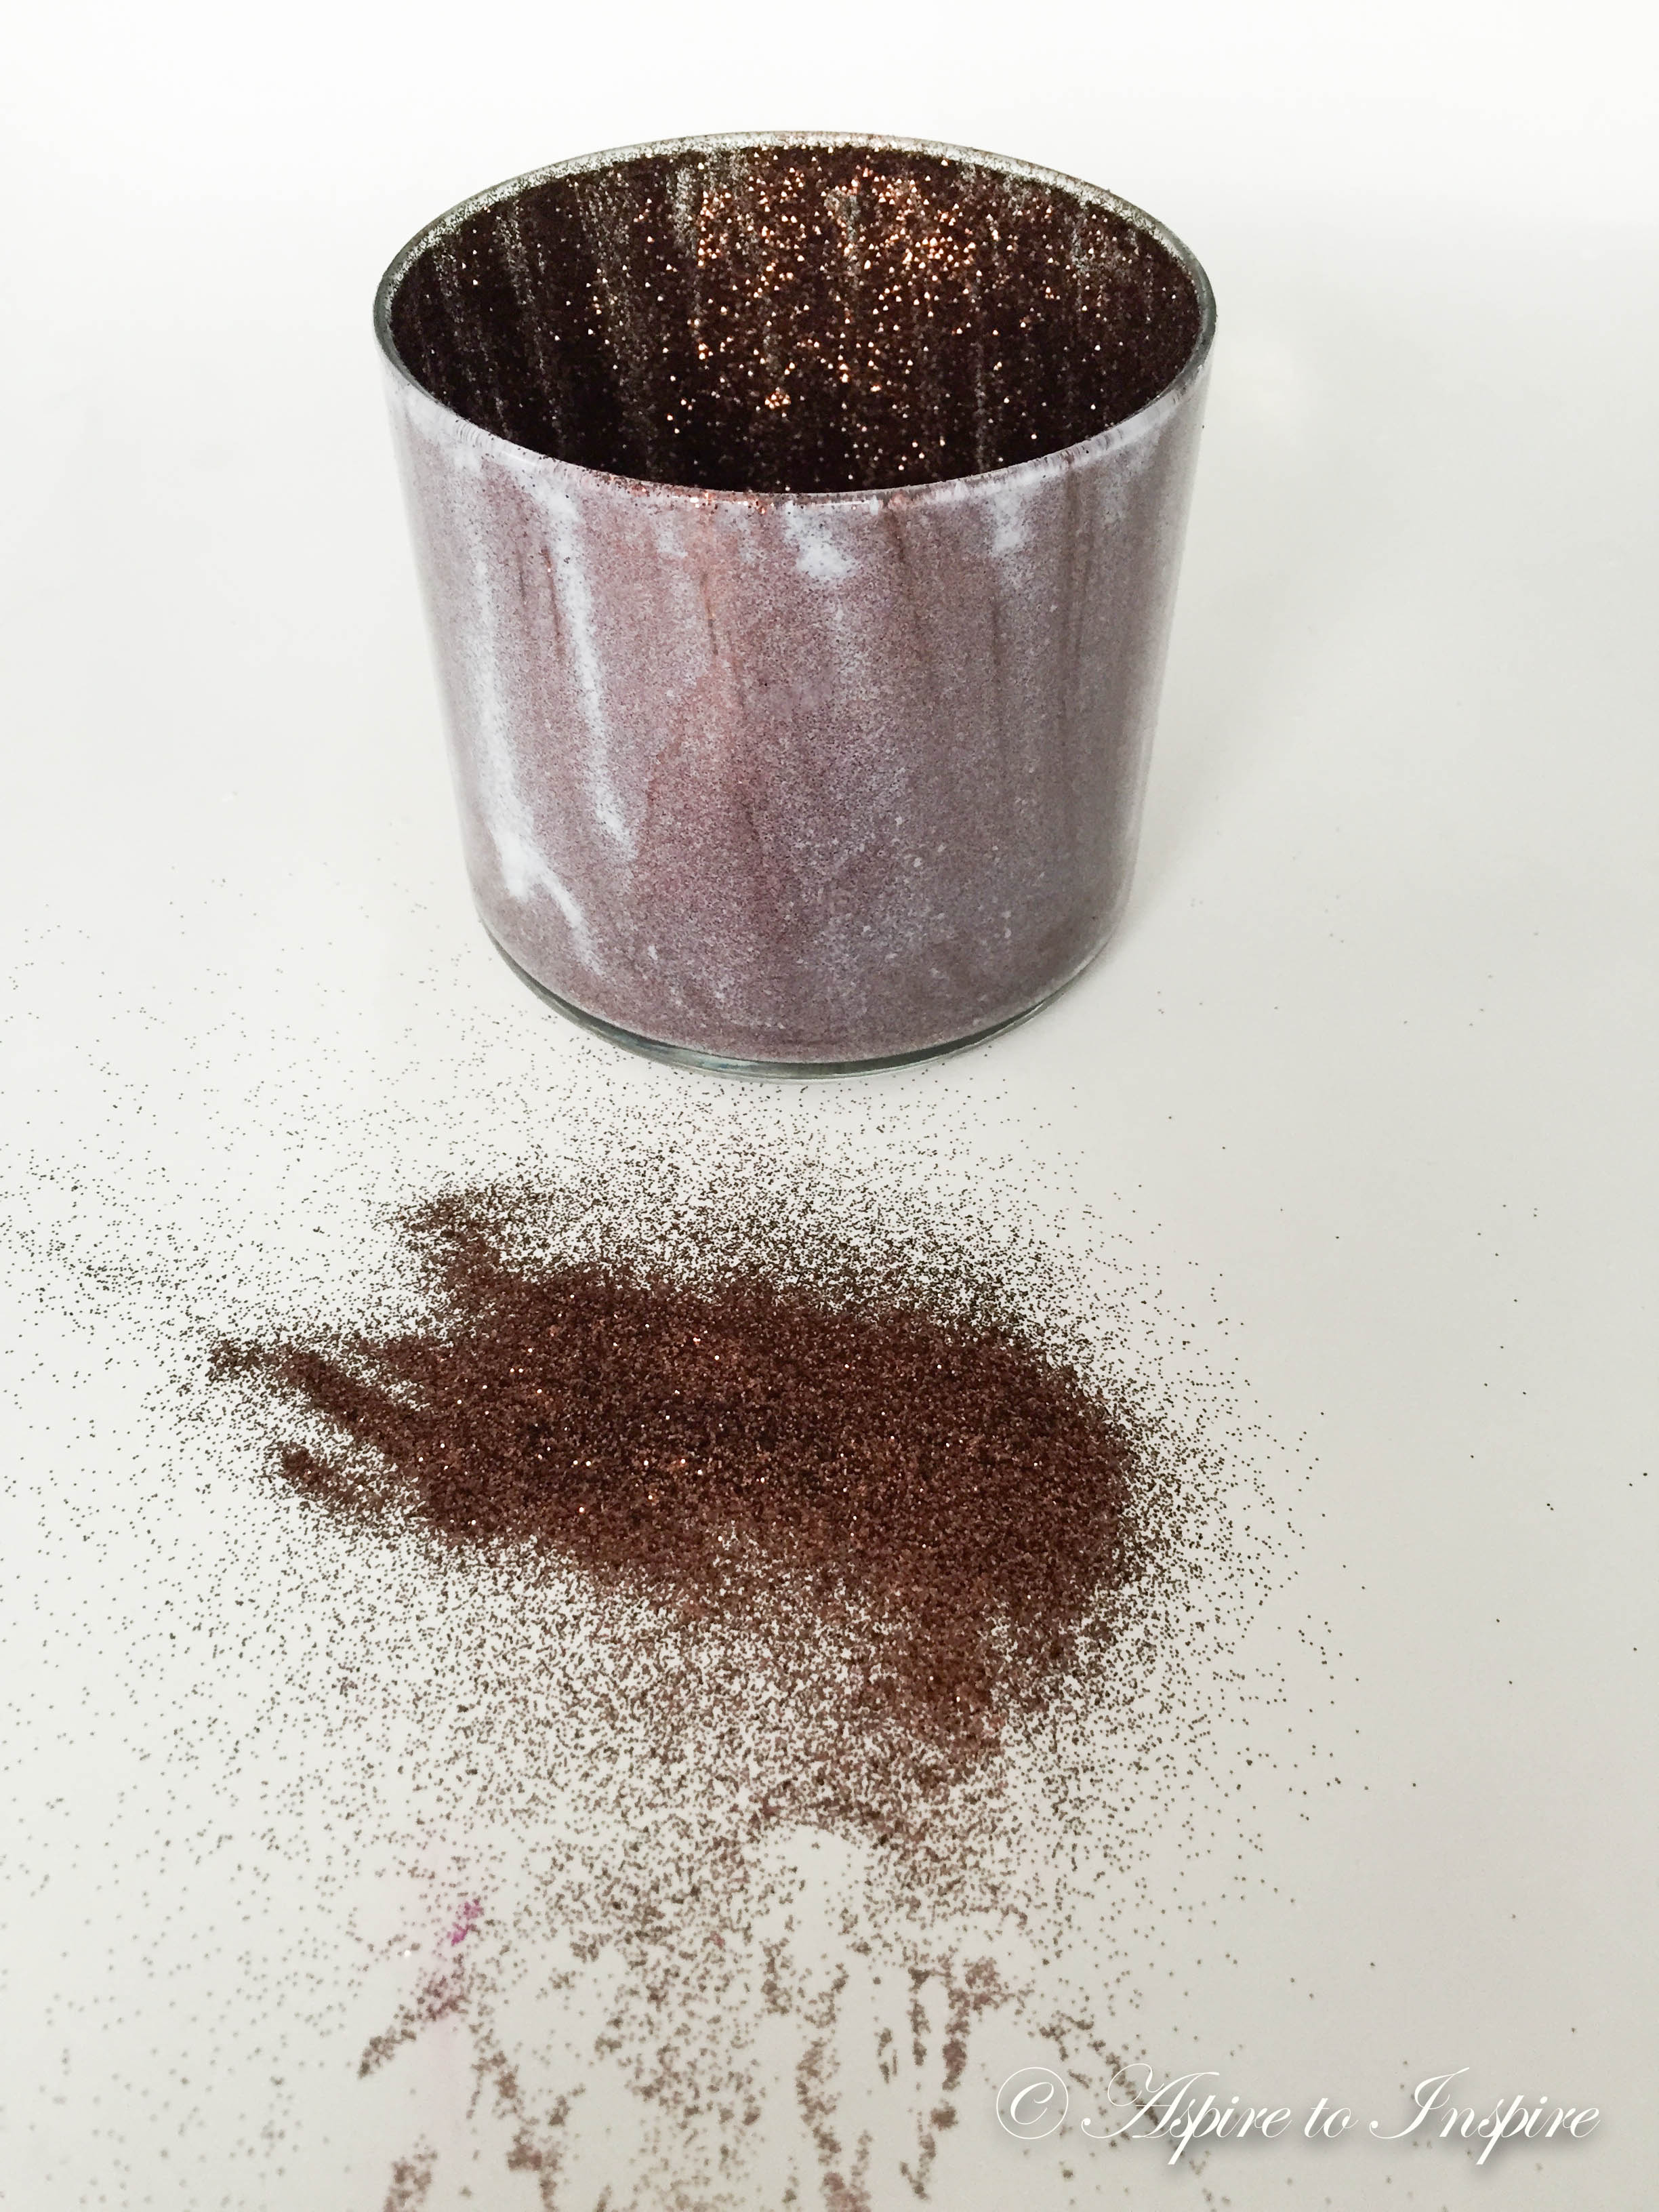
Step 6: If your jar in looking something like this then you’re in the right direction. The mod podge may look like it has harsh white marks that are visible from the outside but within a few hours that should all have disappeared- NOT TOO WORRY! : )
Which brings me to the next step, let the jar sit for a few hours. If you’d like to play it safe, over night would be best!
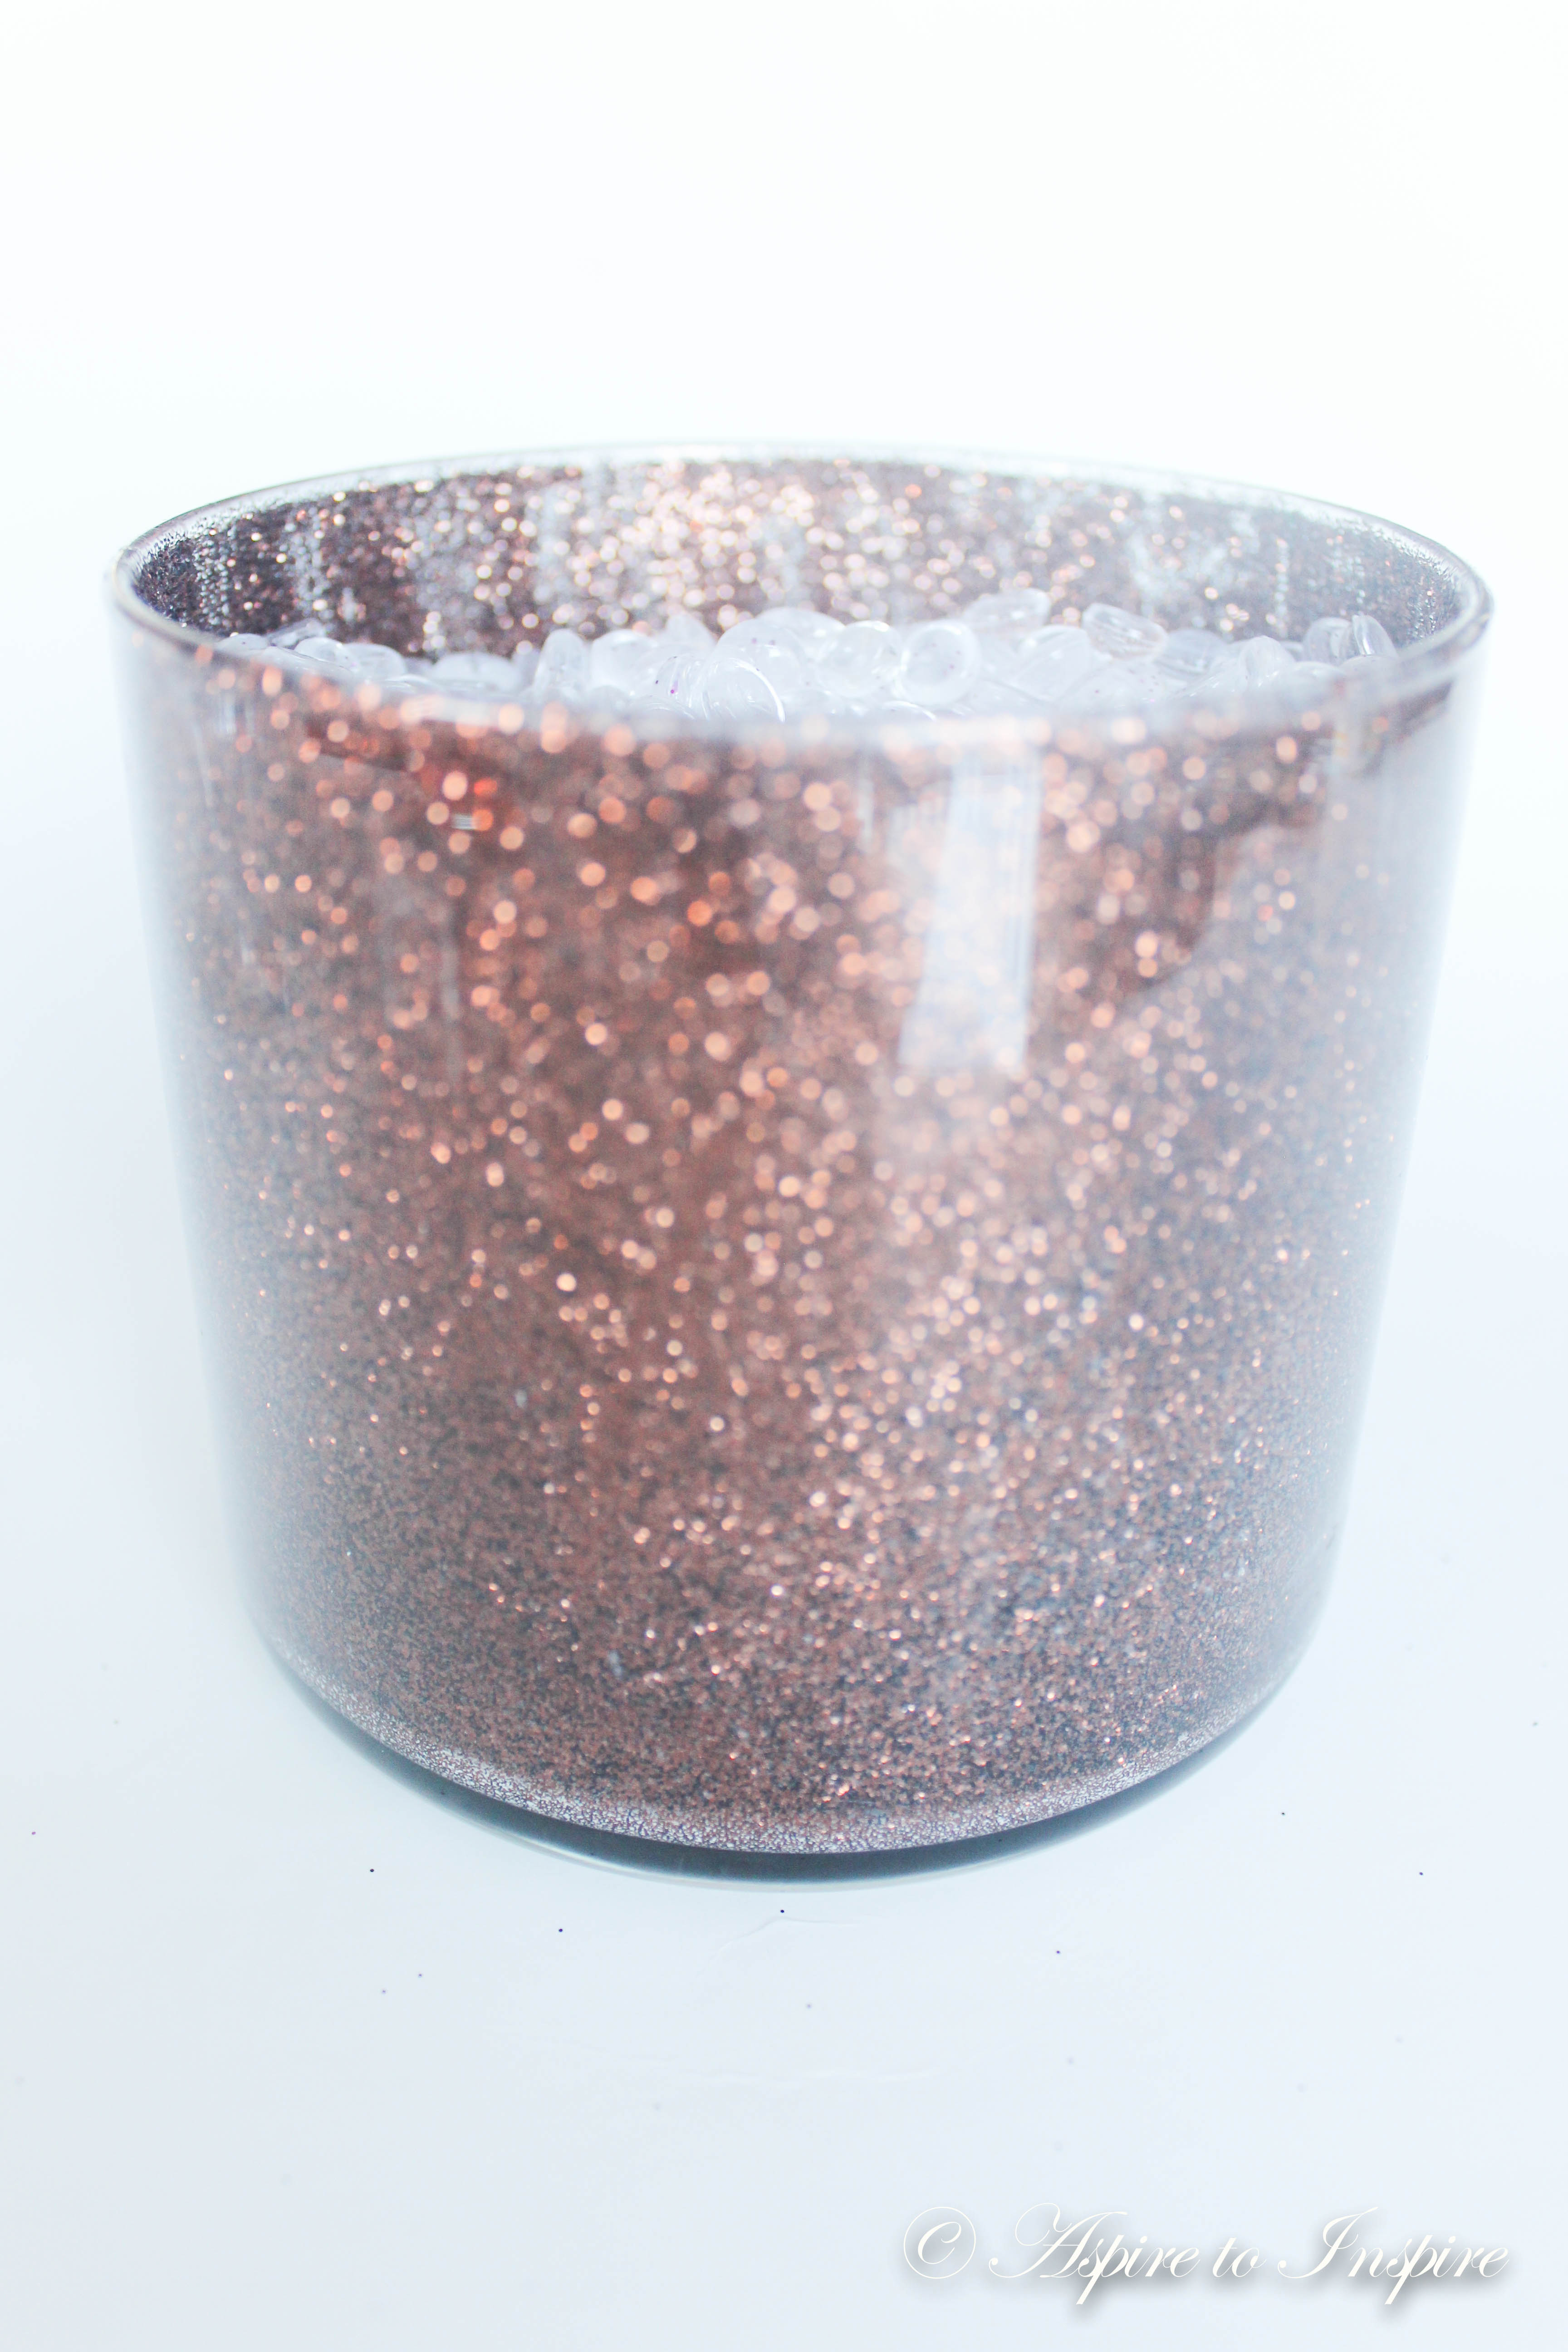
THEN YOU SHOULD BE LEFT WITH THIS BEAUTIFUL GLITTER JAR!- YAY
Next to finish the last touches, add the vase filler beads inside!
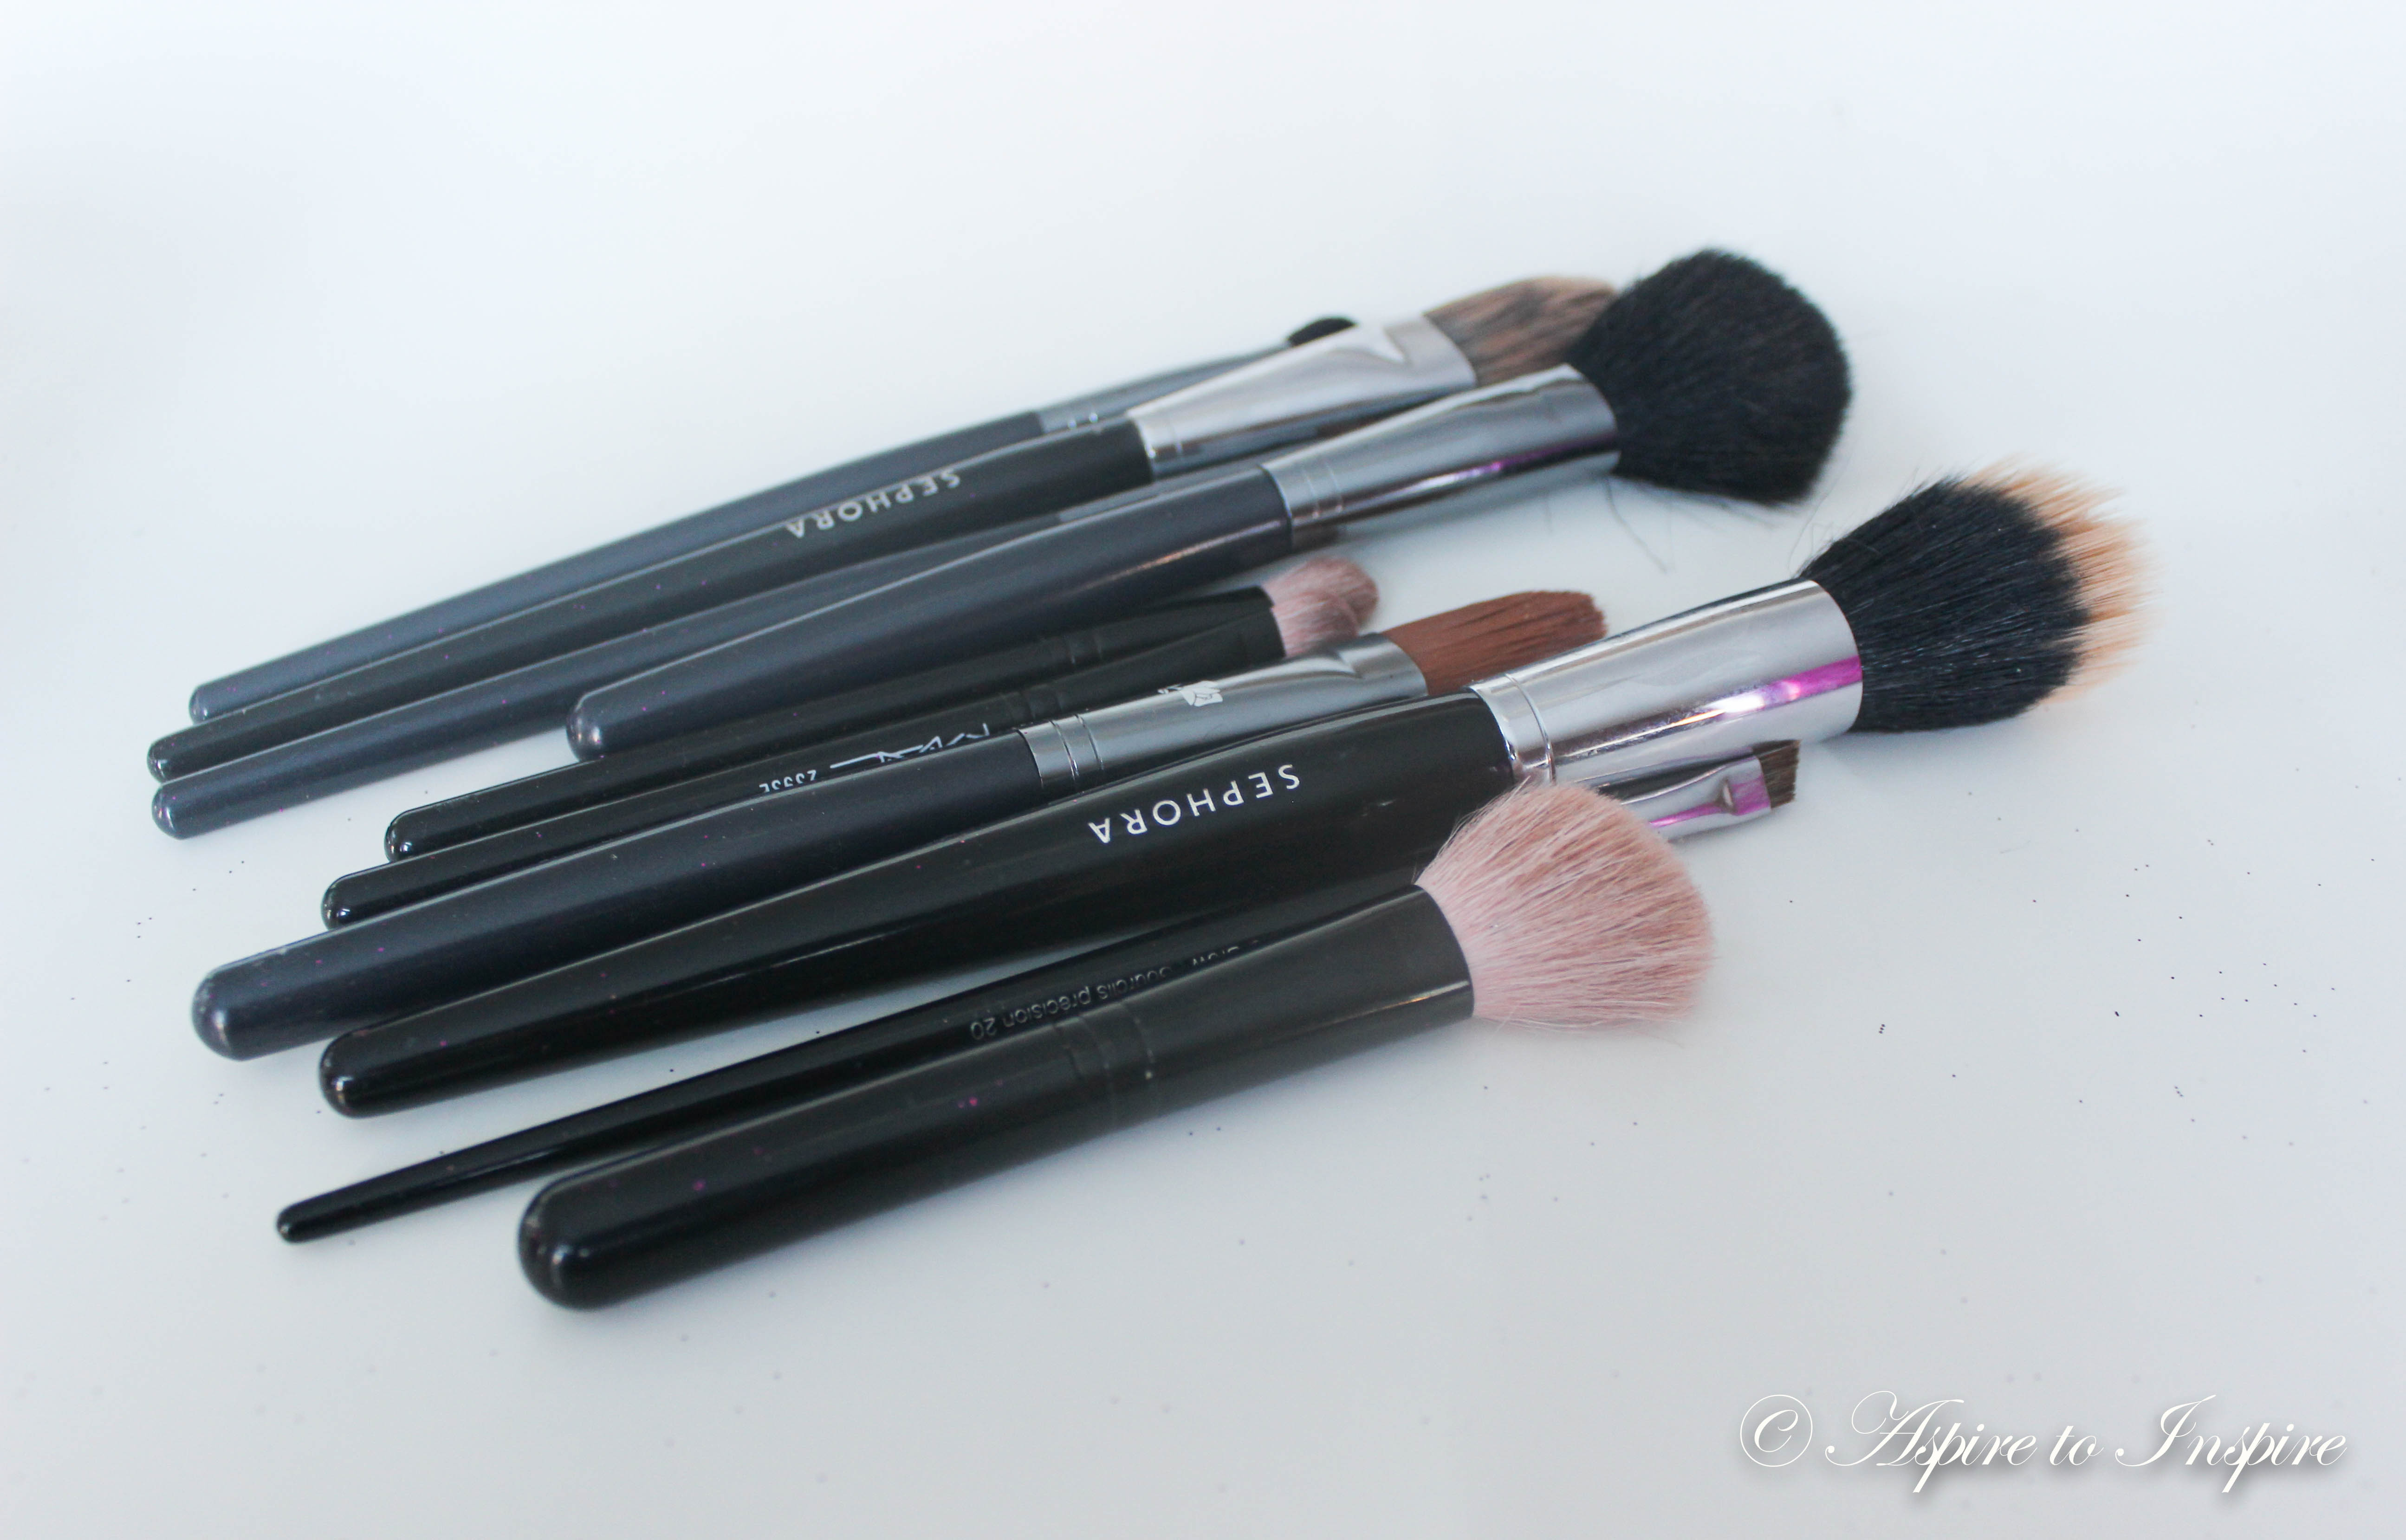
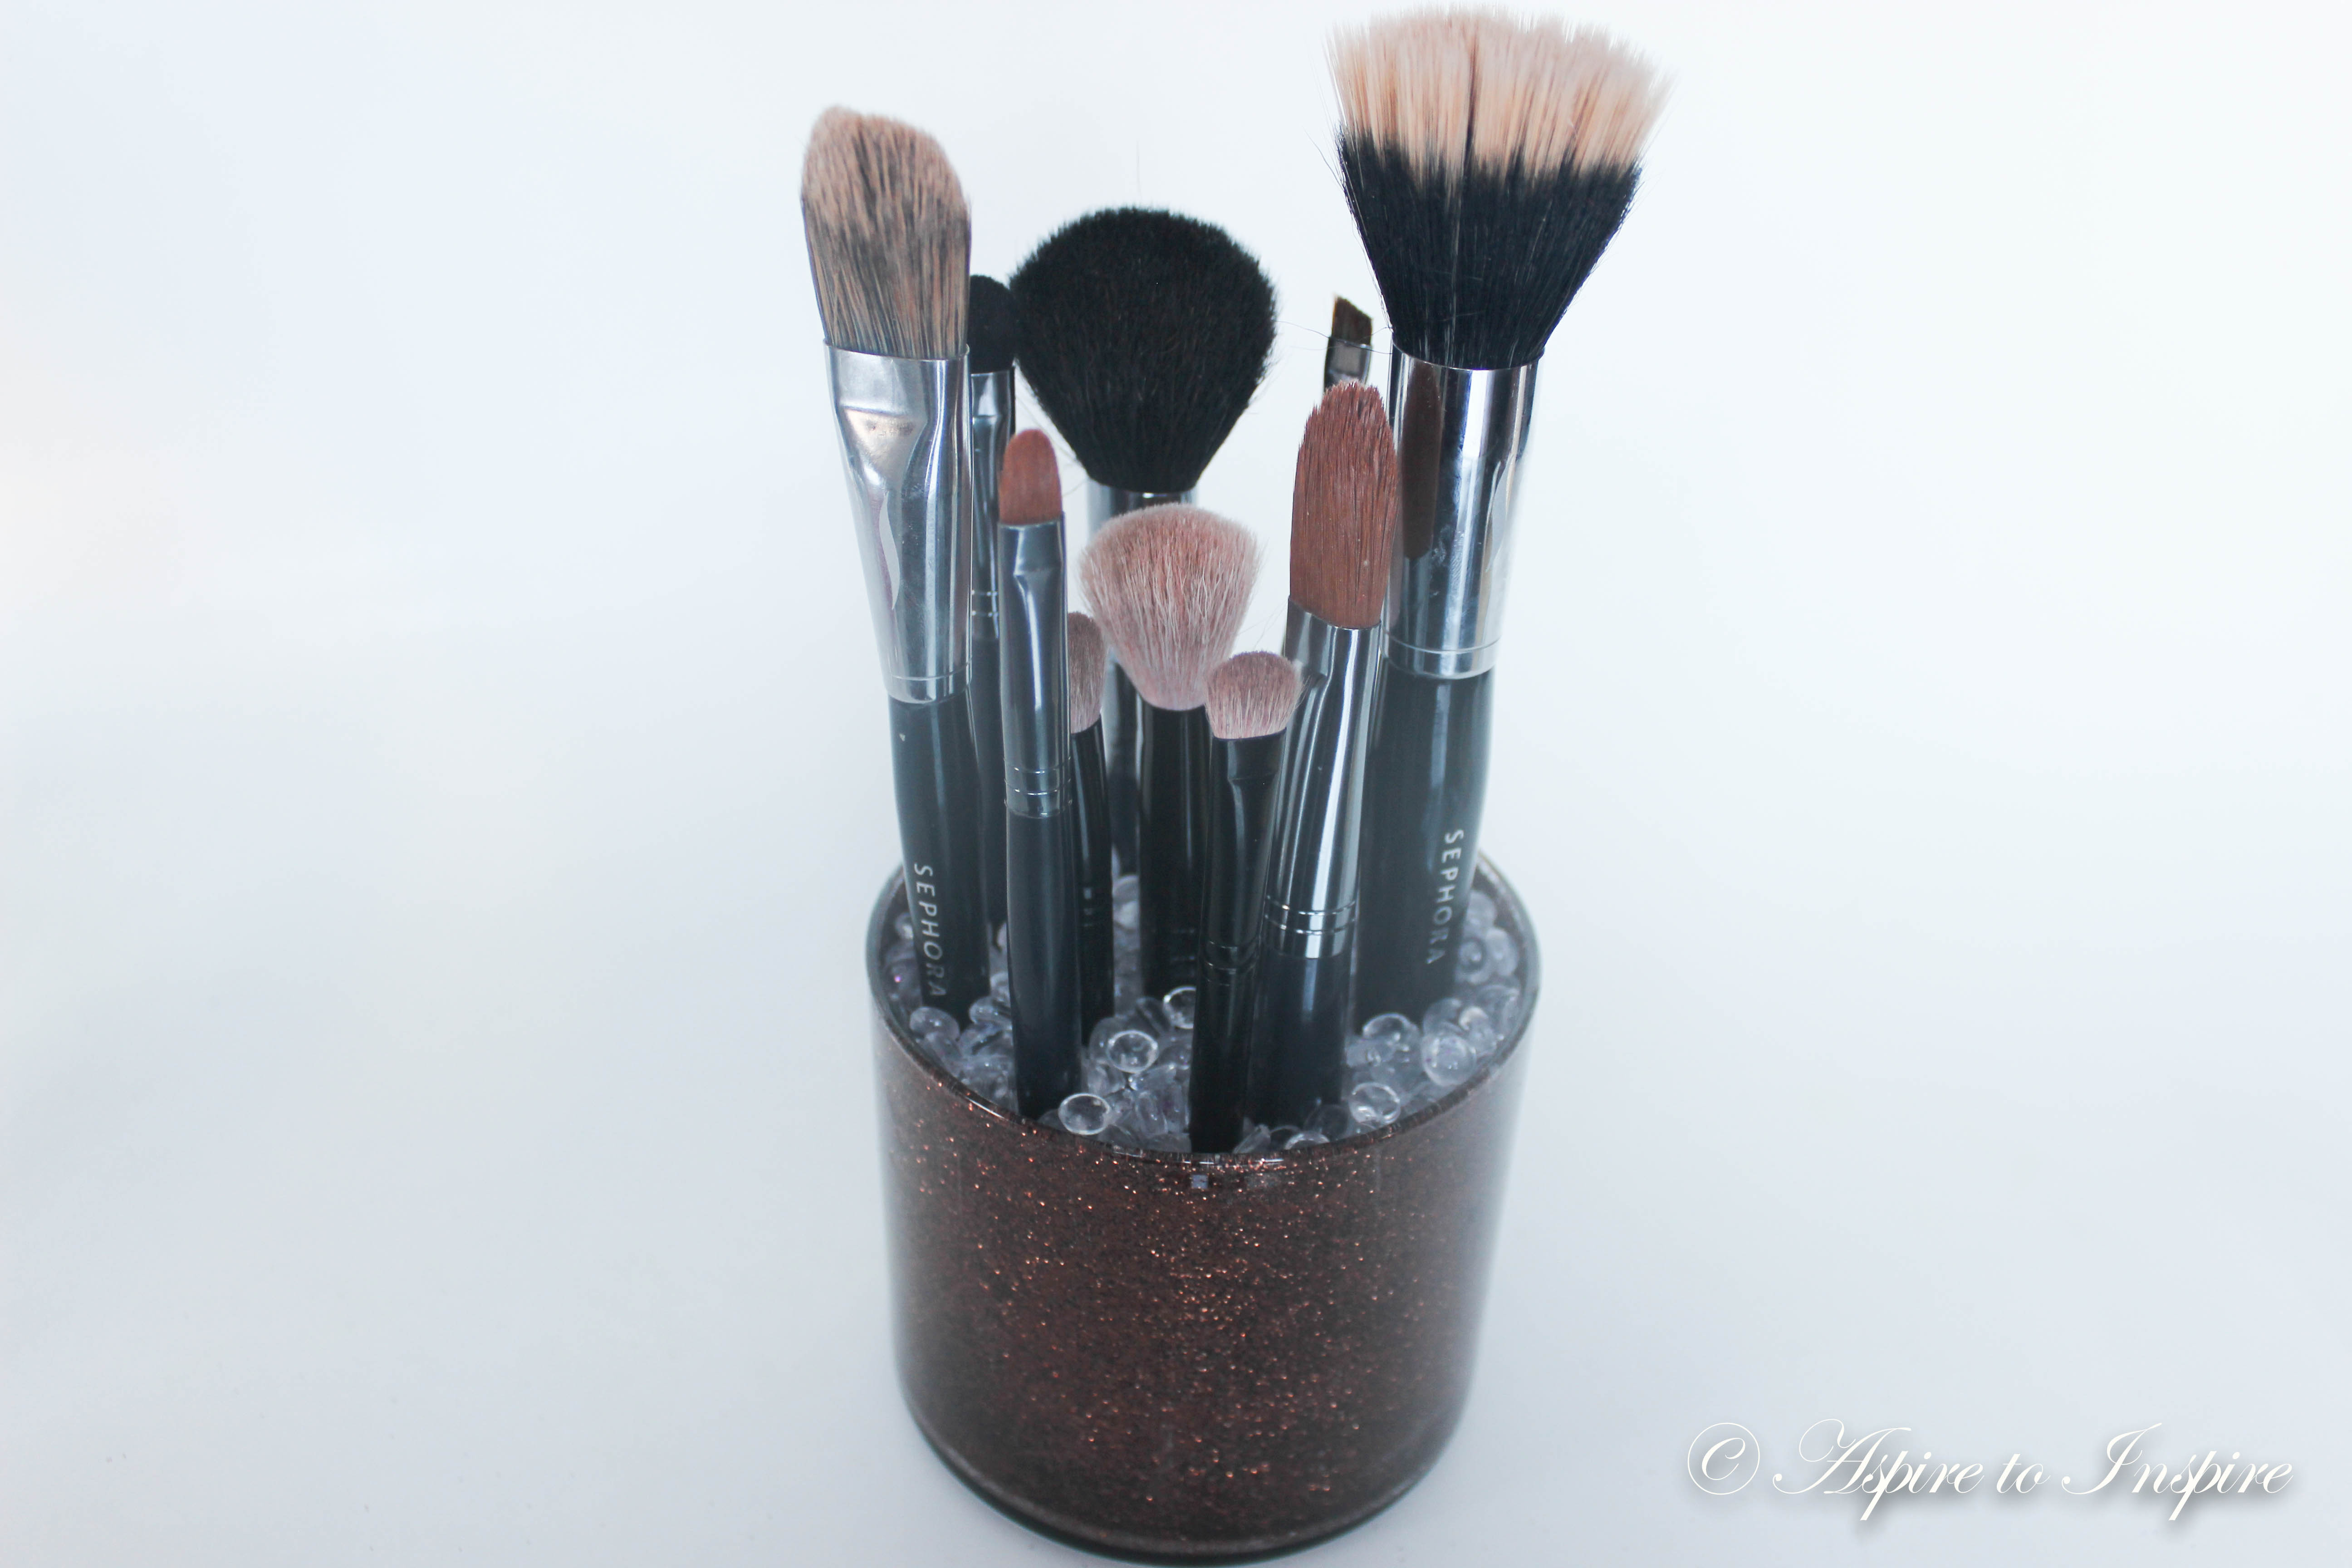
Once that’s all done, if you are going for the make up brush holder- then GO ON AND ADD THOSE BRUSHES!
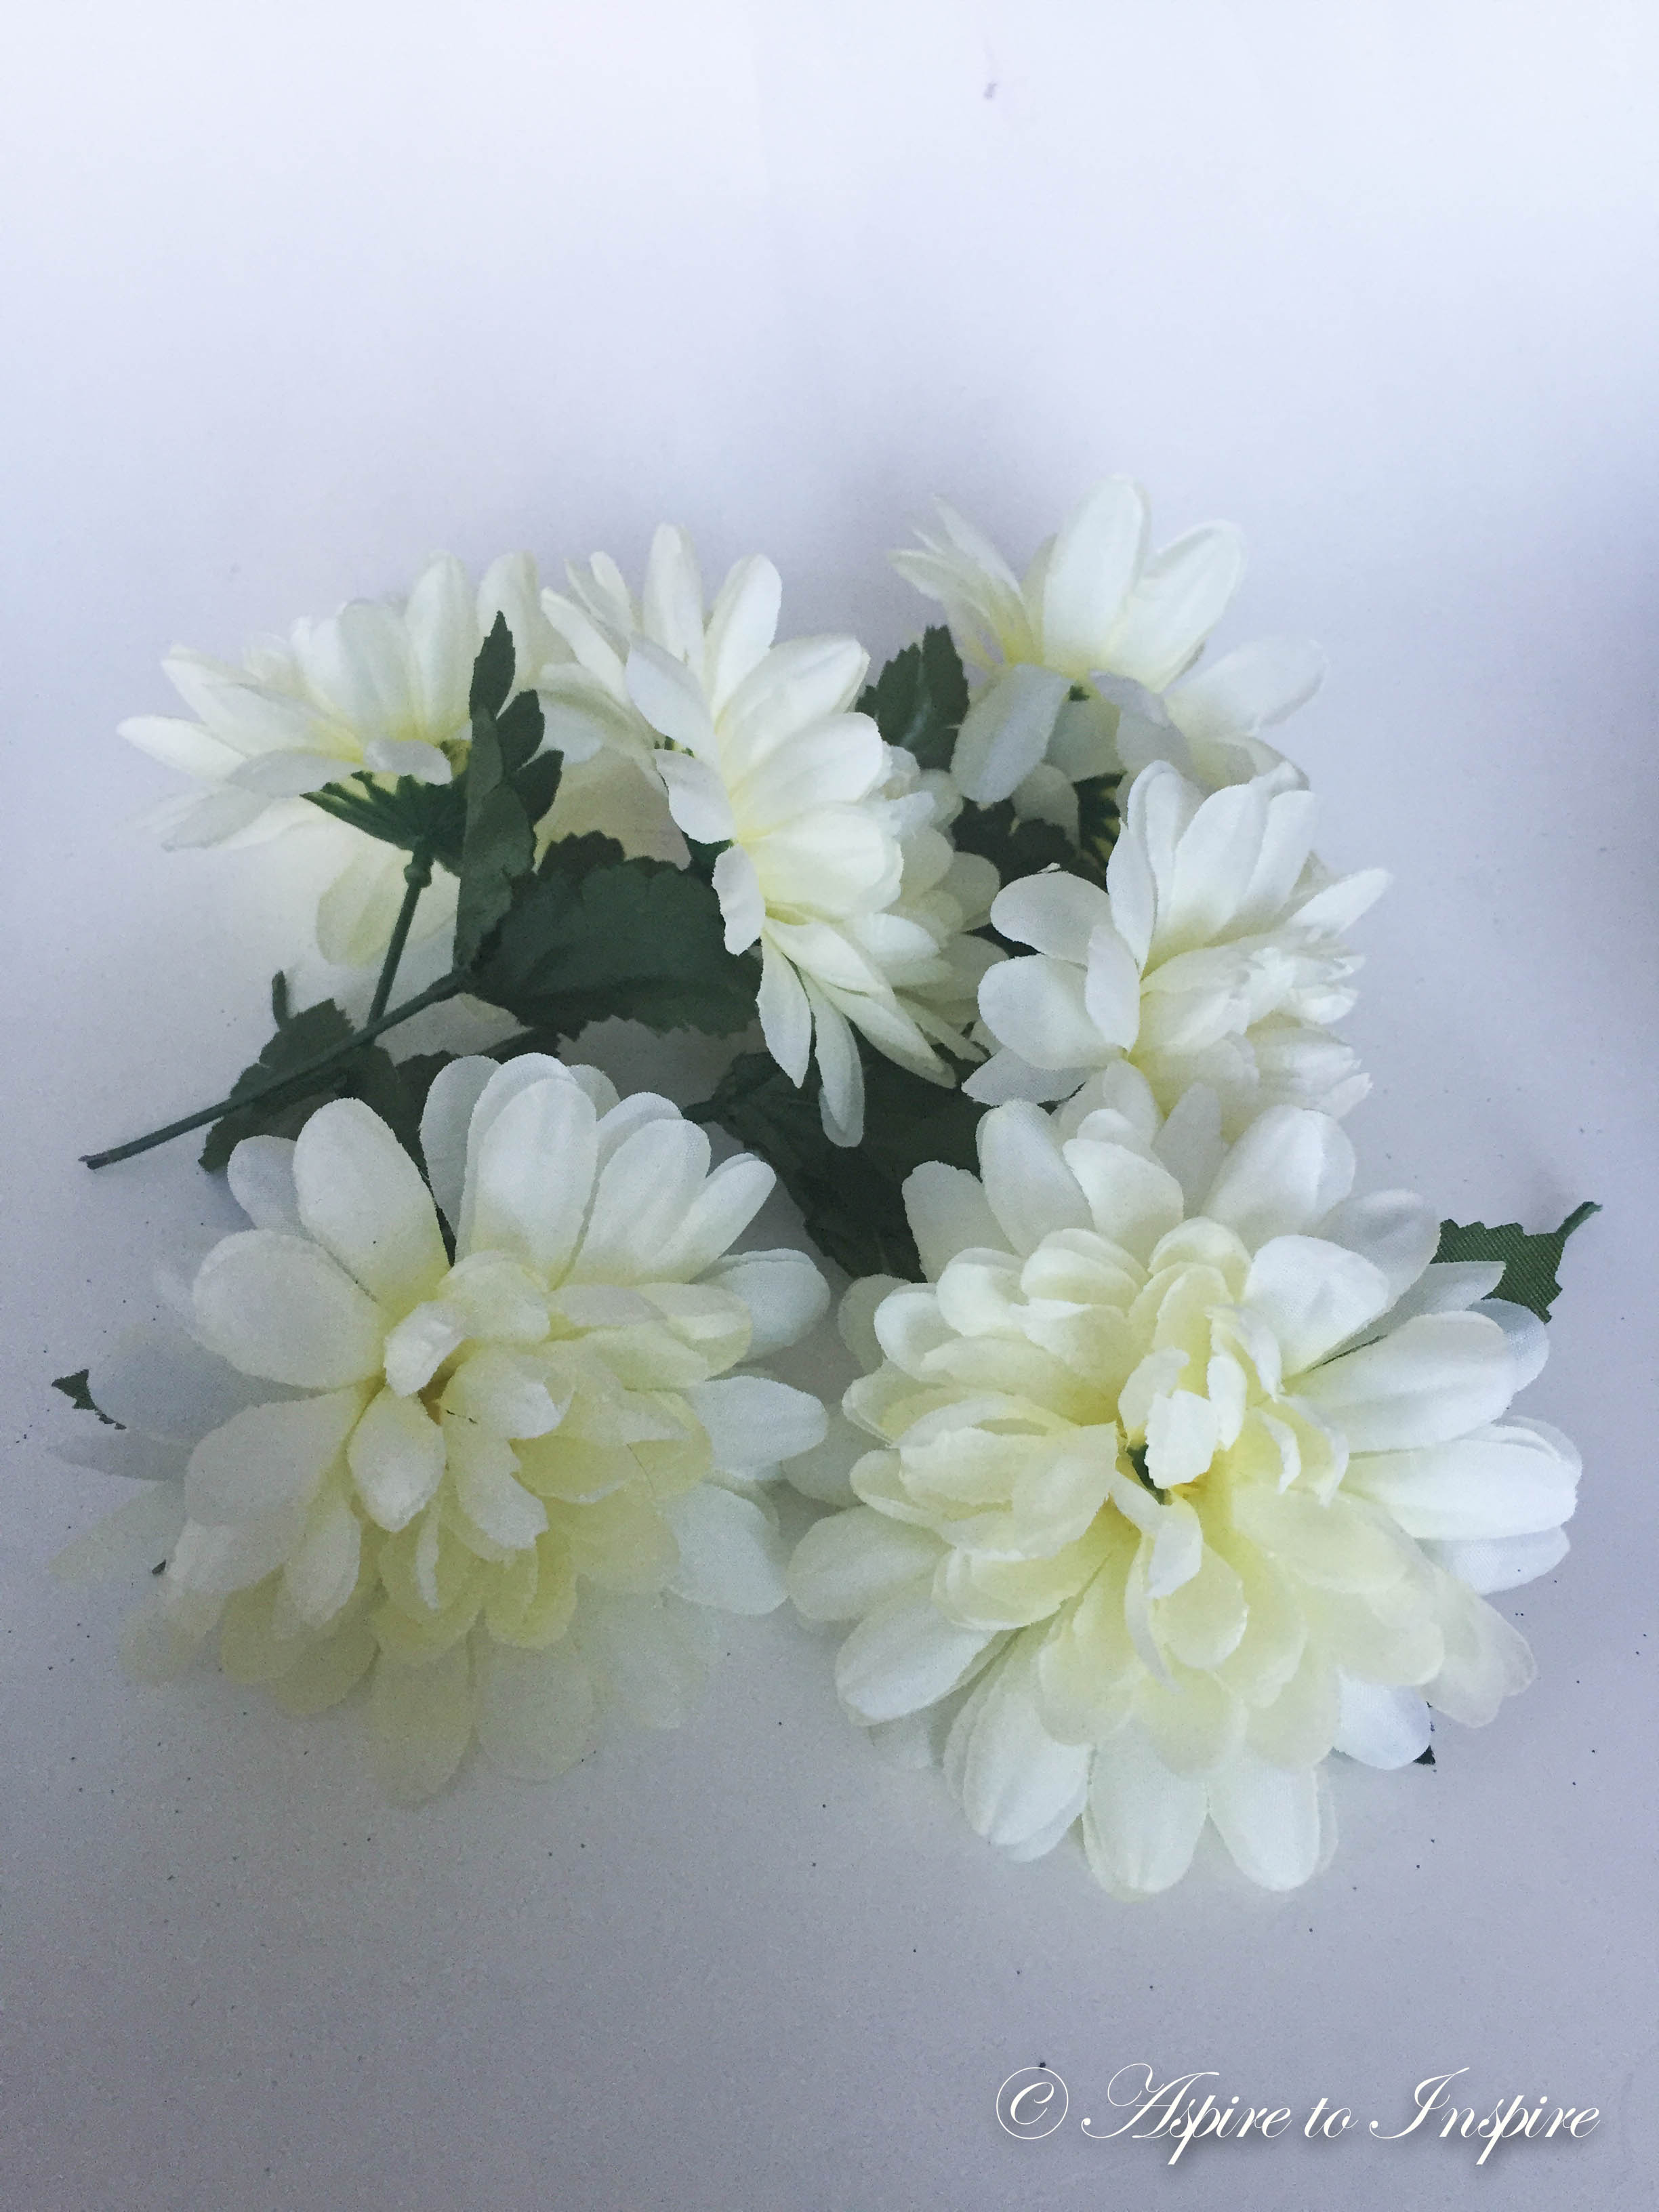
IF, you wanted to maybe make a room decor instead and add some pretty real or fake flowers, you can do the following one instead!
I had two burnt out candles so I went ahead and made two different glittered jars! Here’s the next idea you can do with your pretty jar!
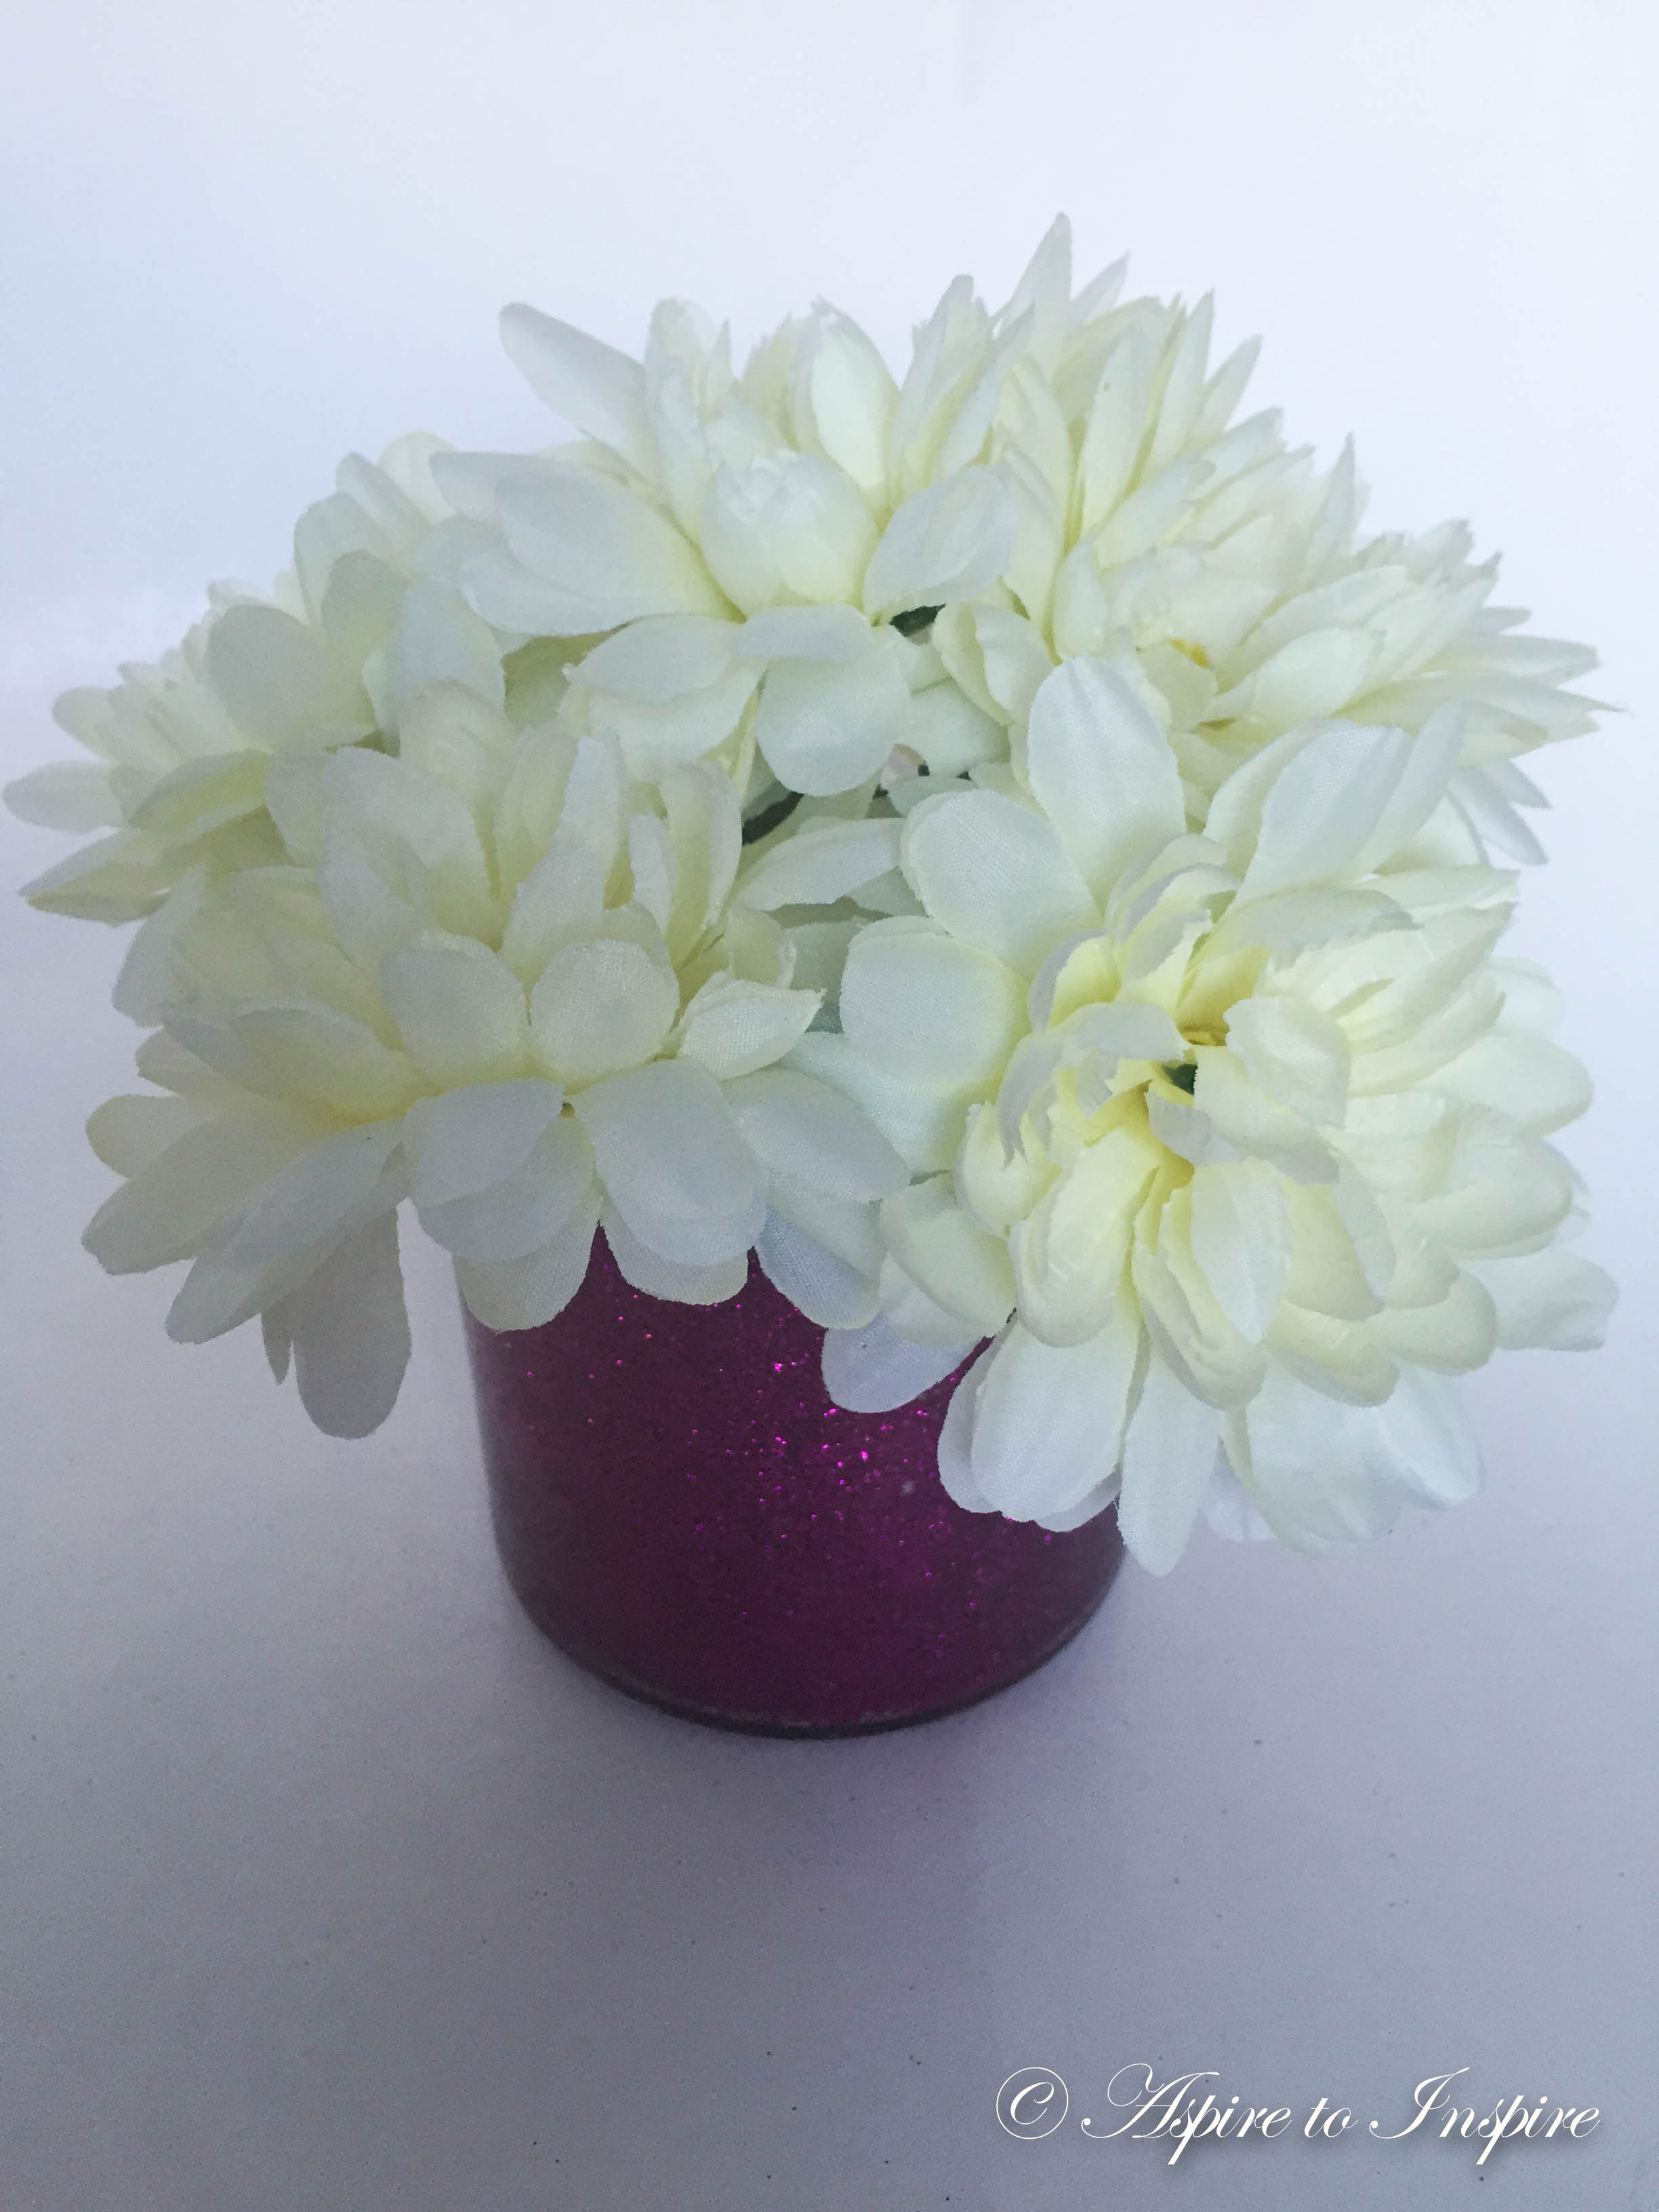
THERE YOU HAVE! Two cute ideas on reusing an old candle jar! Not only for yourself, but it could be a gift for a special friend!
I hope you enjoyed it!
Thanks reading,
Maritza, xo