DIY: Newspaper Nails
Today I figured I’d try getting a little creative since, well, it’s been a while and I’ve been itching to do something! Since it has to do with nails, and as much as I would’ve loved doing my own, I figured I could give it a try on someone else, in this case, my sister! Hope you ENJOY!
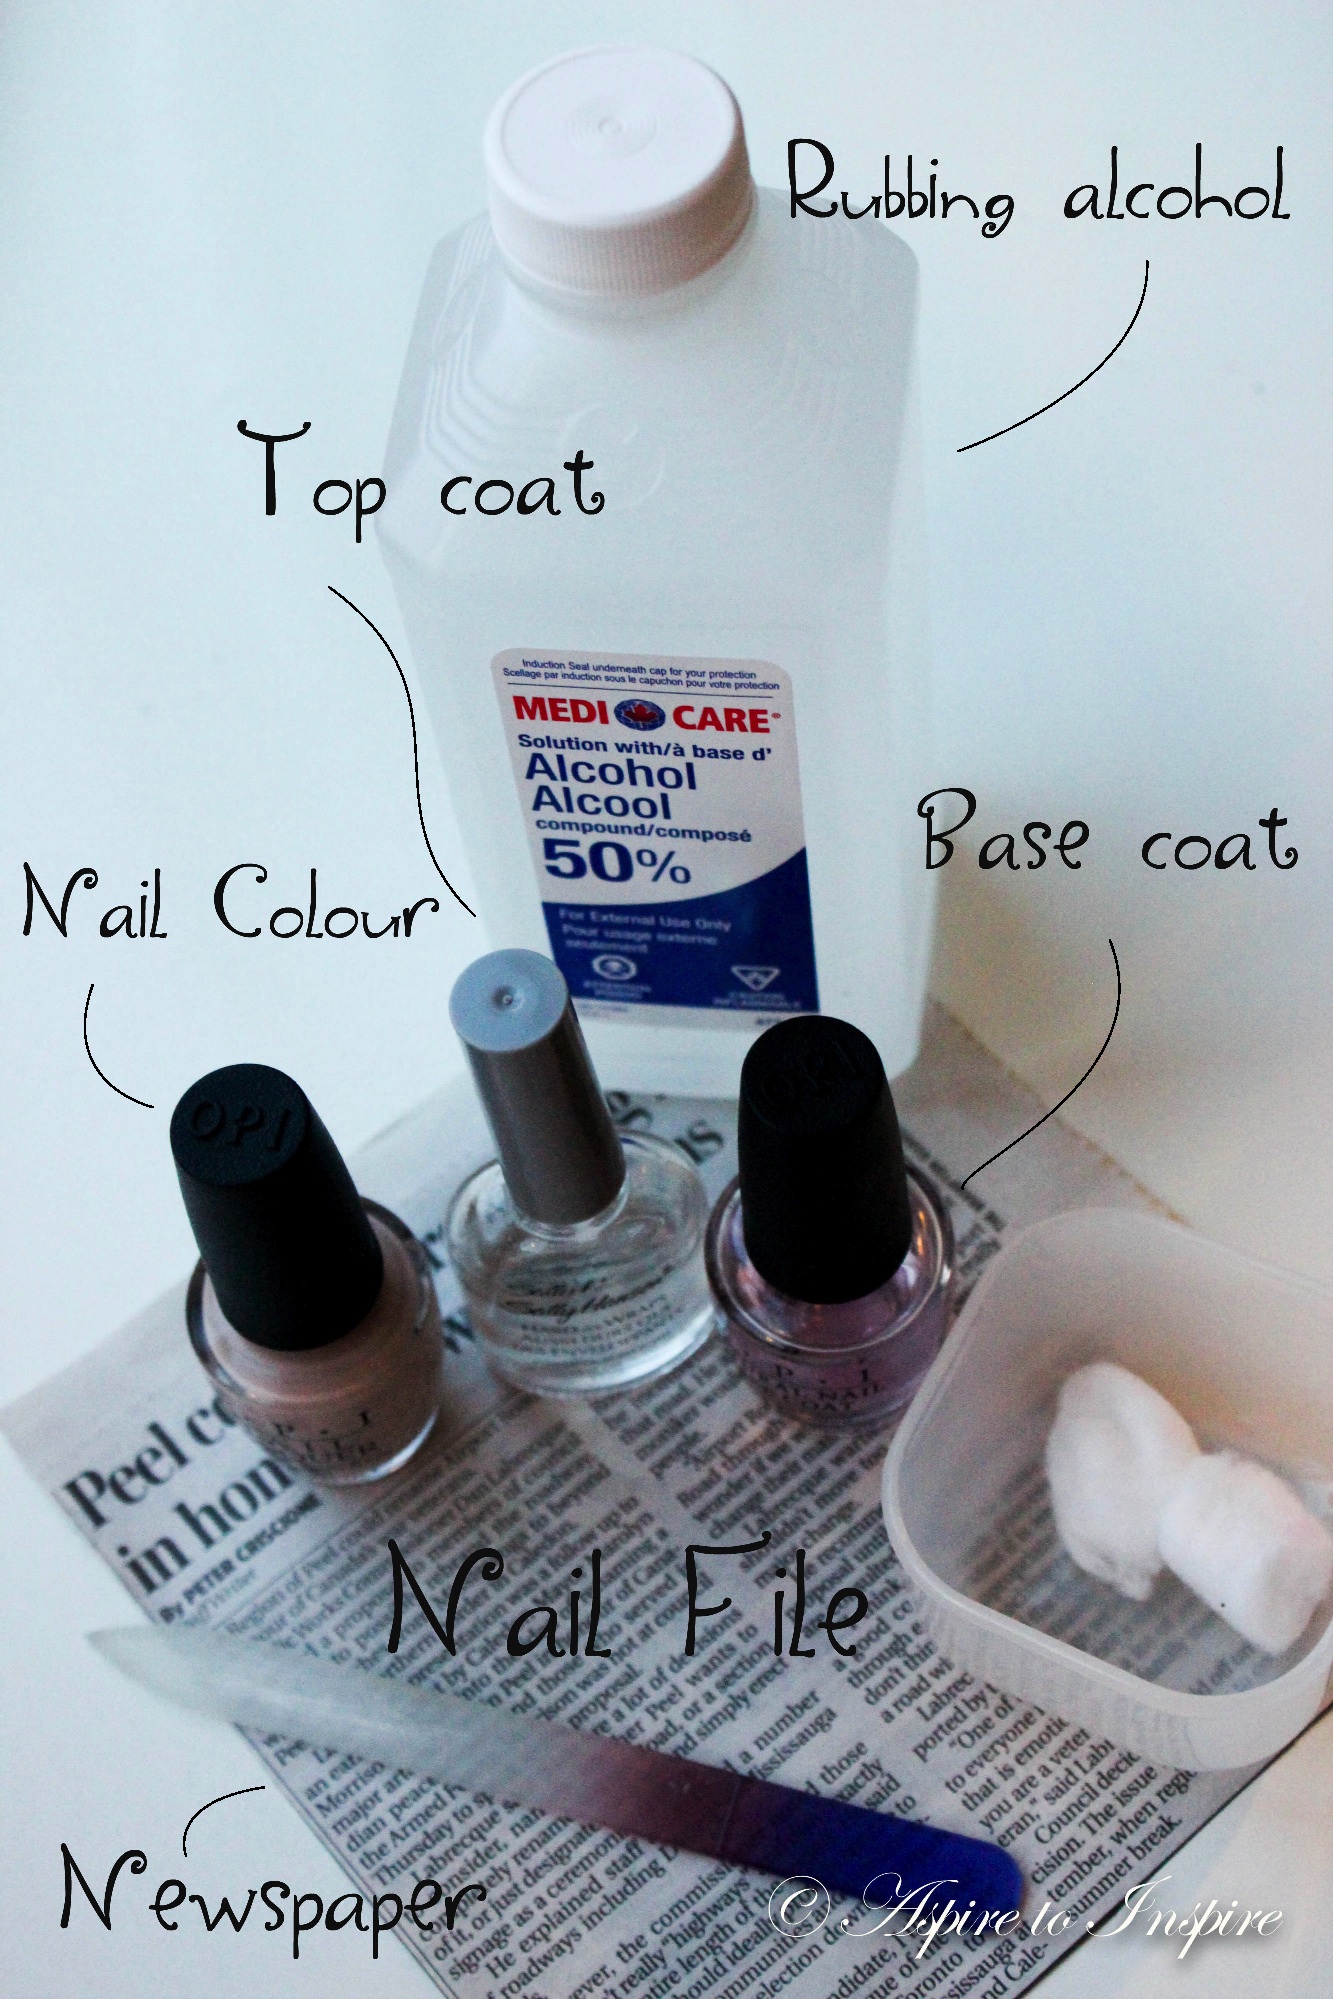
Things you will need:
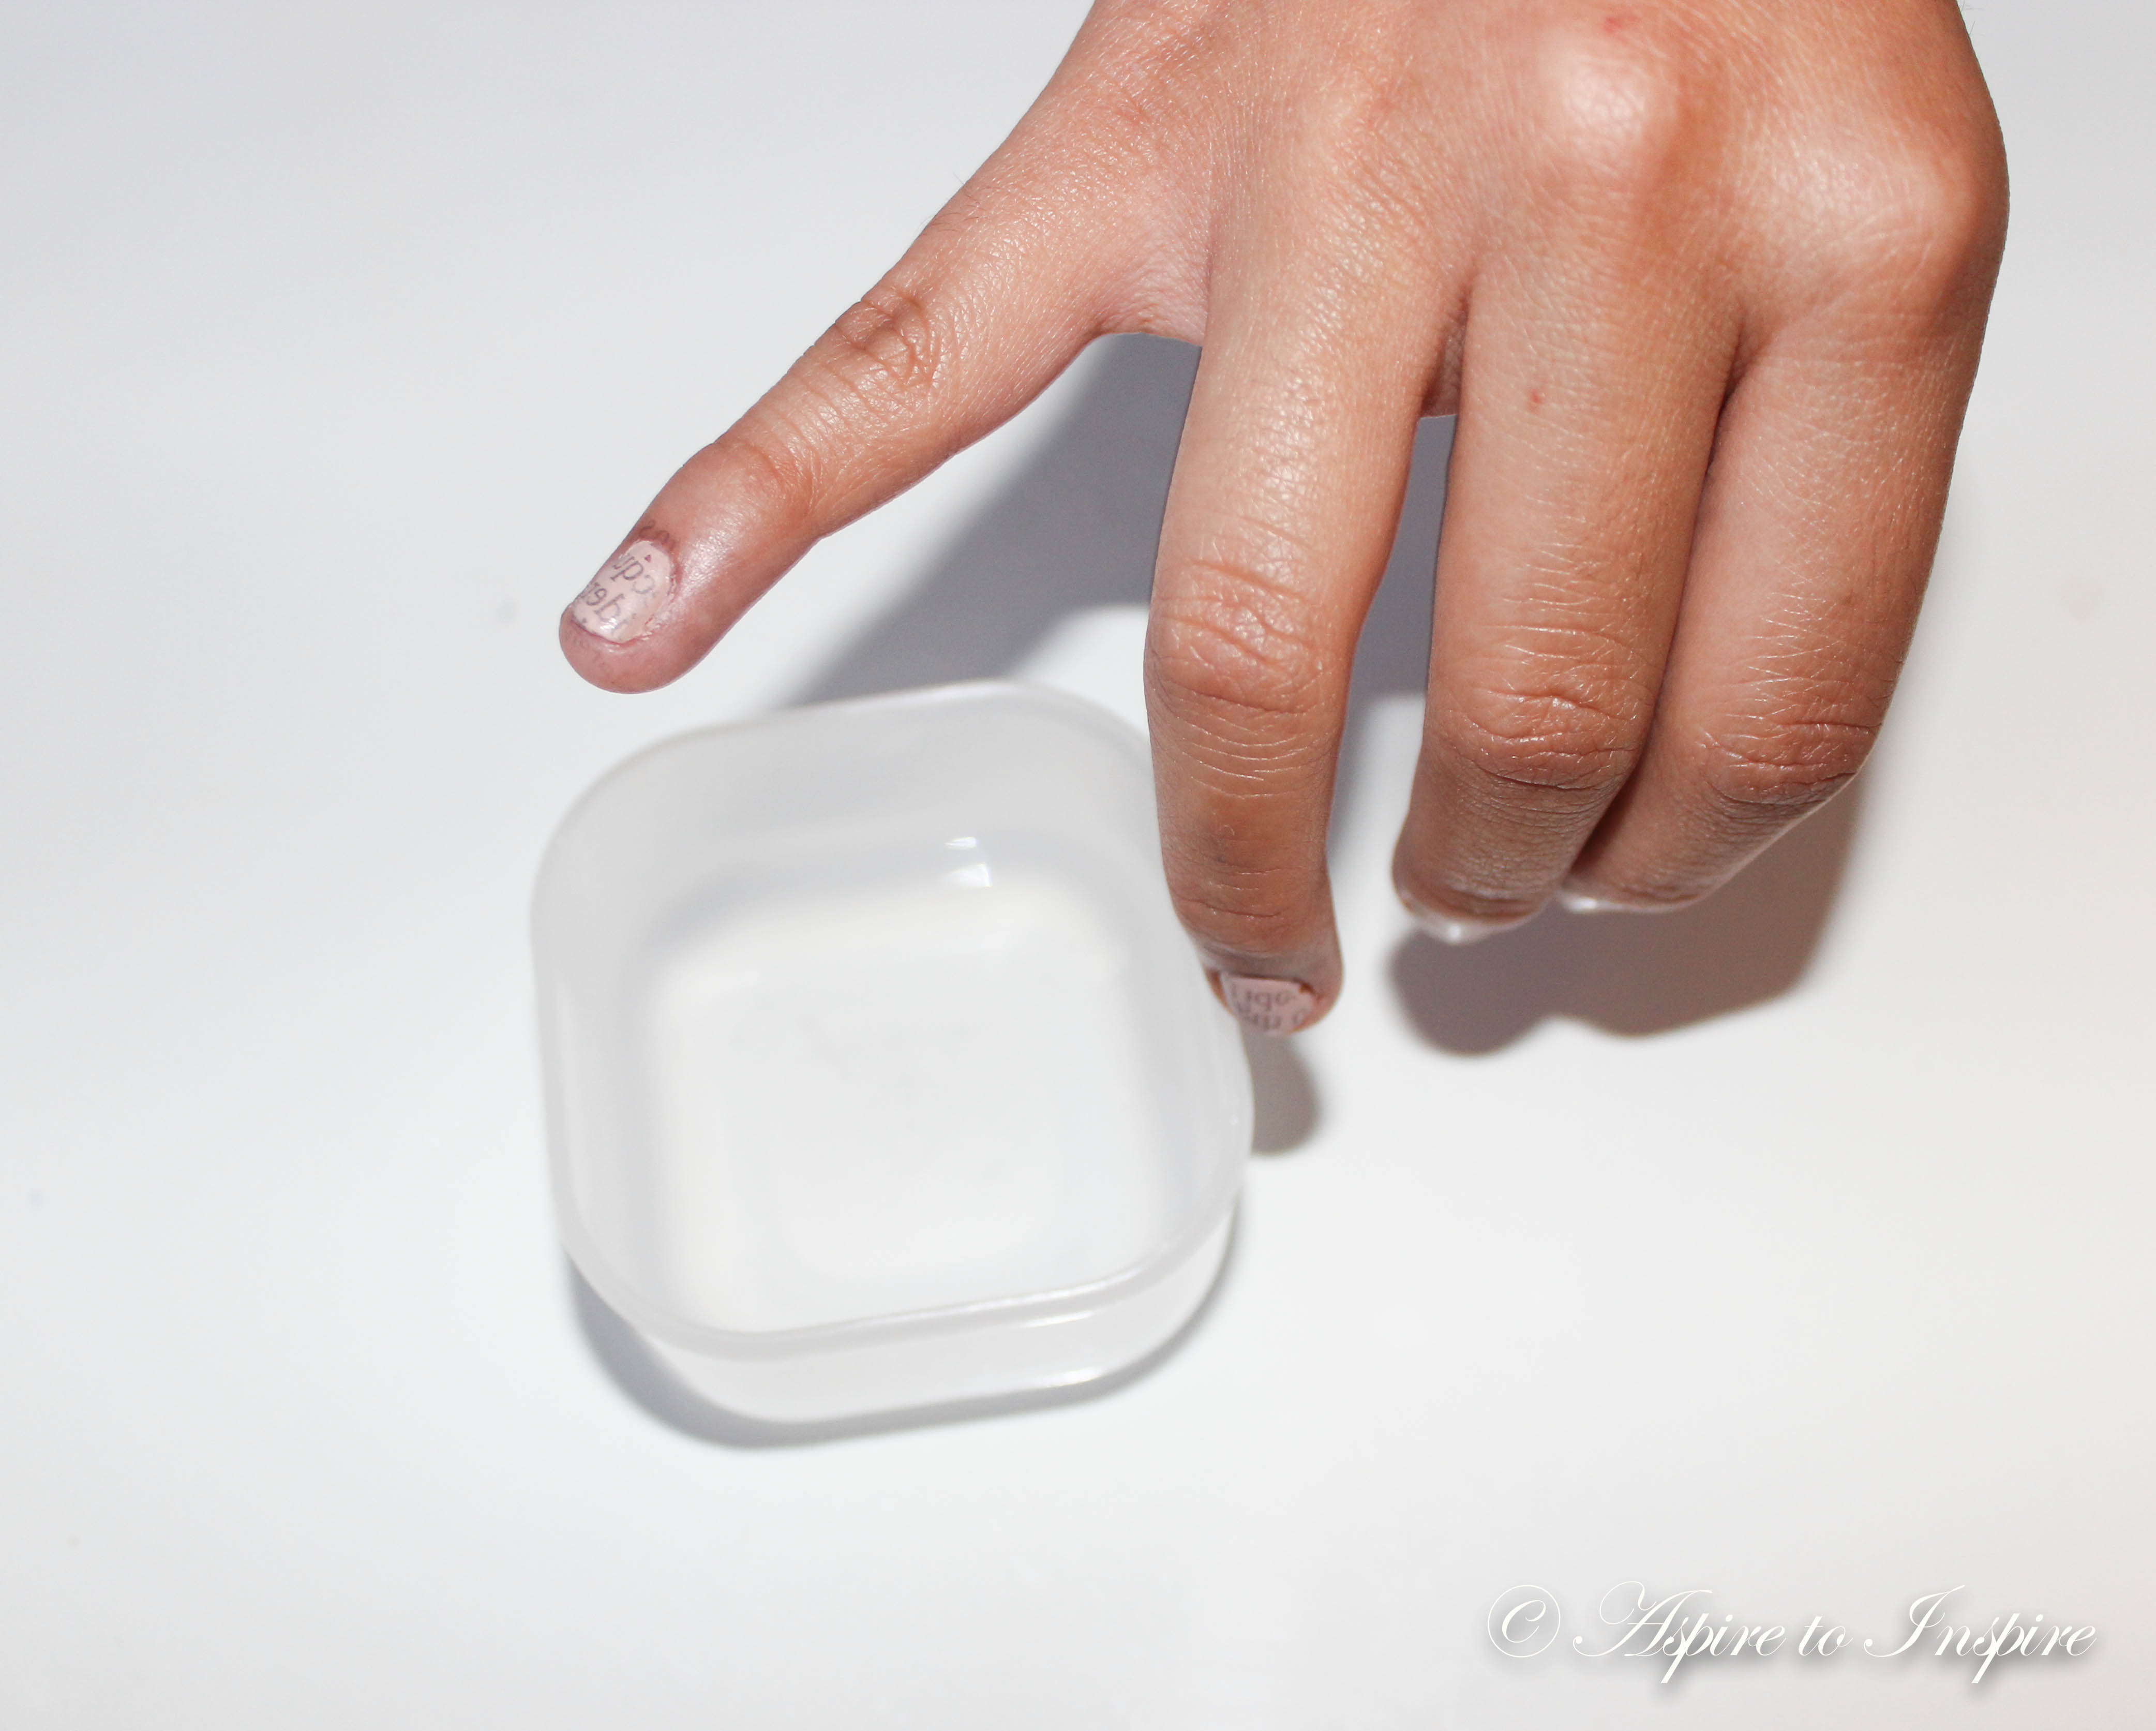
– Rubbing alcohol
– Newspaper; cut into pieces
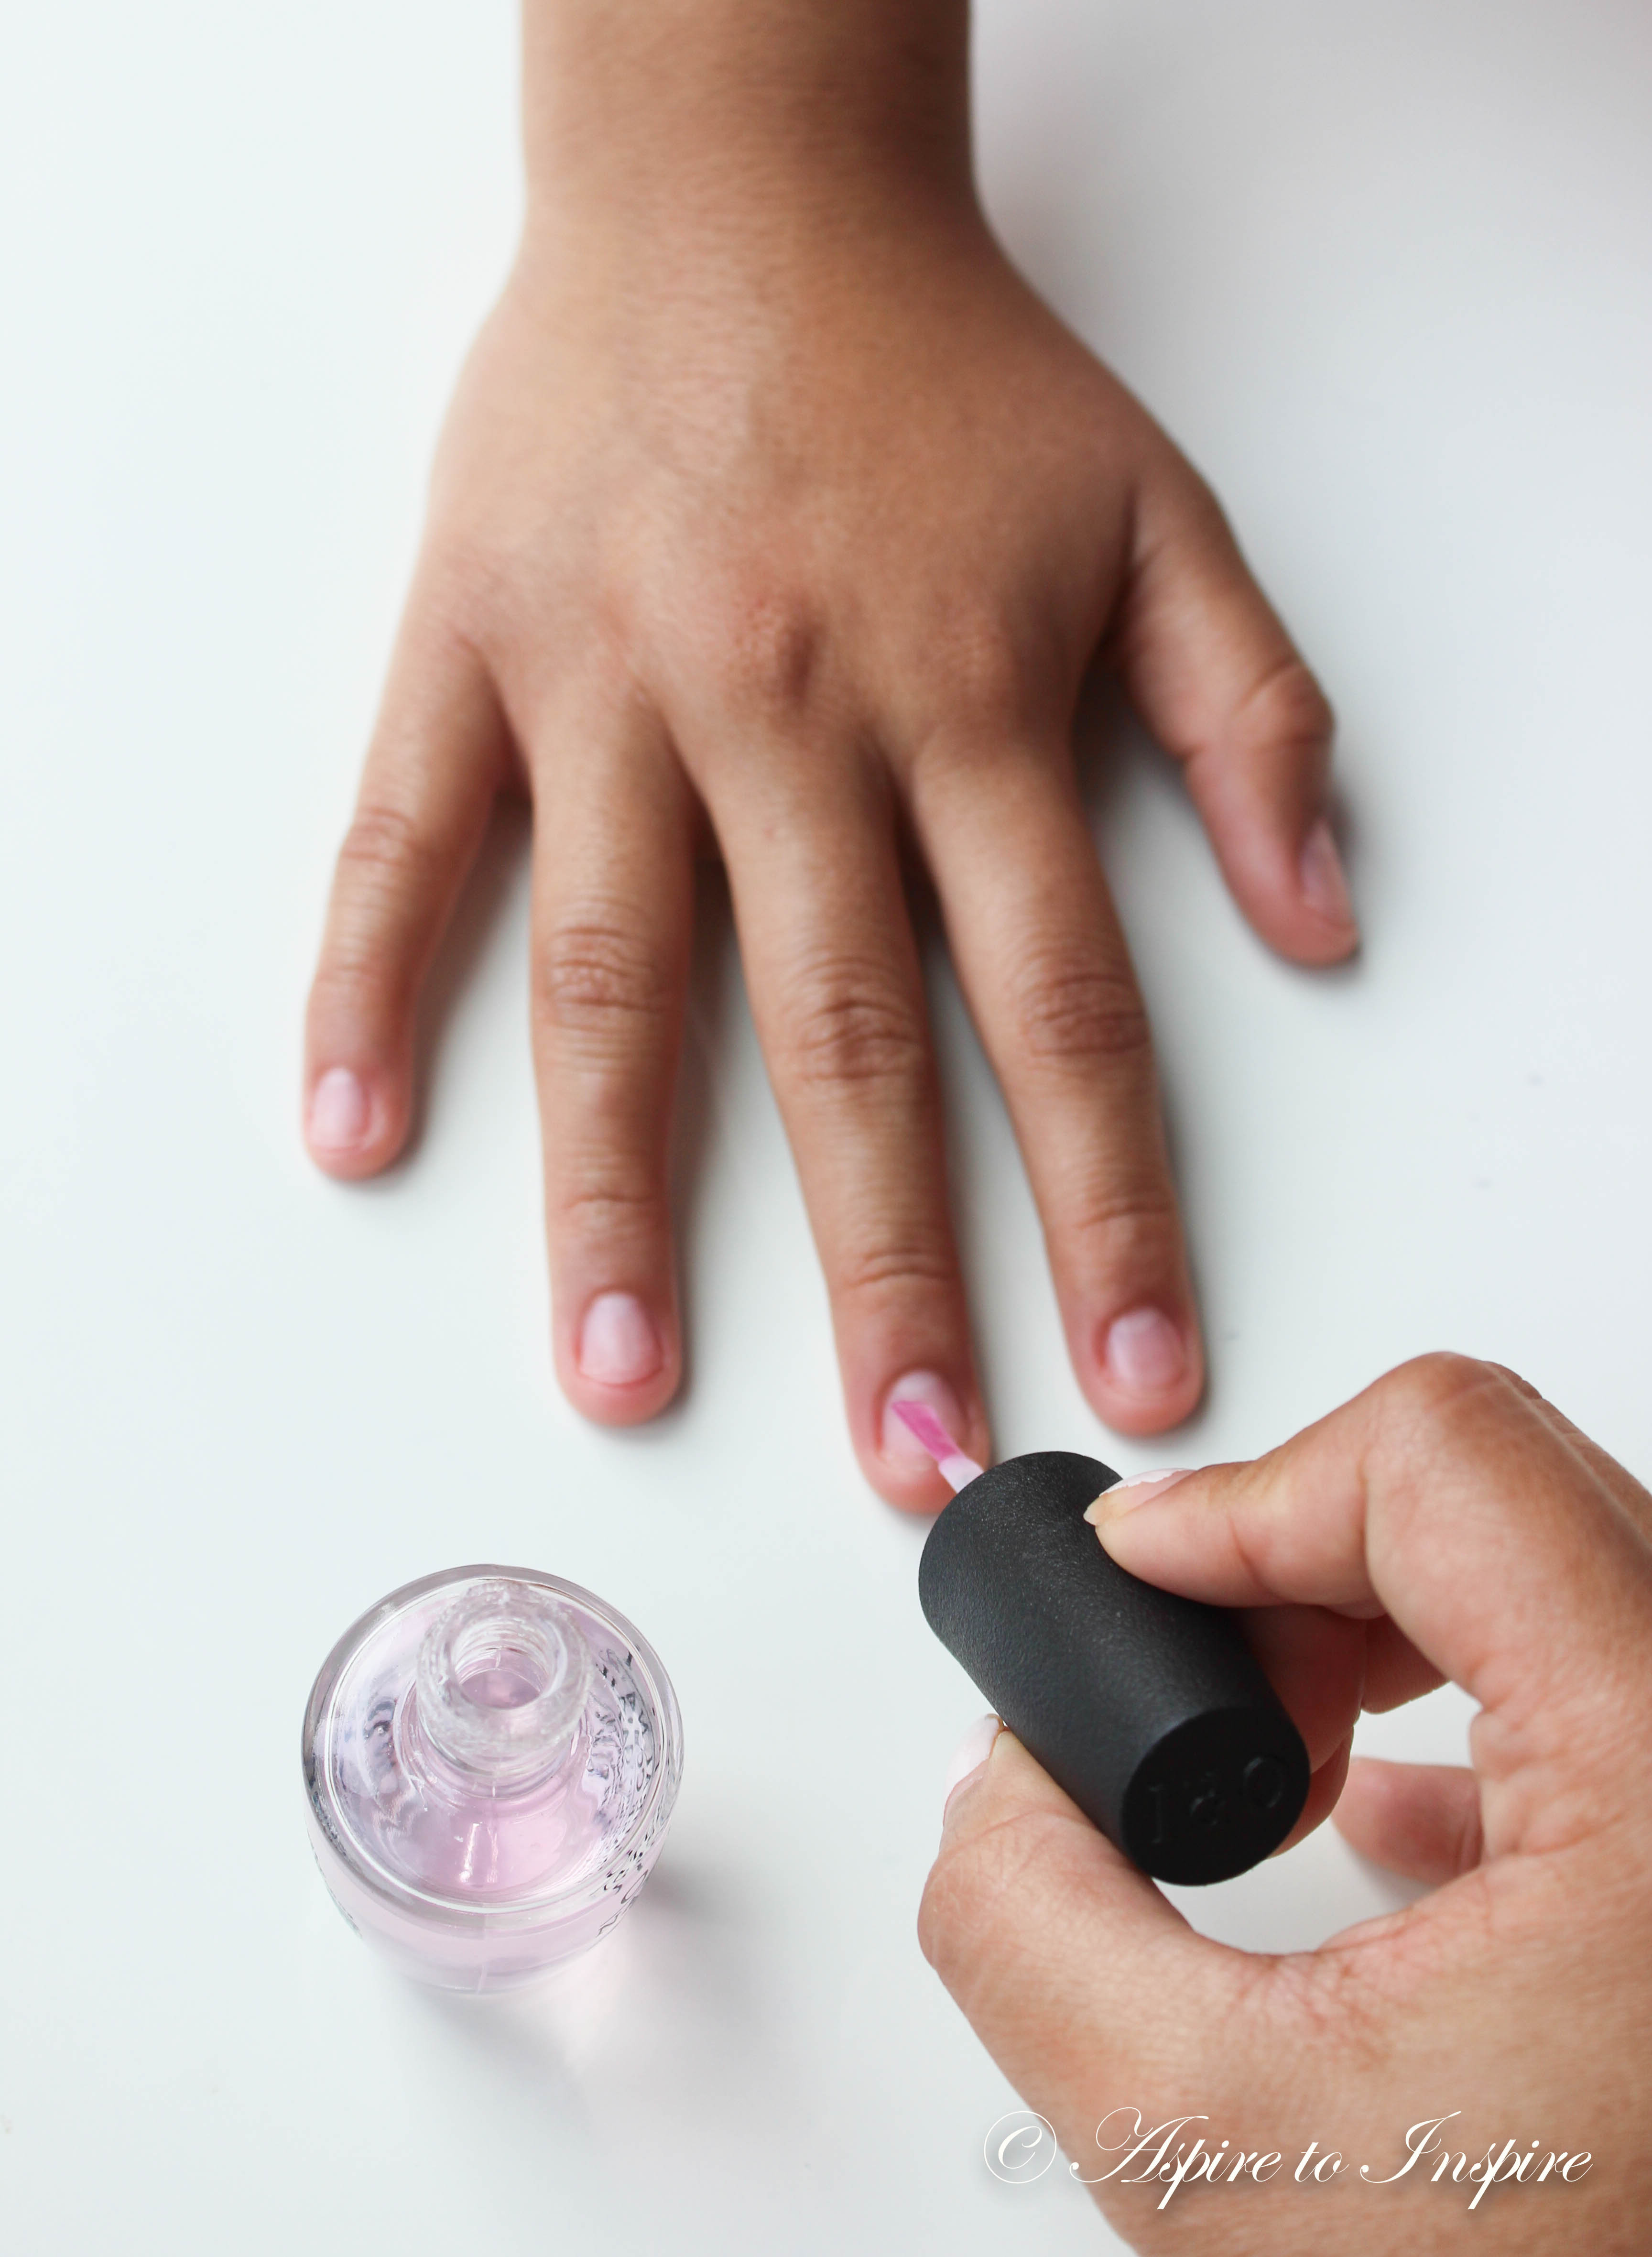
– Nail polish: Base coat, top coat & colour ( any of preference, I chose a nude to better reflect the newspaper print)
– Cotton rolls- optional
– Nail file
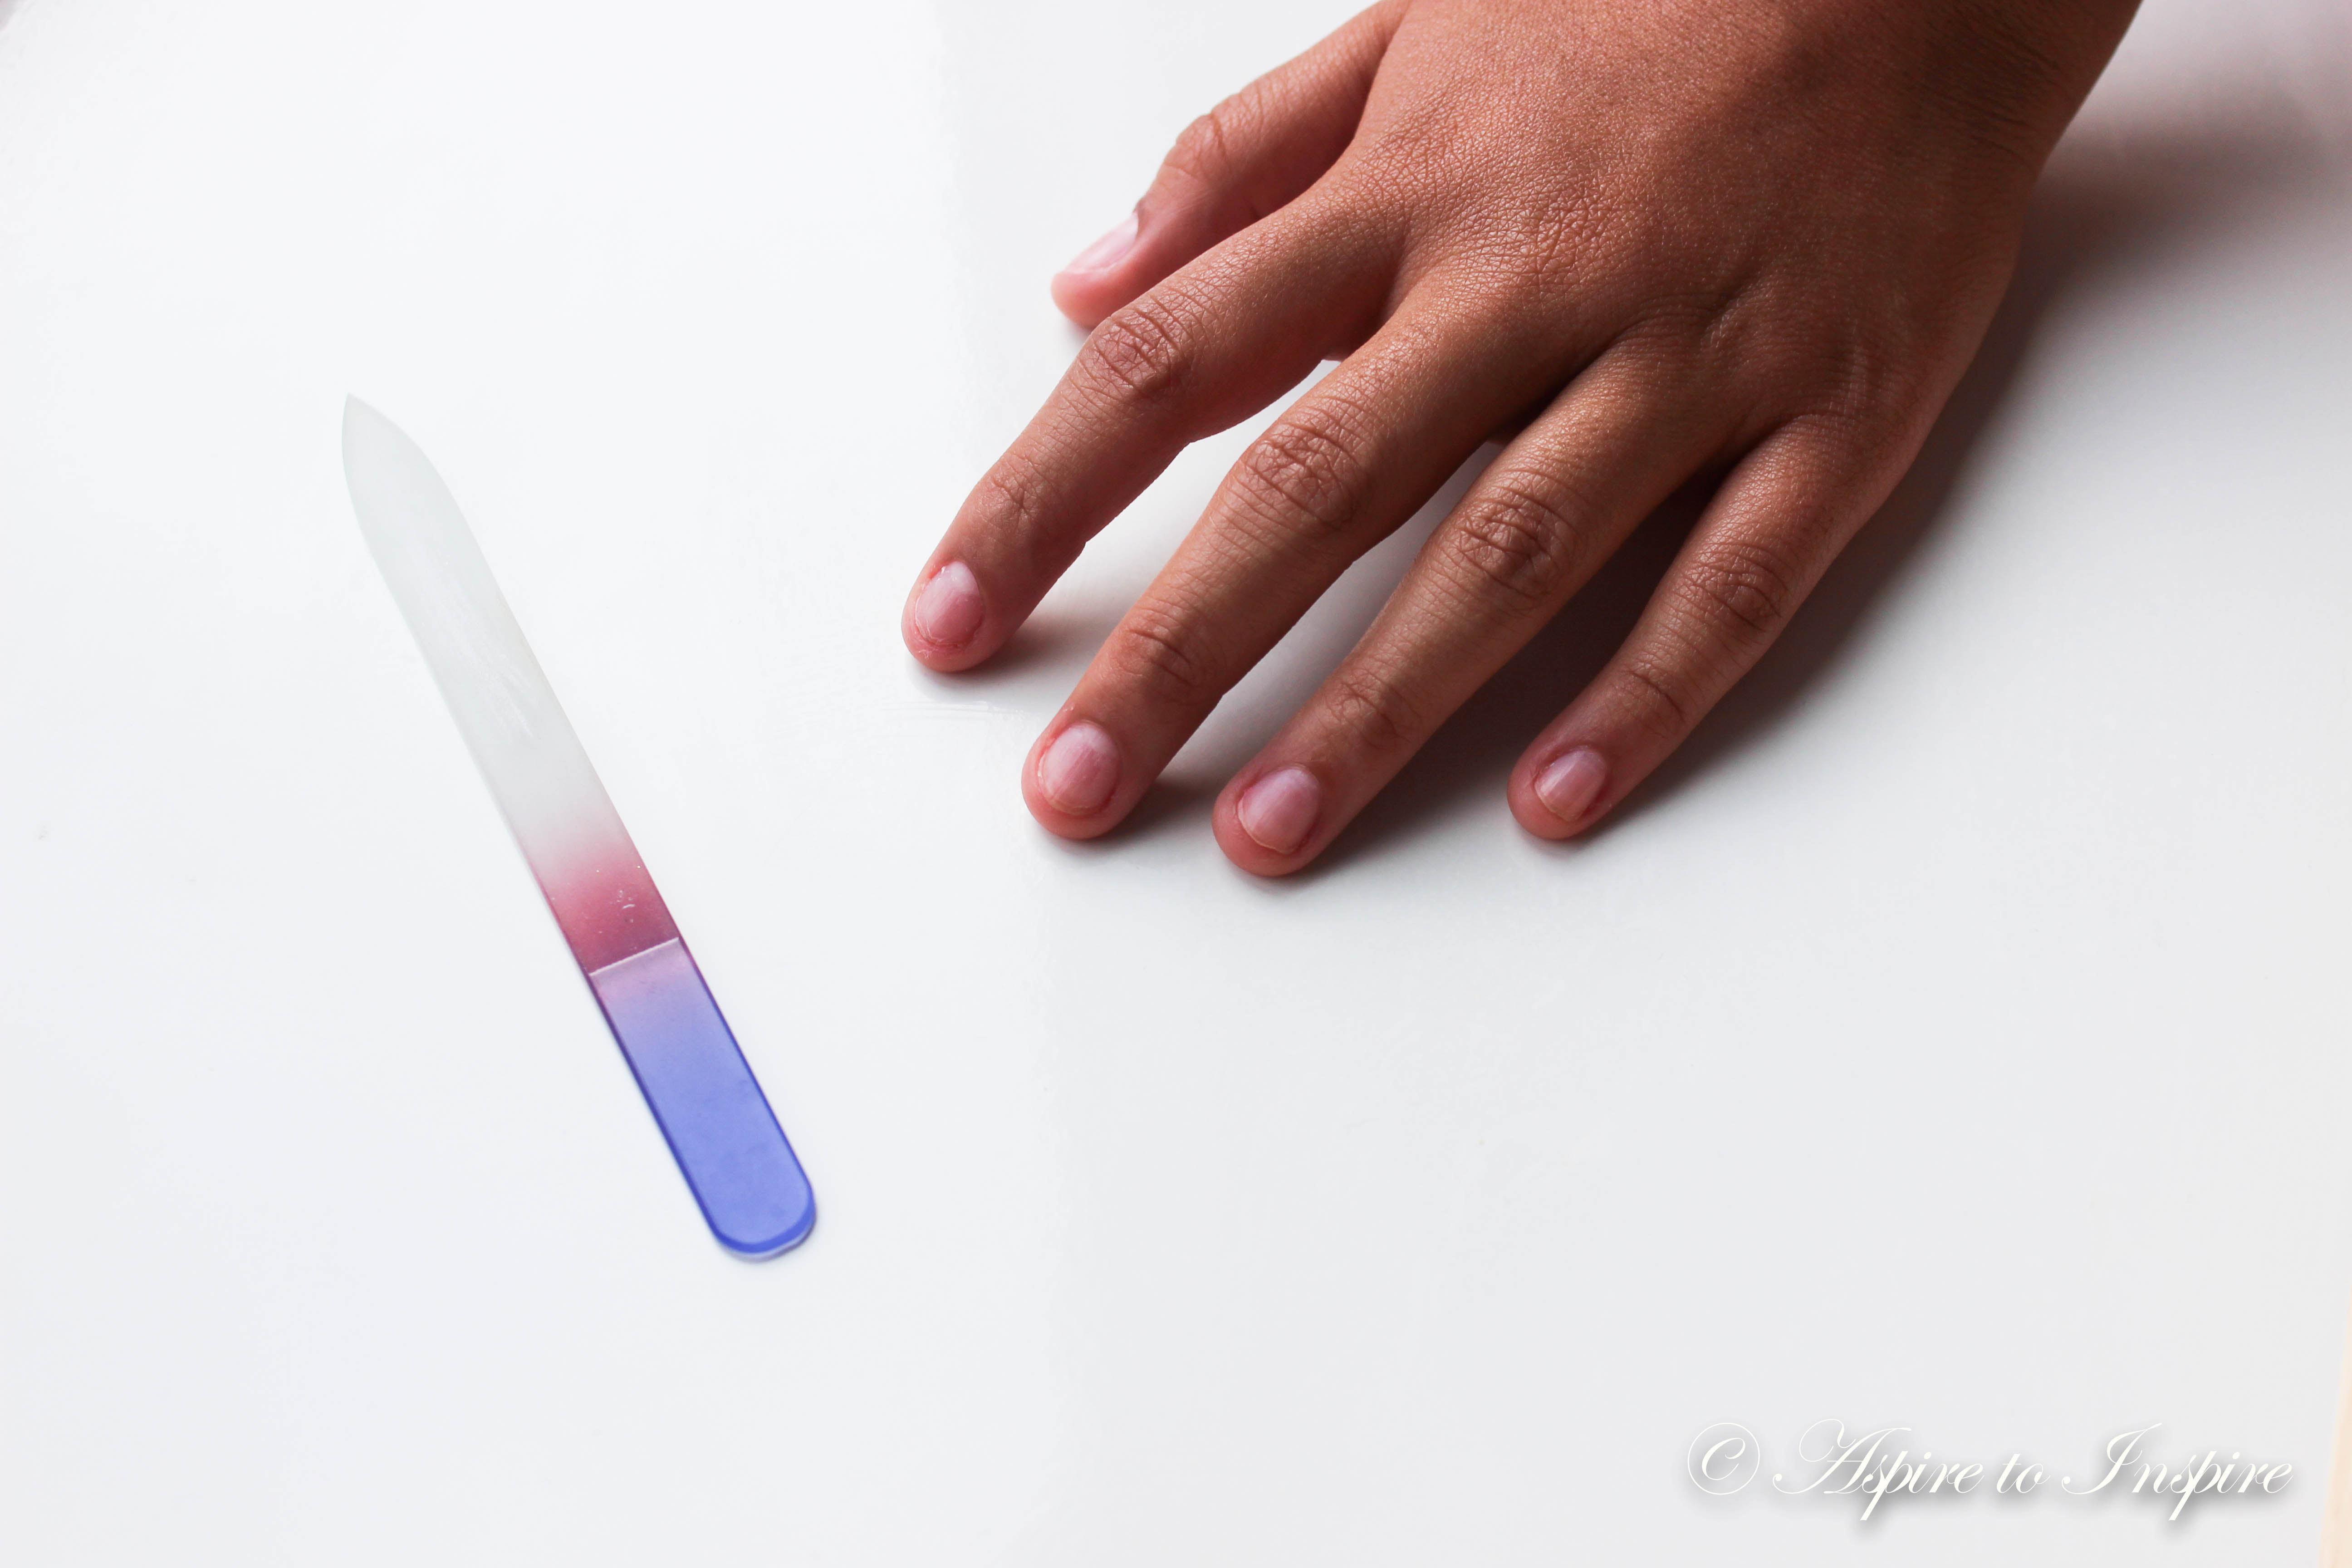
Step 1: If you have longer nails, the nail file will come in handy, you want to give your nails the shape you prefer before applying any nail polish. Be it squared, round or oval. My little sister has very short nails so filing down didn’t take time at all.
Step 2: Next you will start by applying your first base coat, usually one coat is fine but you can always do two.
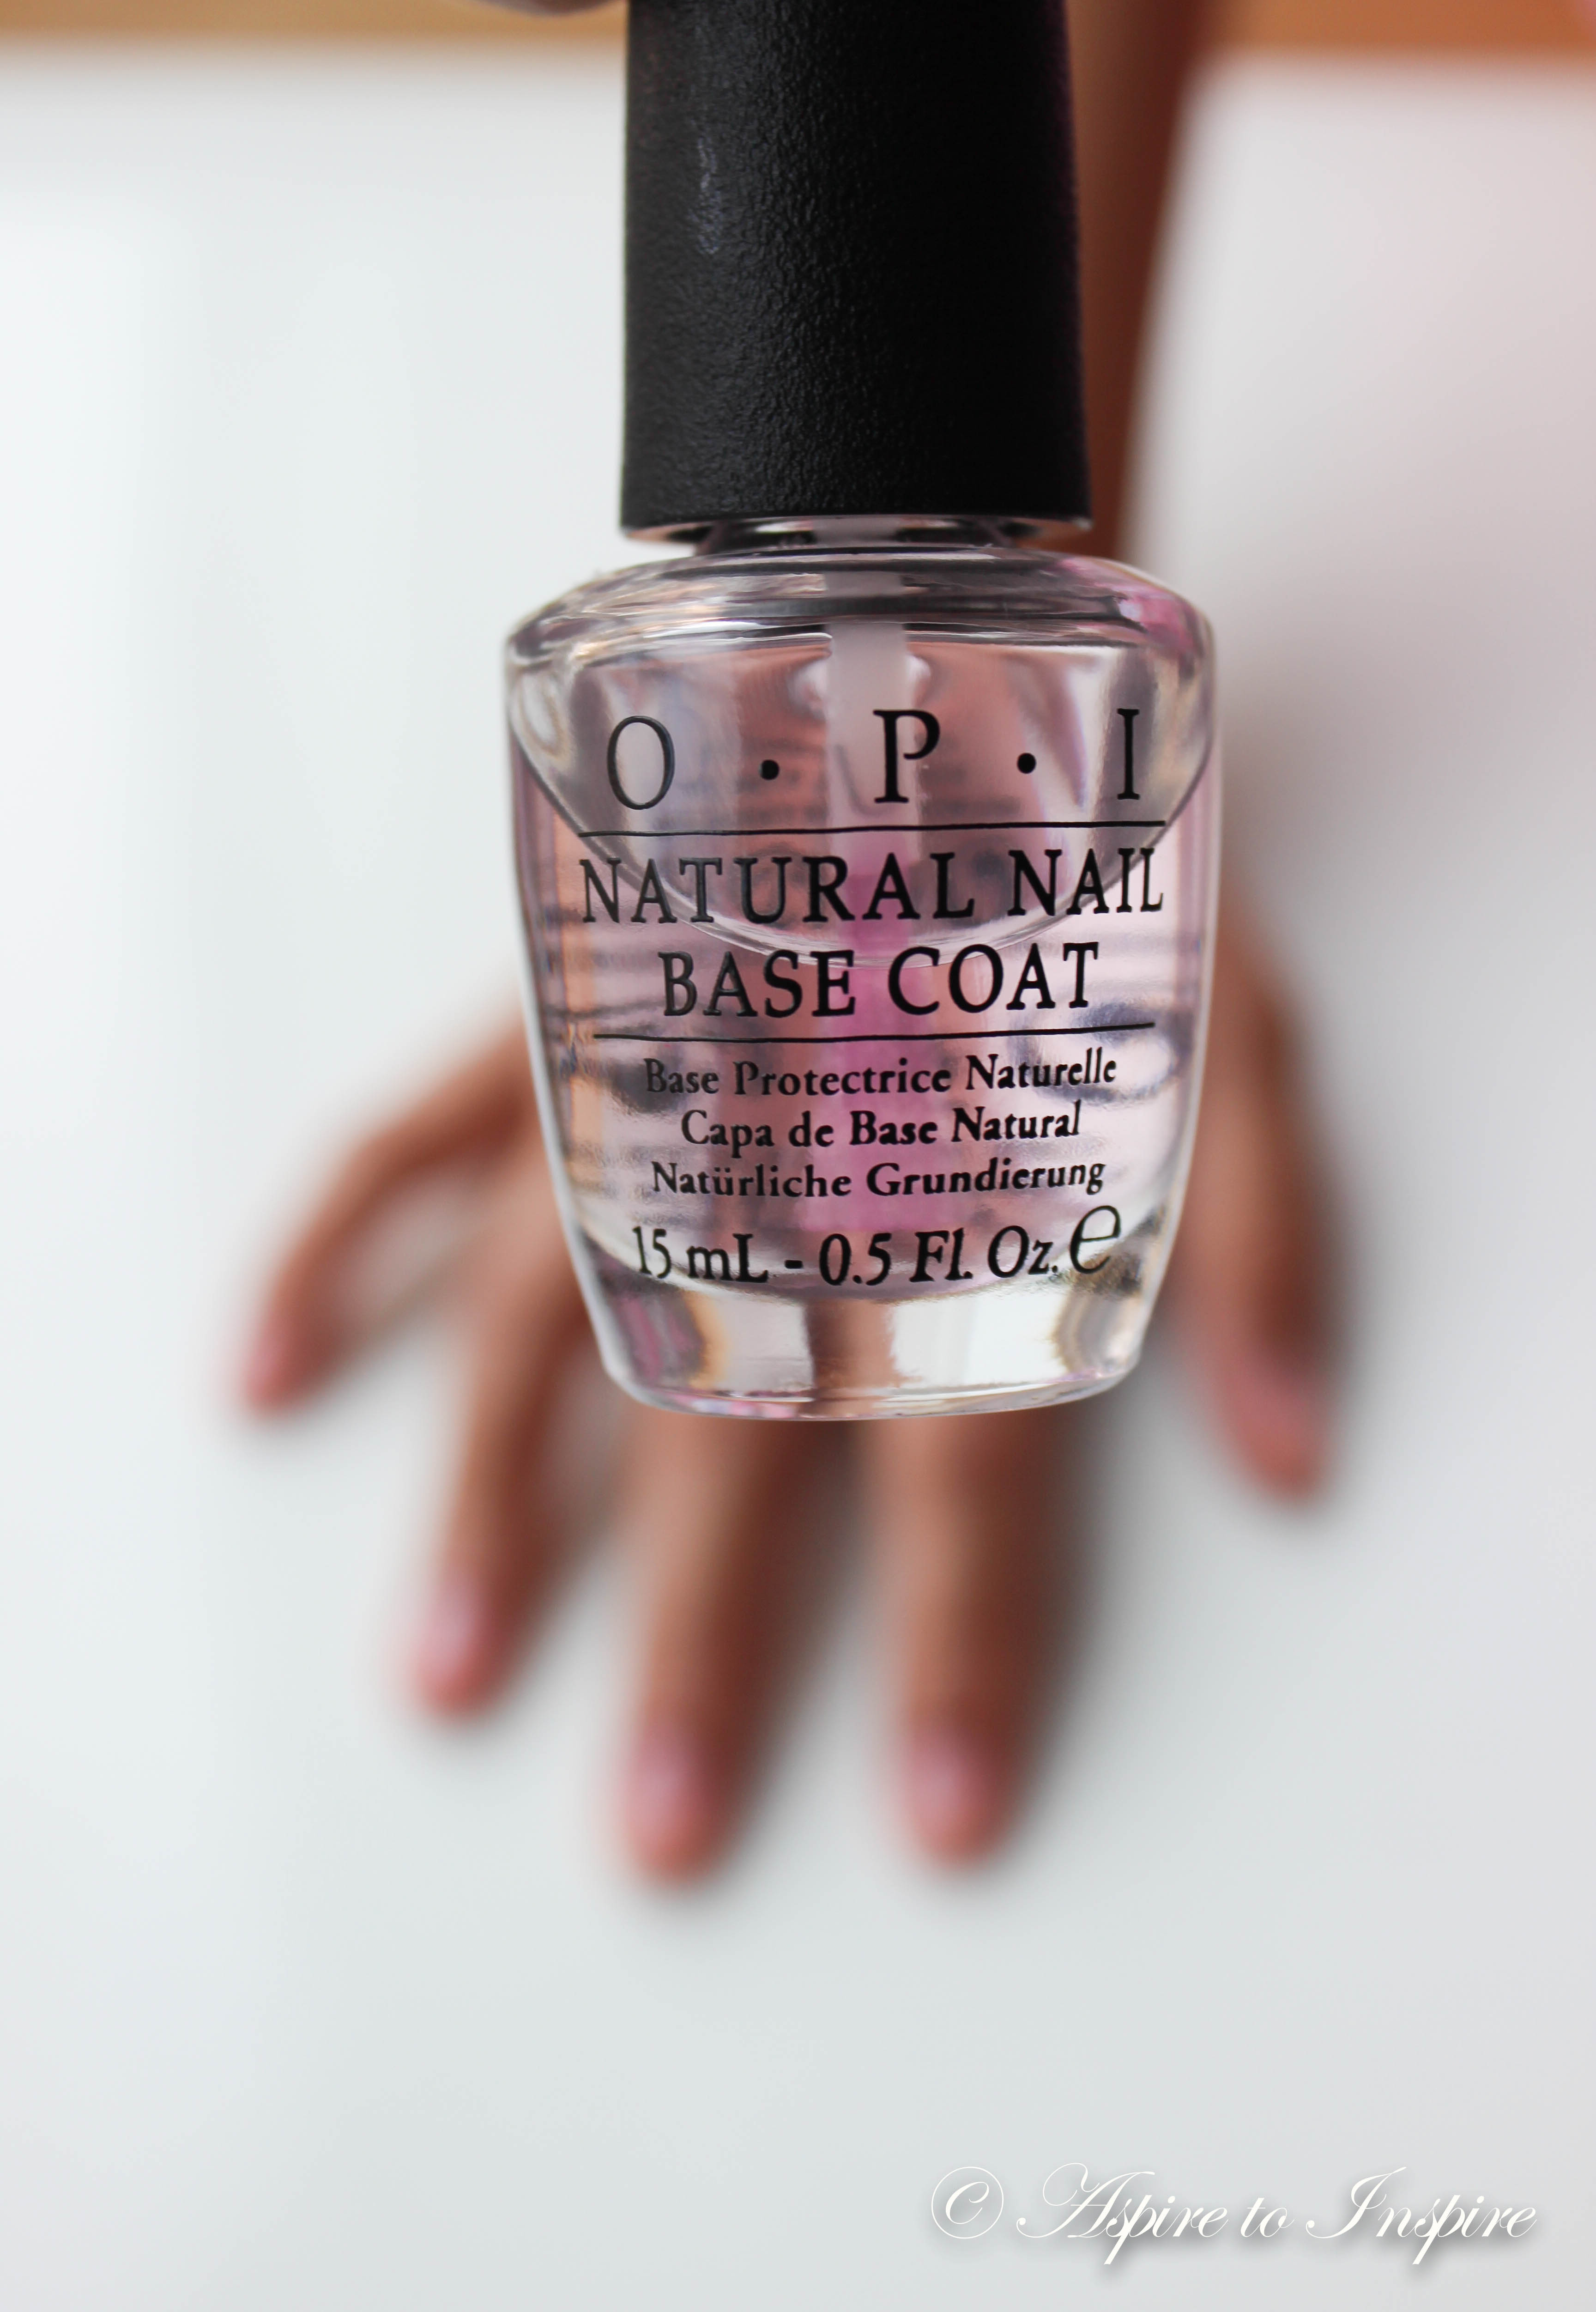
OPI: “Natural nail base coat”
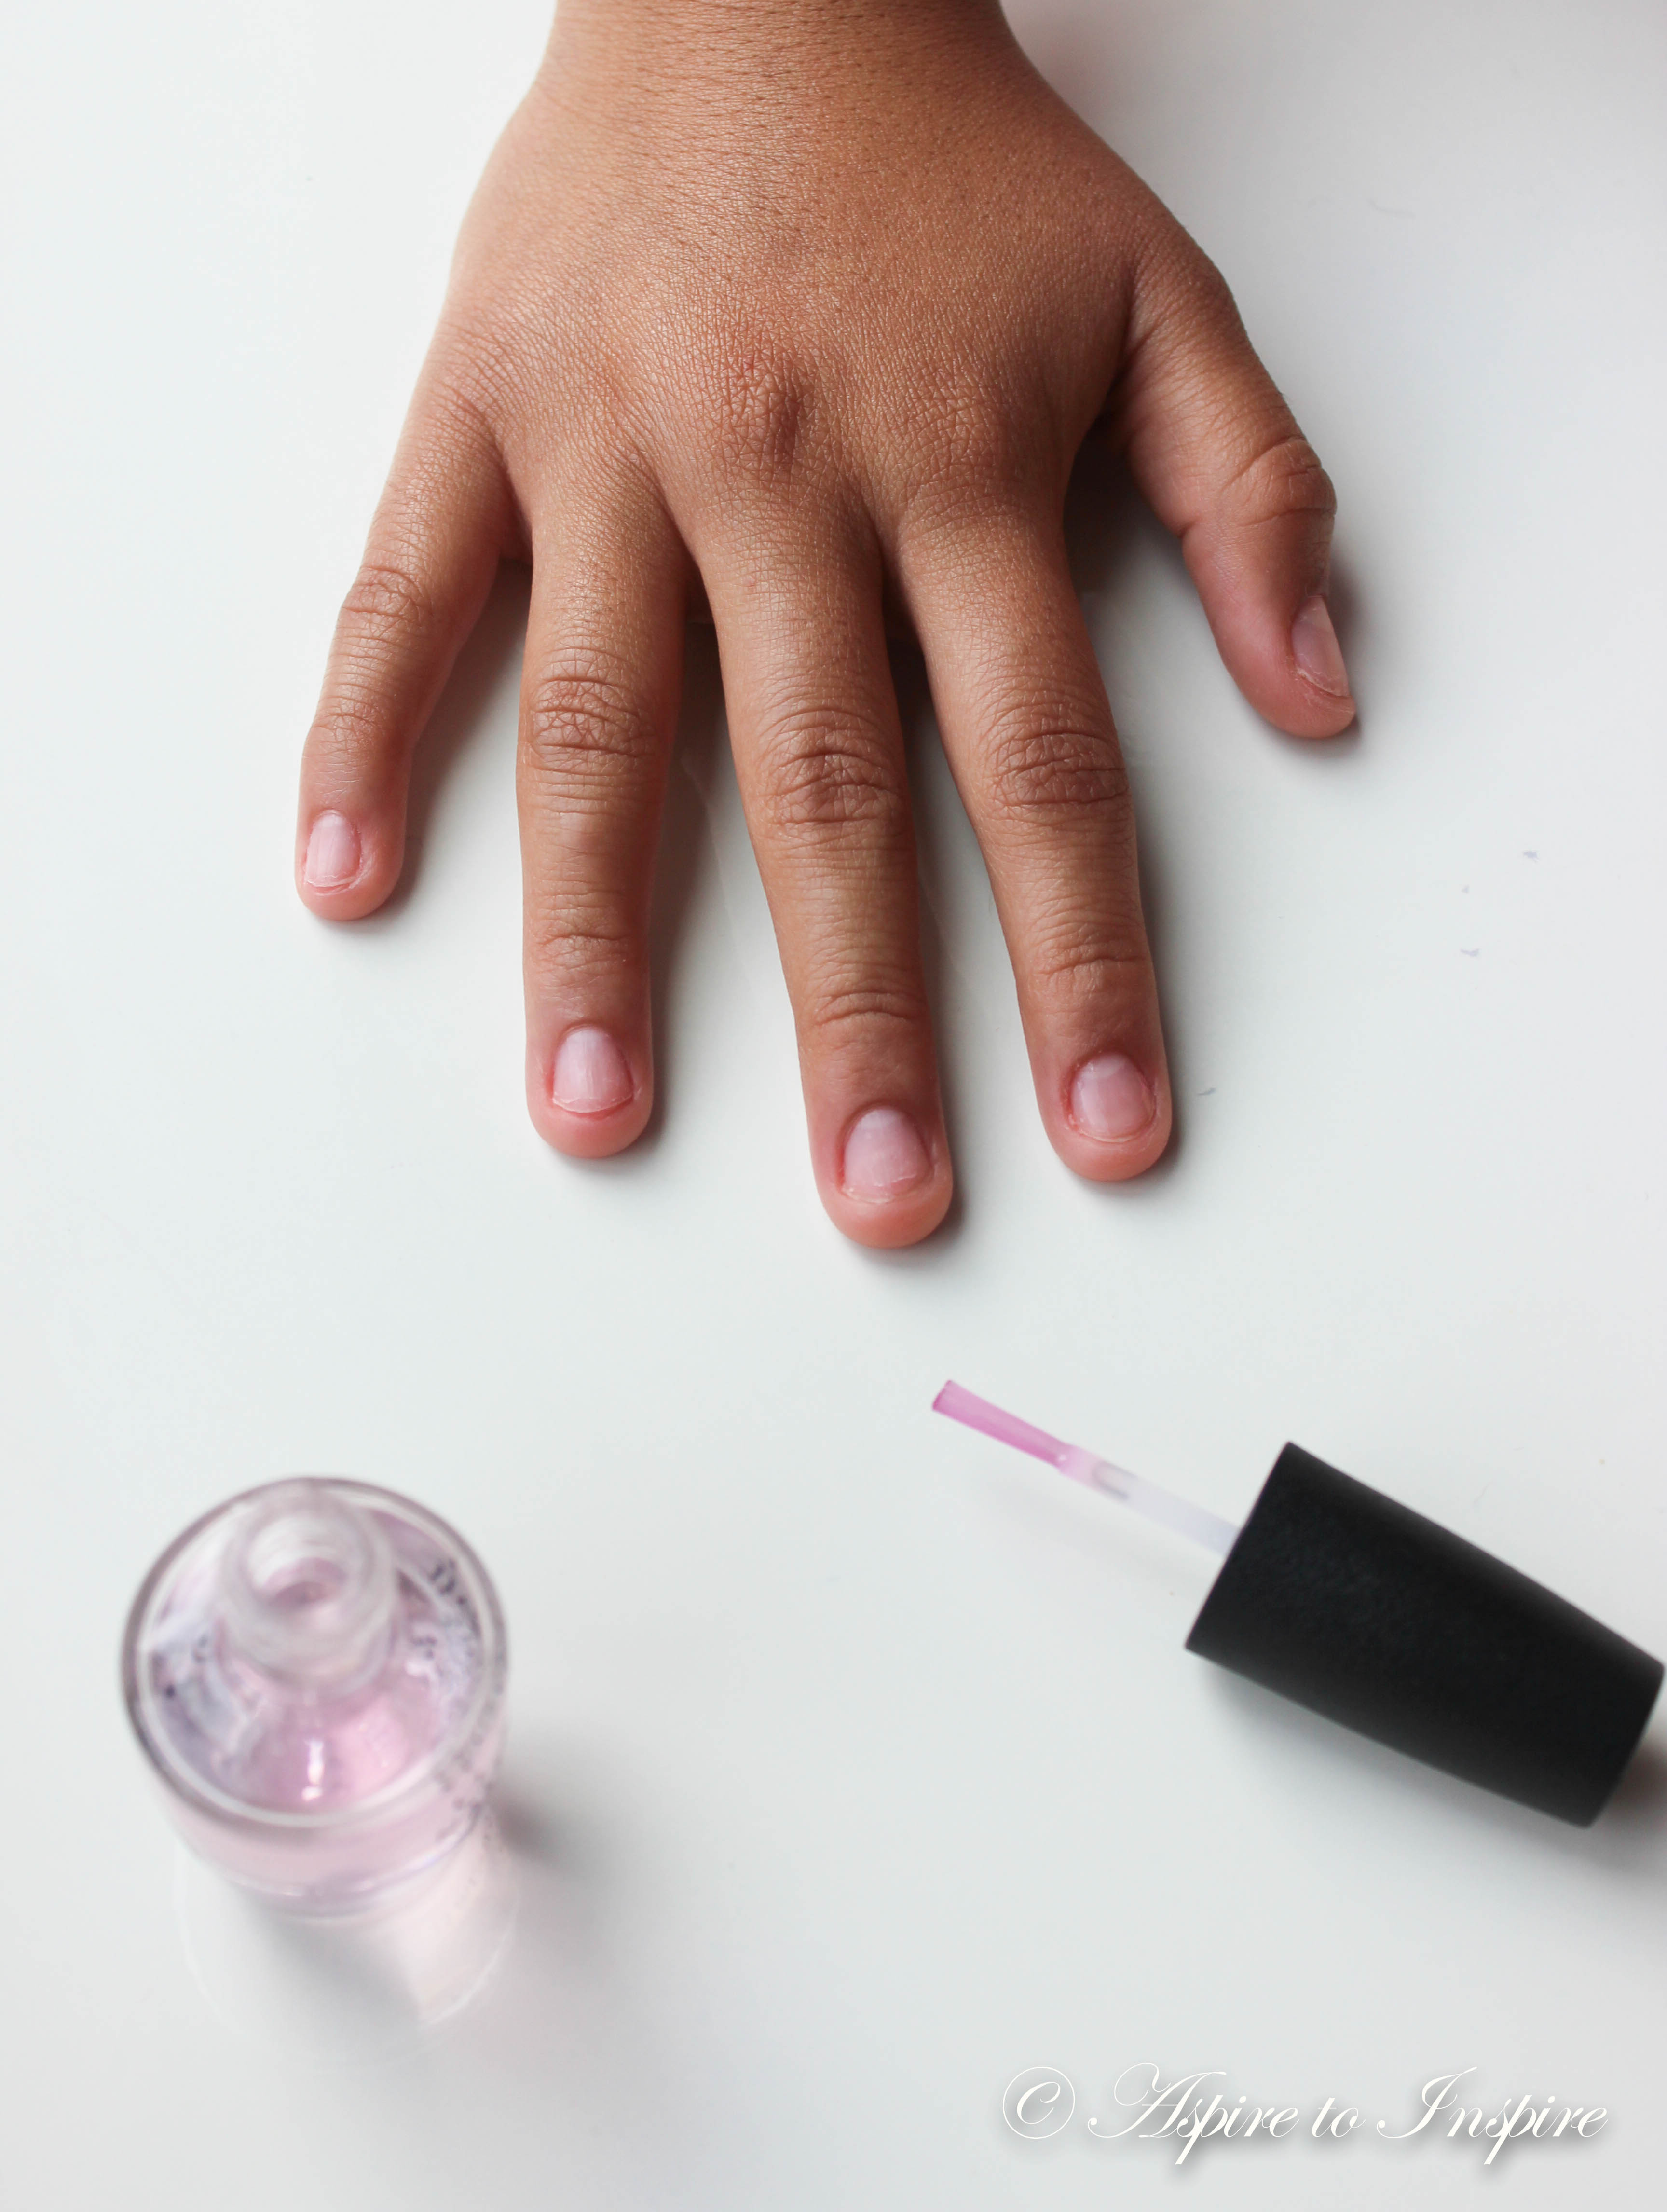
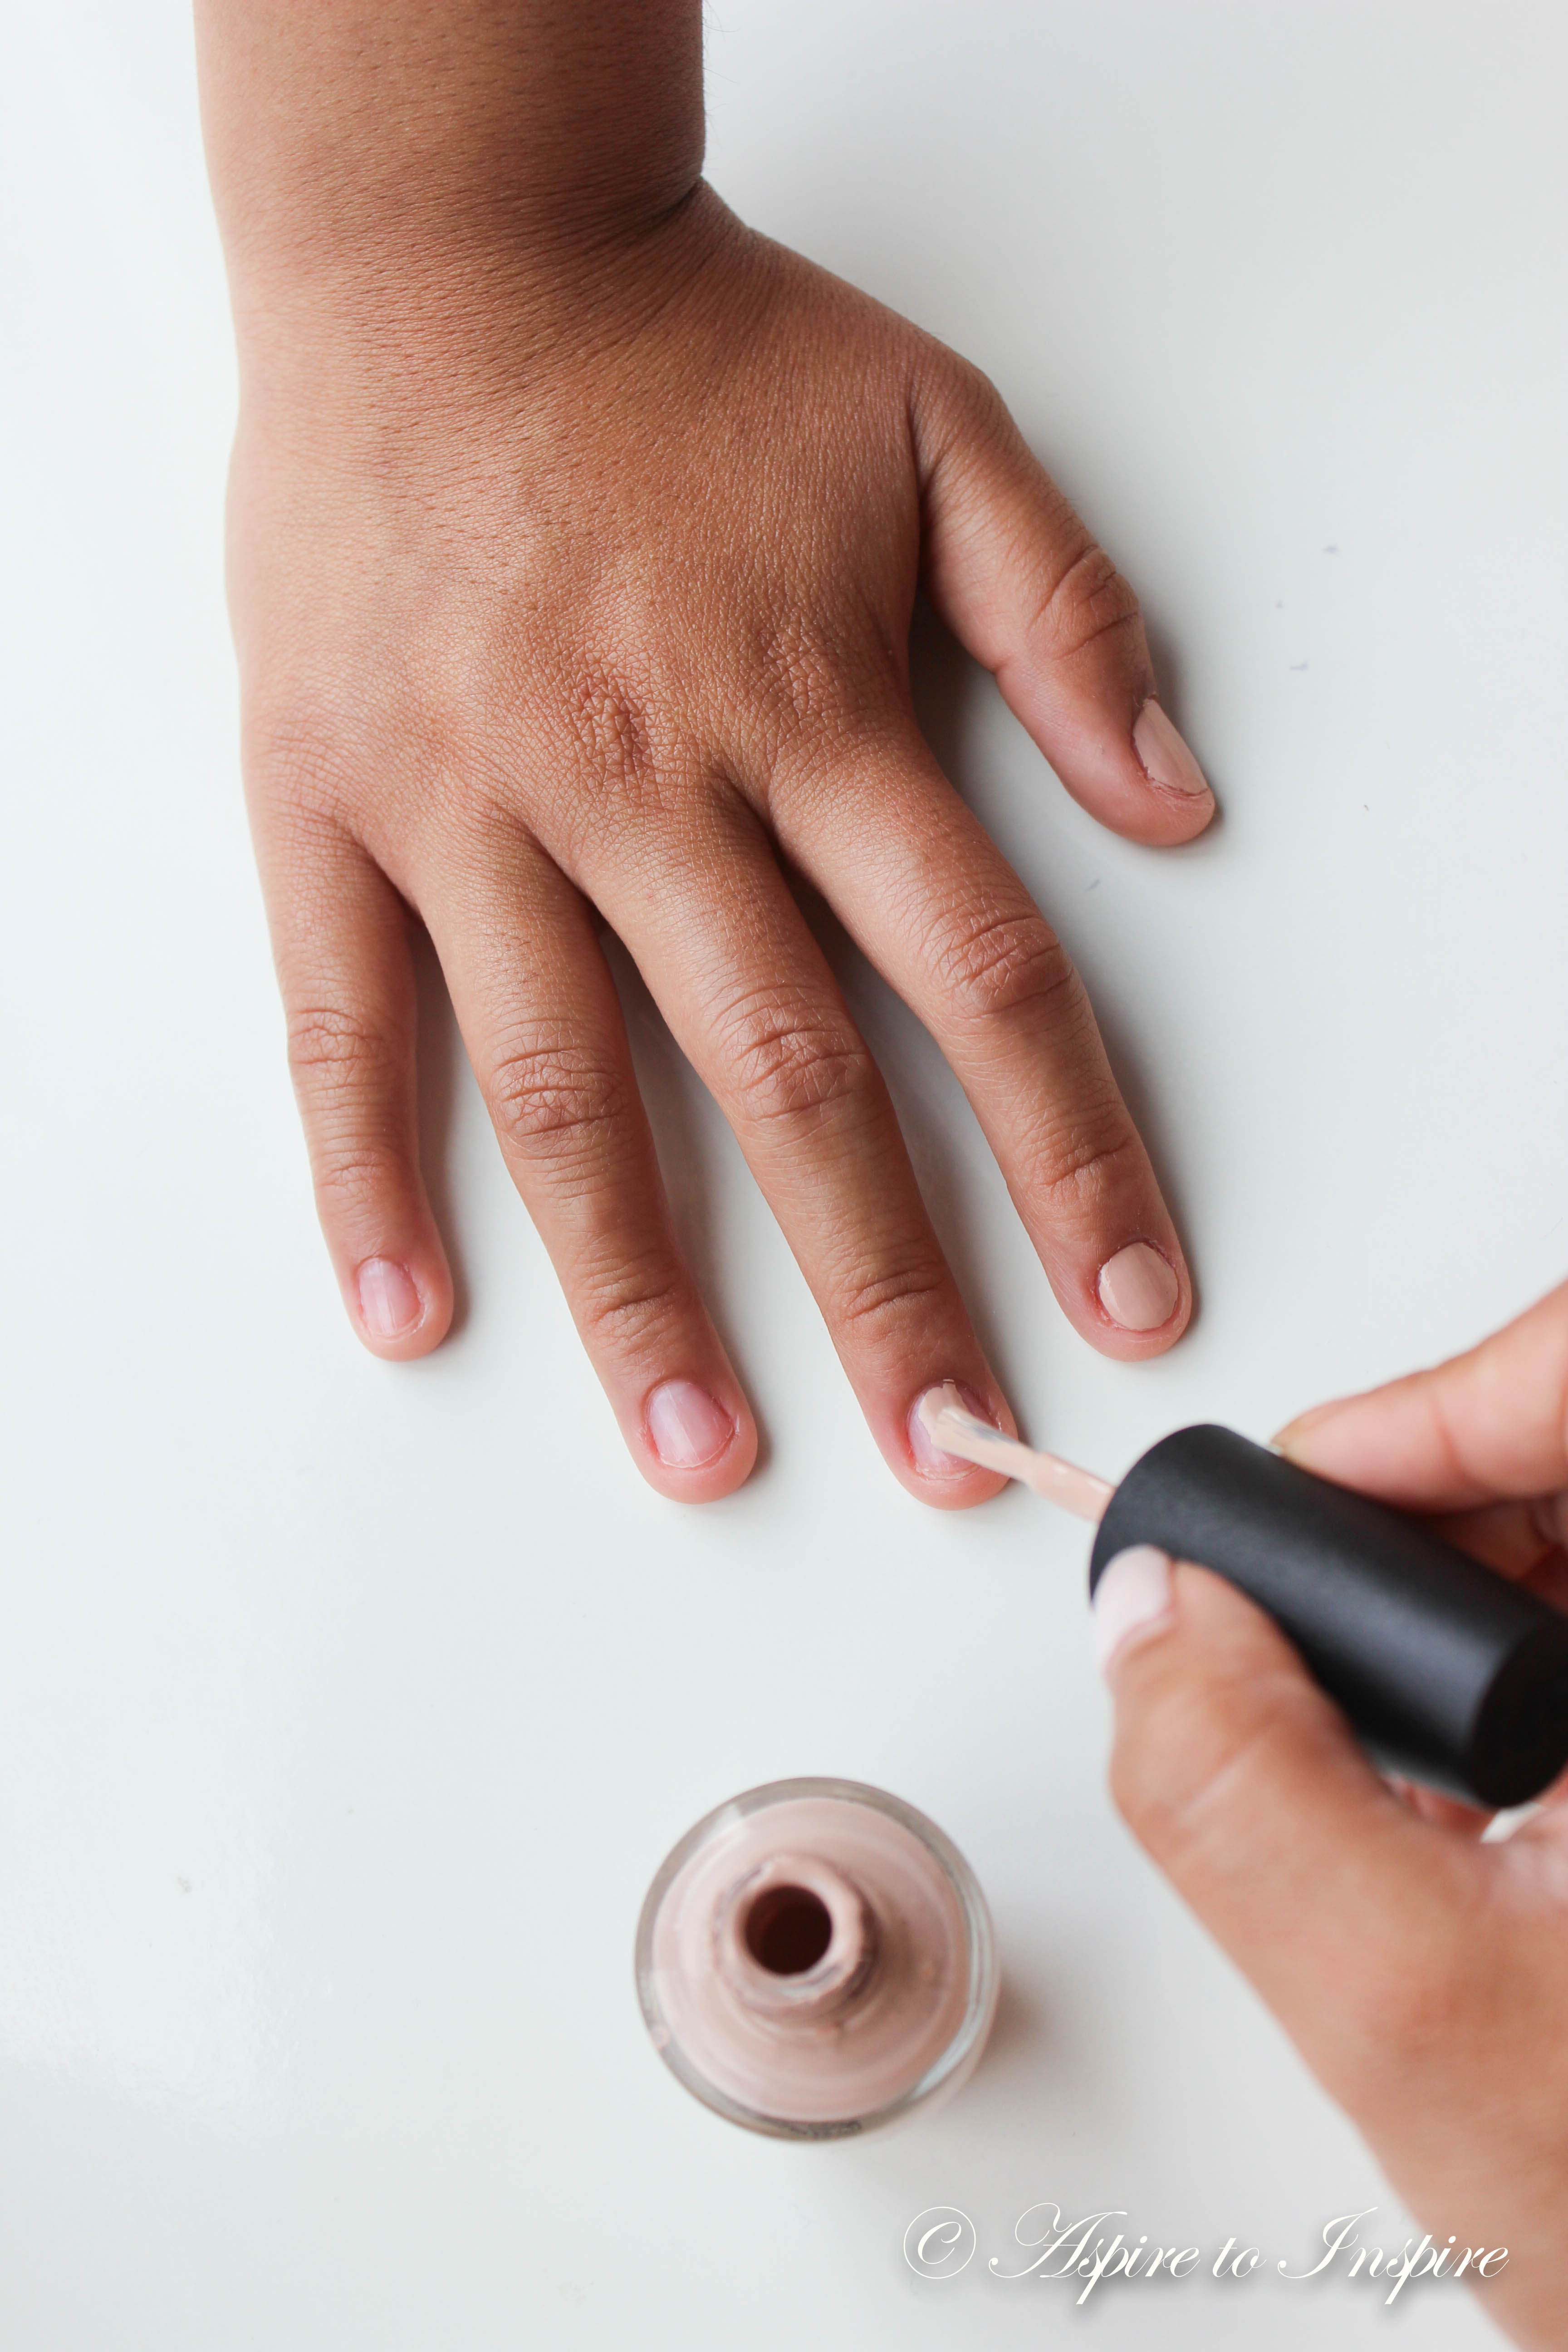
Step 3: Once that is fully dry, you will then start to apply your first coat of the colour of preference and you want to make sure you add two coats of this.

OPI: “Don’t pretzel my buttons”
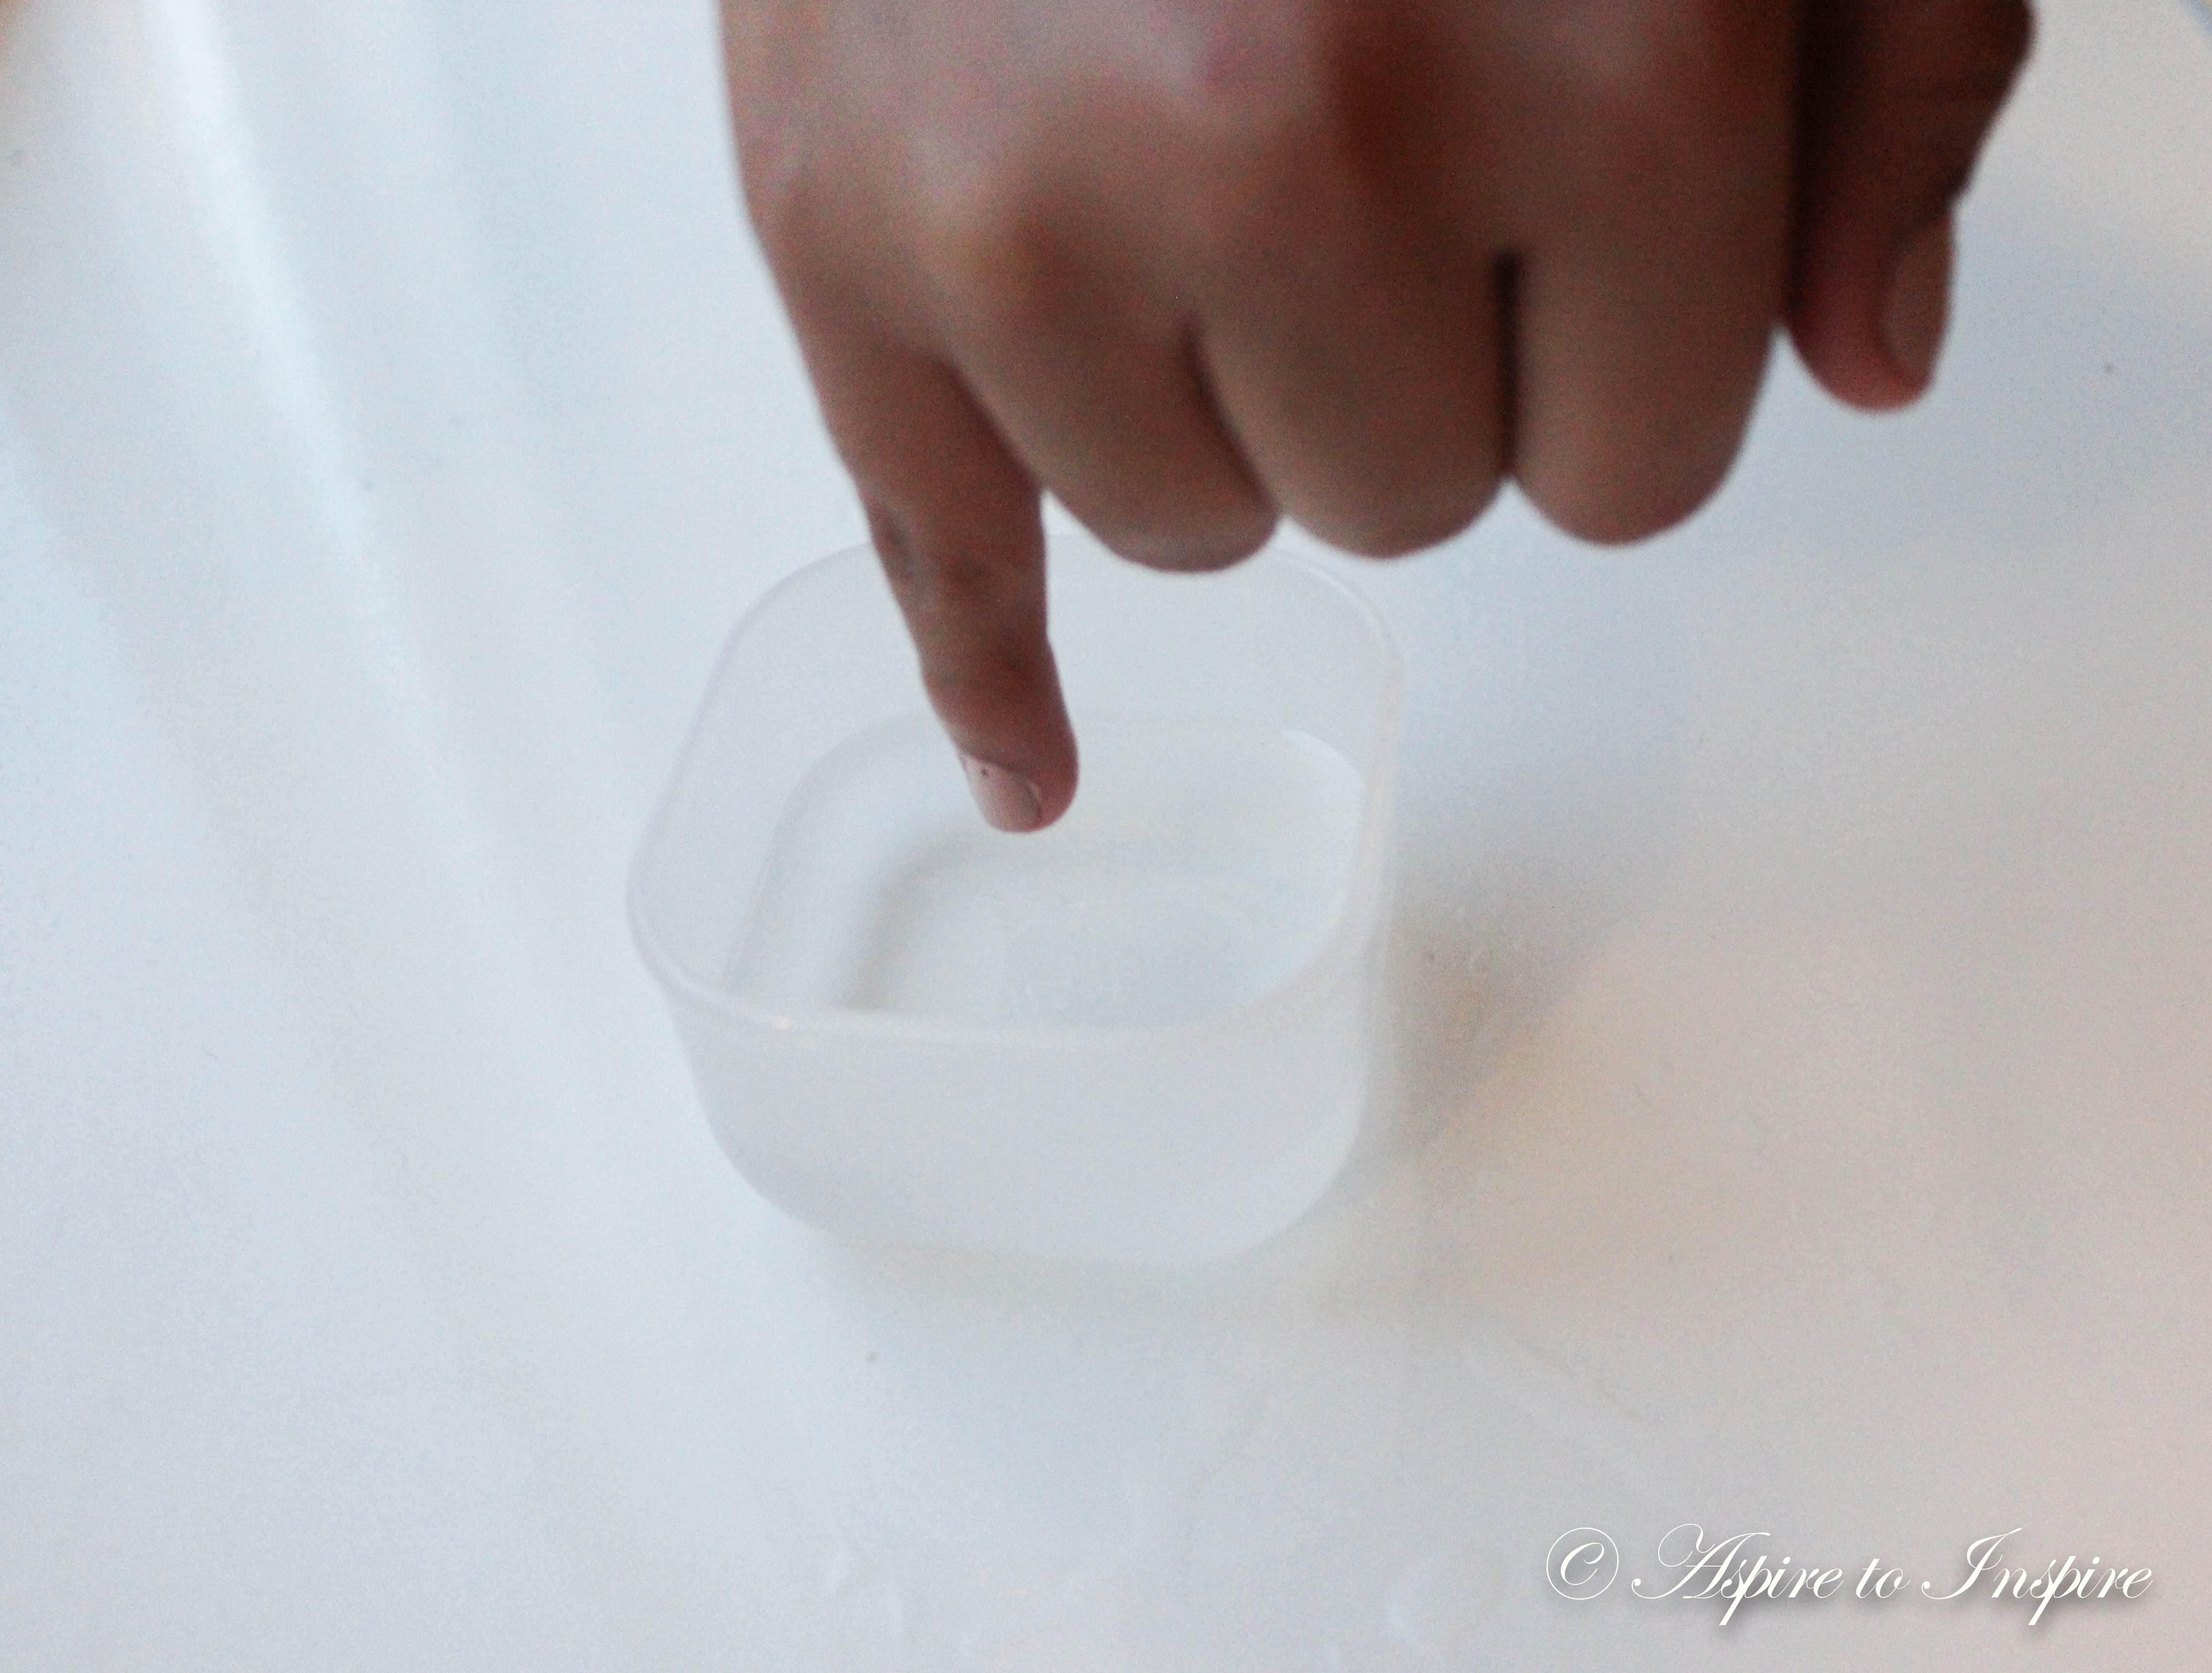
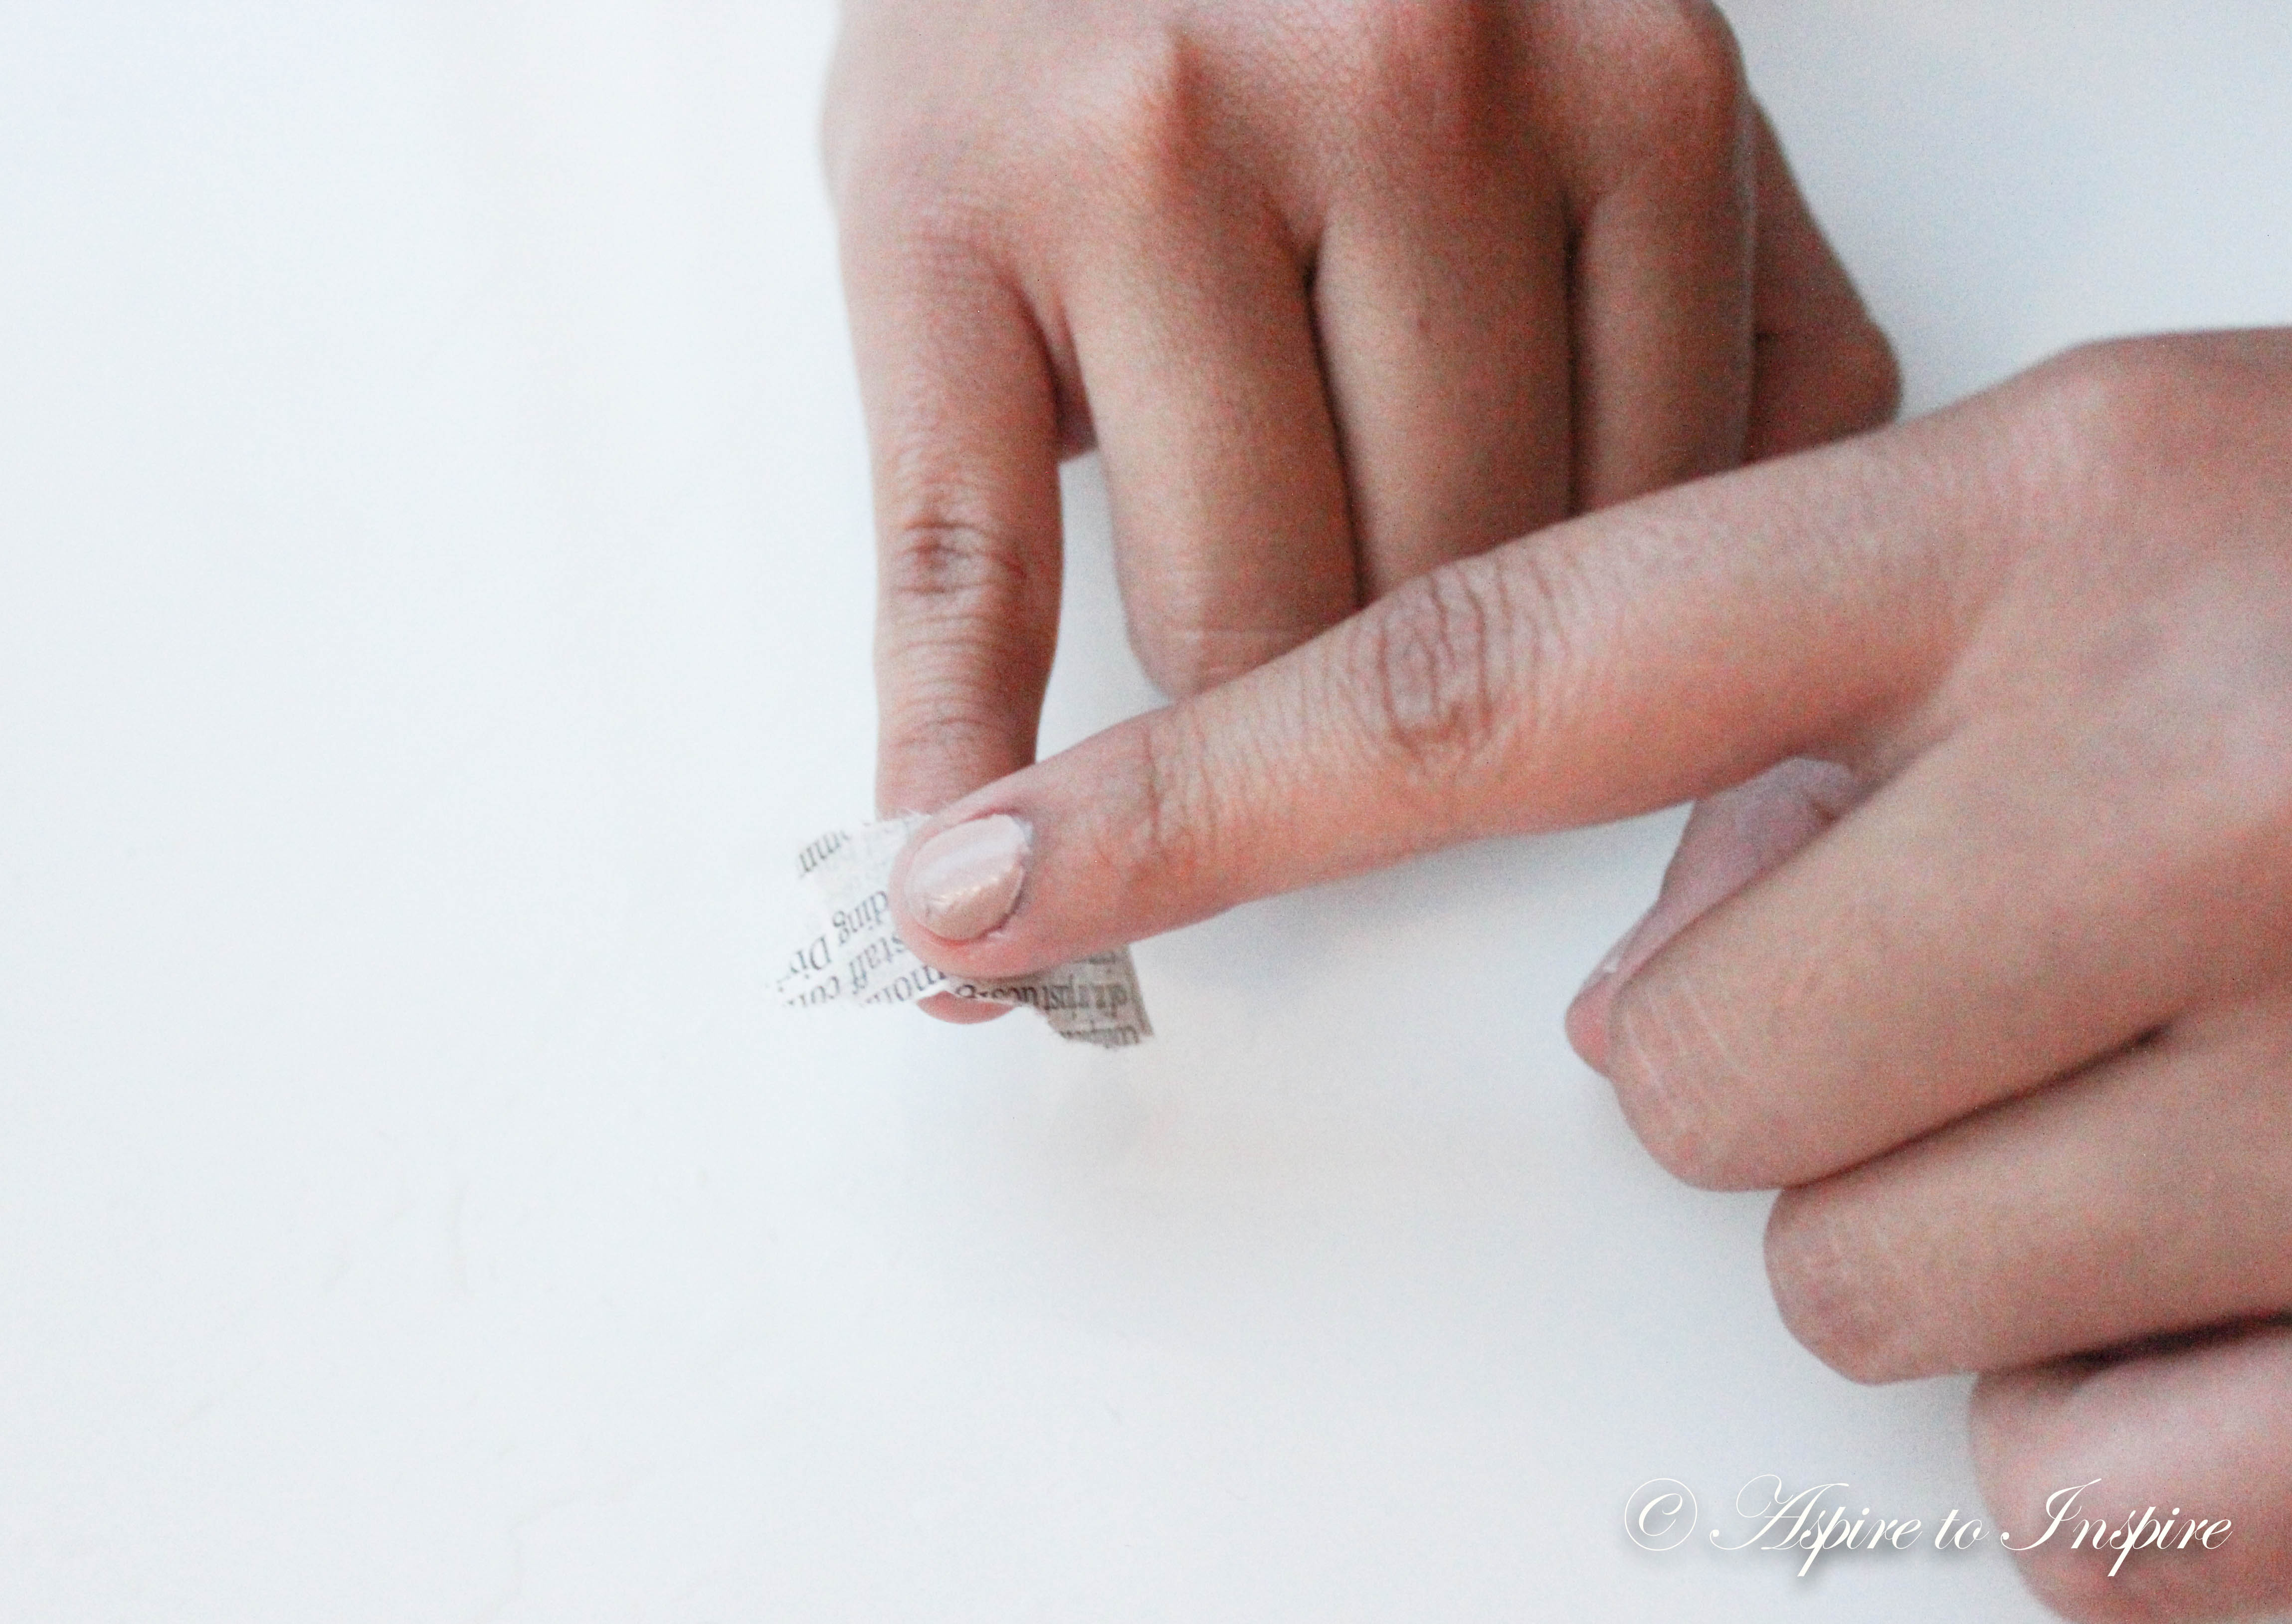
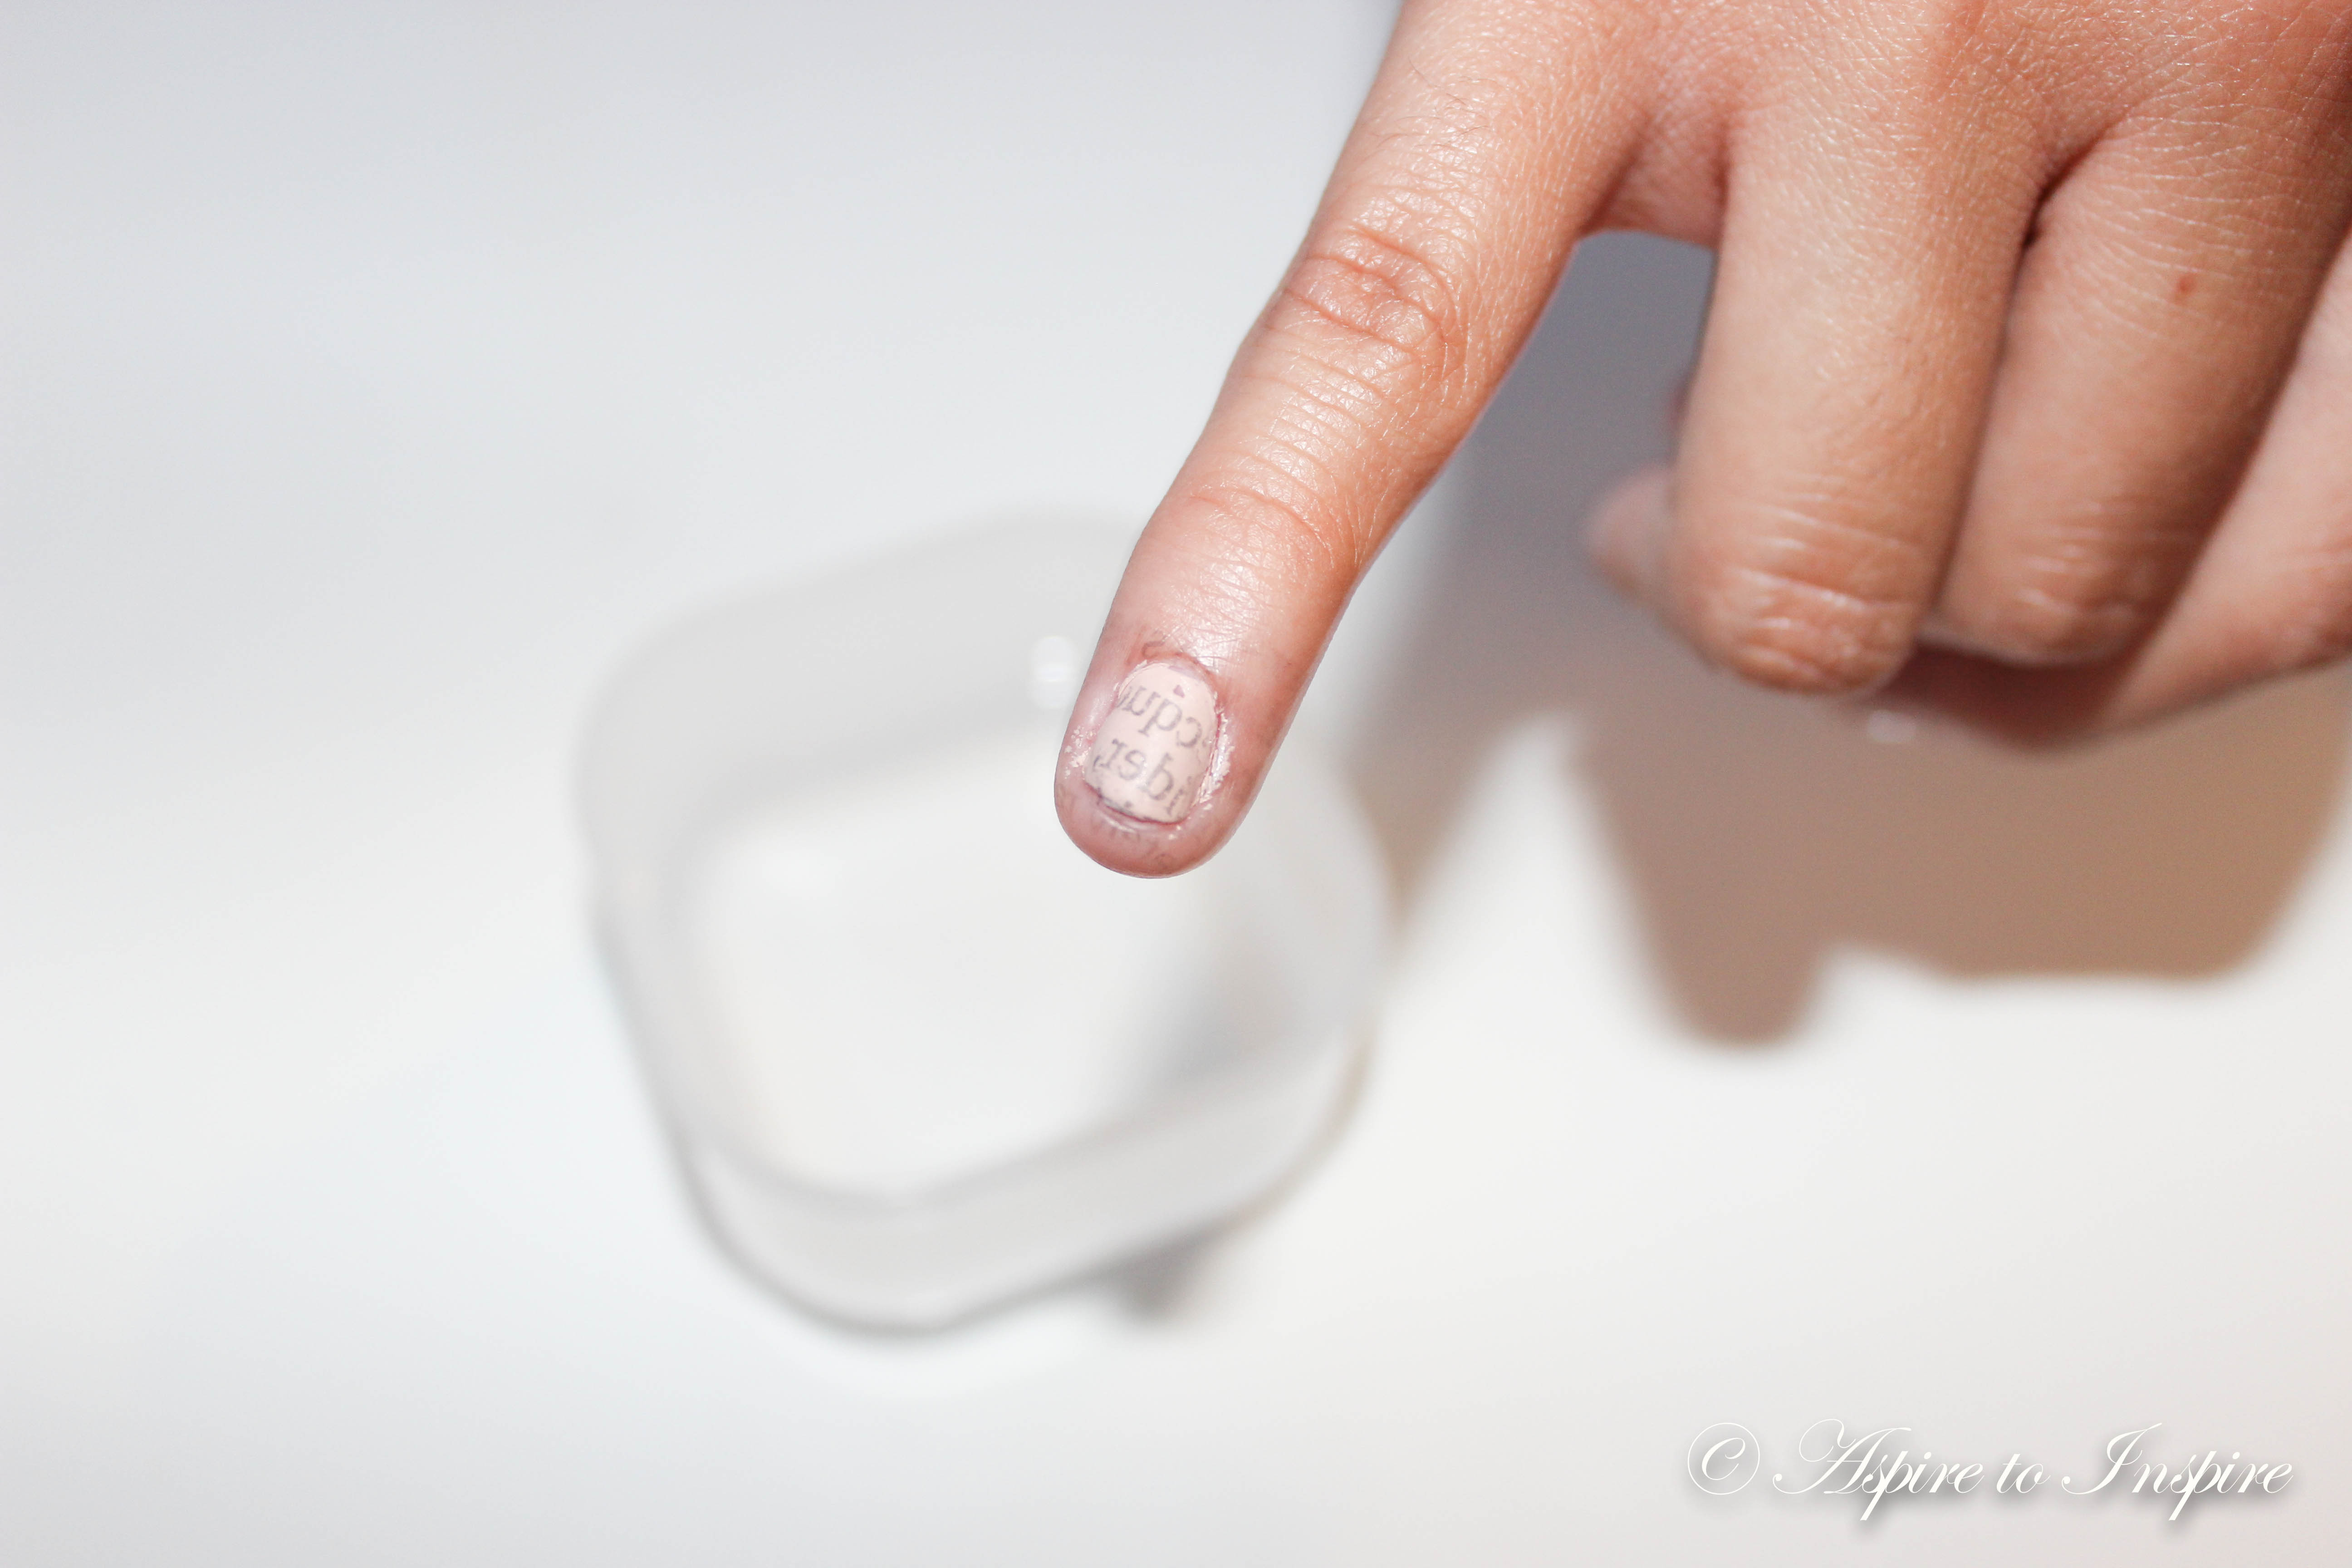
Step 4: After you have applied both coats of the colour and have waited at least 10mins for them to fully dry, you will then dip and hold your first finger in the bowl of alcohol for 5 secs. When 5 secs have passed you will start by taking one of your cut up newspaper pieces and apply the side with the writing onto your finger nail, press and hold for about 15 secs; you want to press down onto it as you would if you were applying a rub on tattoo, Same pressure. 15 seconds are now up, peel newspaper off gently.
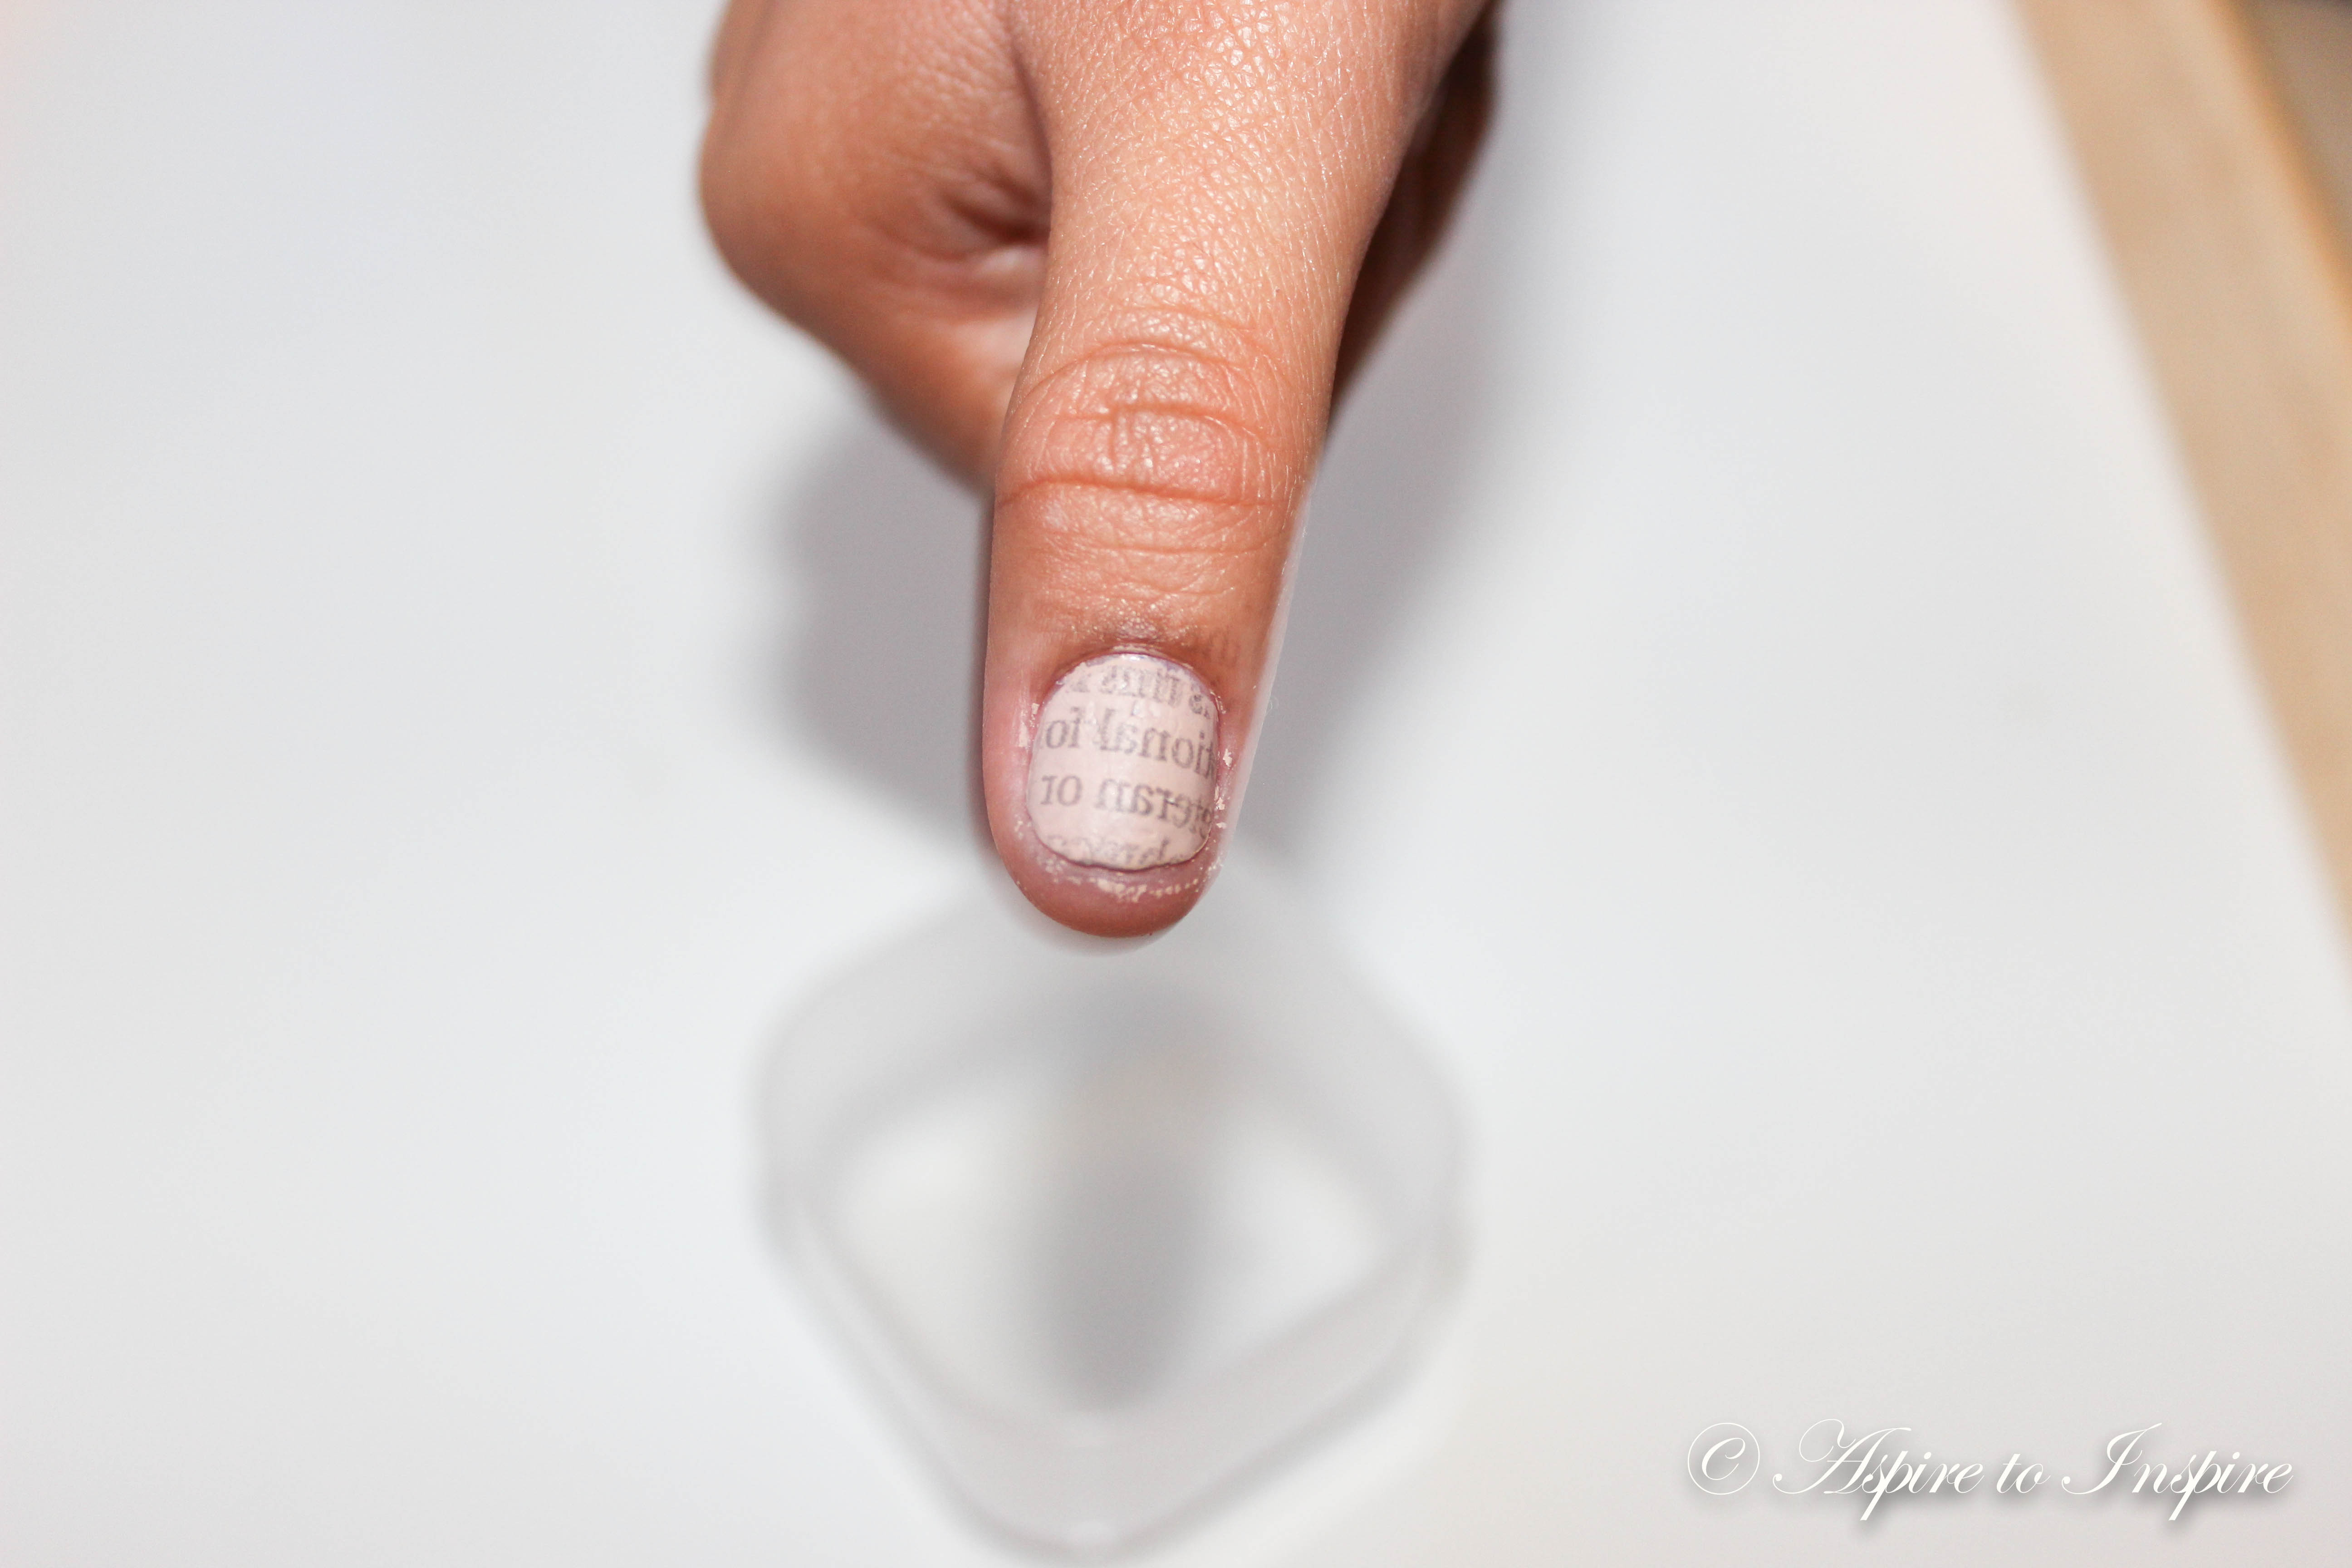
Step 5: Now that you finally have your first newspaper print on one finger you repeat the same on the others.
Step 6: When all your nails are finally done on both hands, make sure you don’t forget to apply TWO top coats
Here is a picture of how it would look like on a longer finger nail! I decided to only do the design on my ring fingers, but you can always play around with it as you wish.
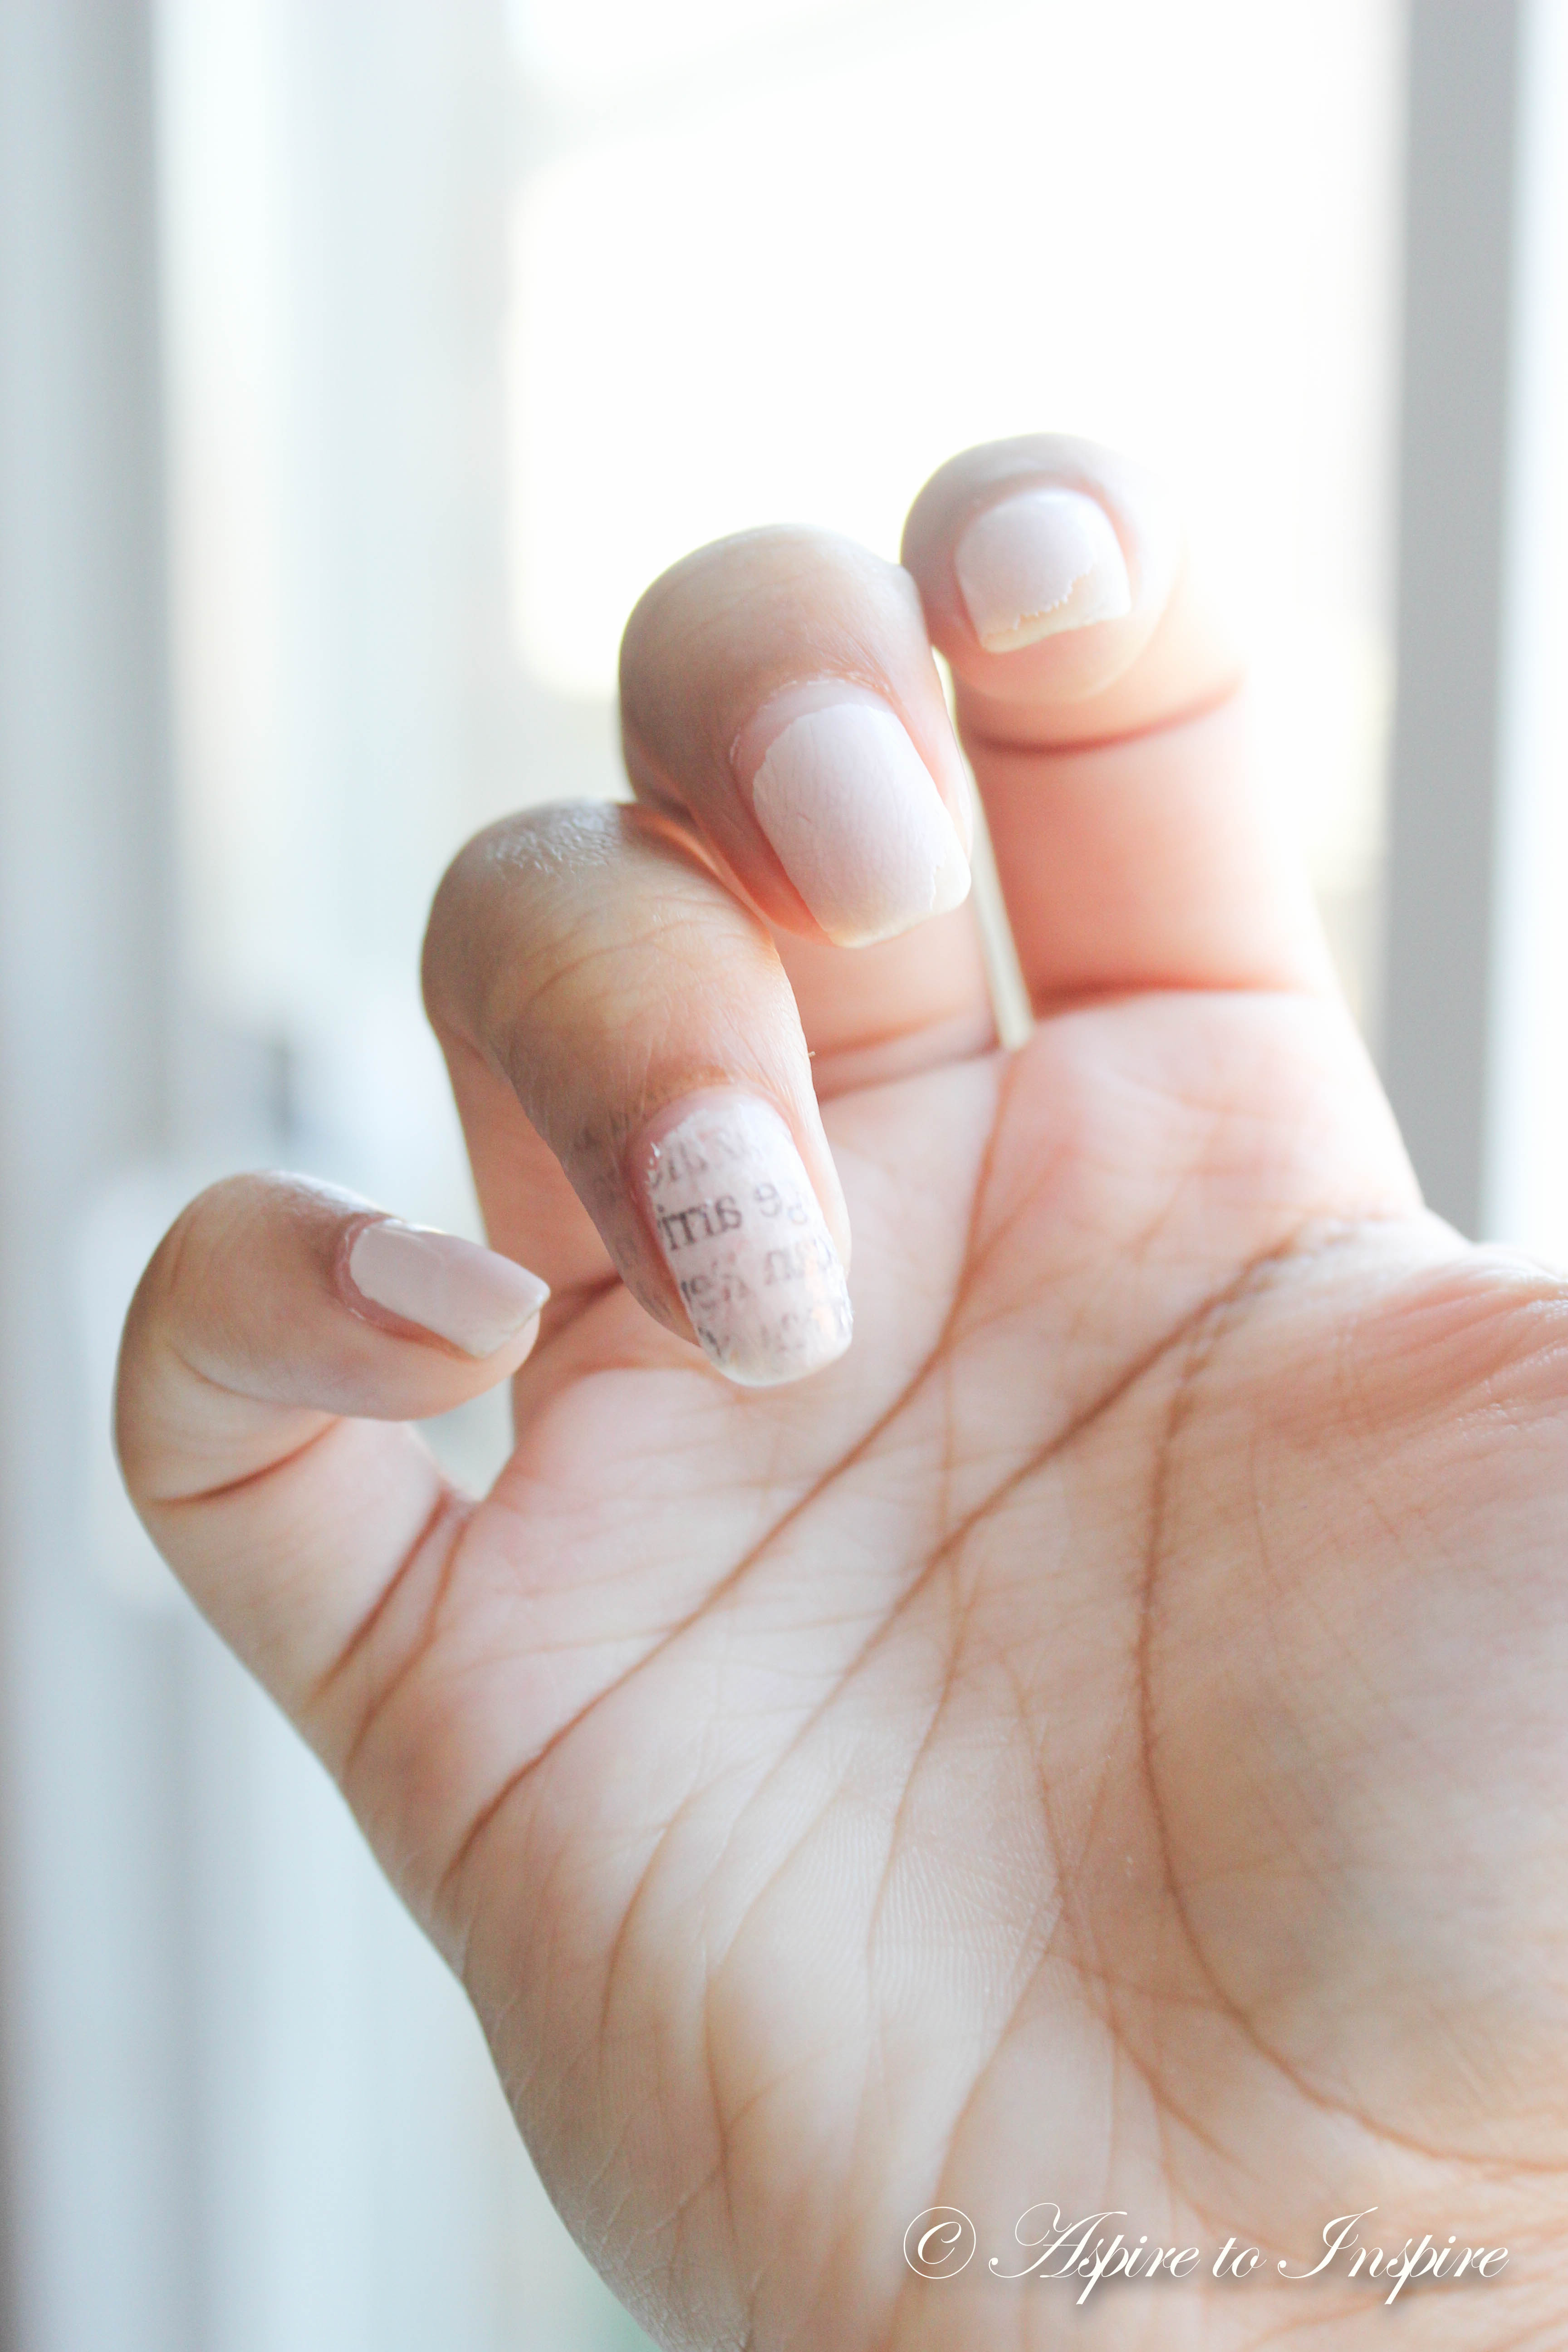
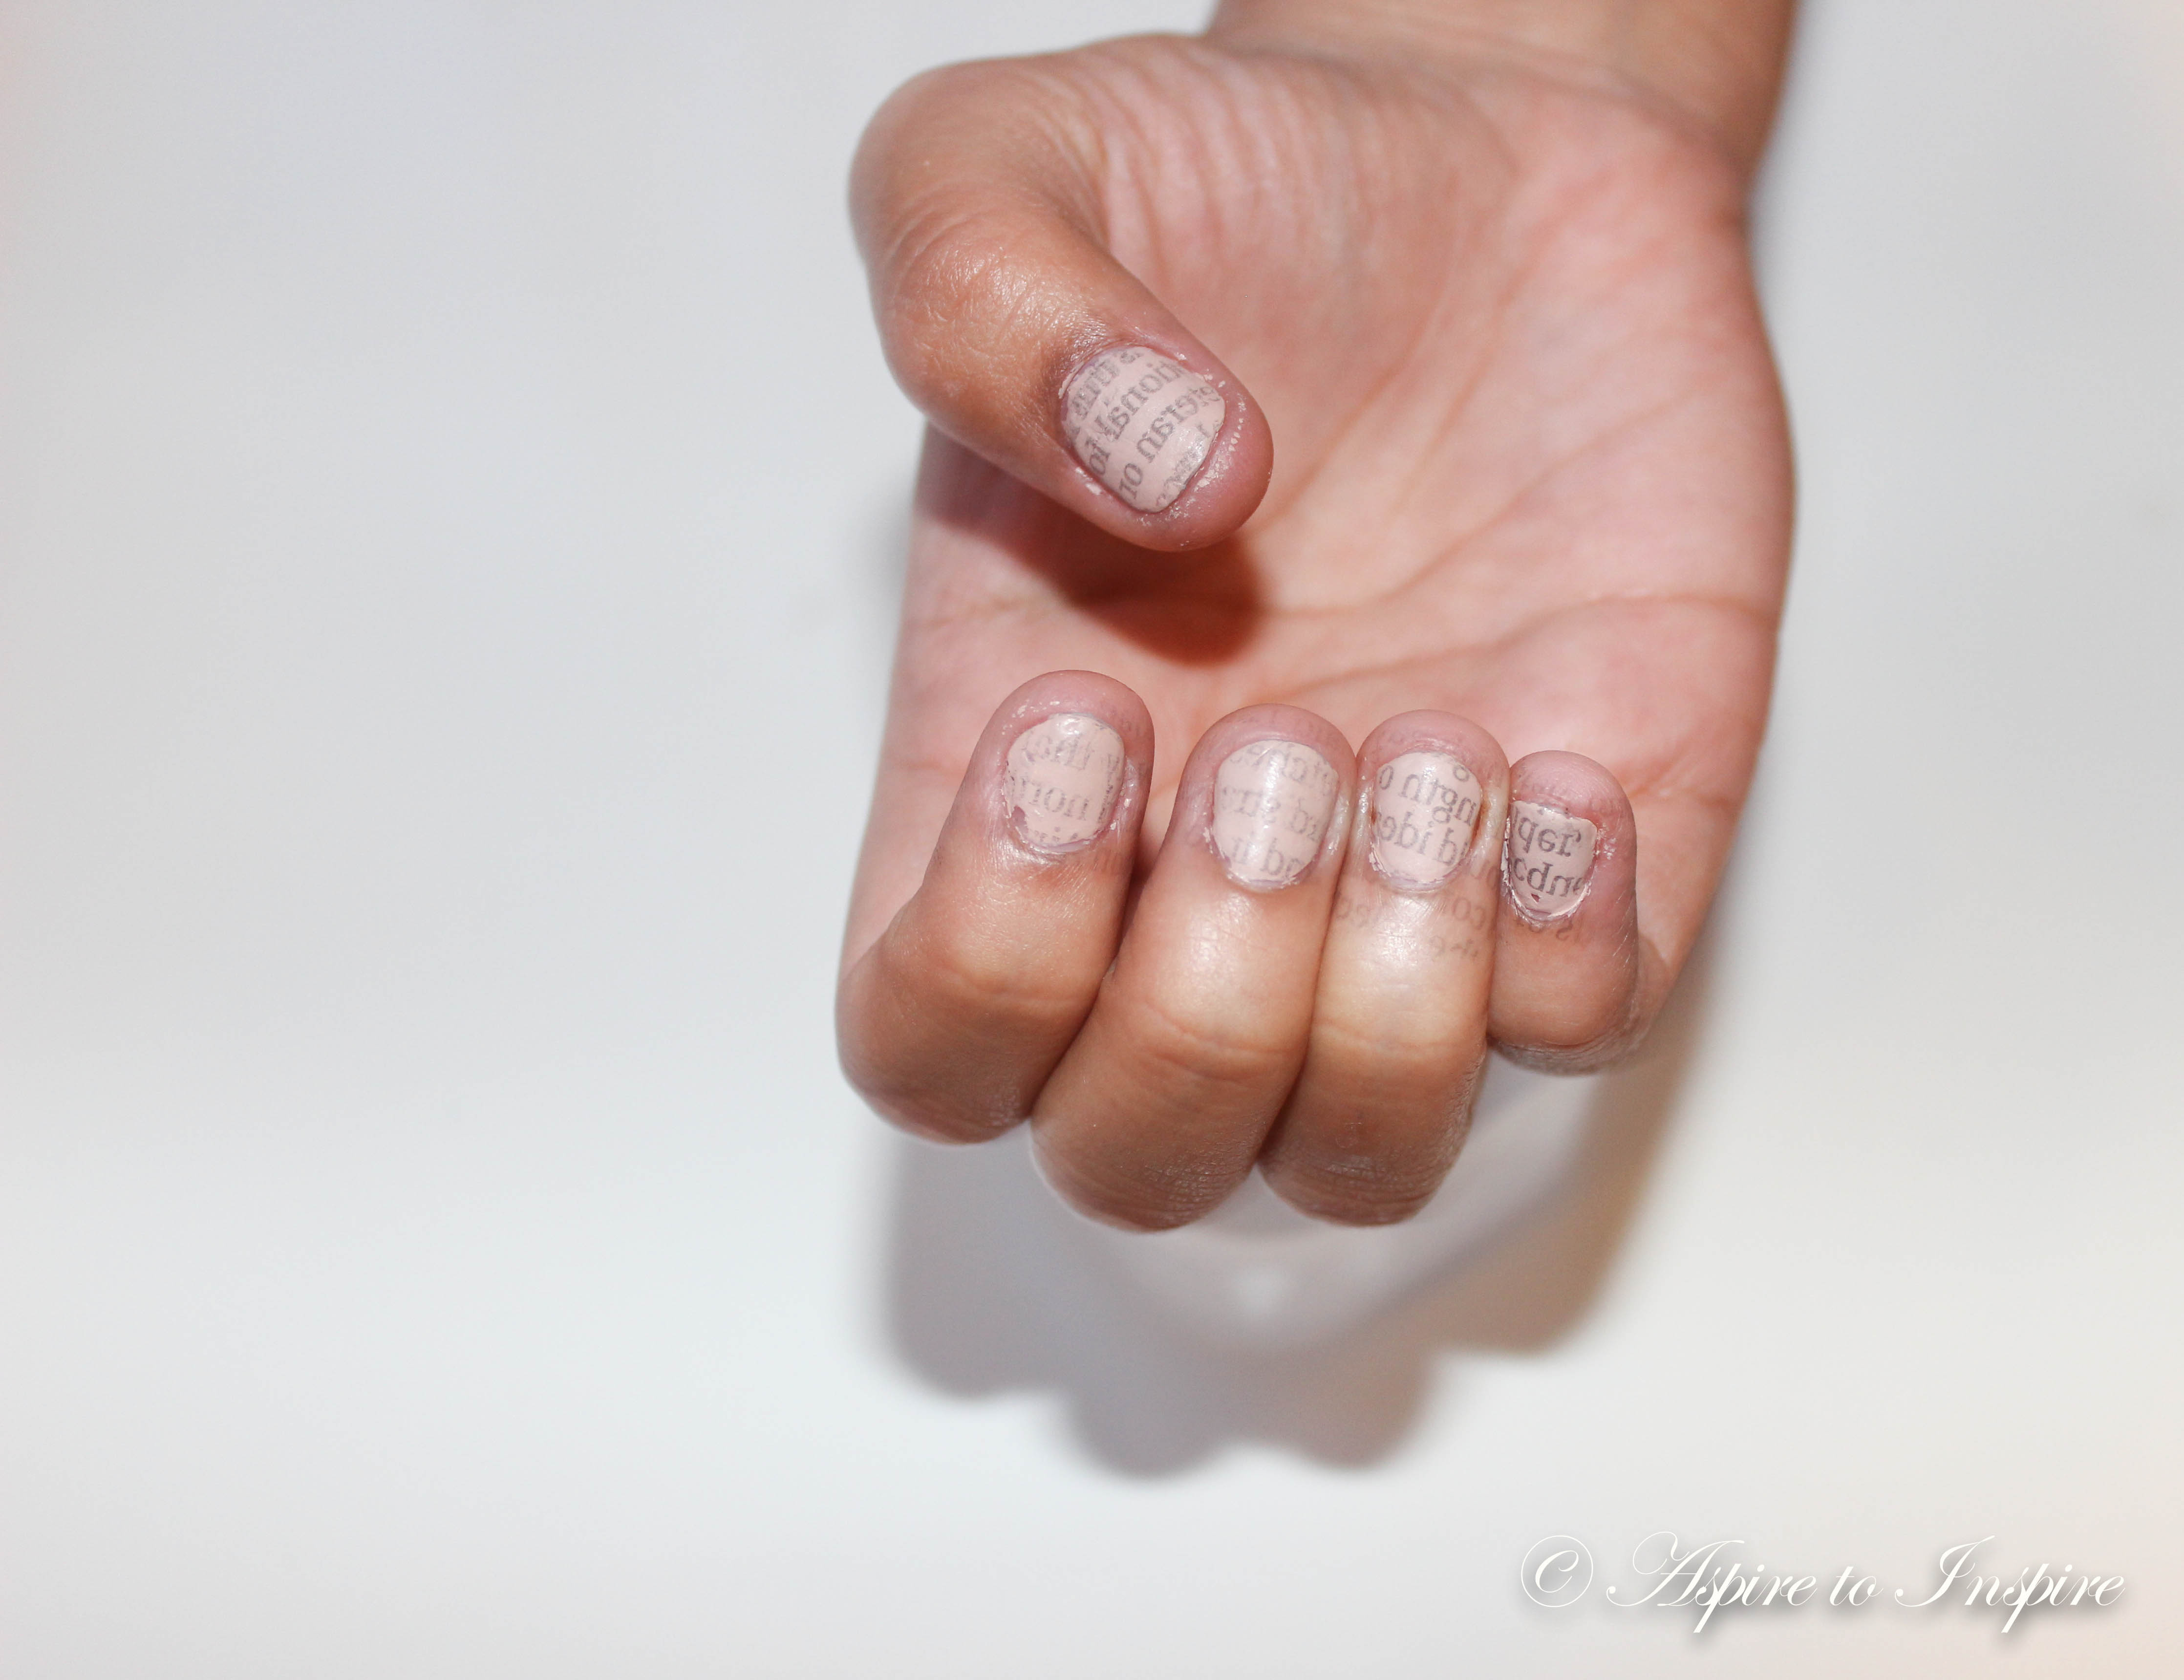
Oh yes, and as you can see don’t forget to clean the edges of your nails once everything is all done!
VOILA! You’re set.
Thanks for reading,
Maritza, xo.